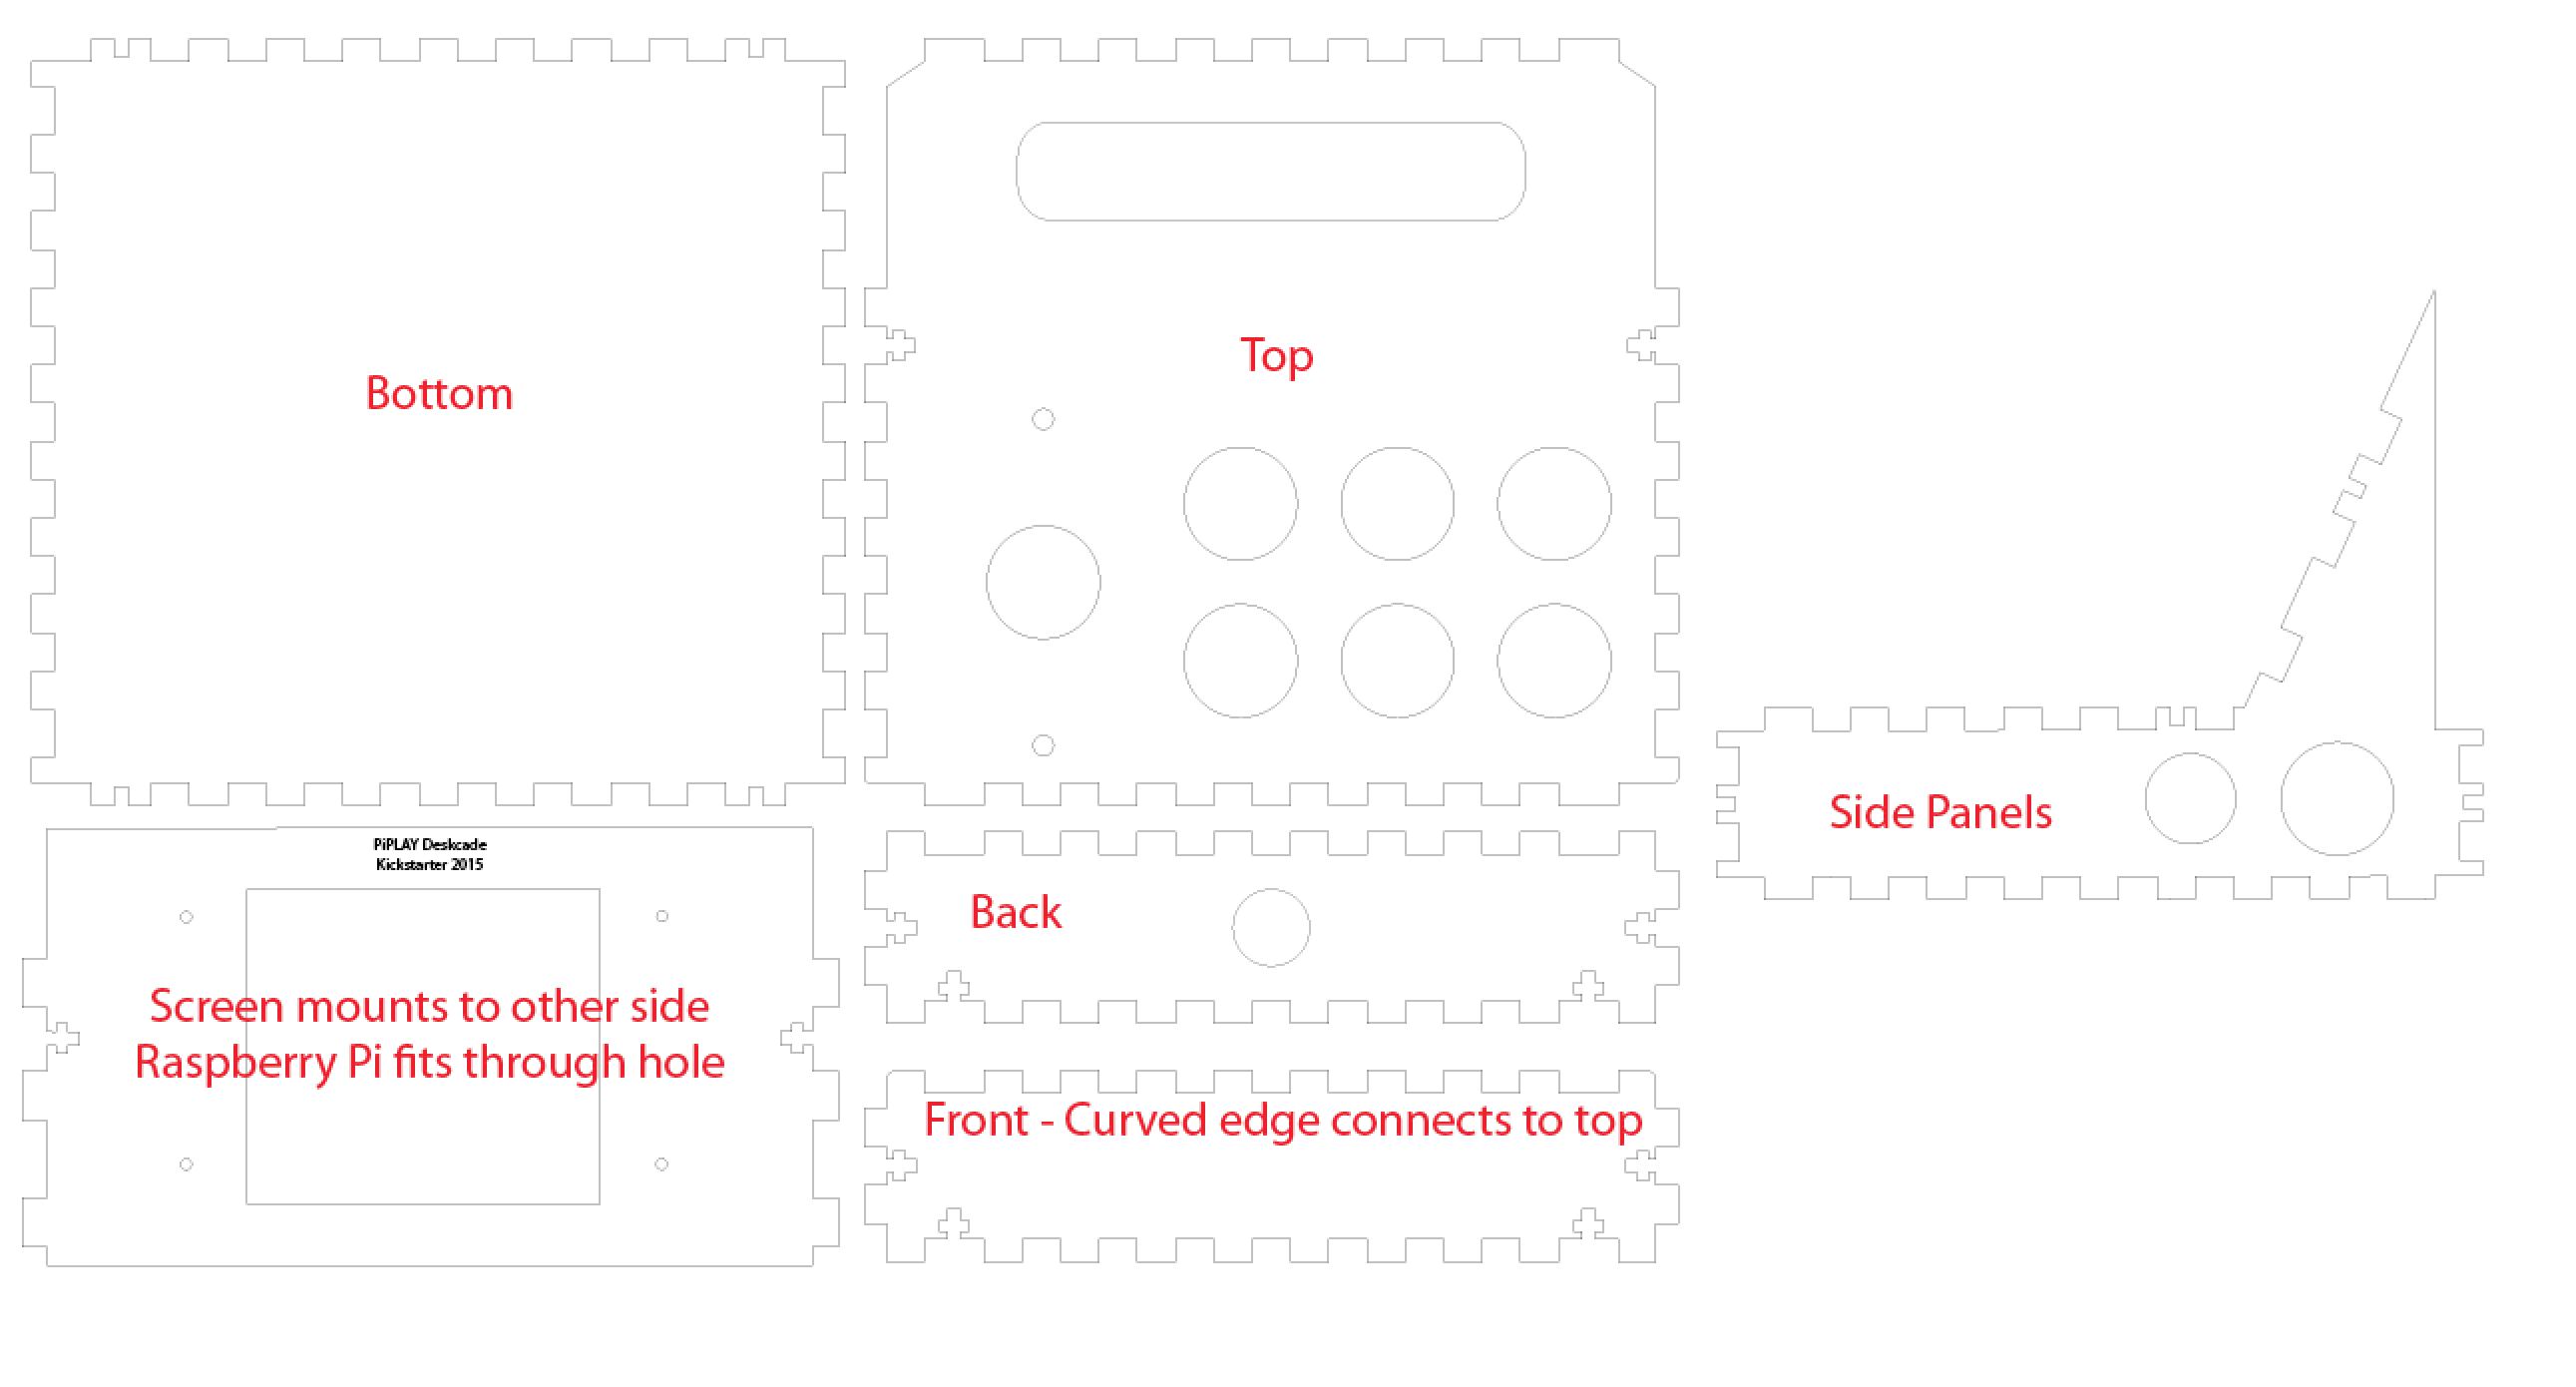
How to build your Deskcade
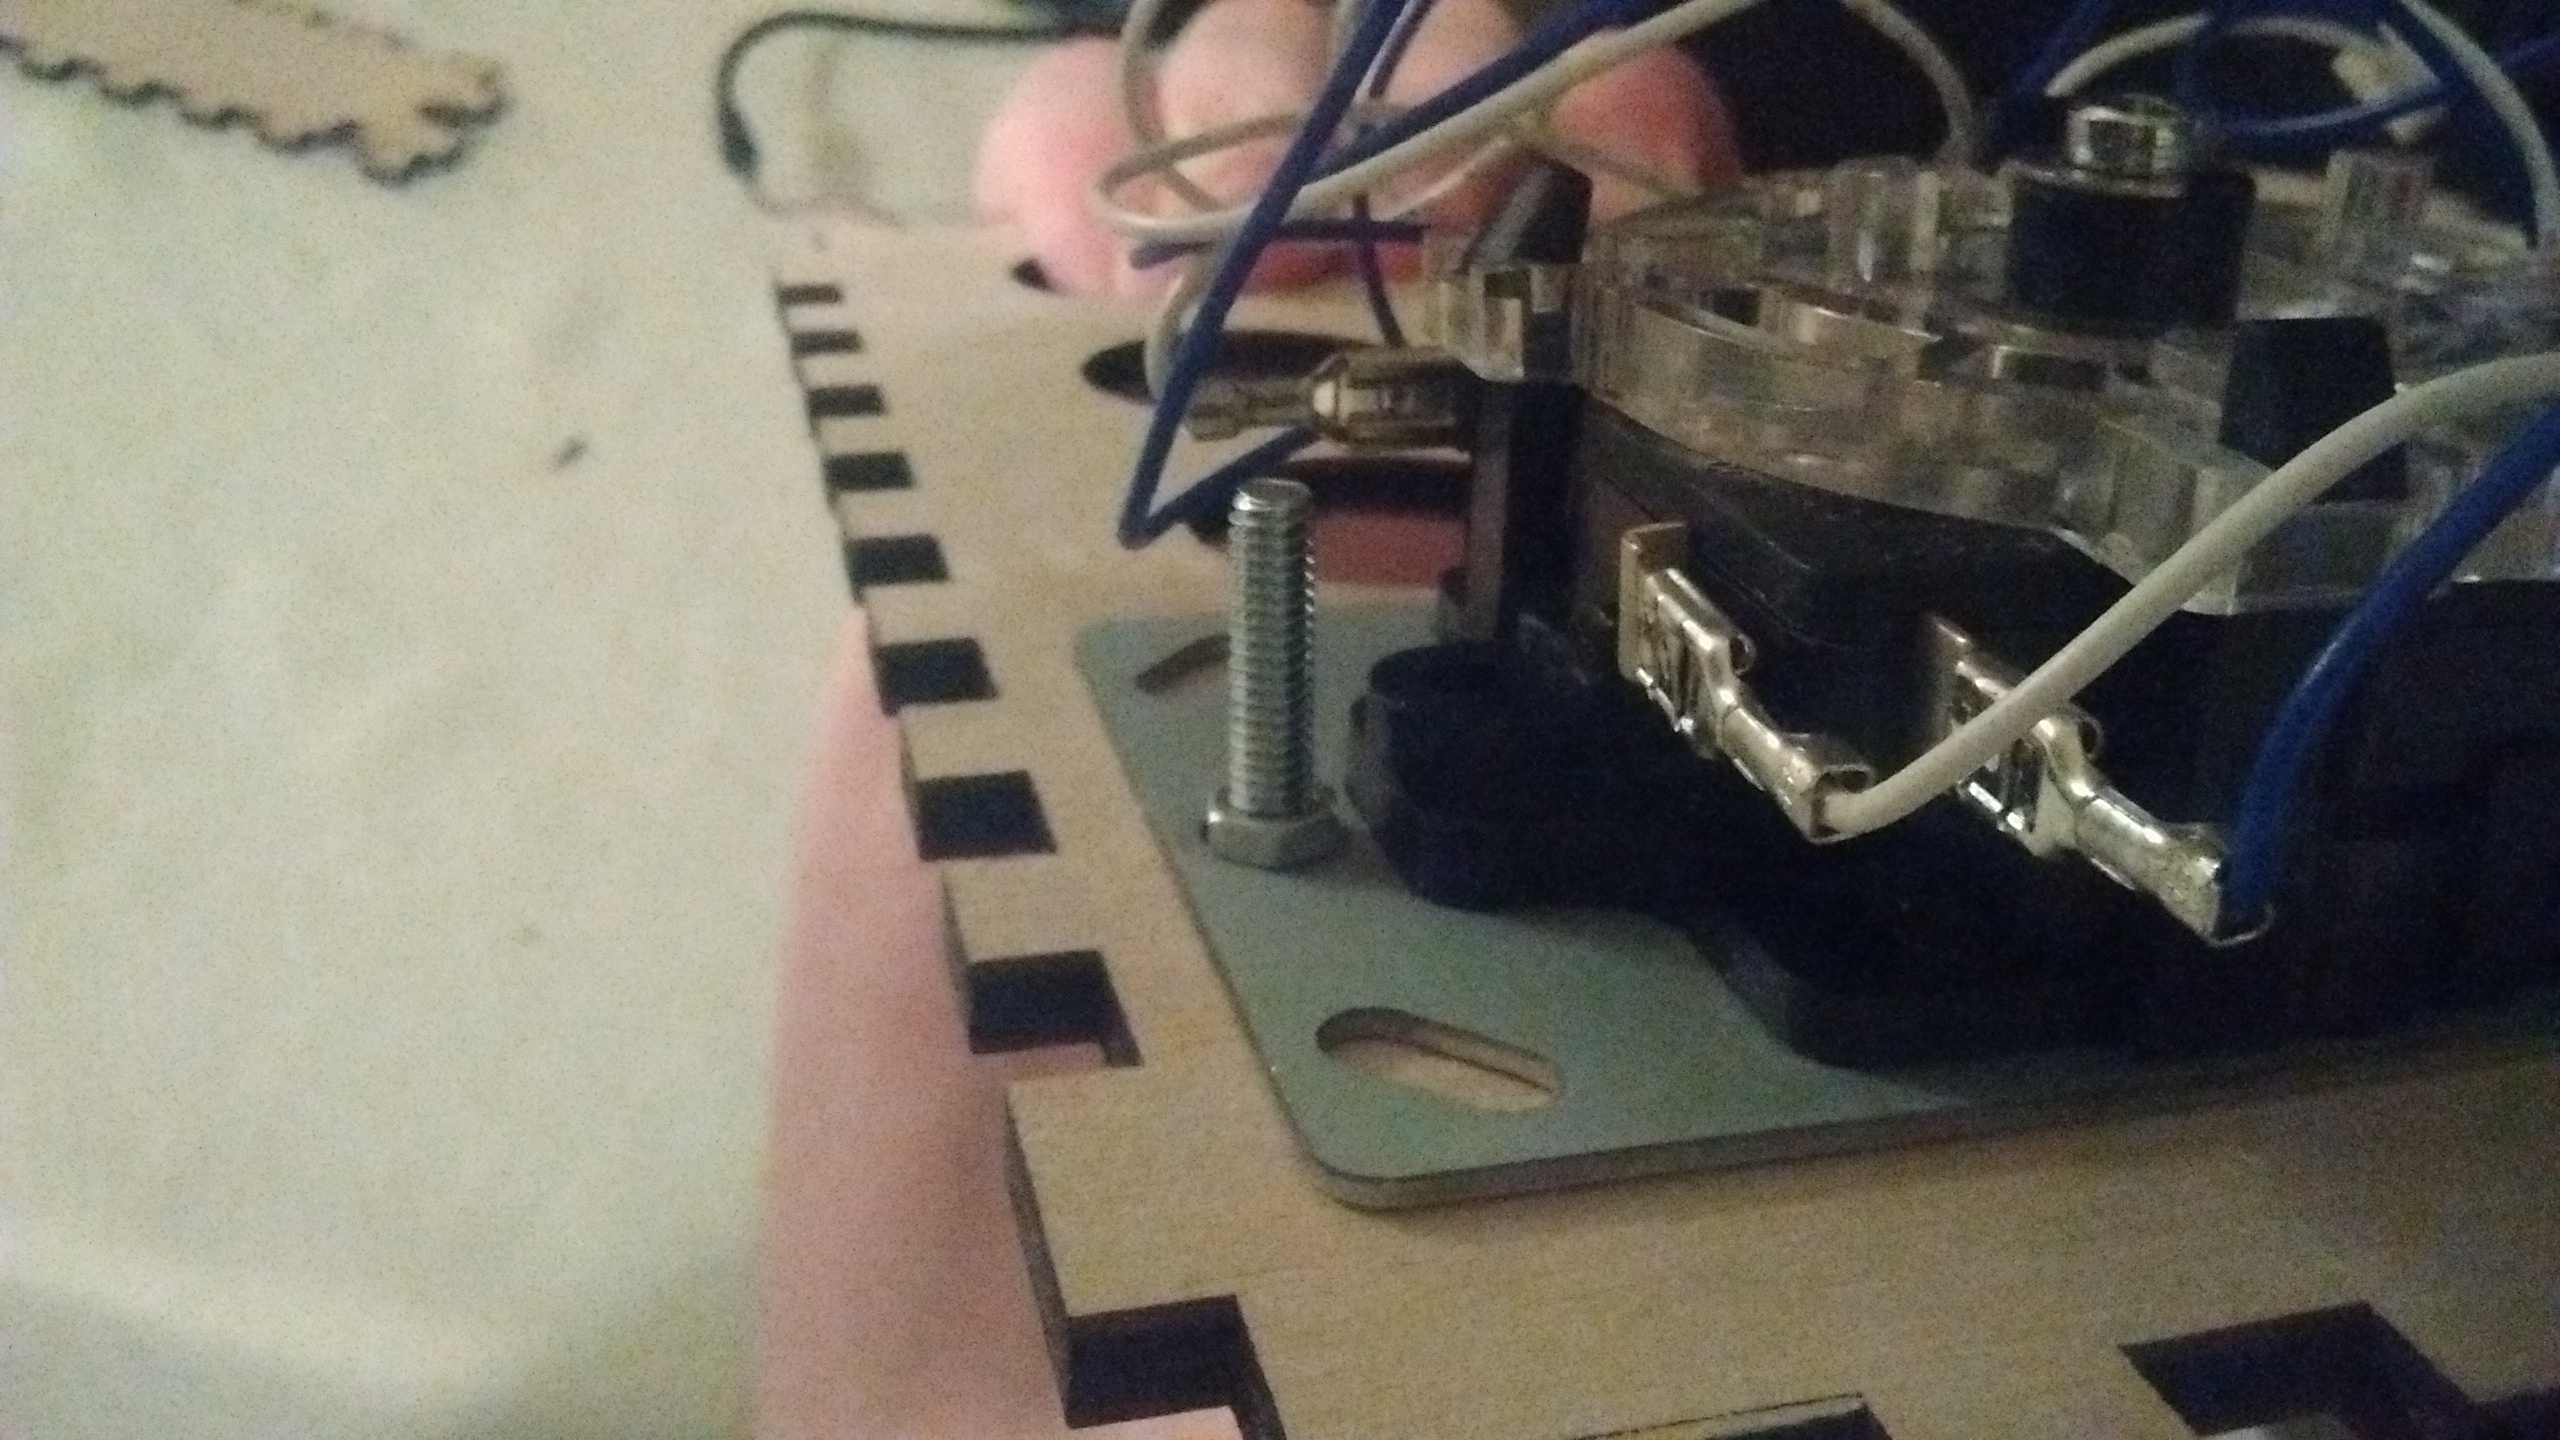
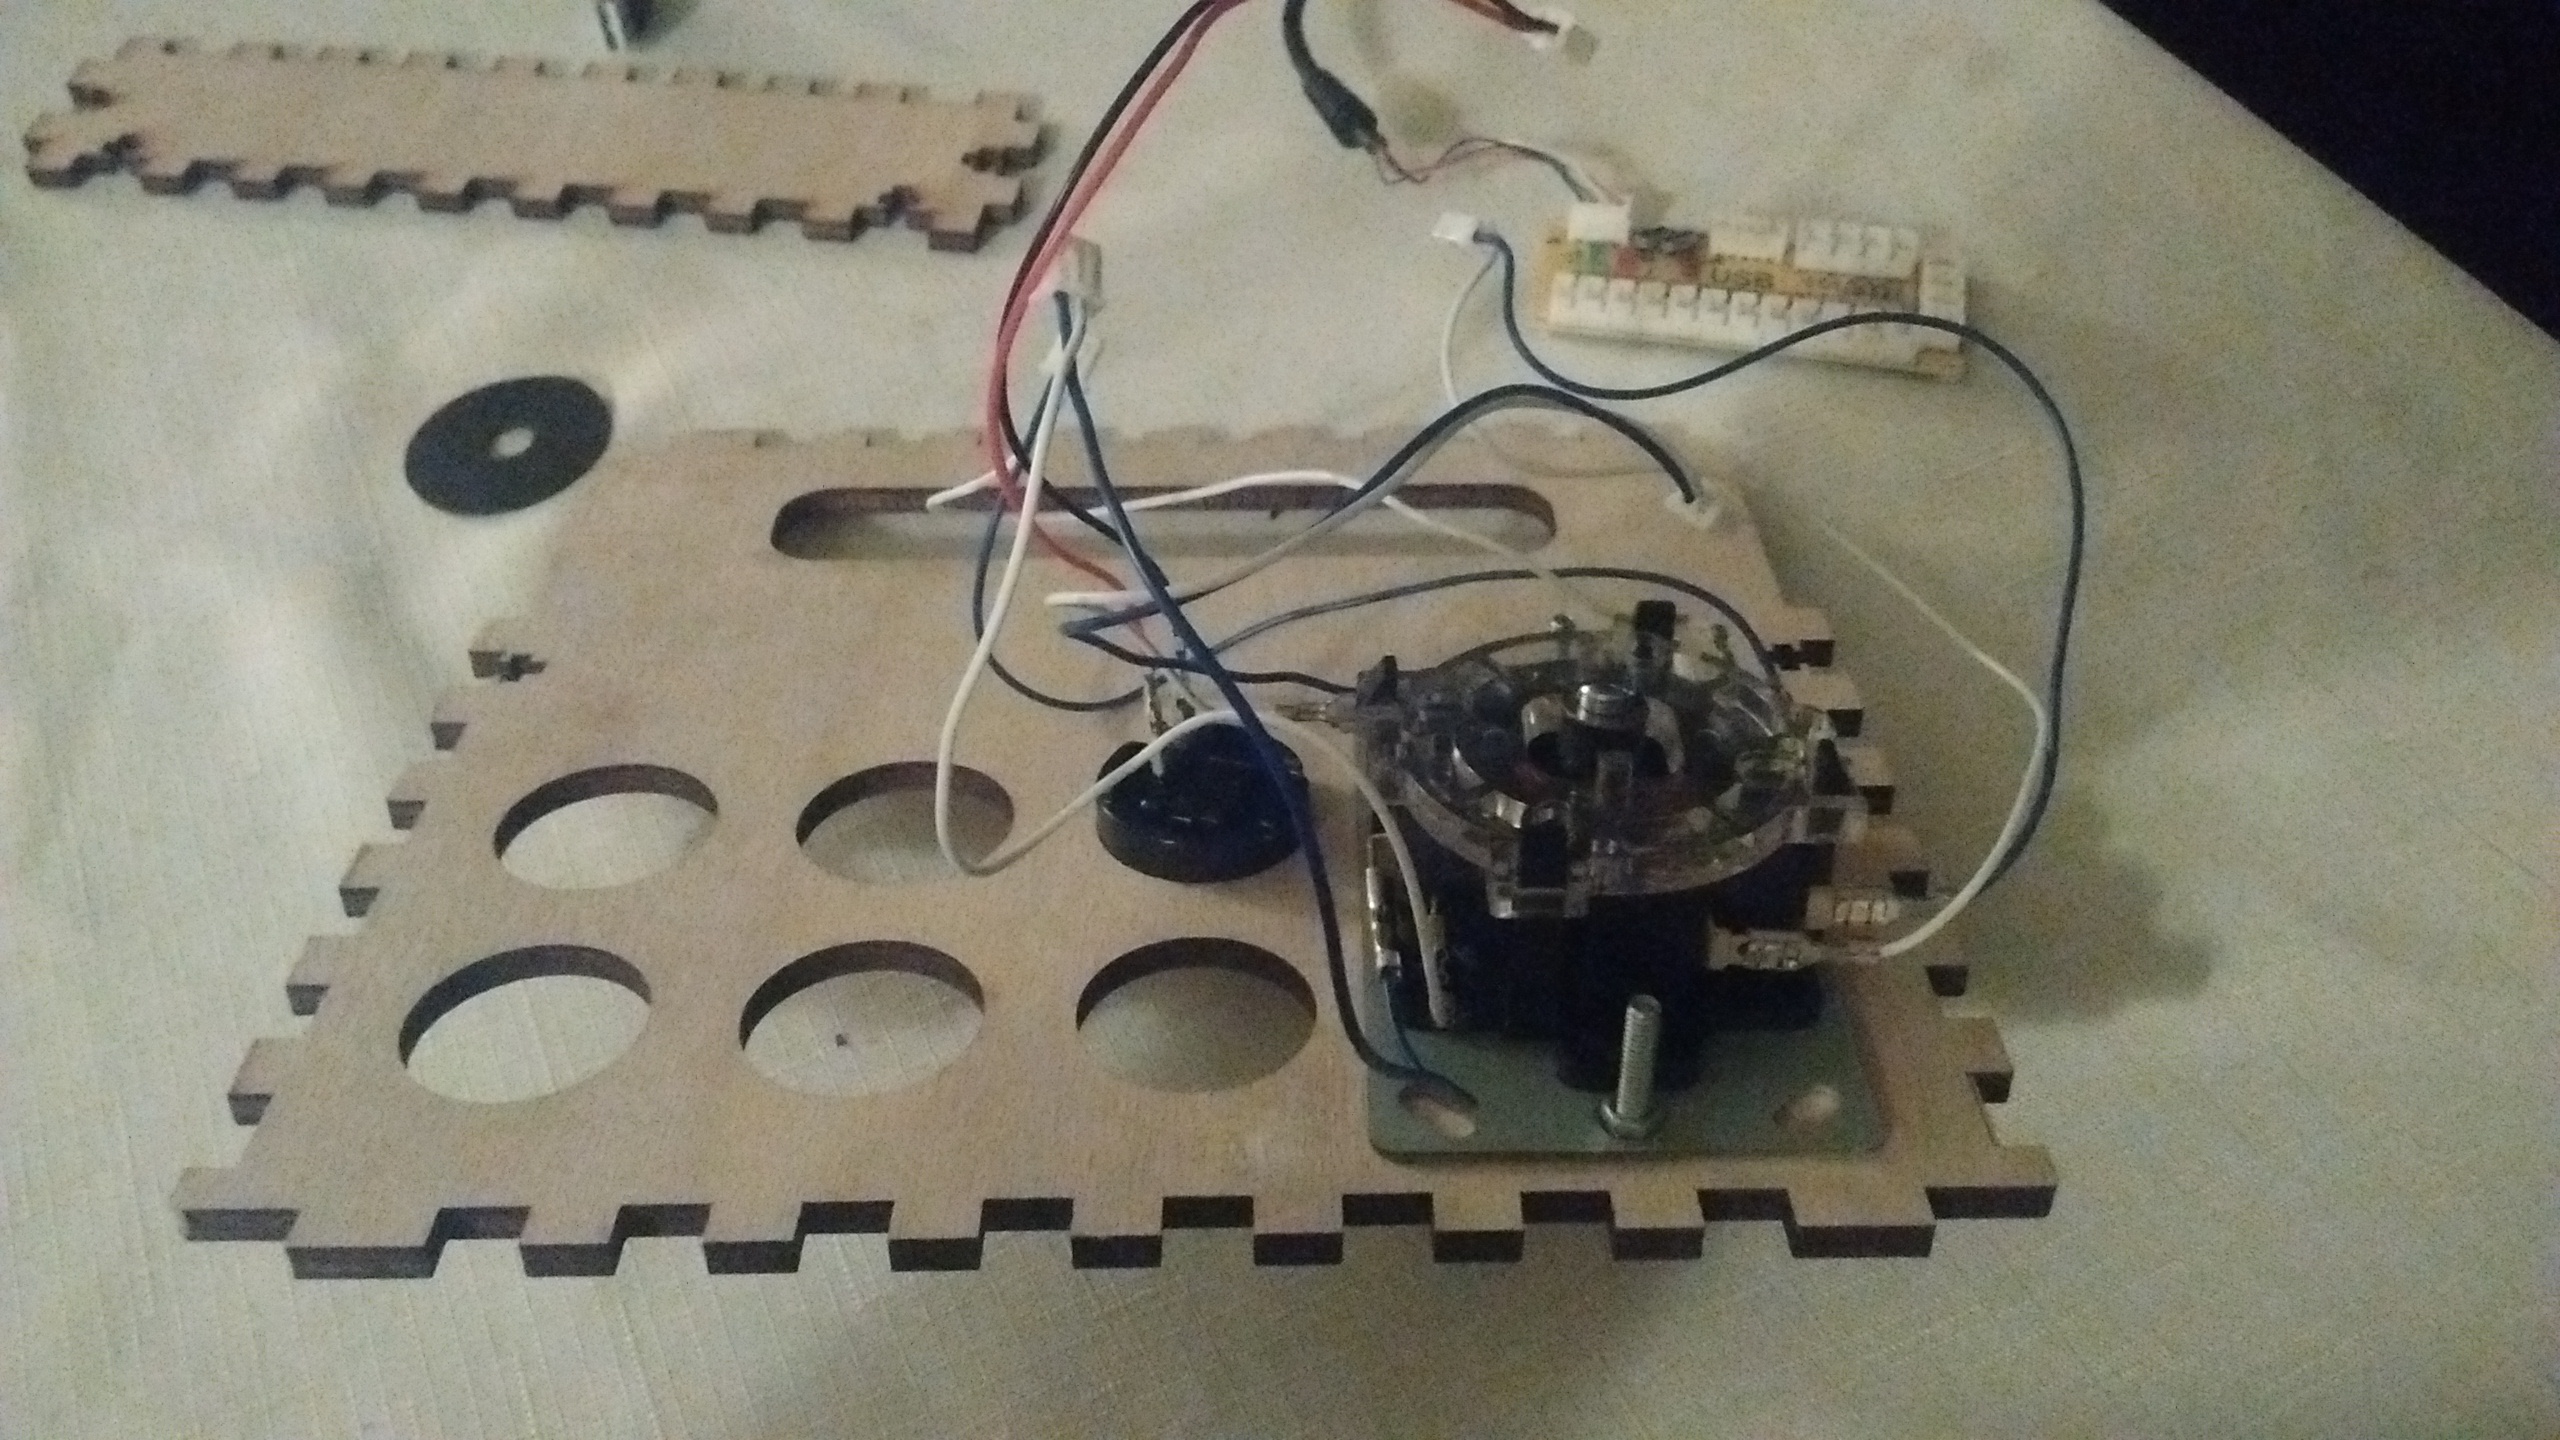
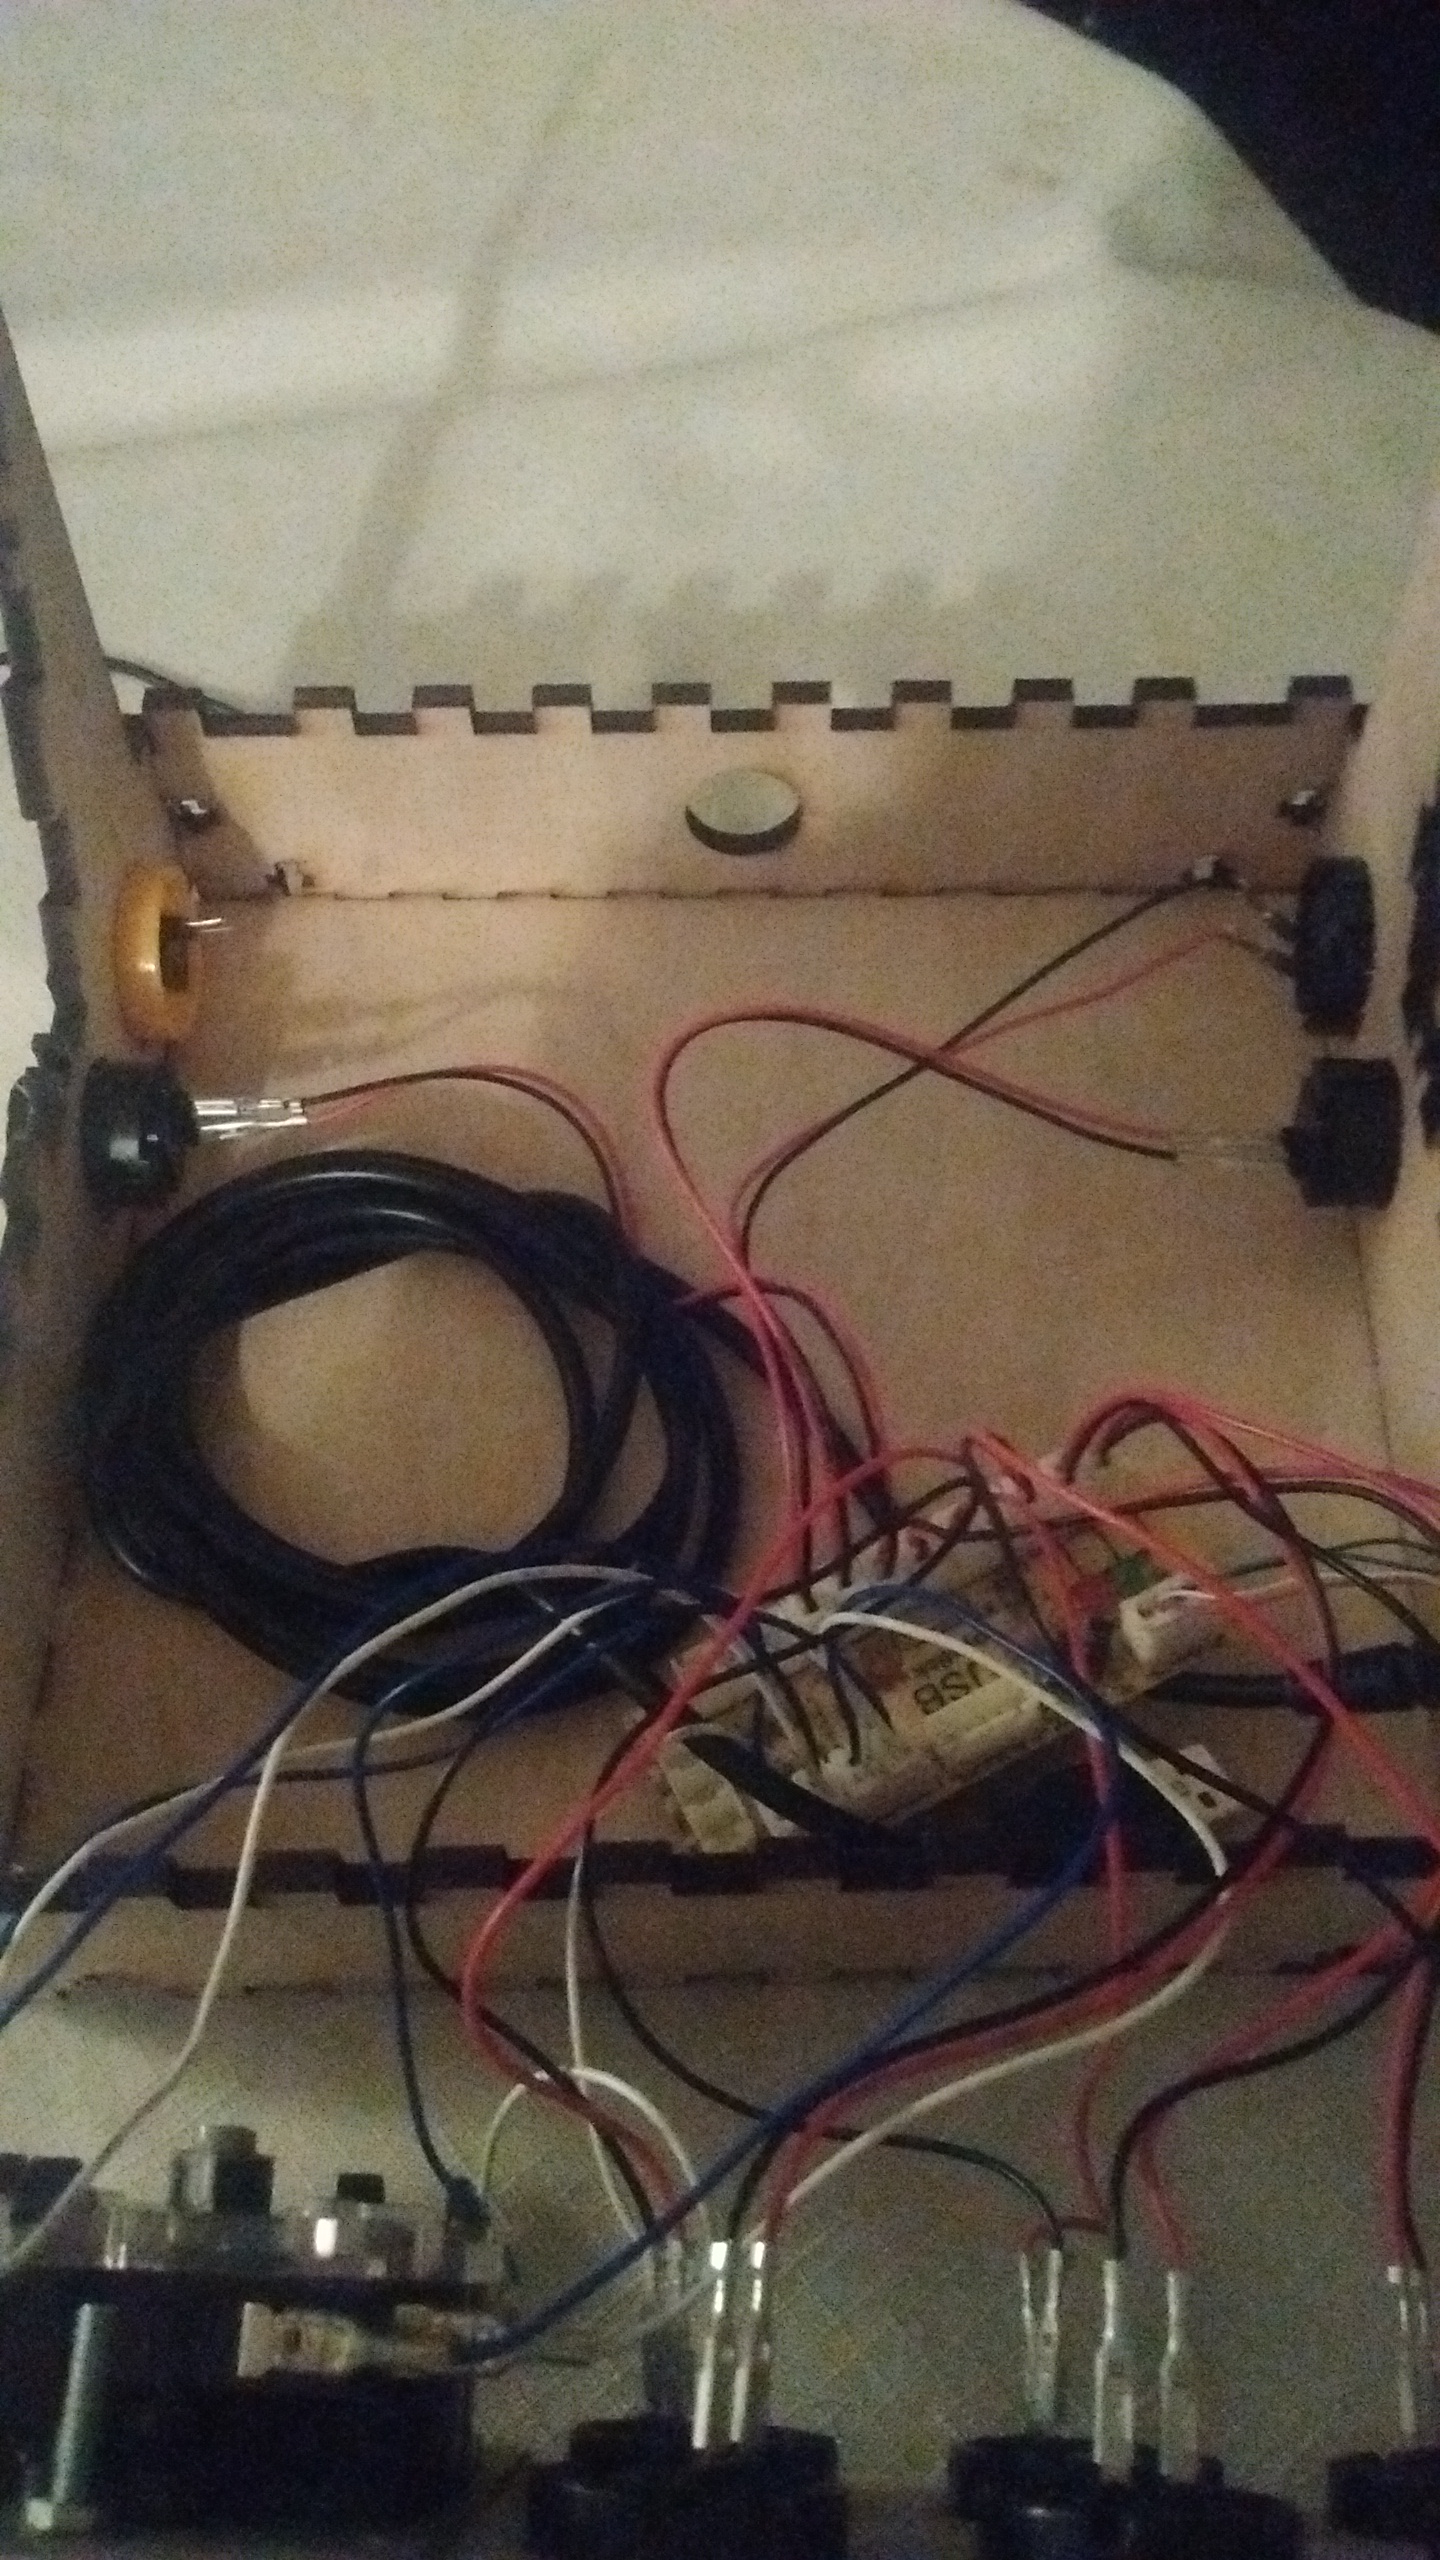
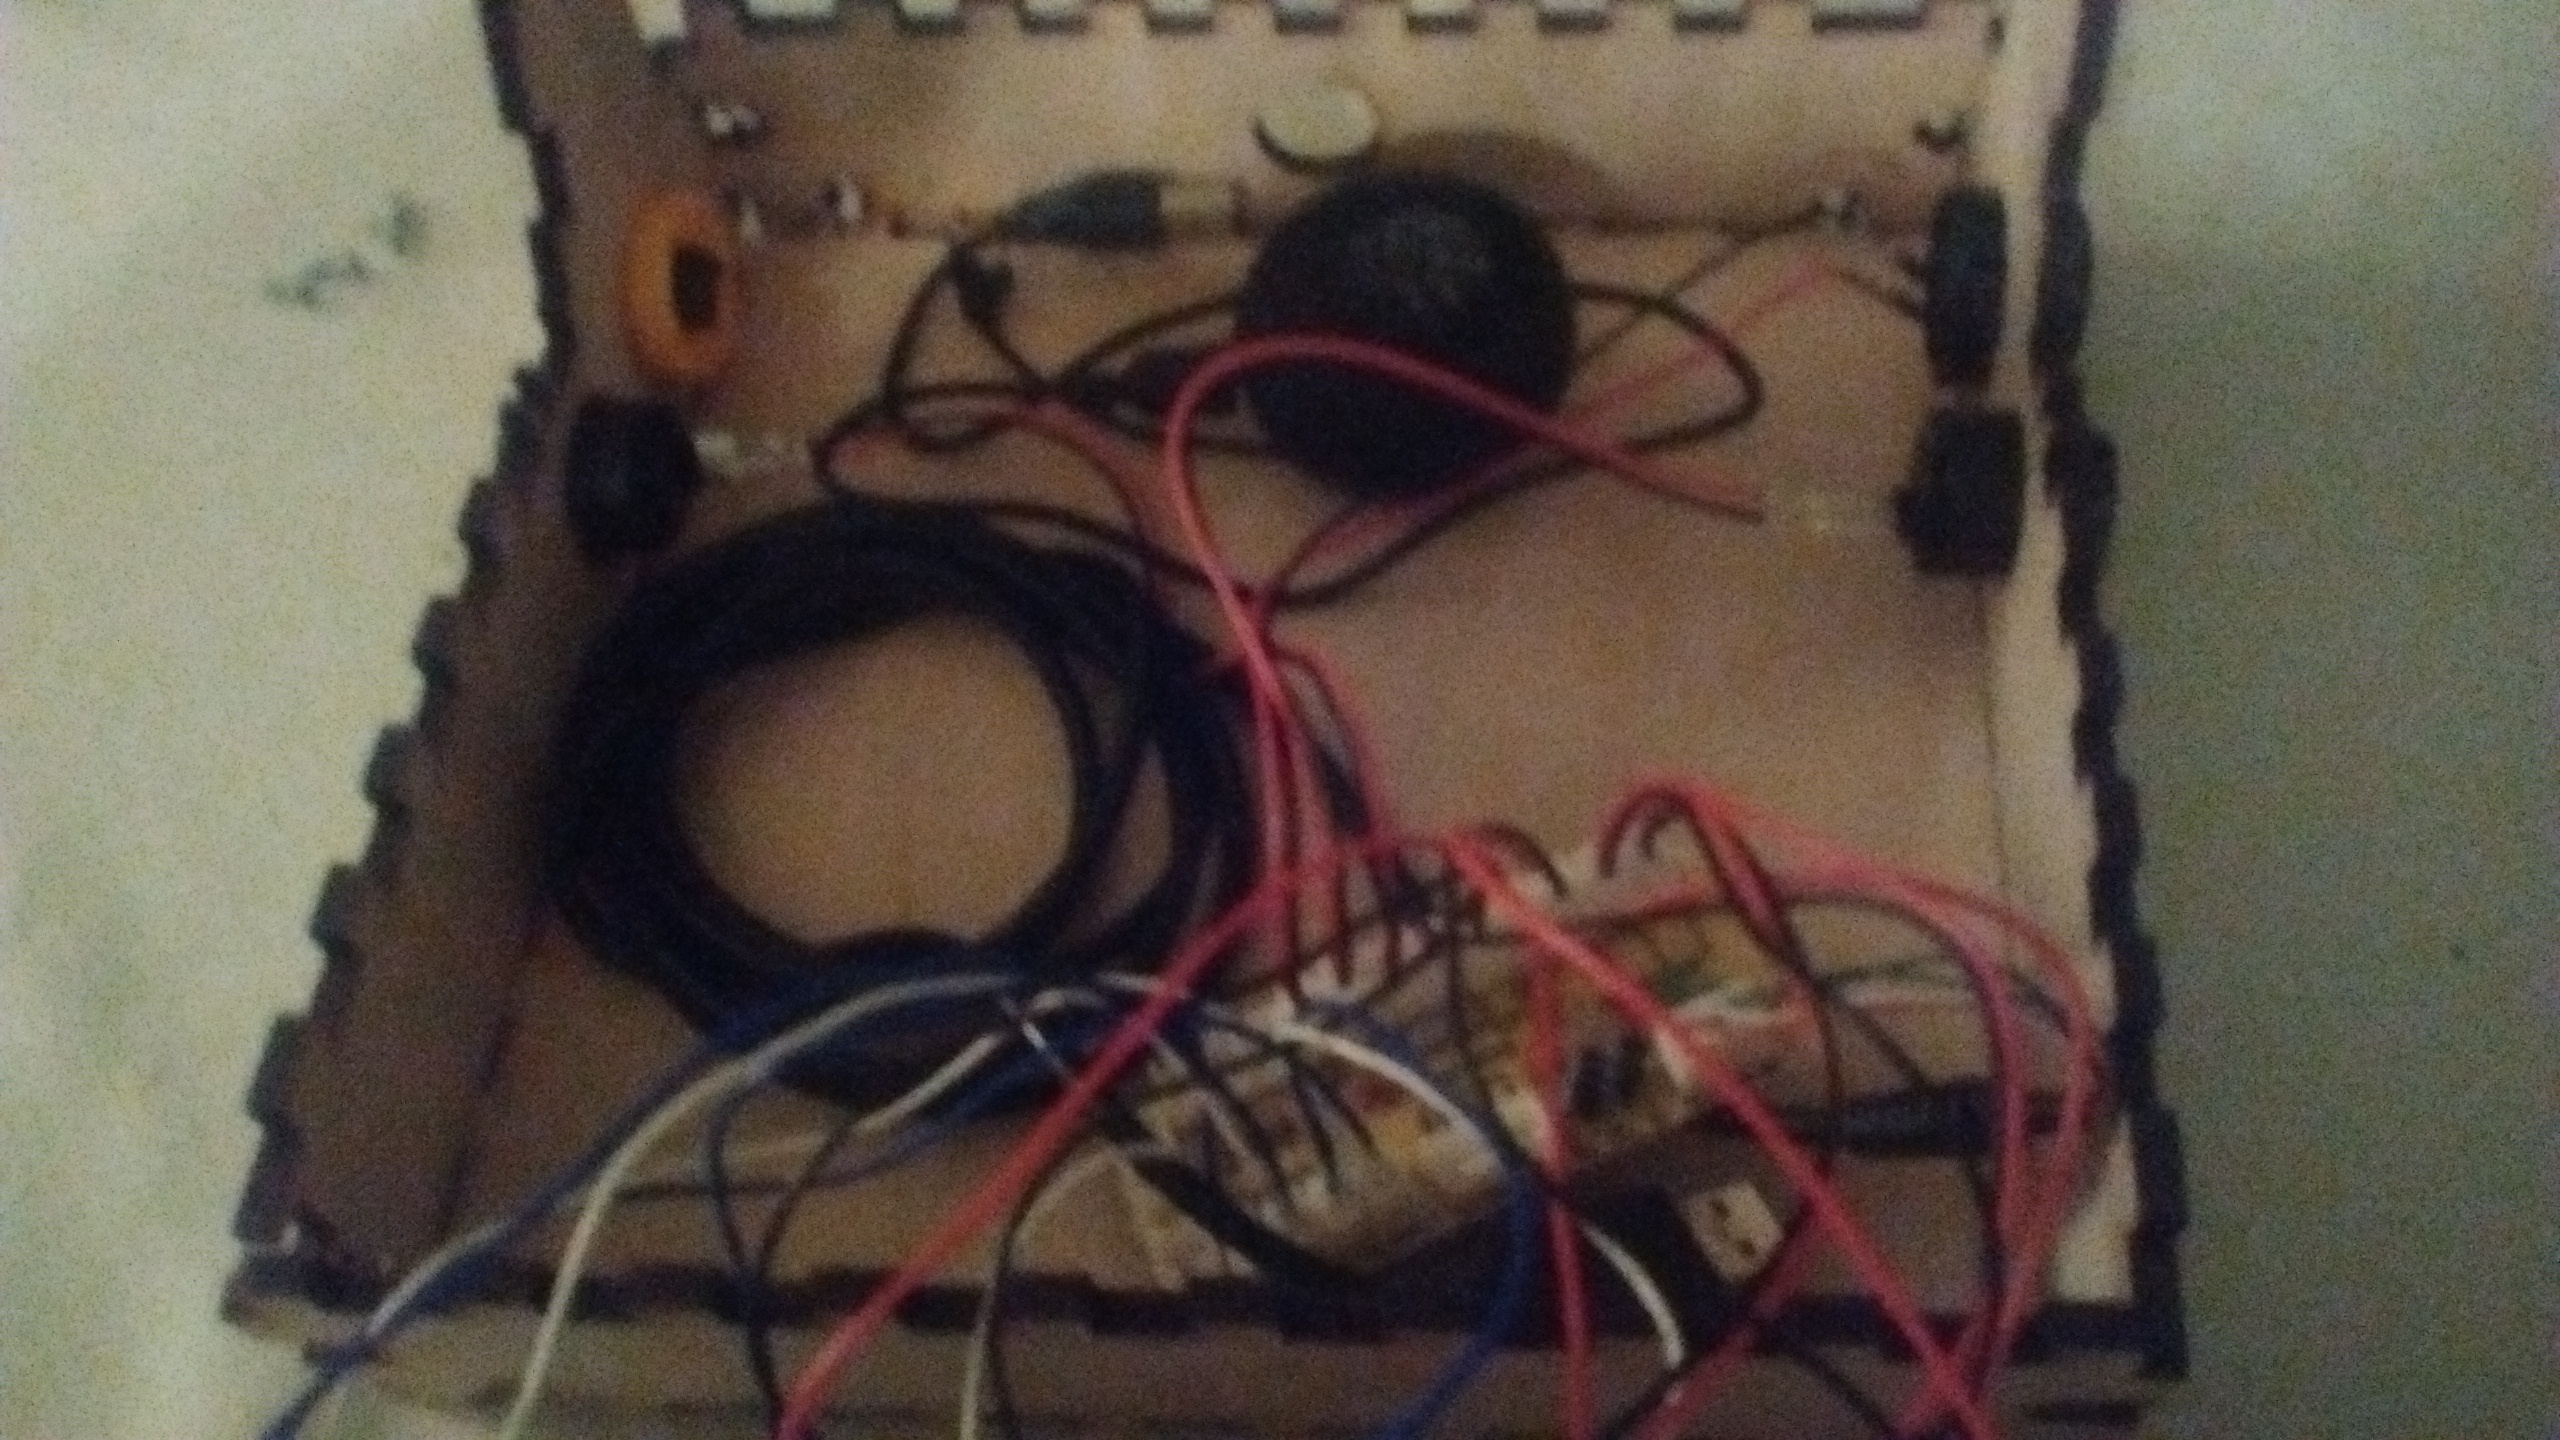
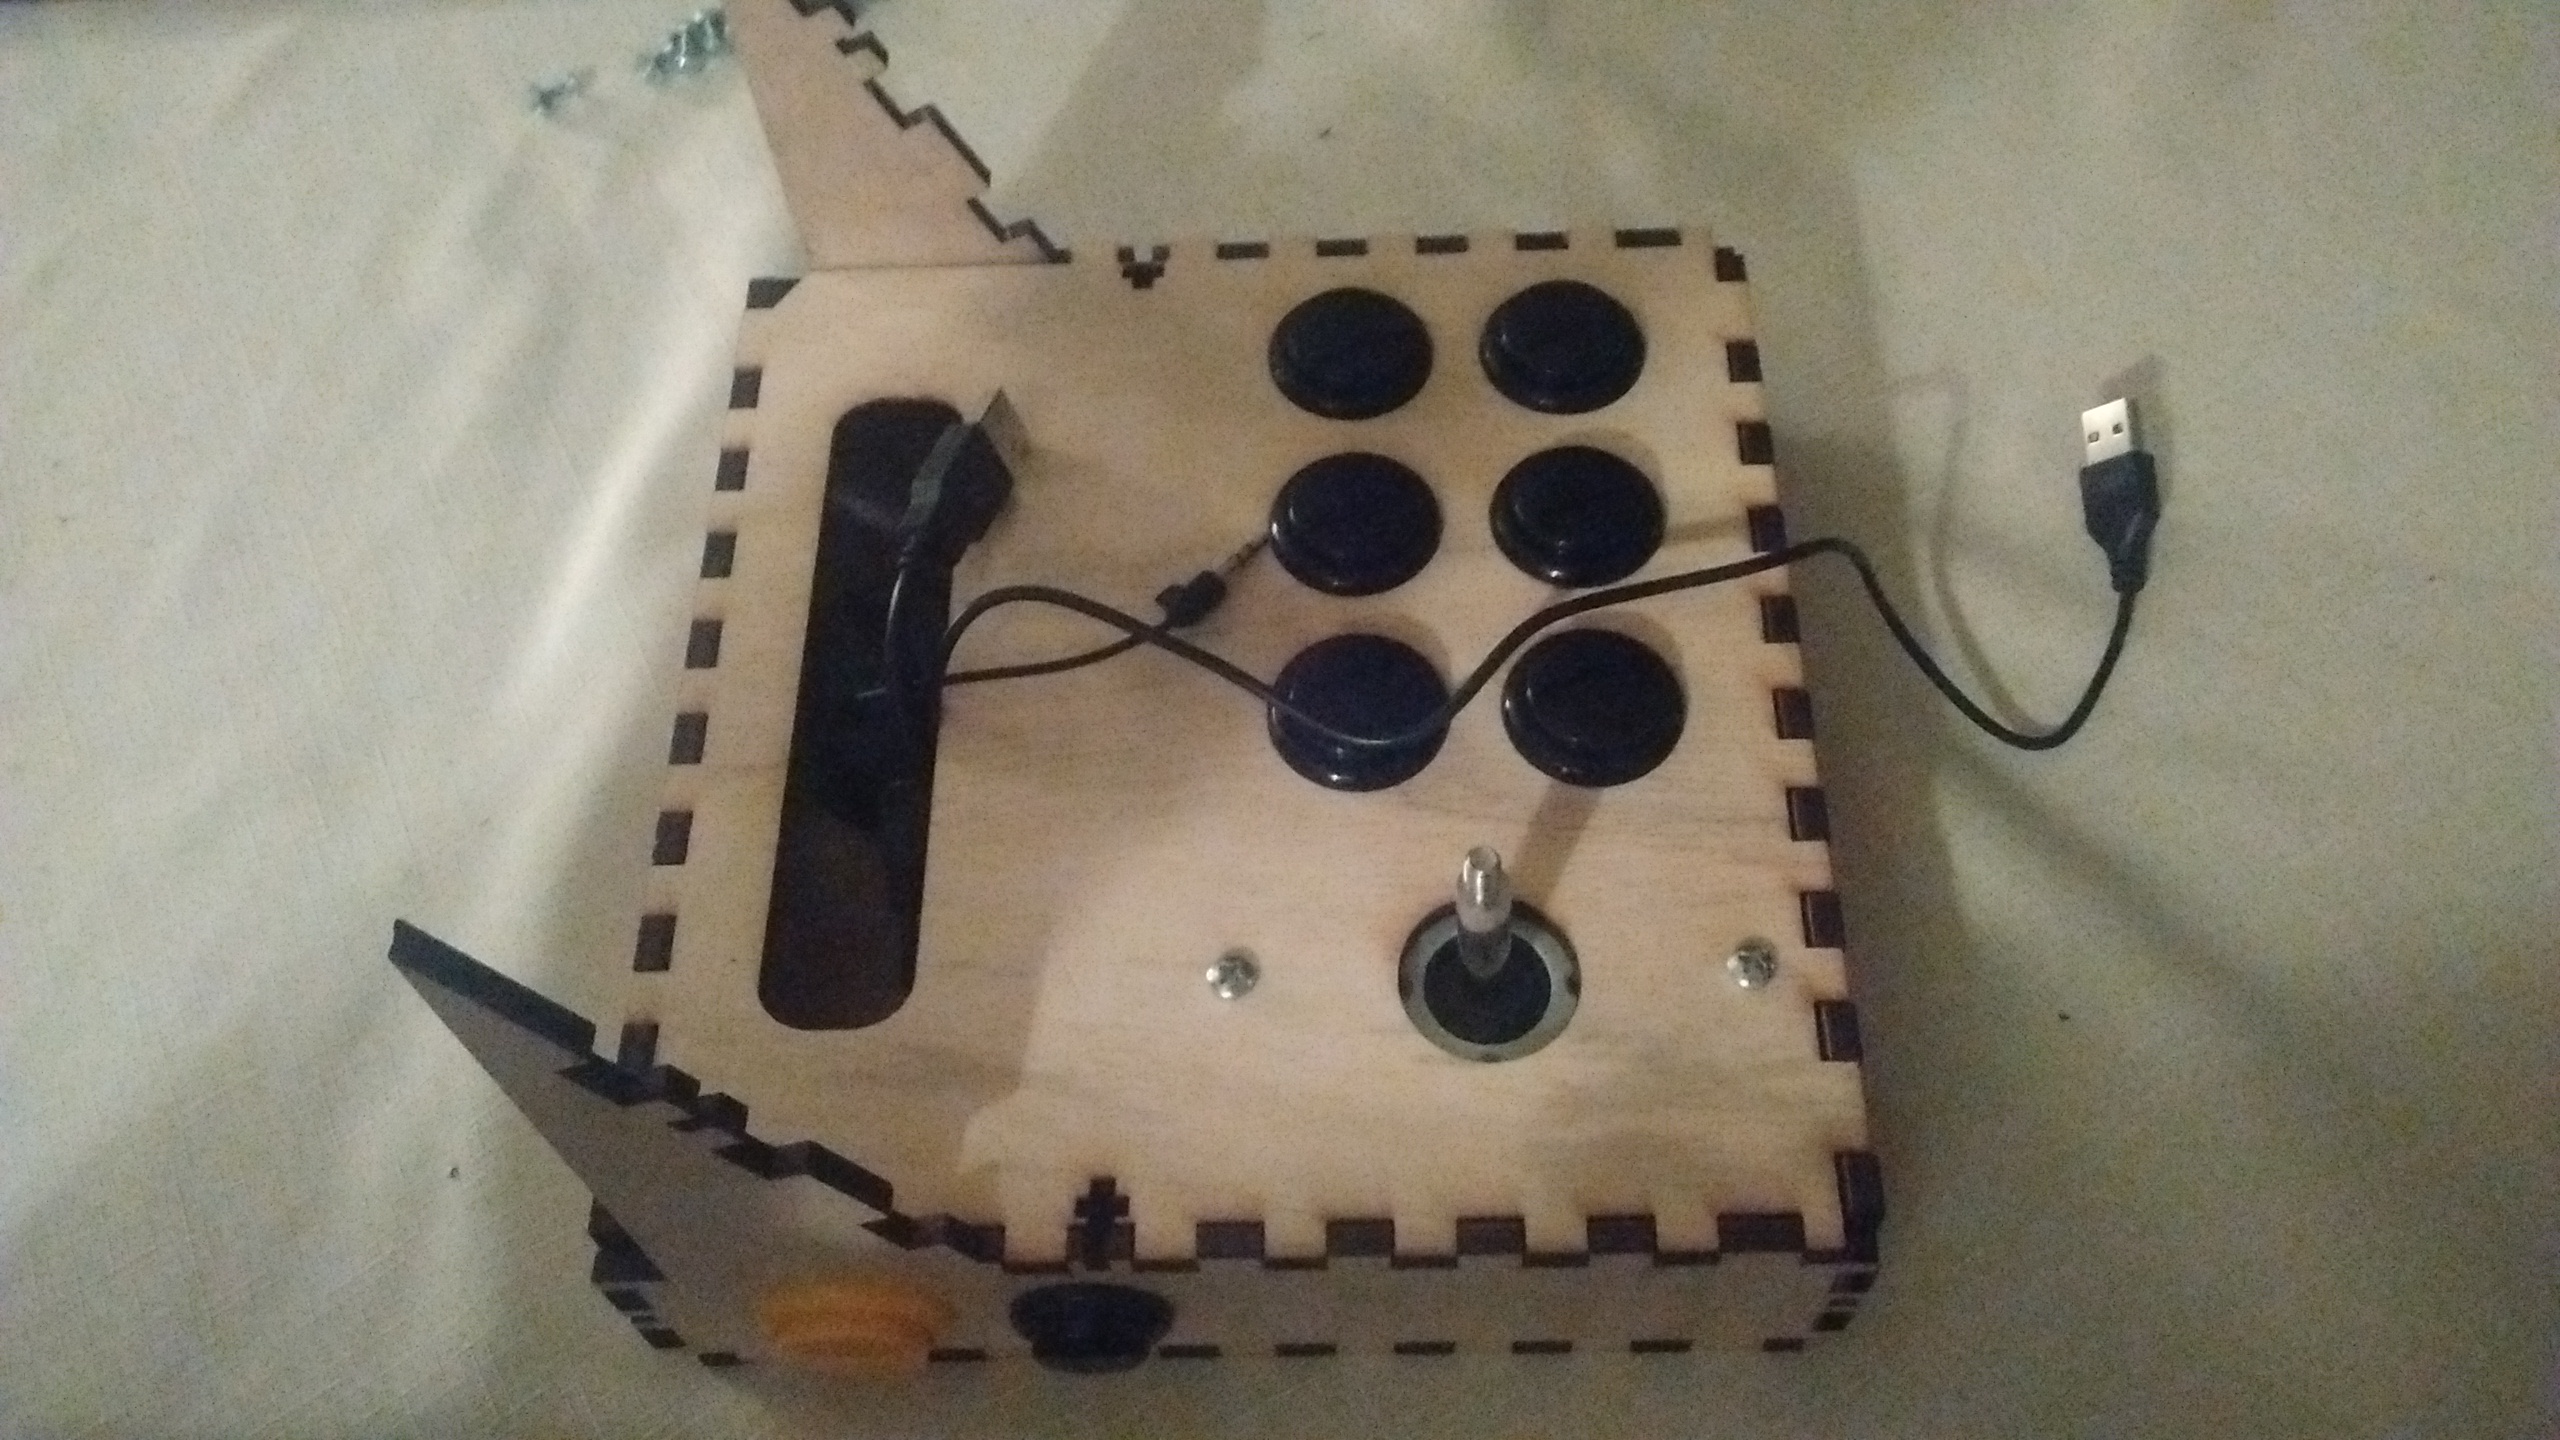
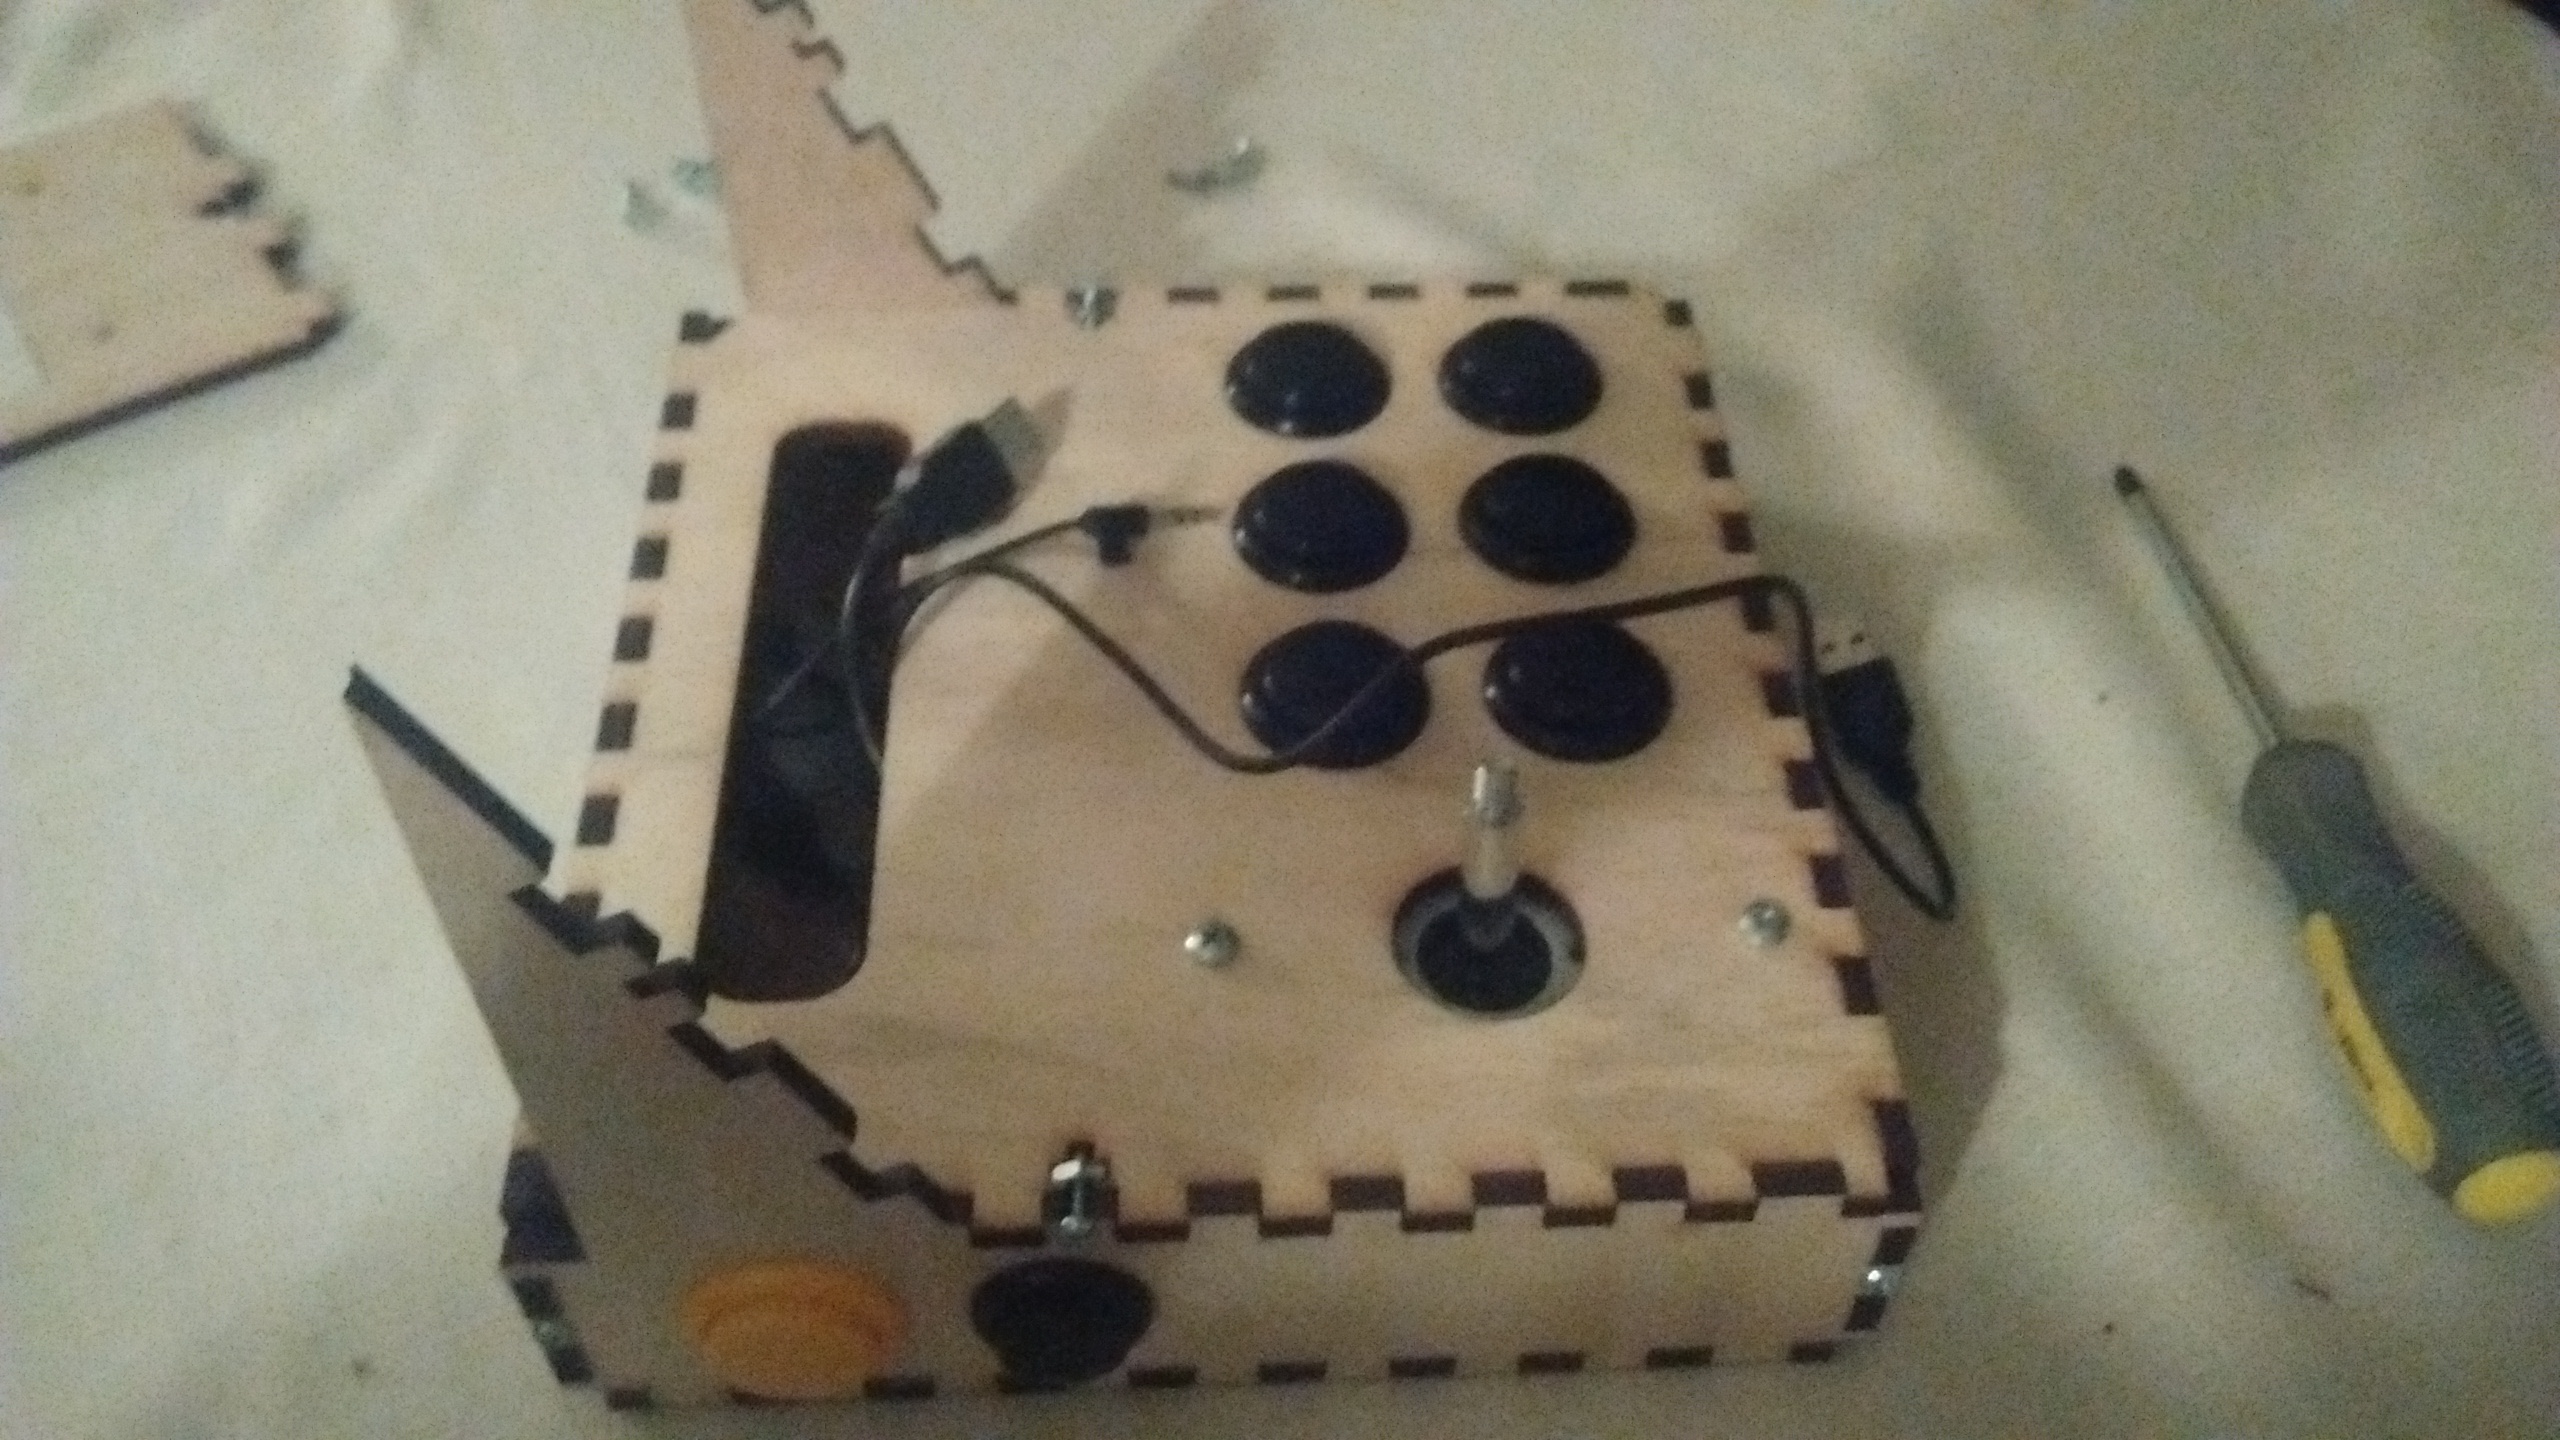
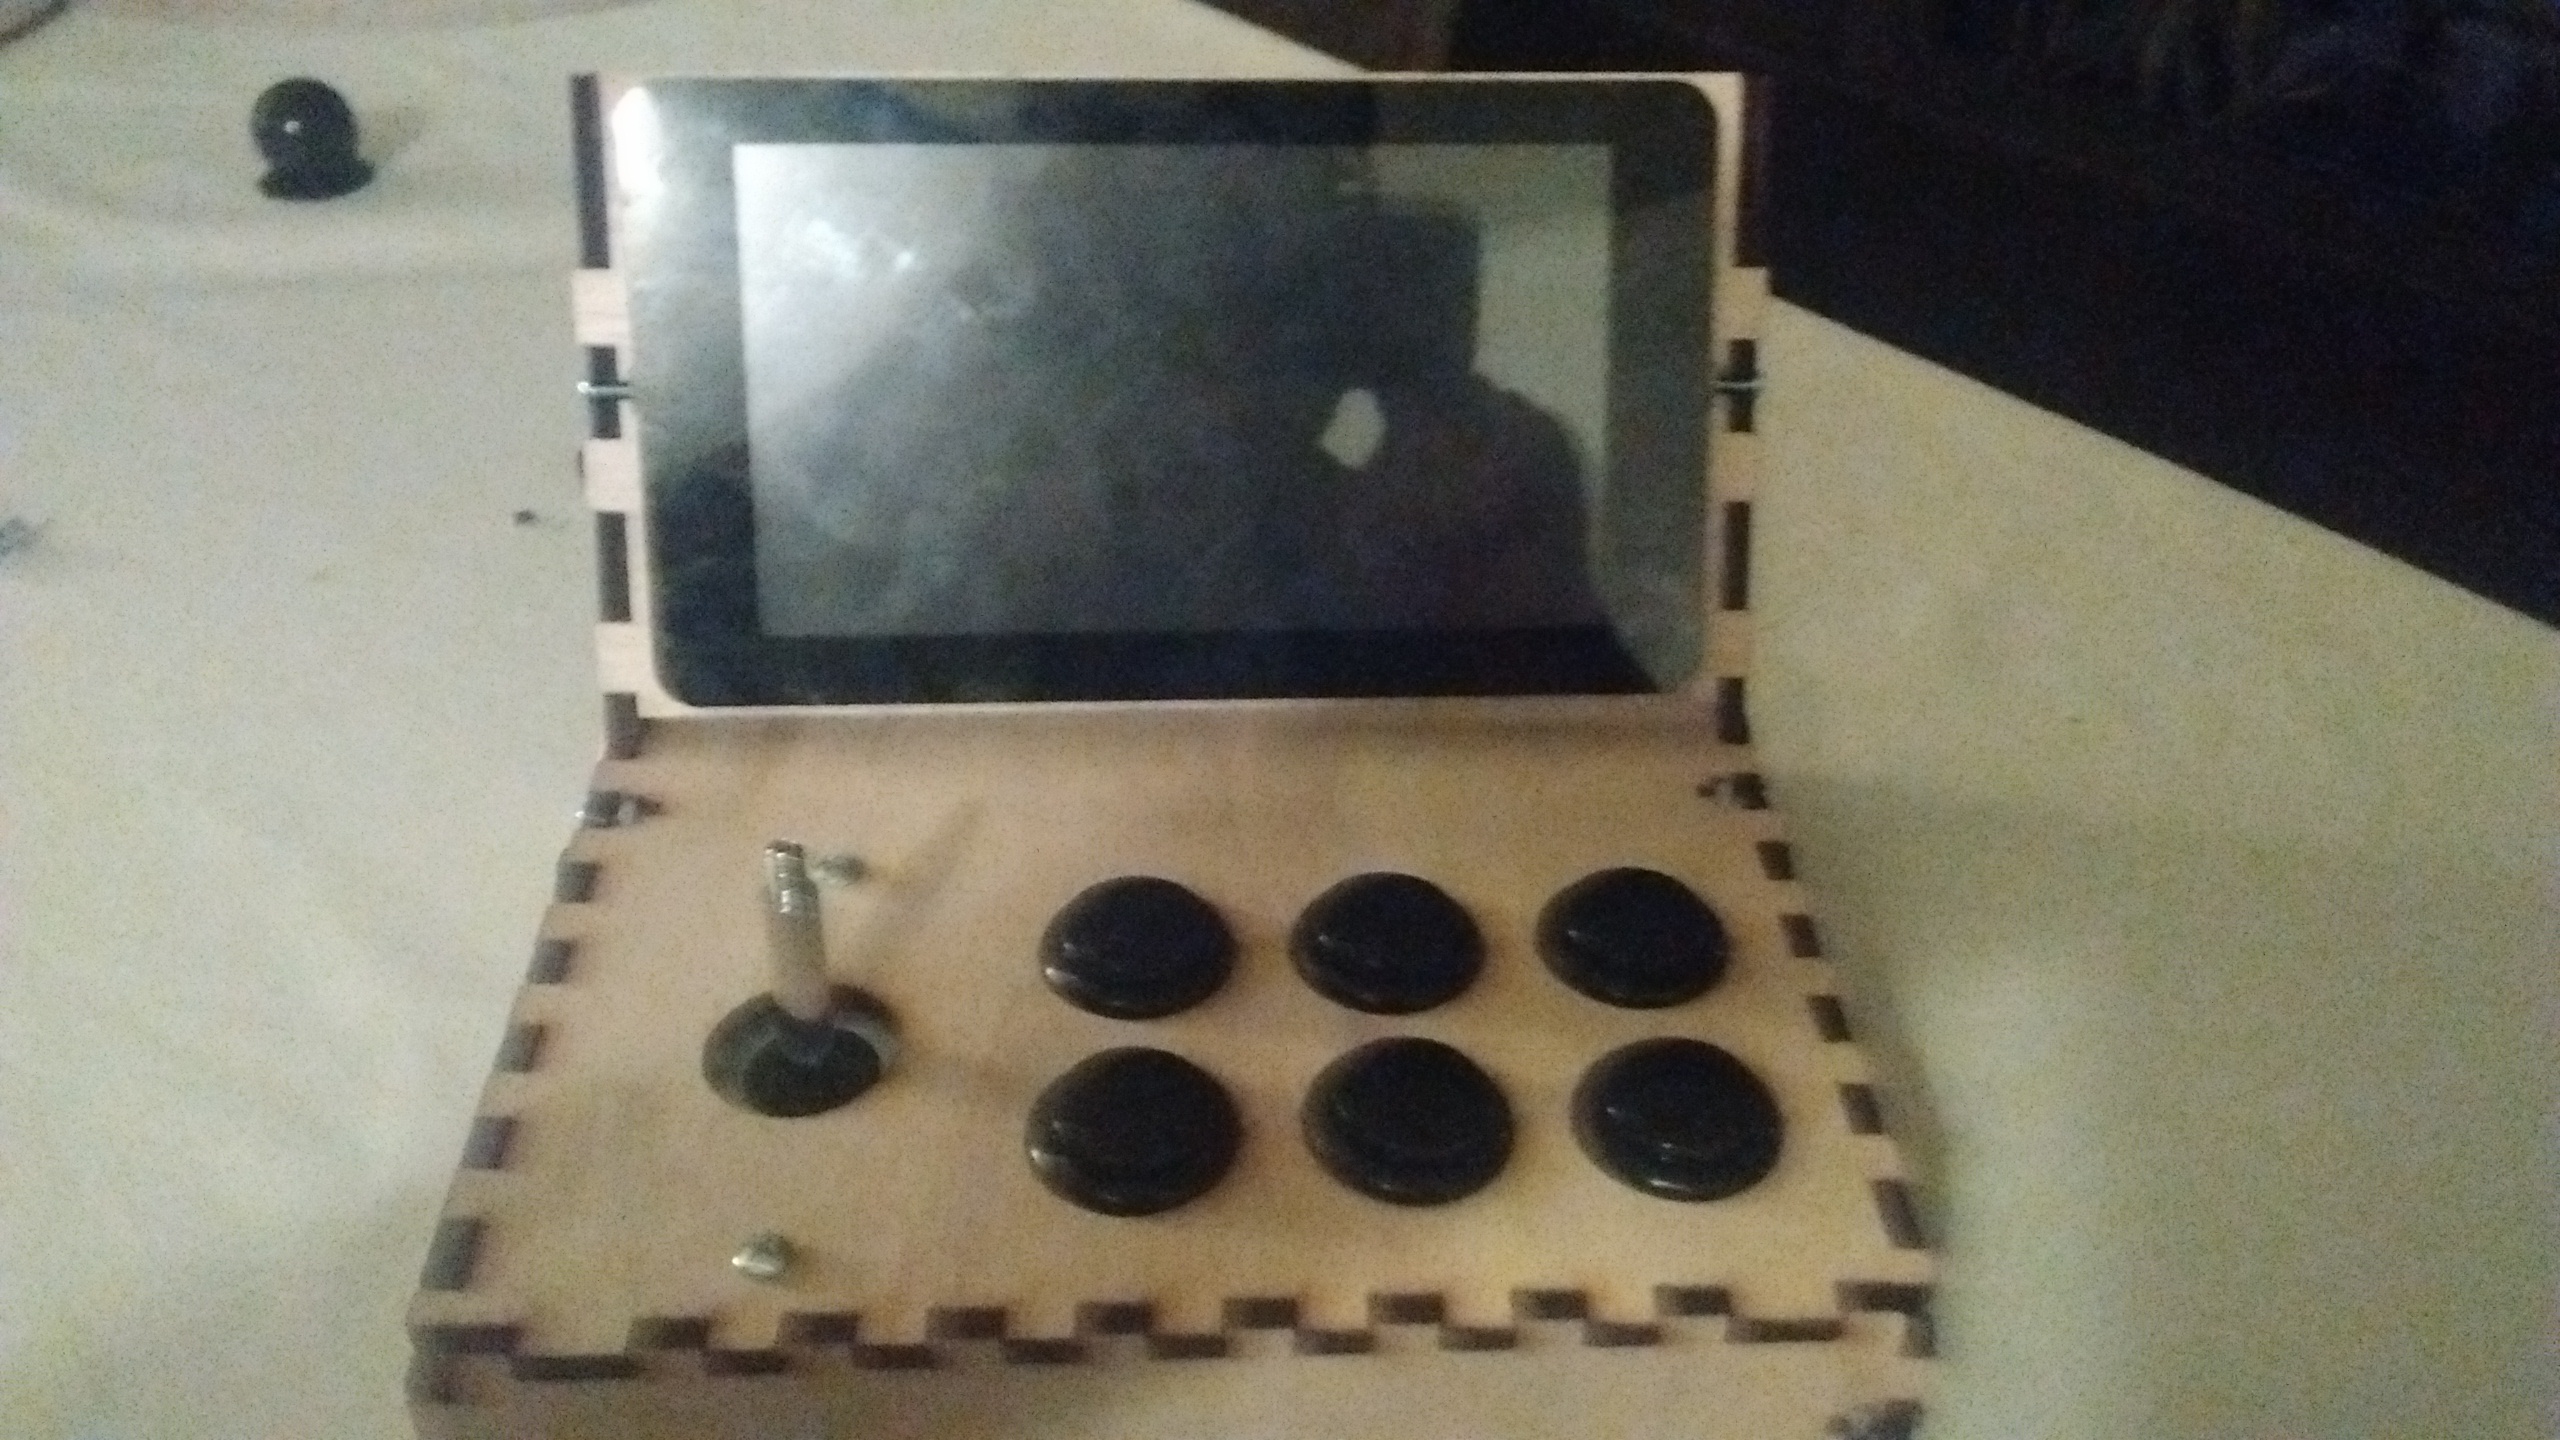
First attach joystick to top board with large bolts and small nuts.
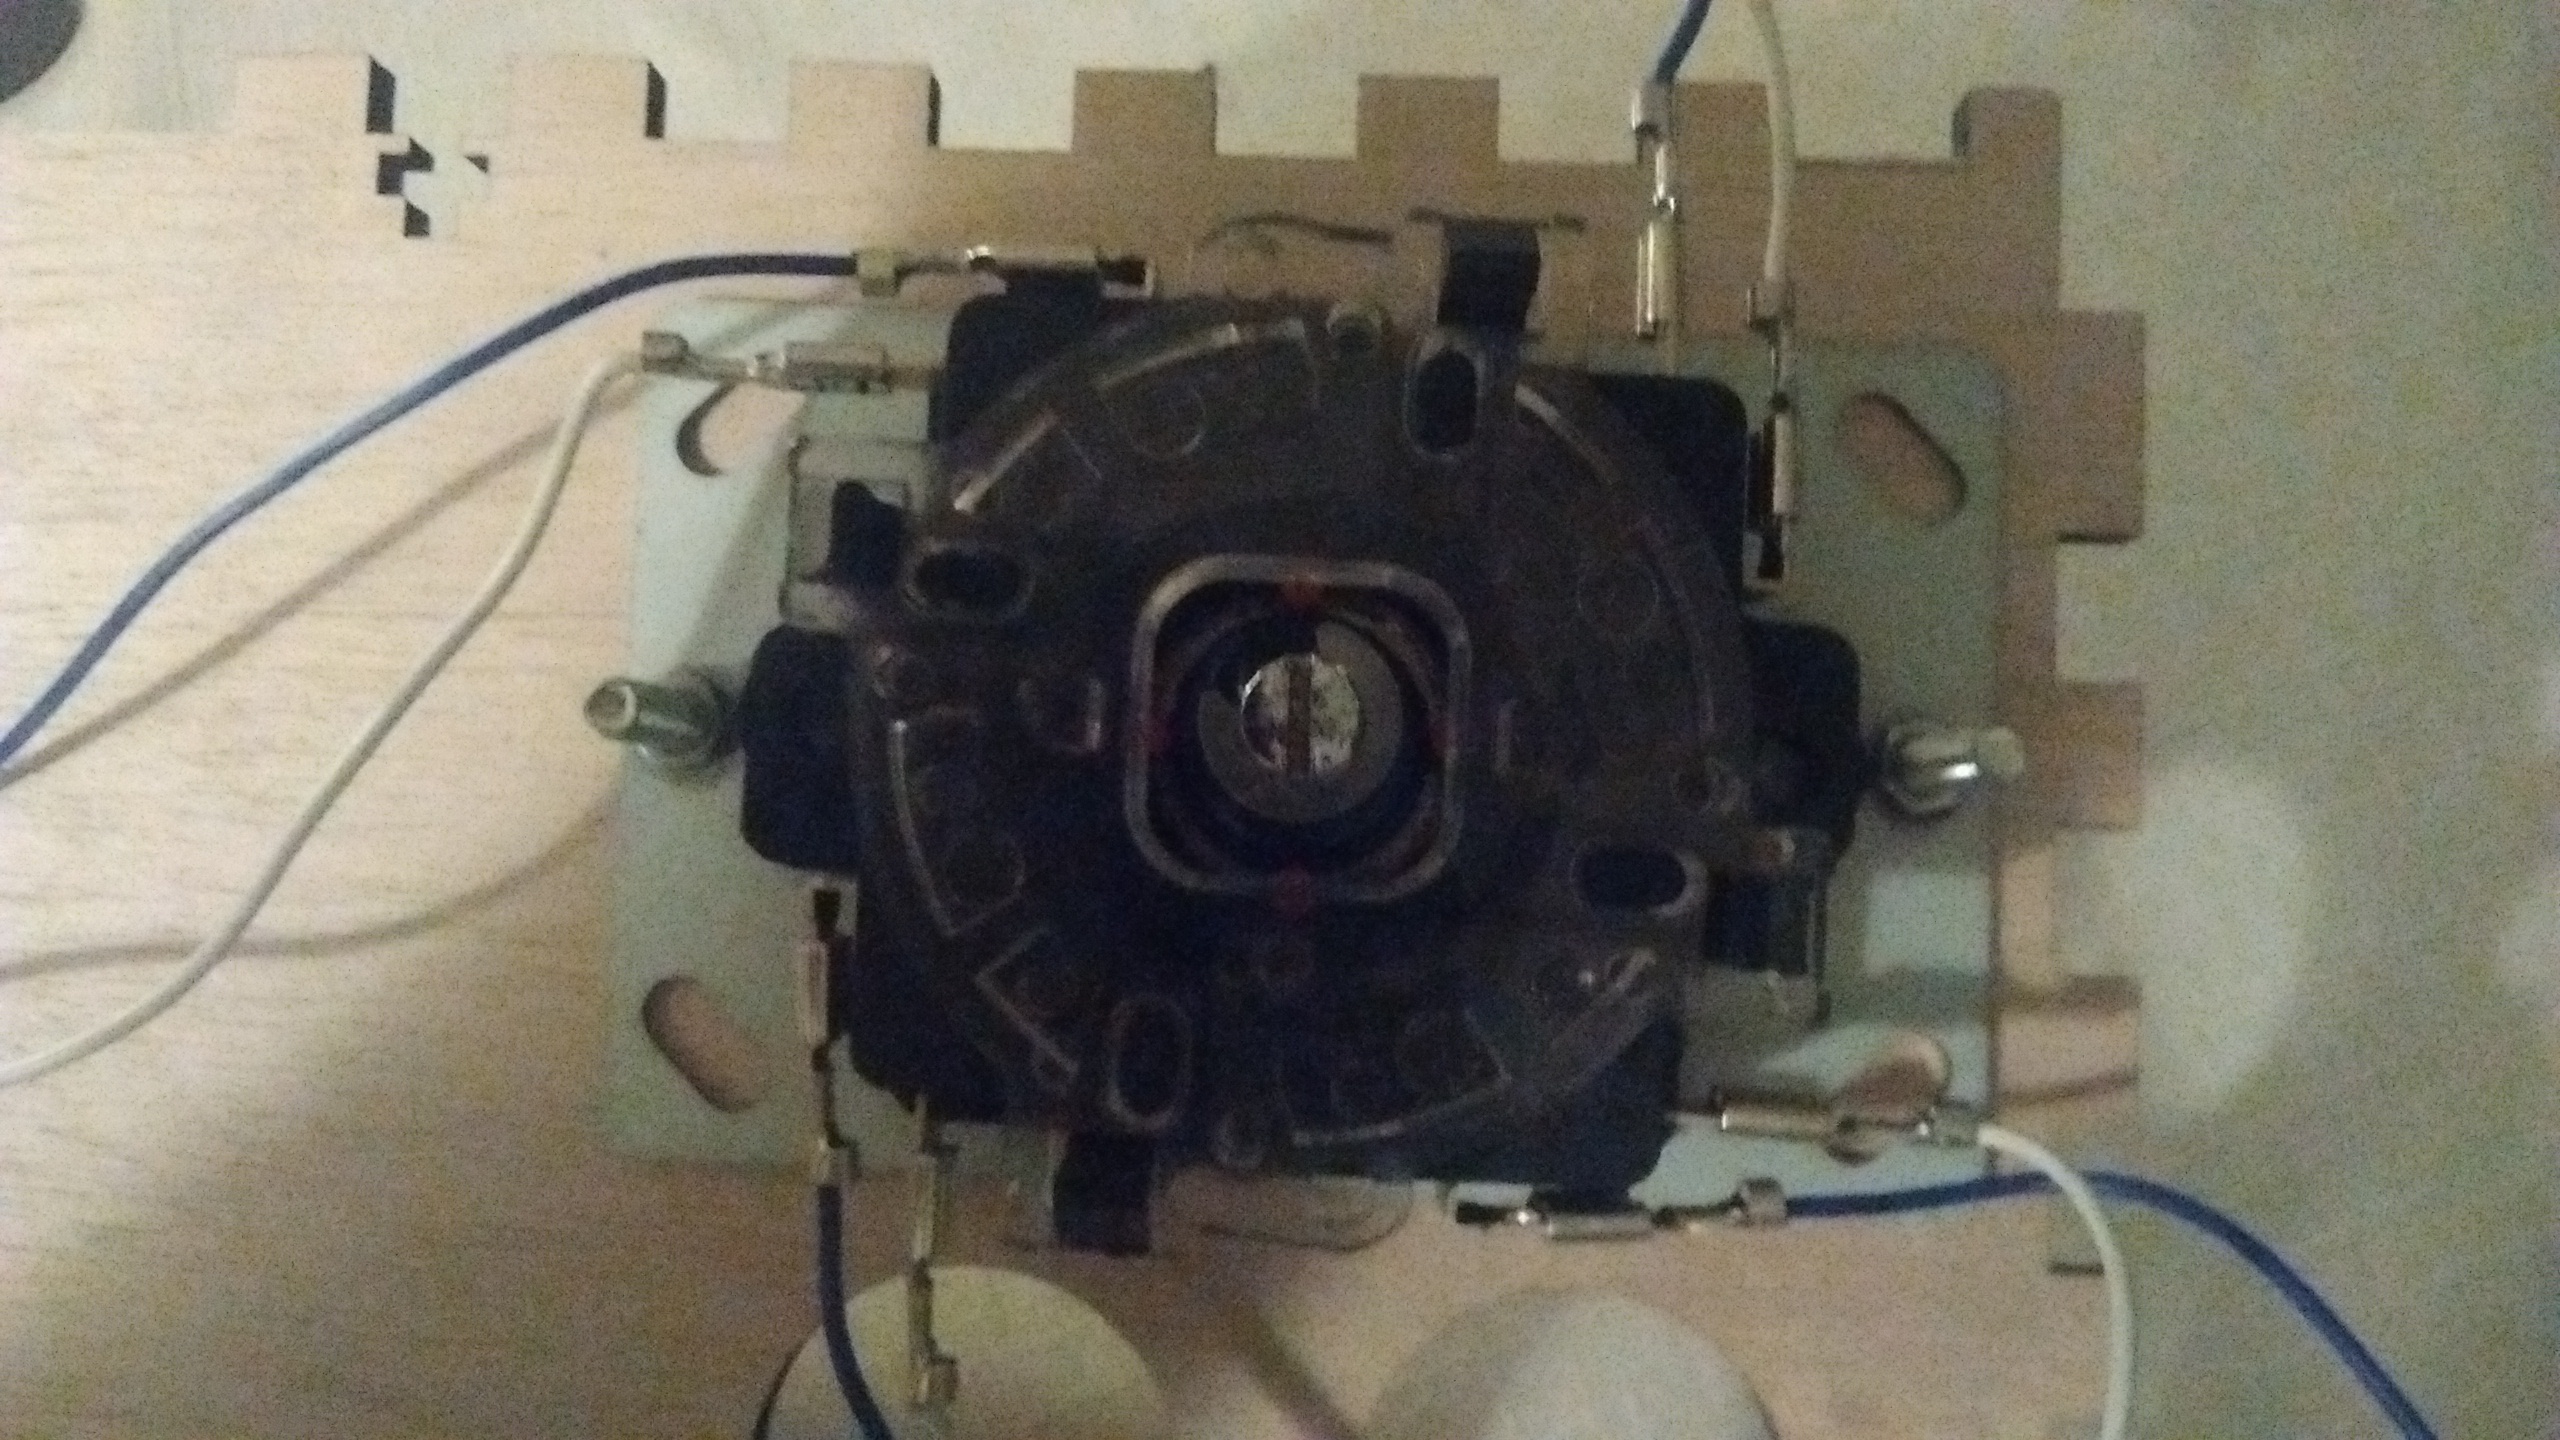
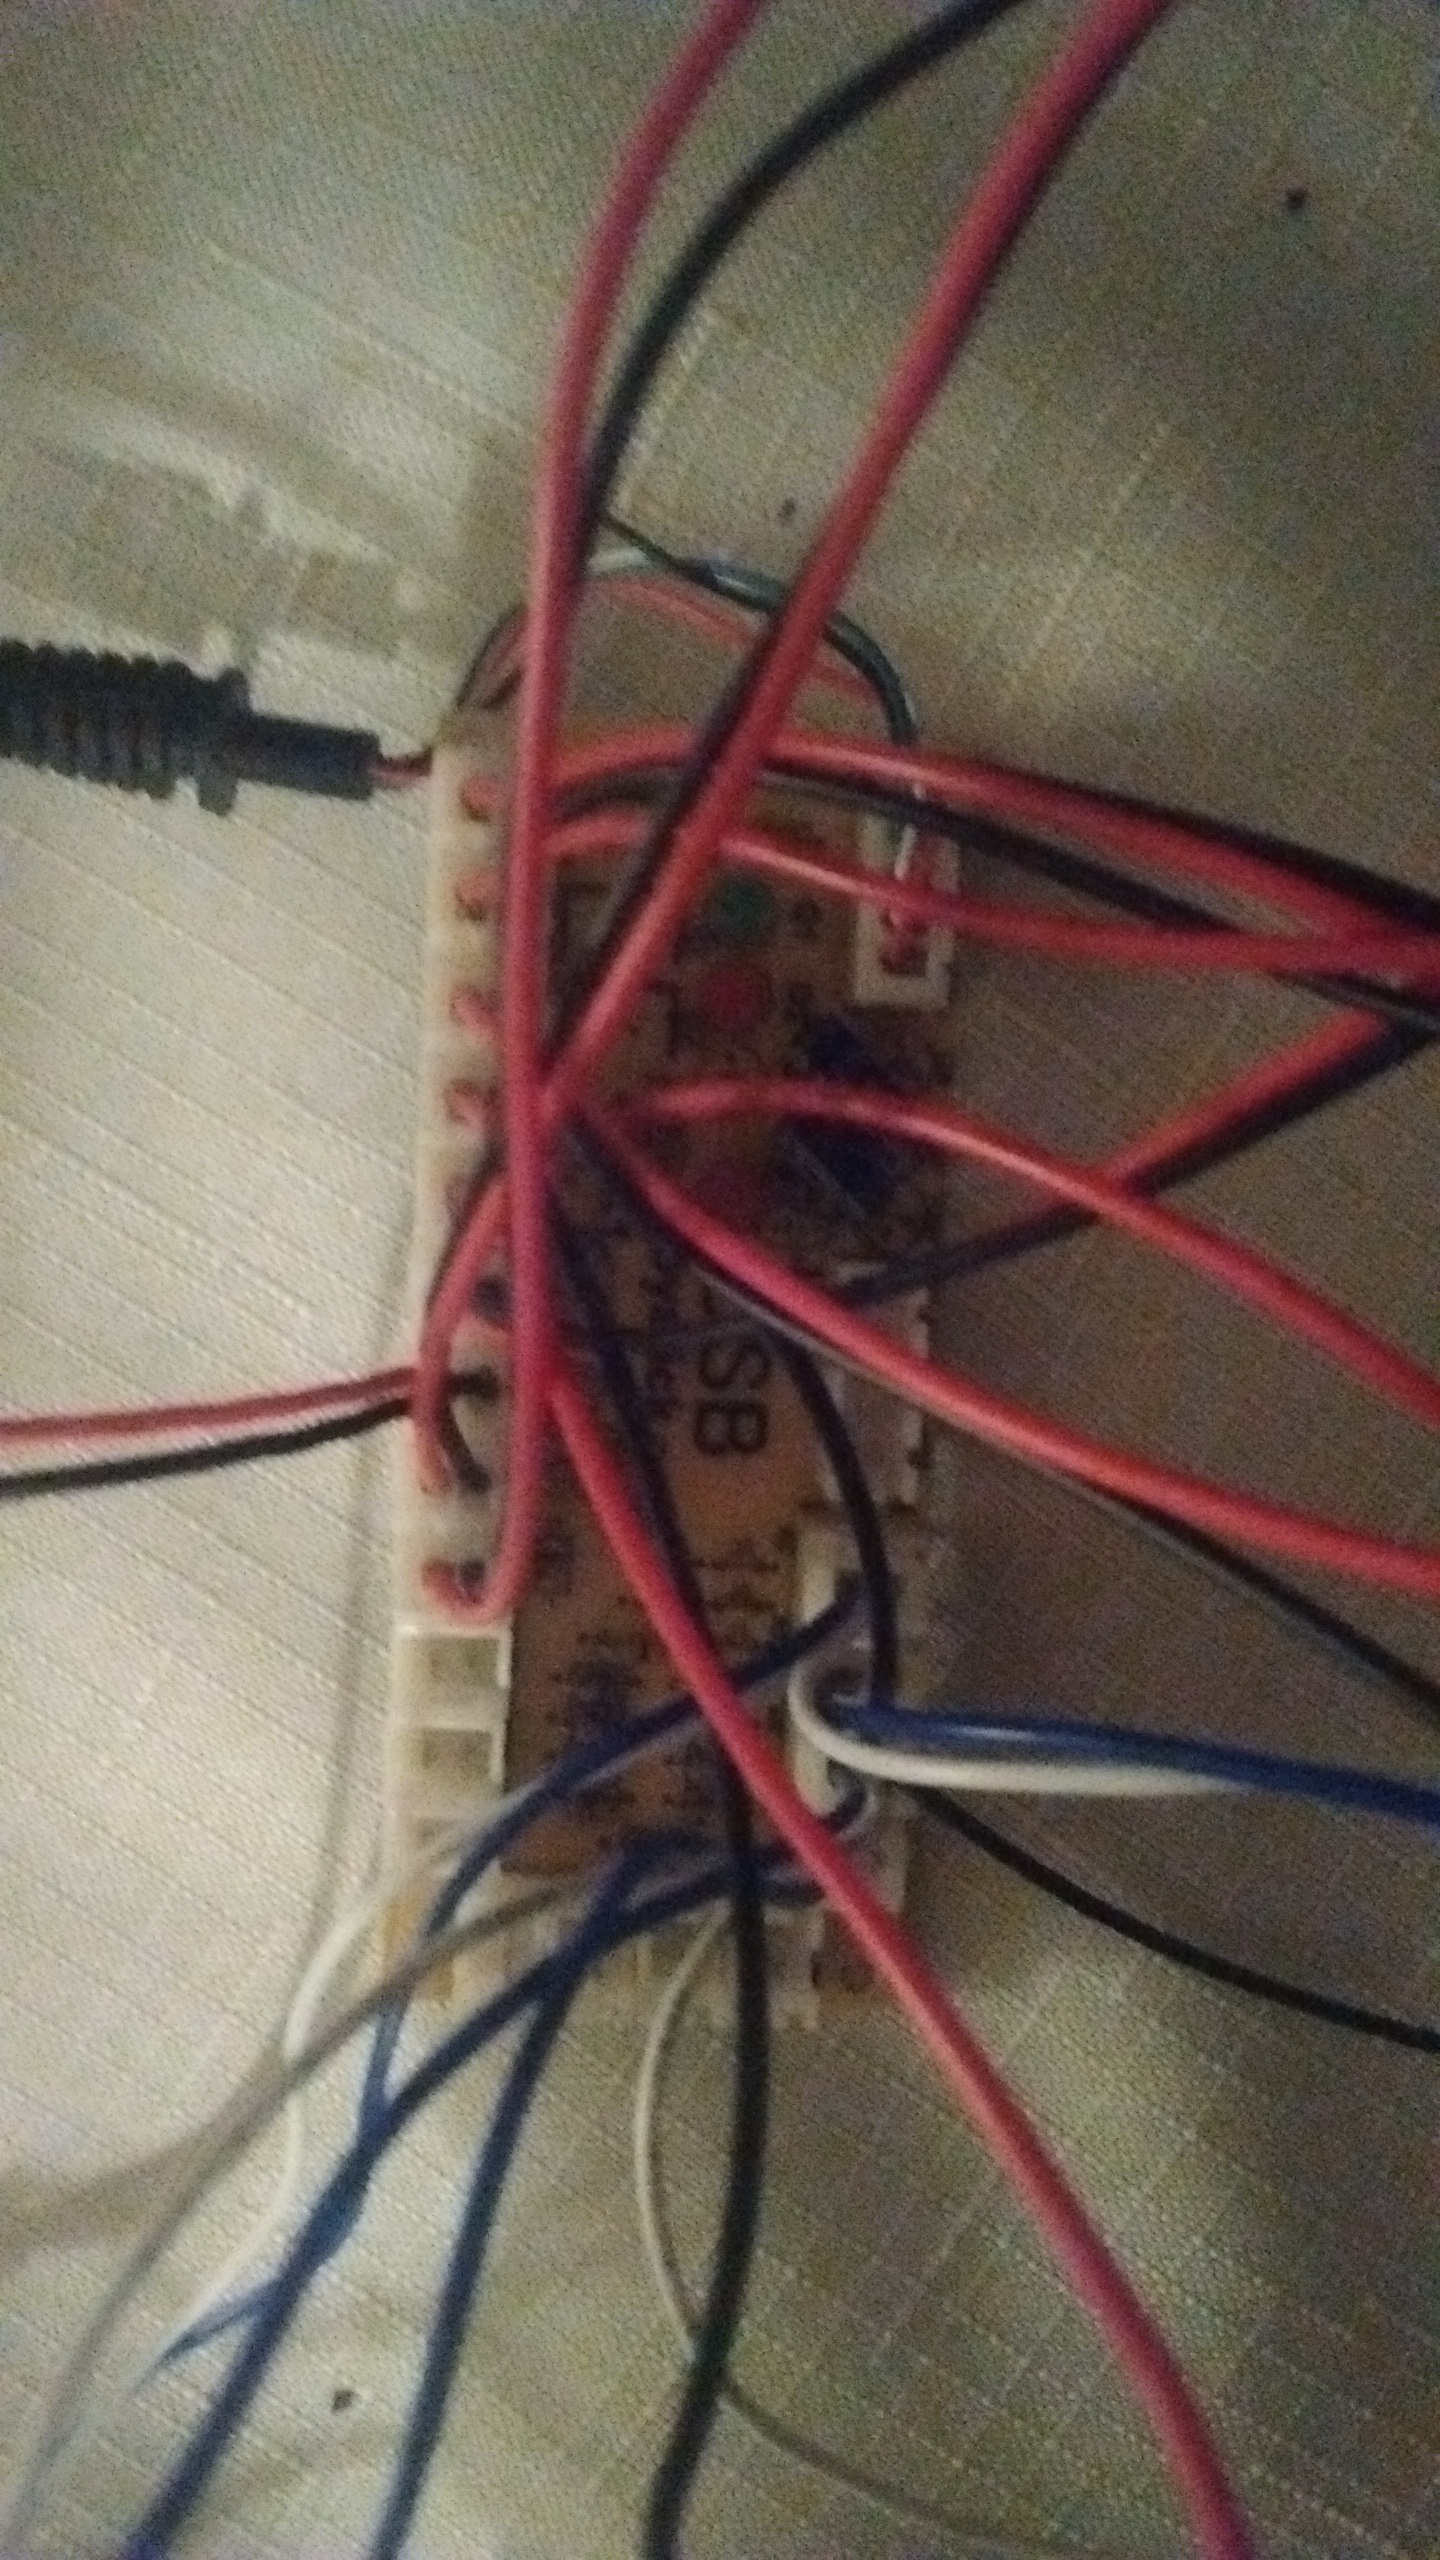
Attach each of the blue and white cables to the joystick microswitches. It doesn’t matter which color goes to which pin, just as long as both pins are part of the same switch.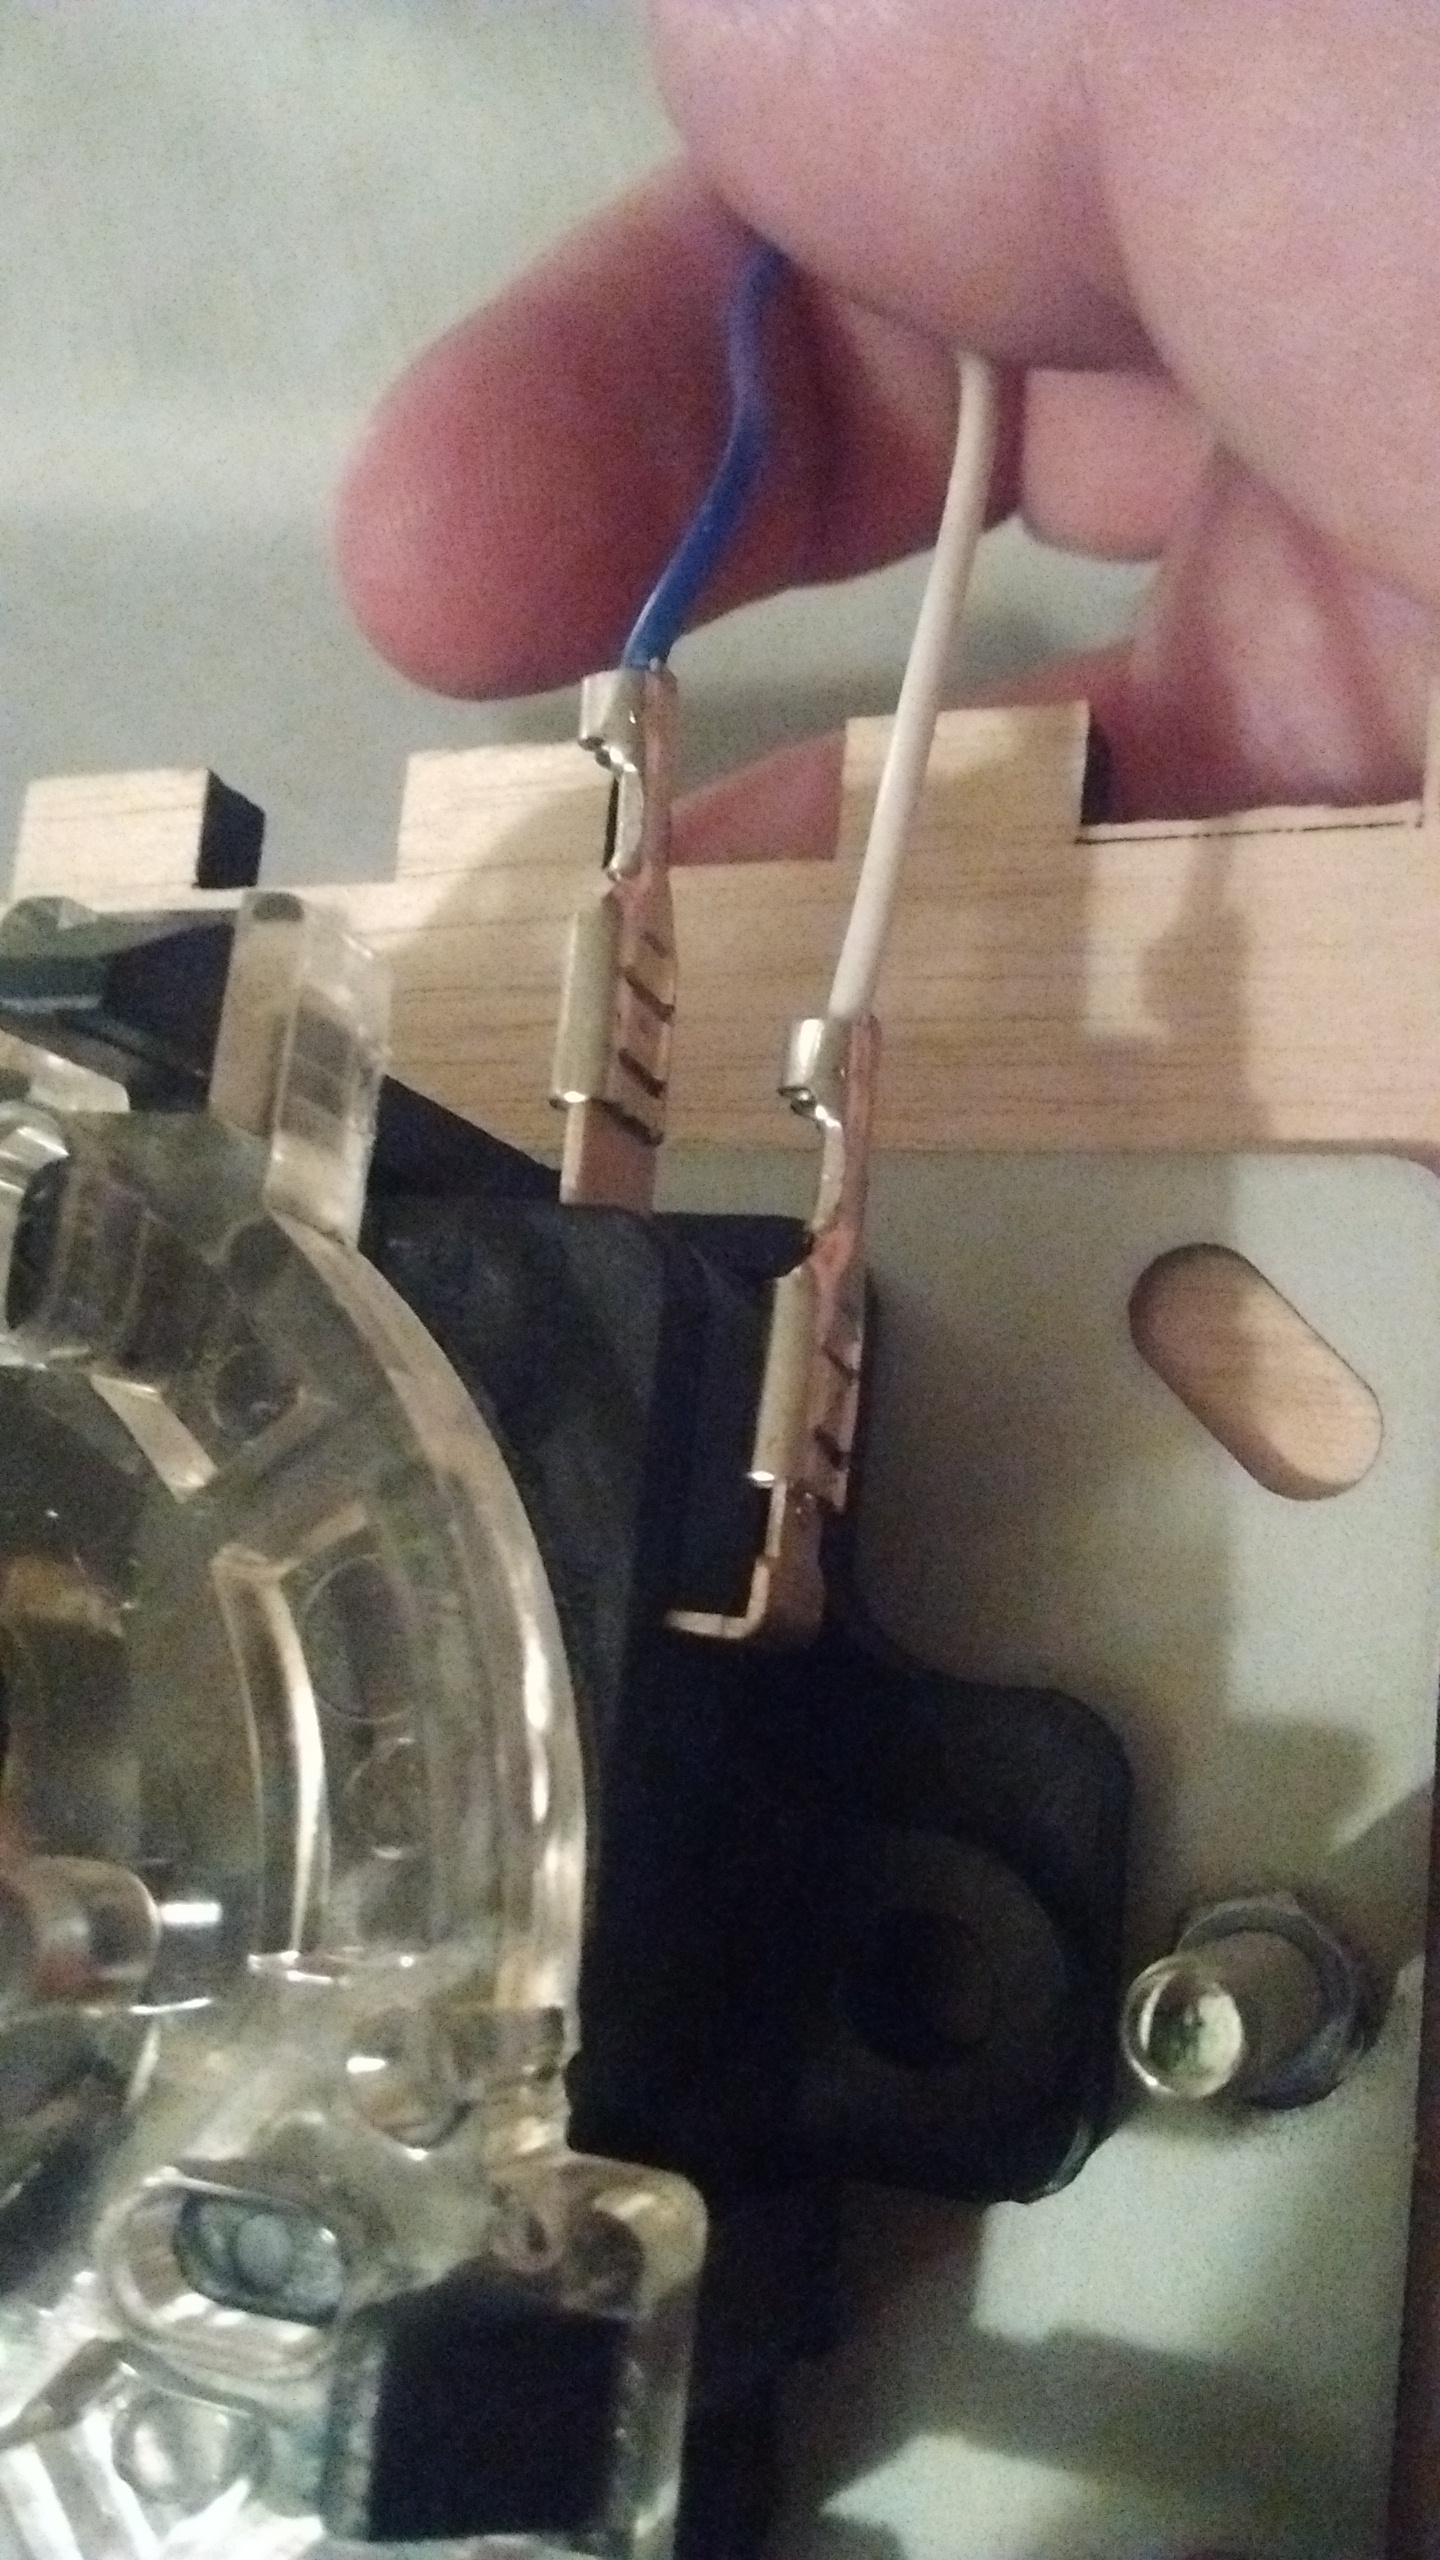
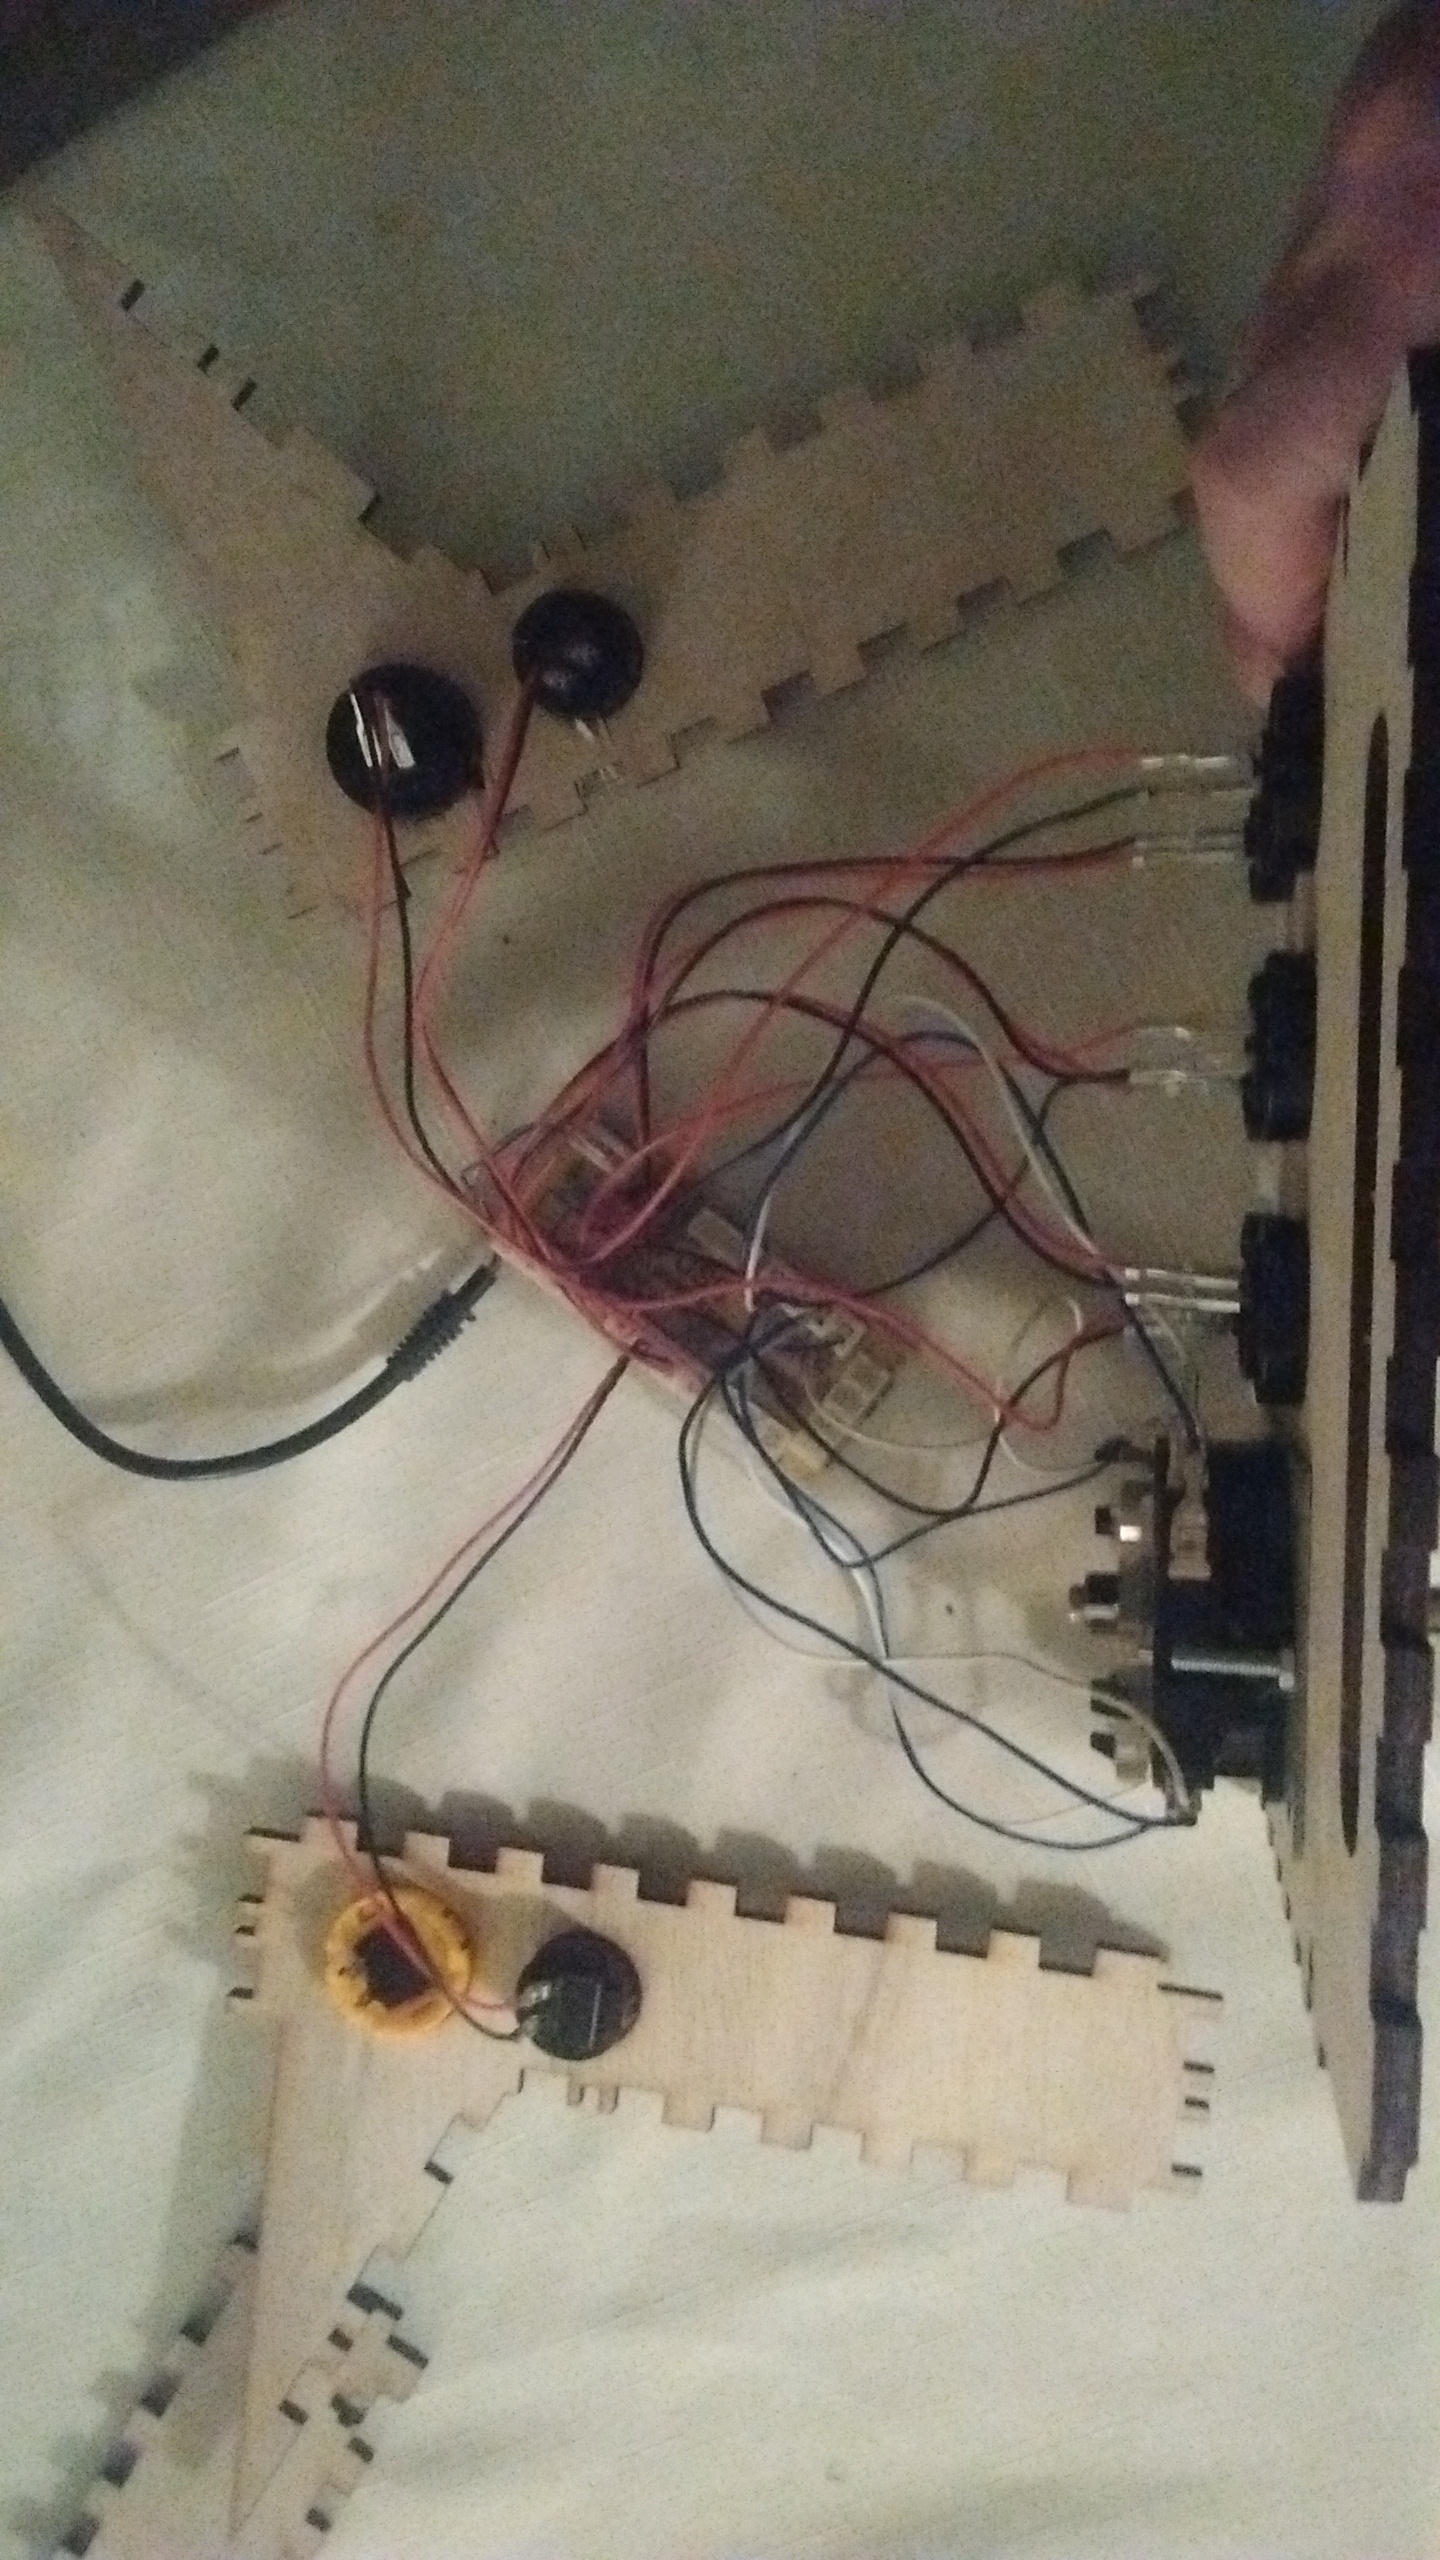
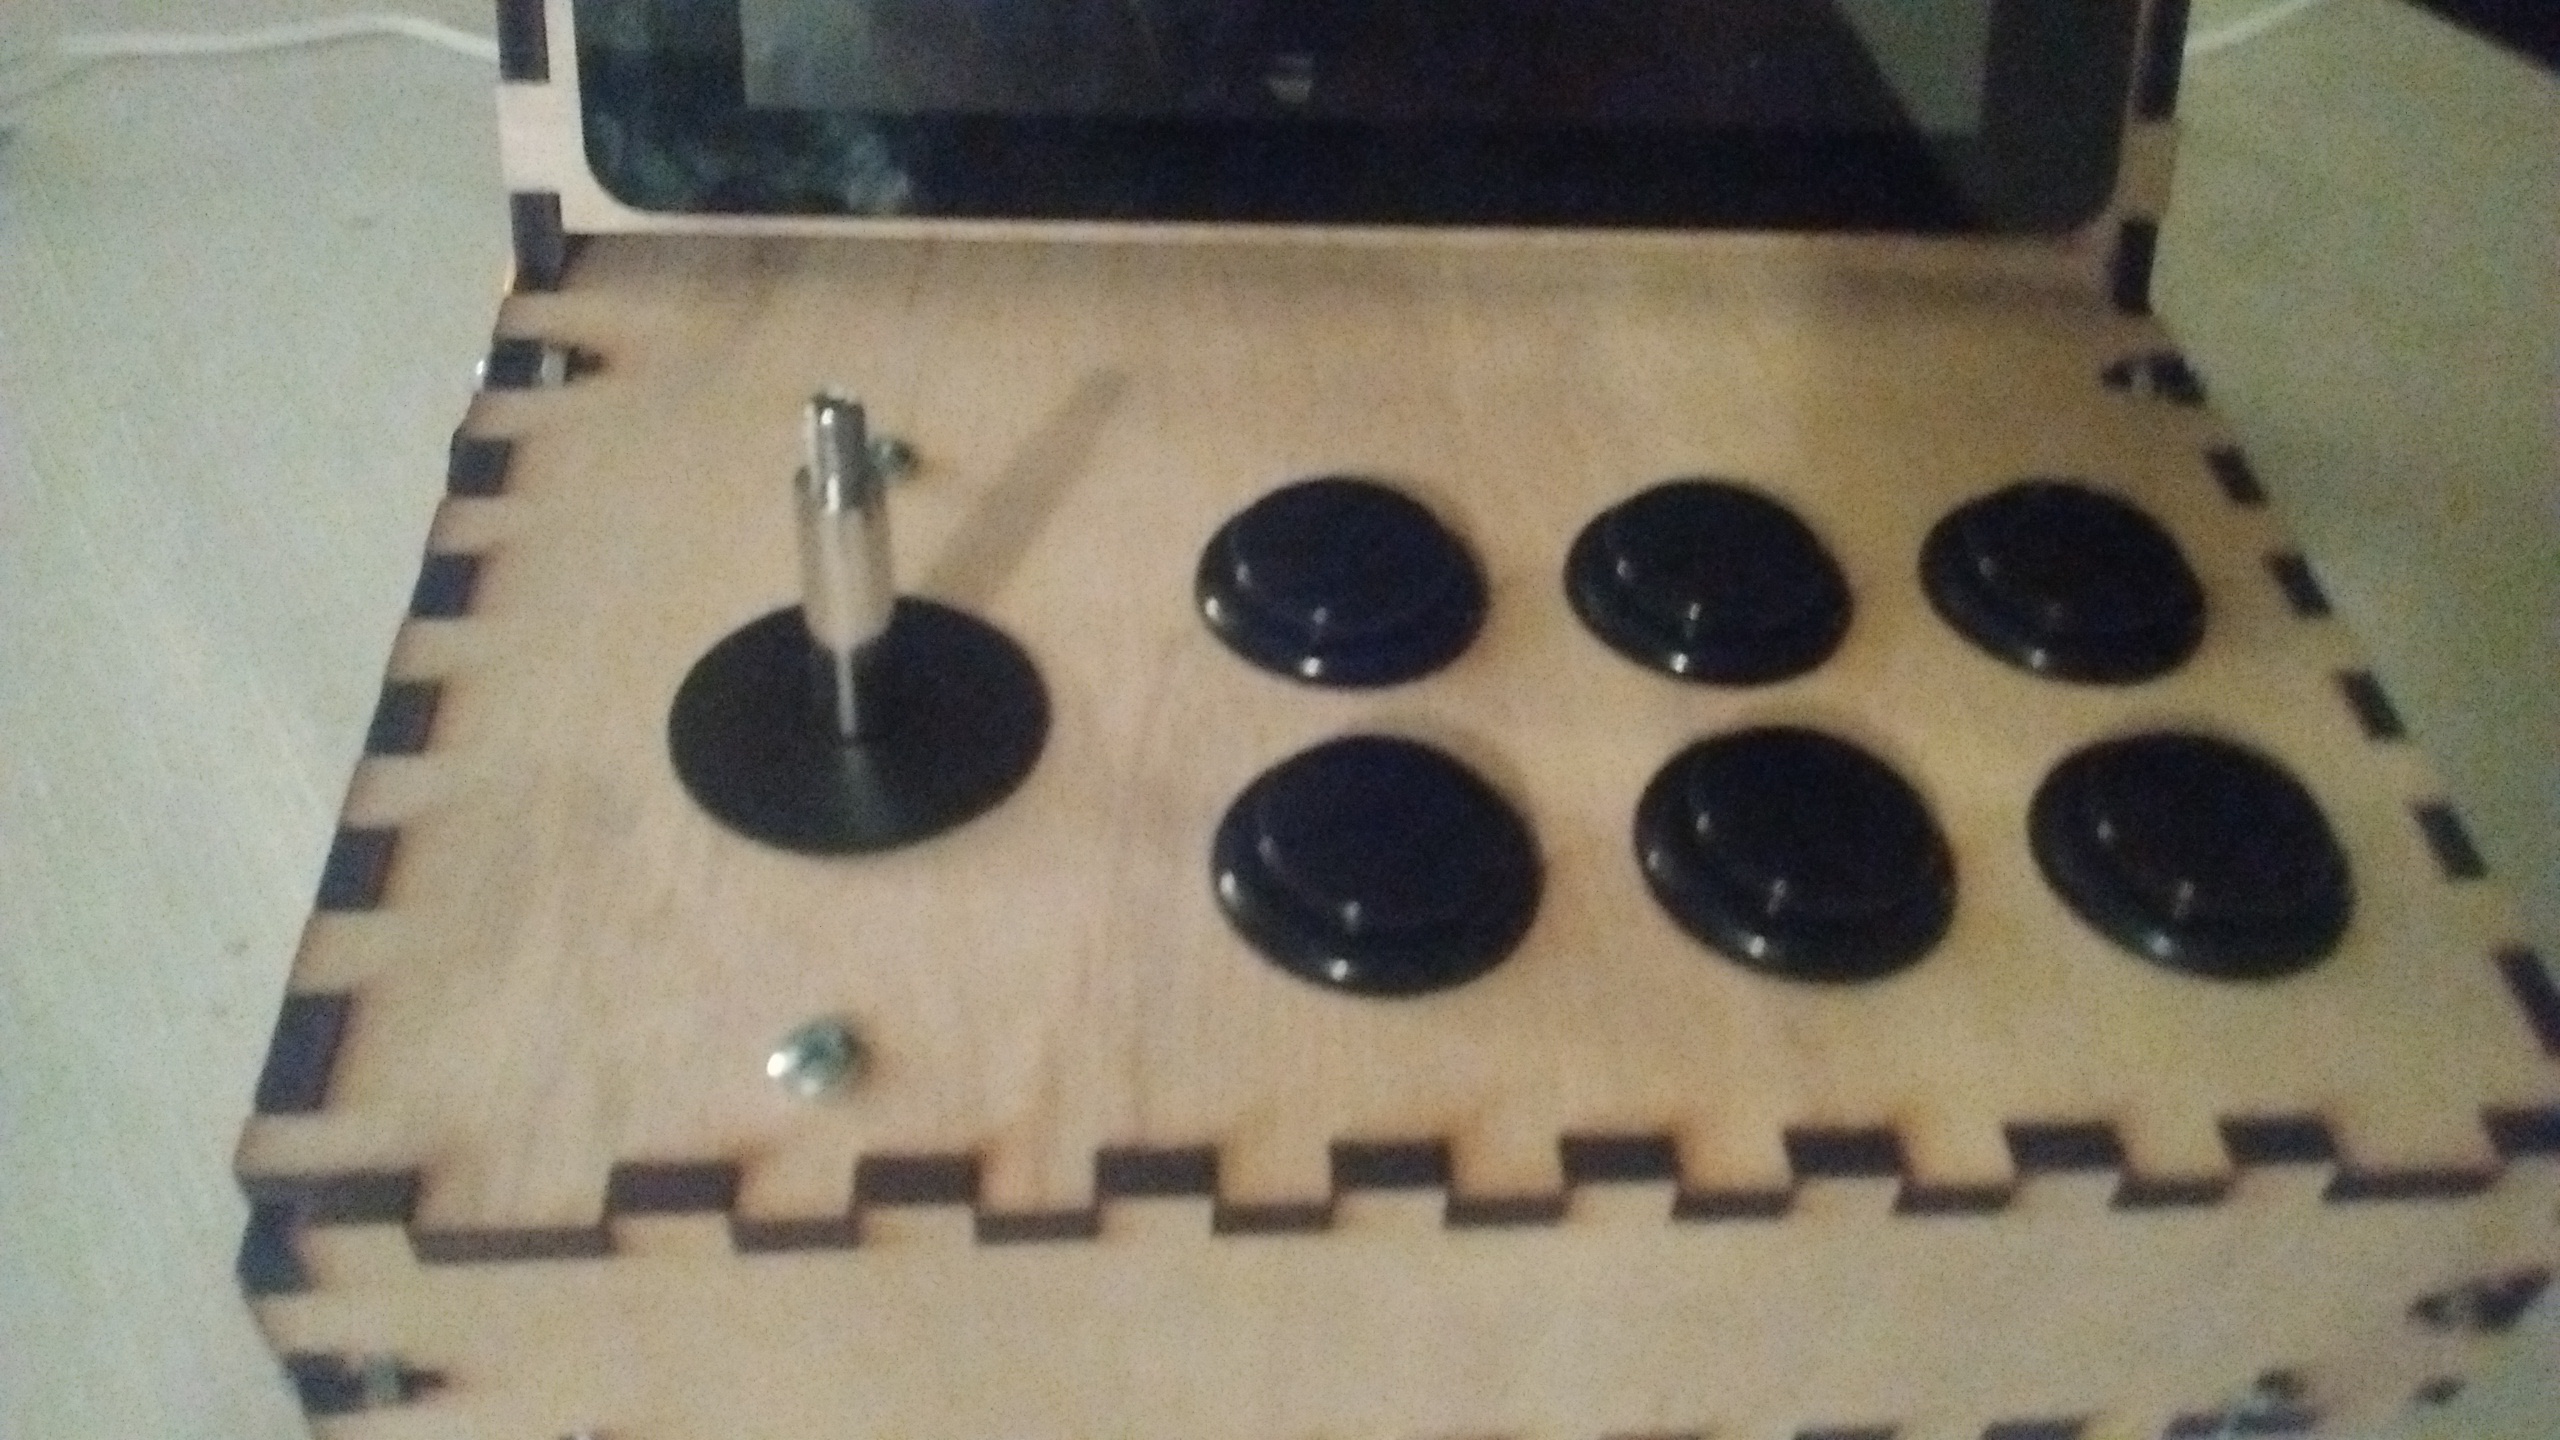
Attach the red and black wires to each of the arcade buttons. It does not matter which pin the wires connect to.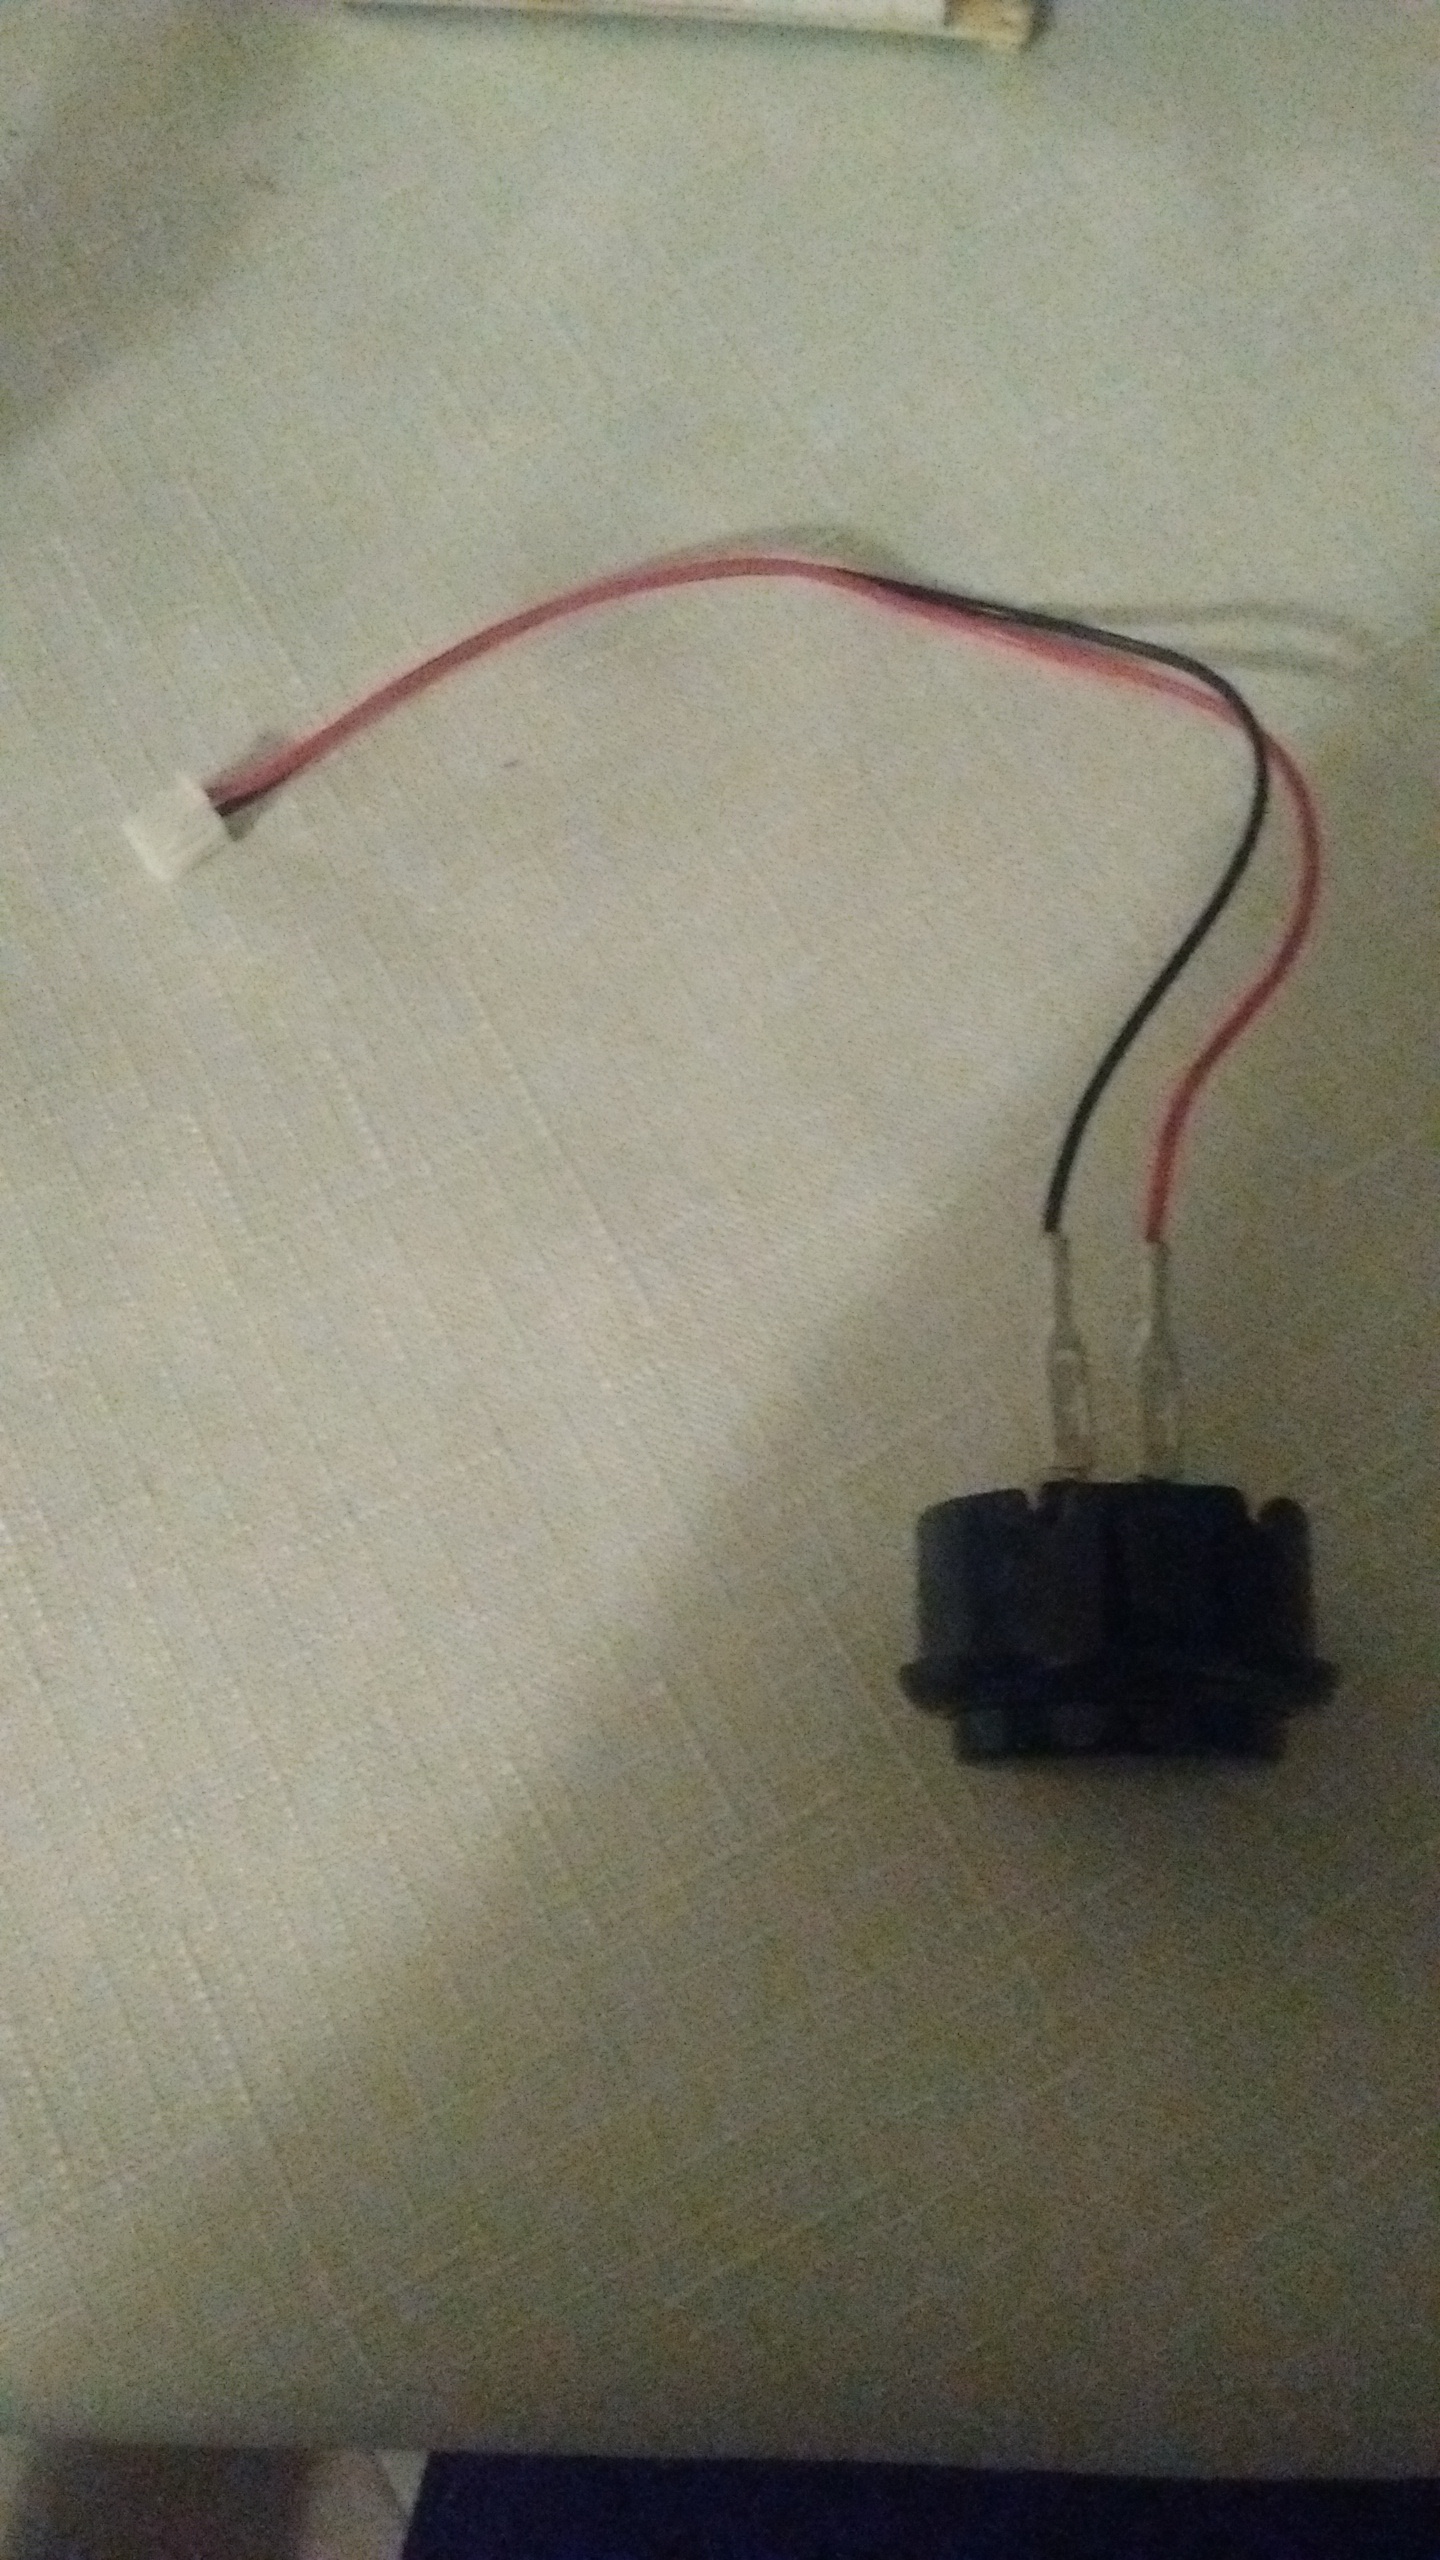

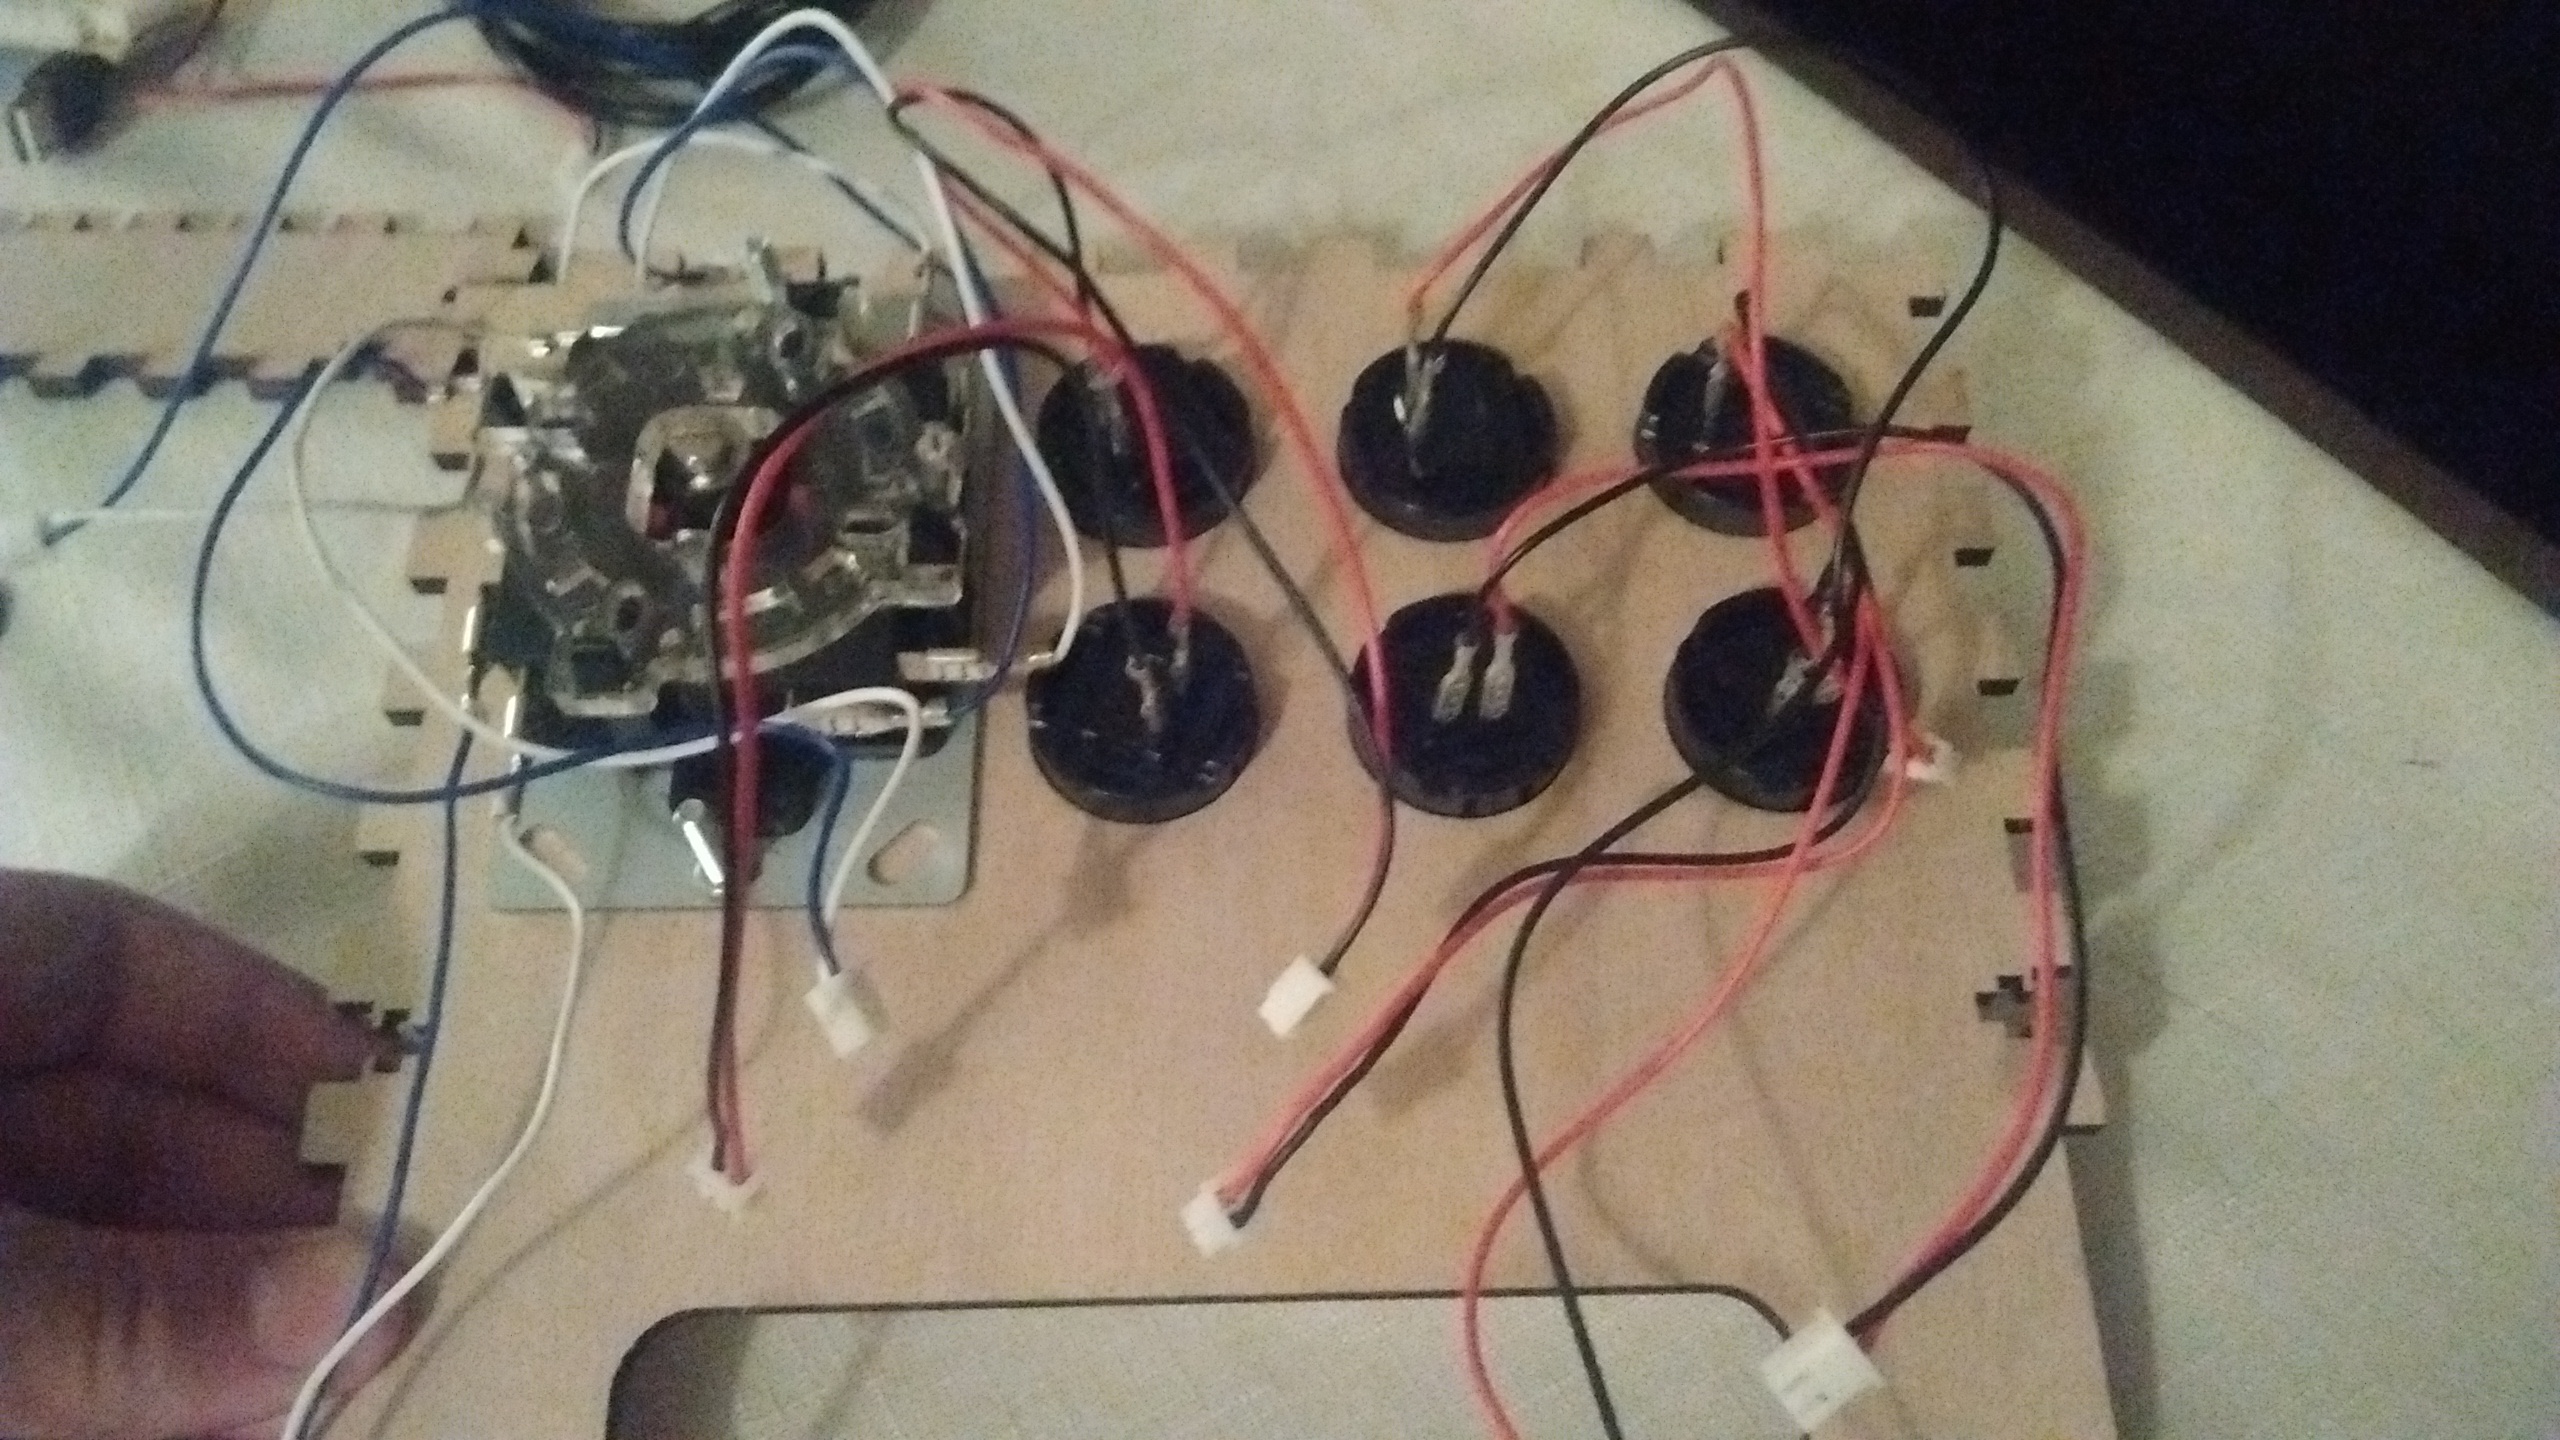
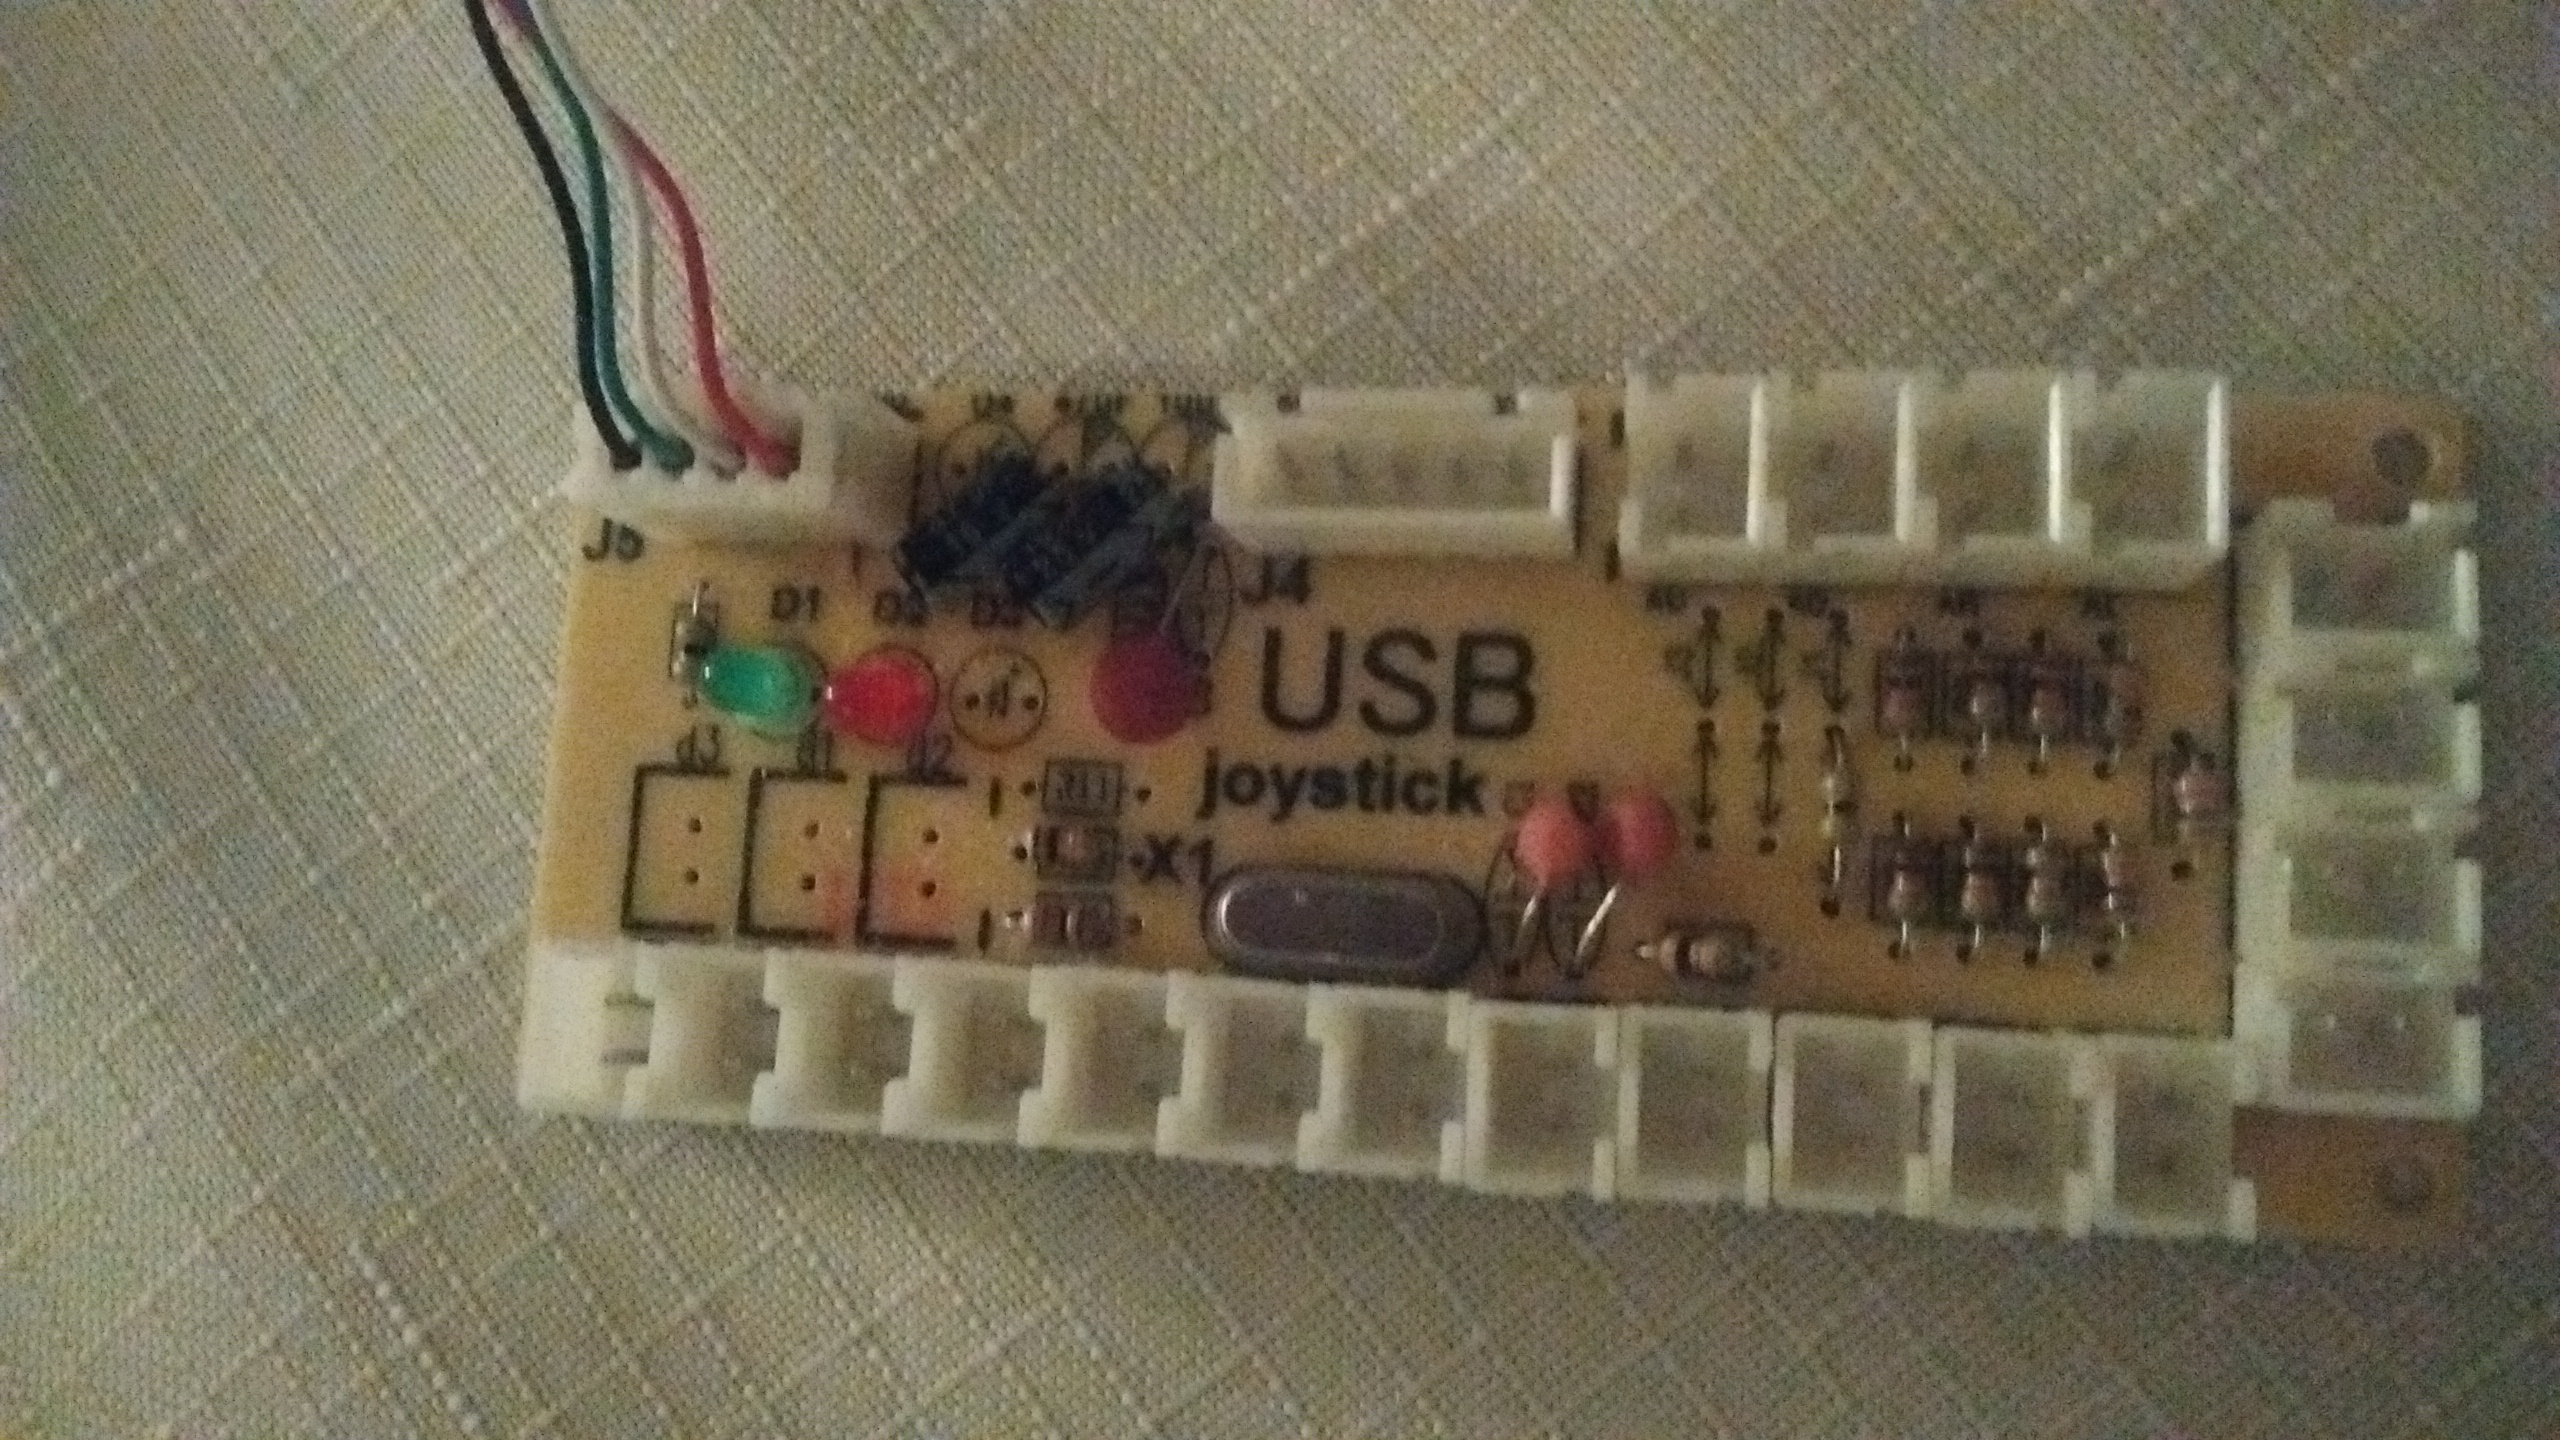
When you press up on the joystick, you are actually pressing the bottom microswitch. The encoder board is set up as Up, Down, Left, Right.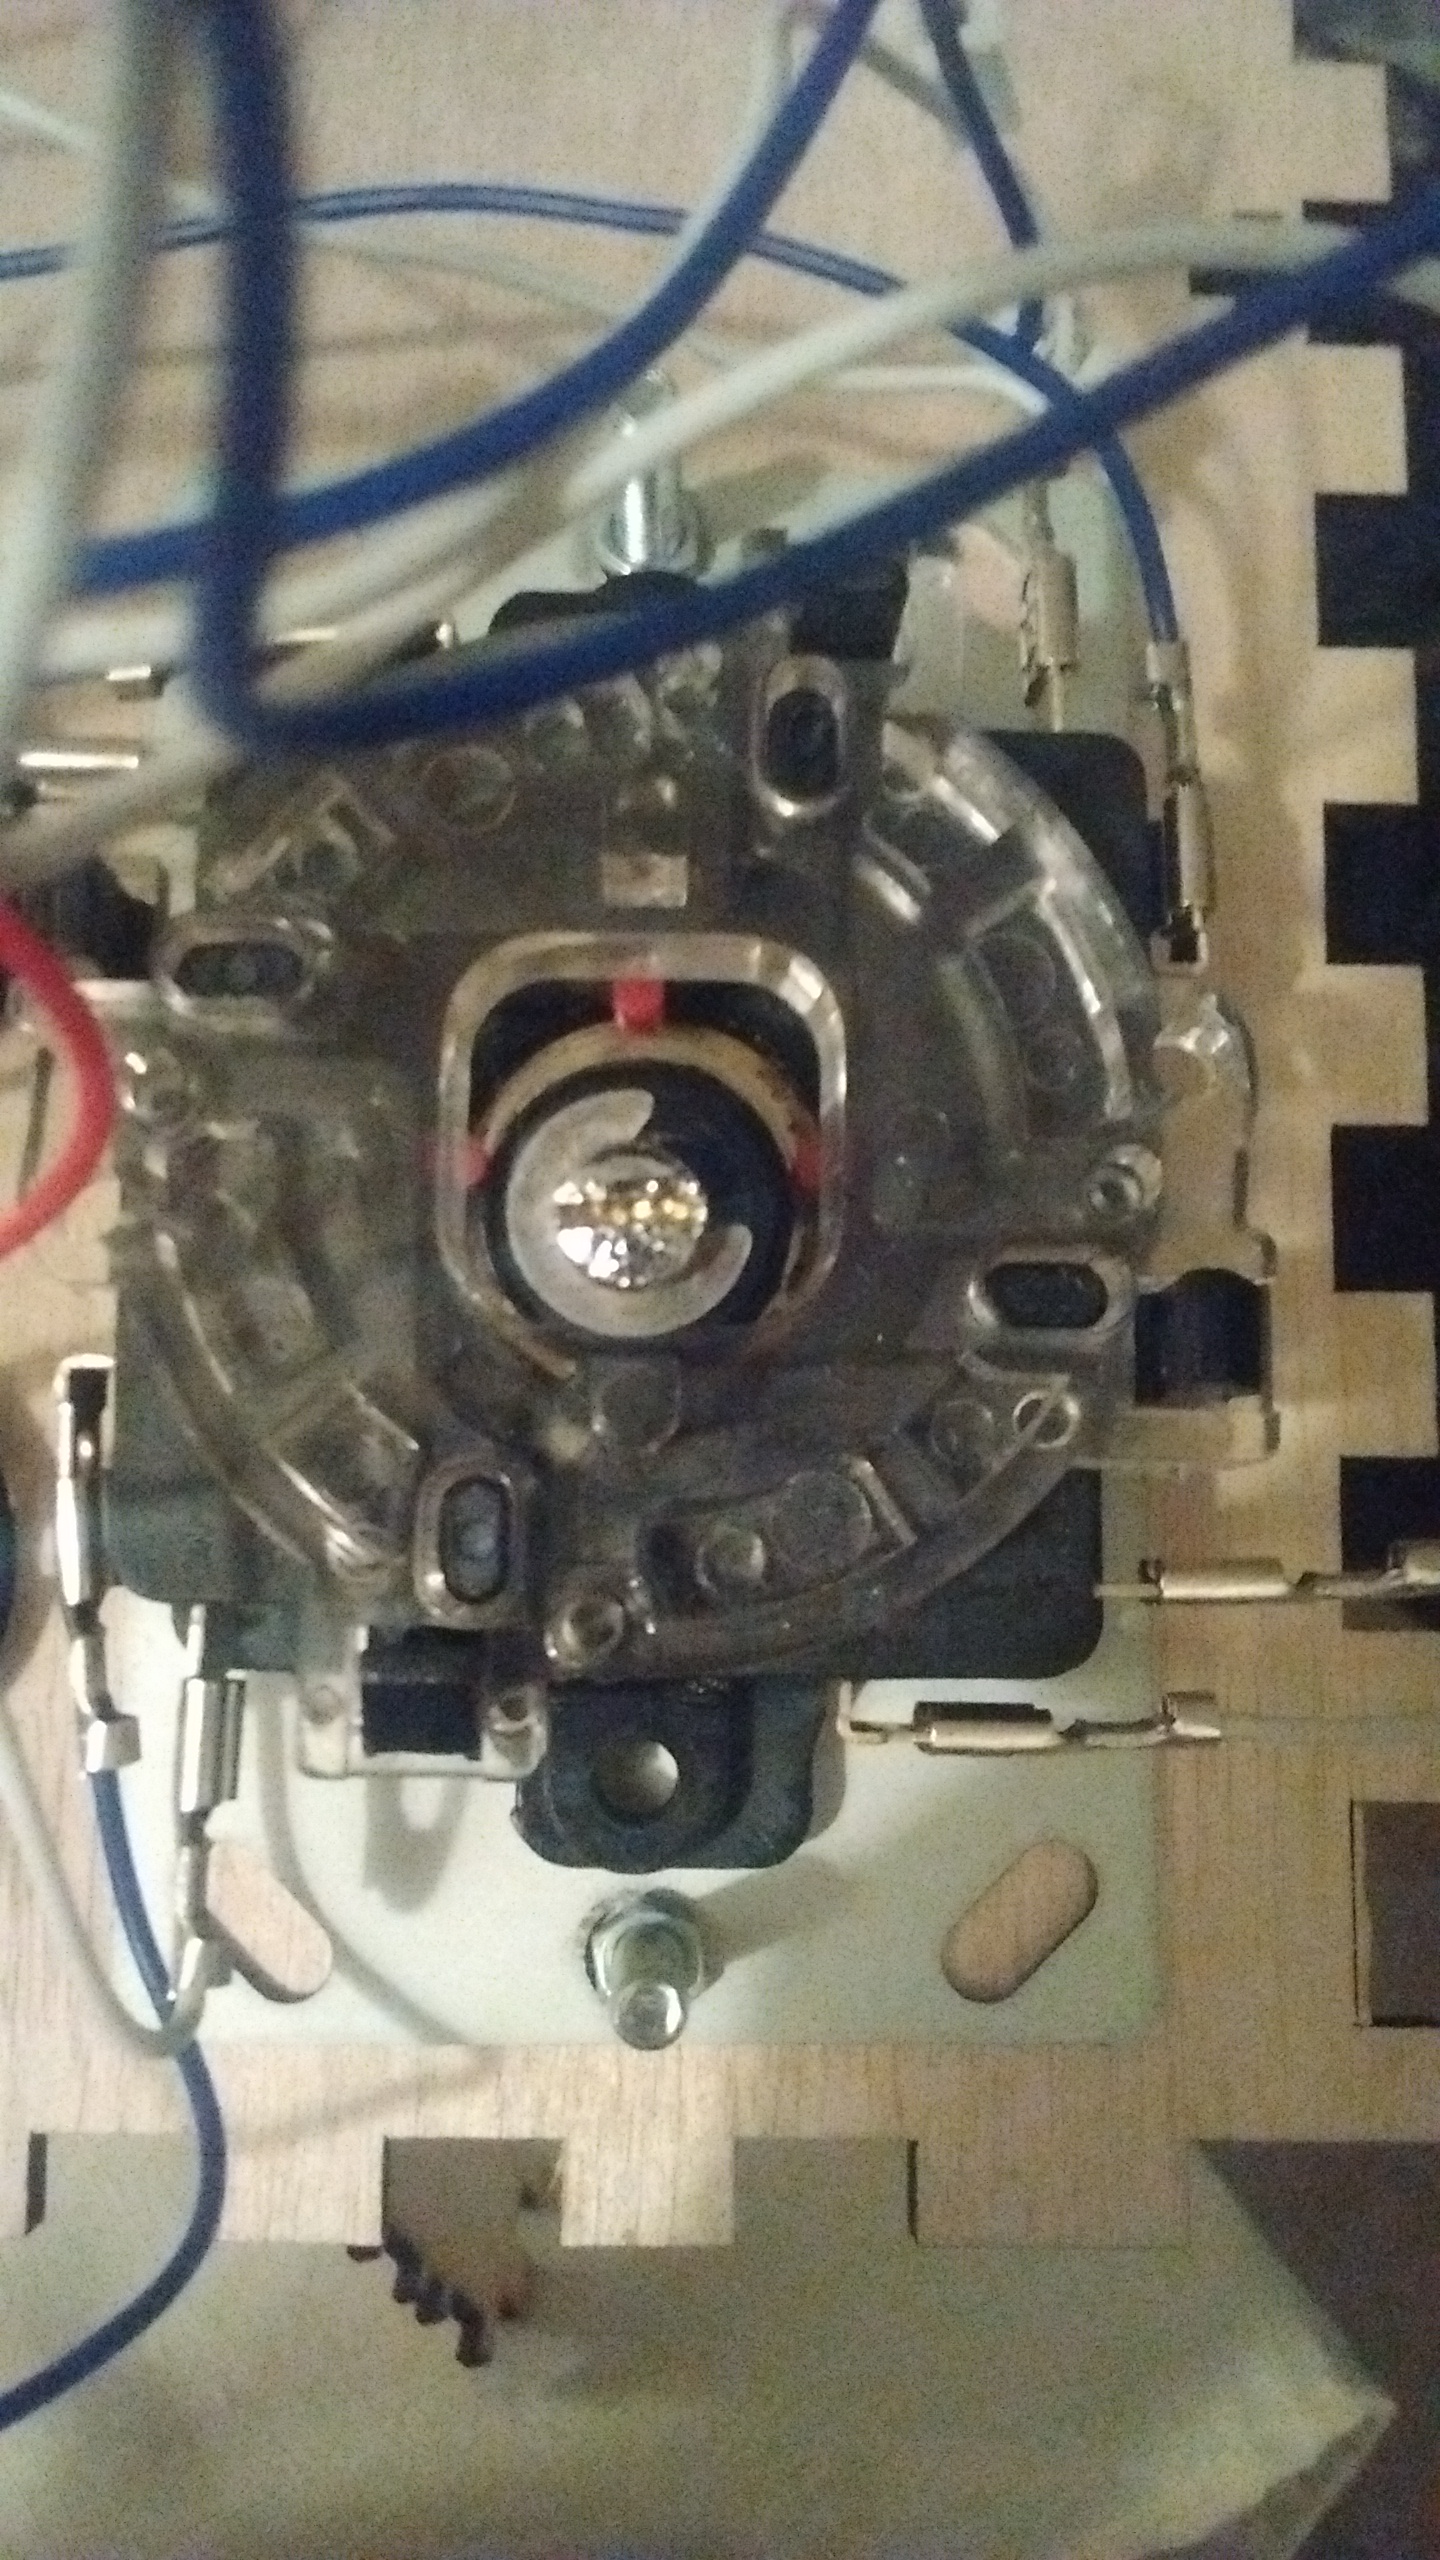

The encoder board starts with button 0 on the far left. I use the top left button as button 0. 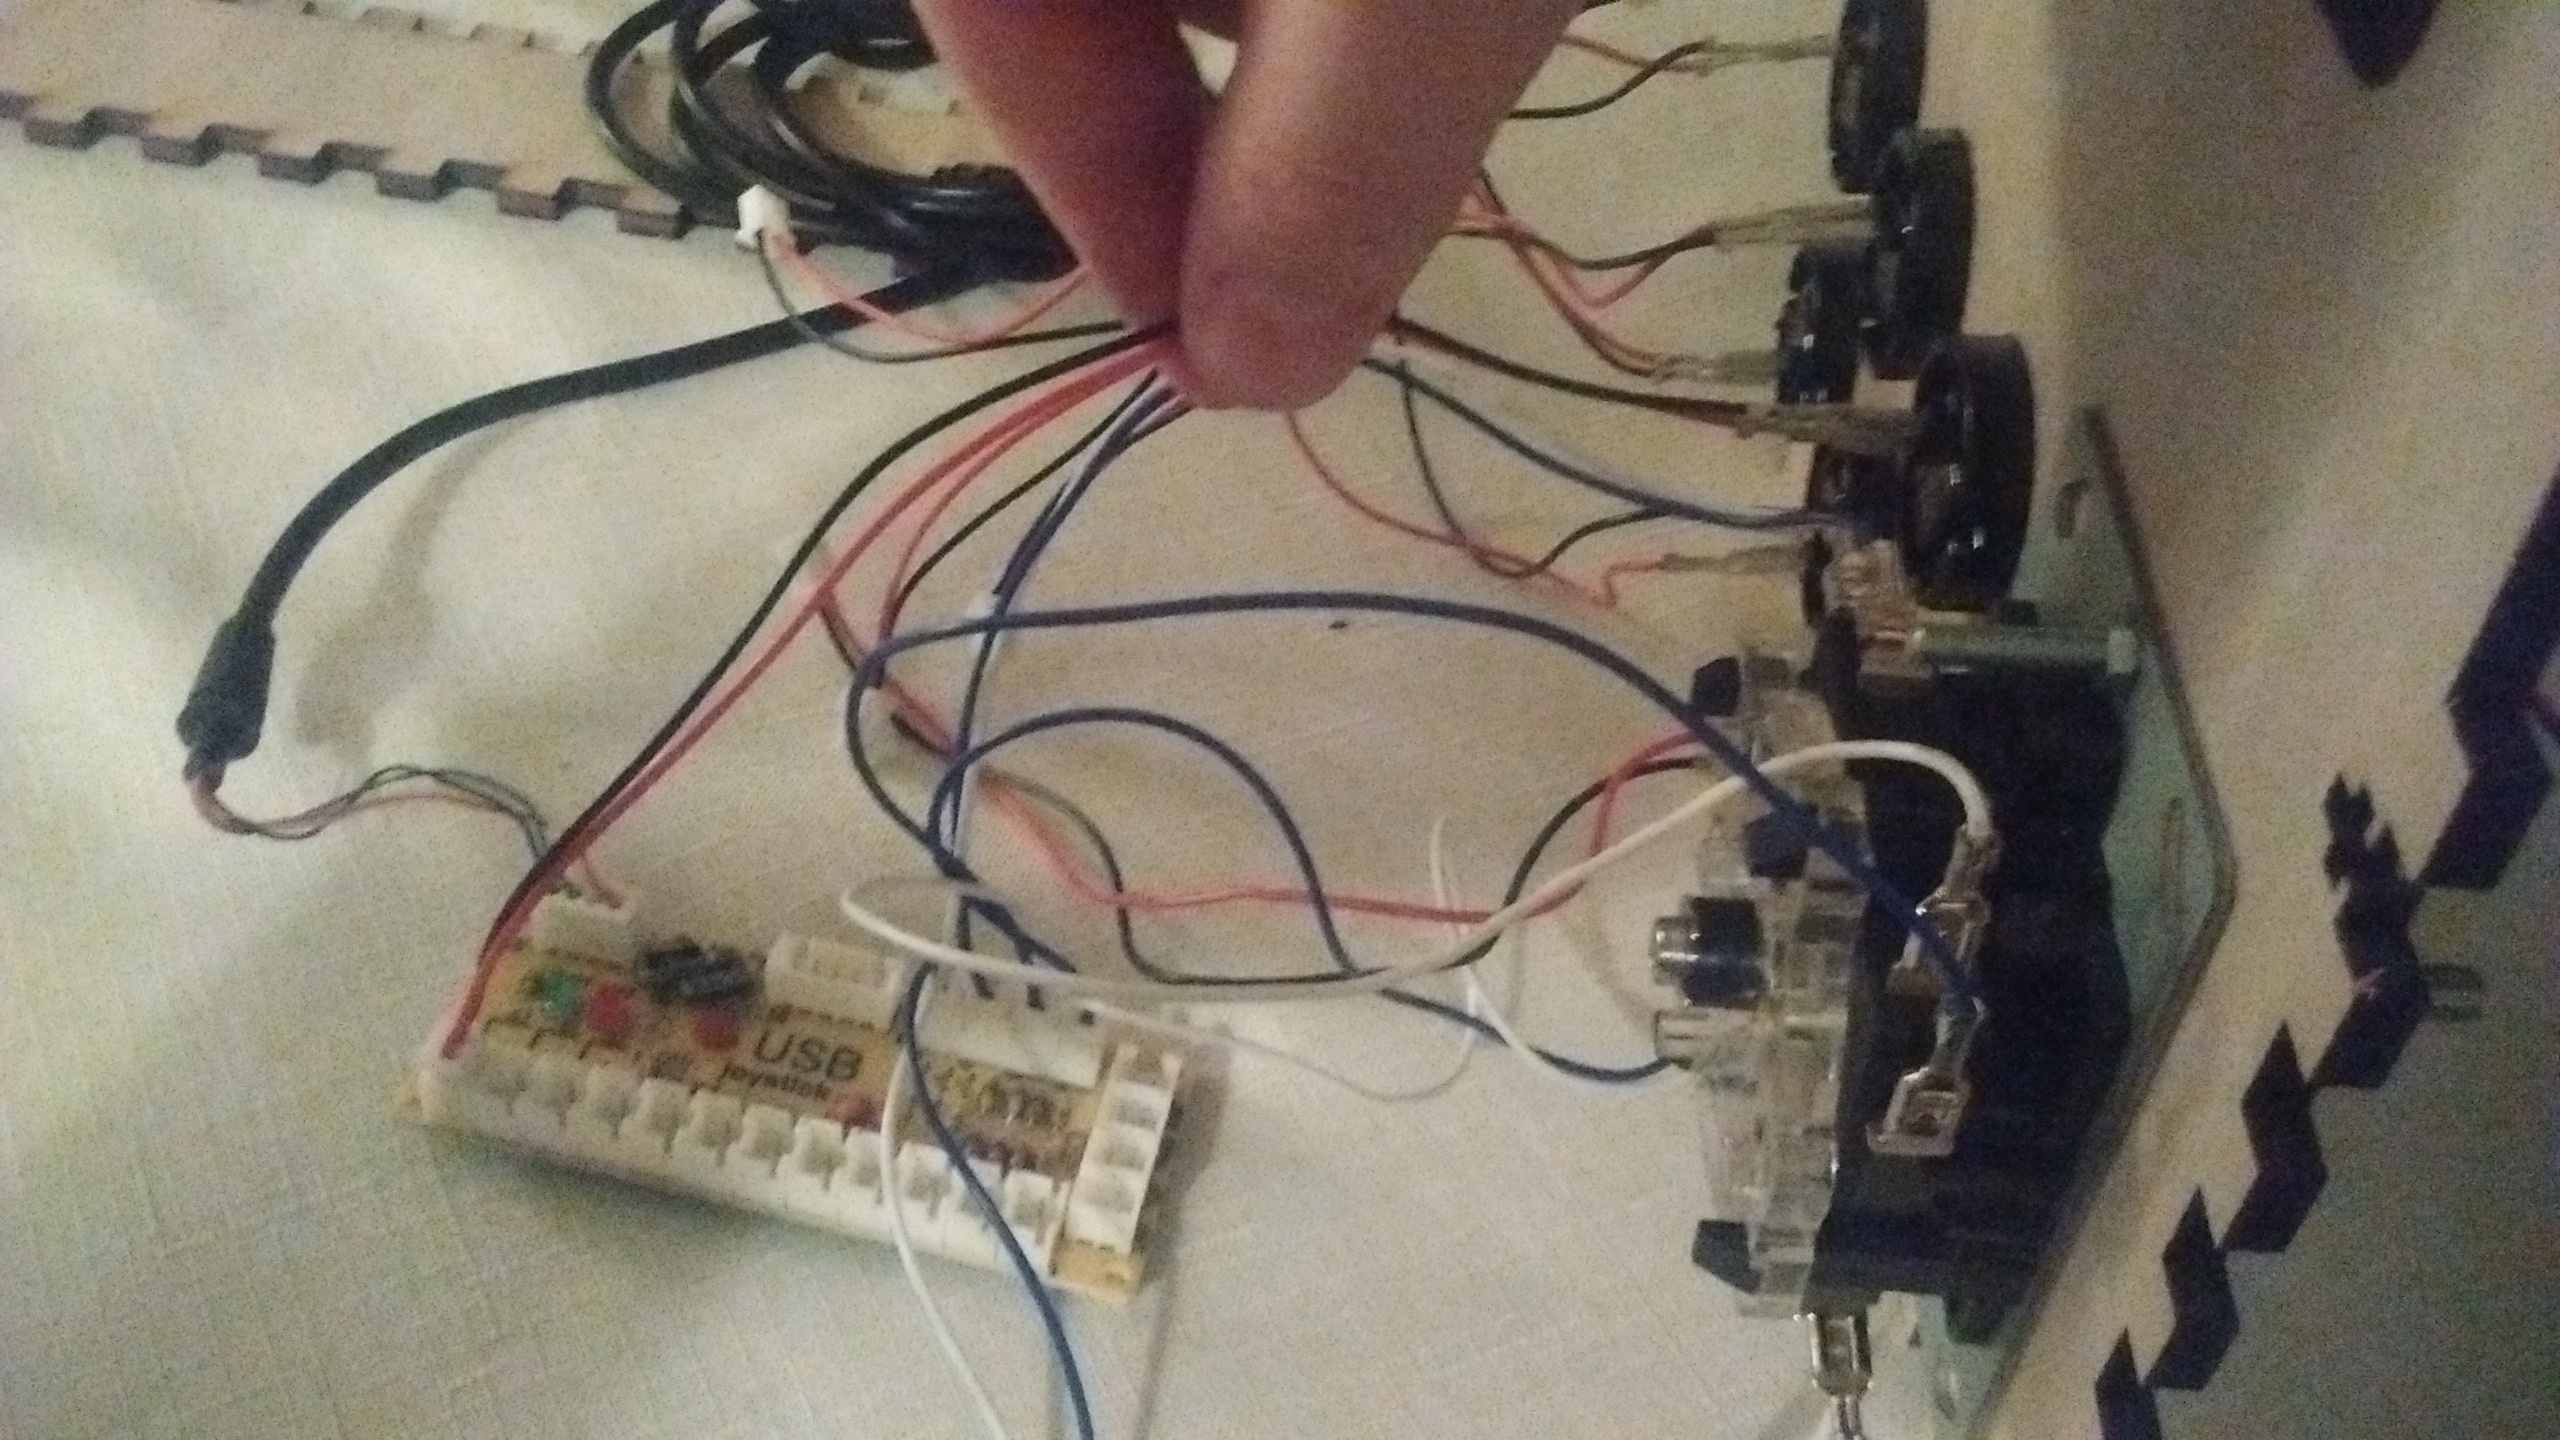
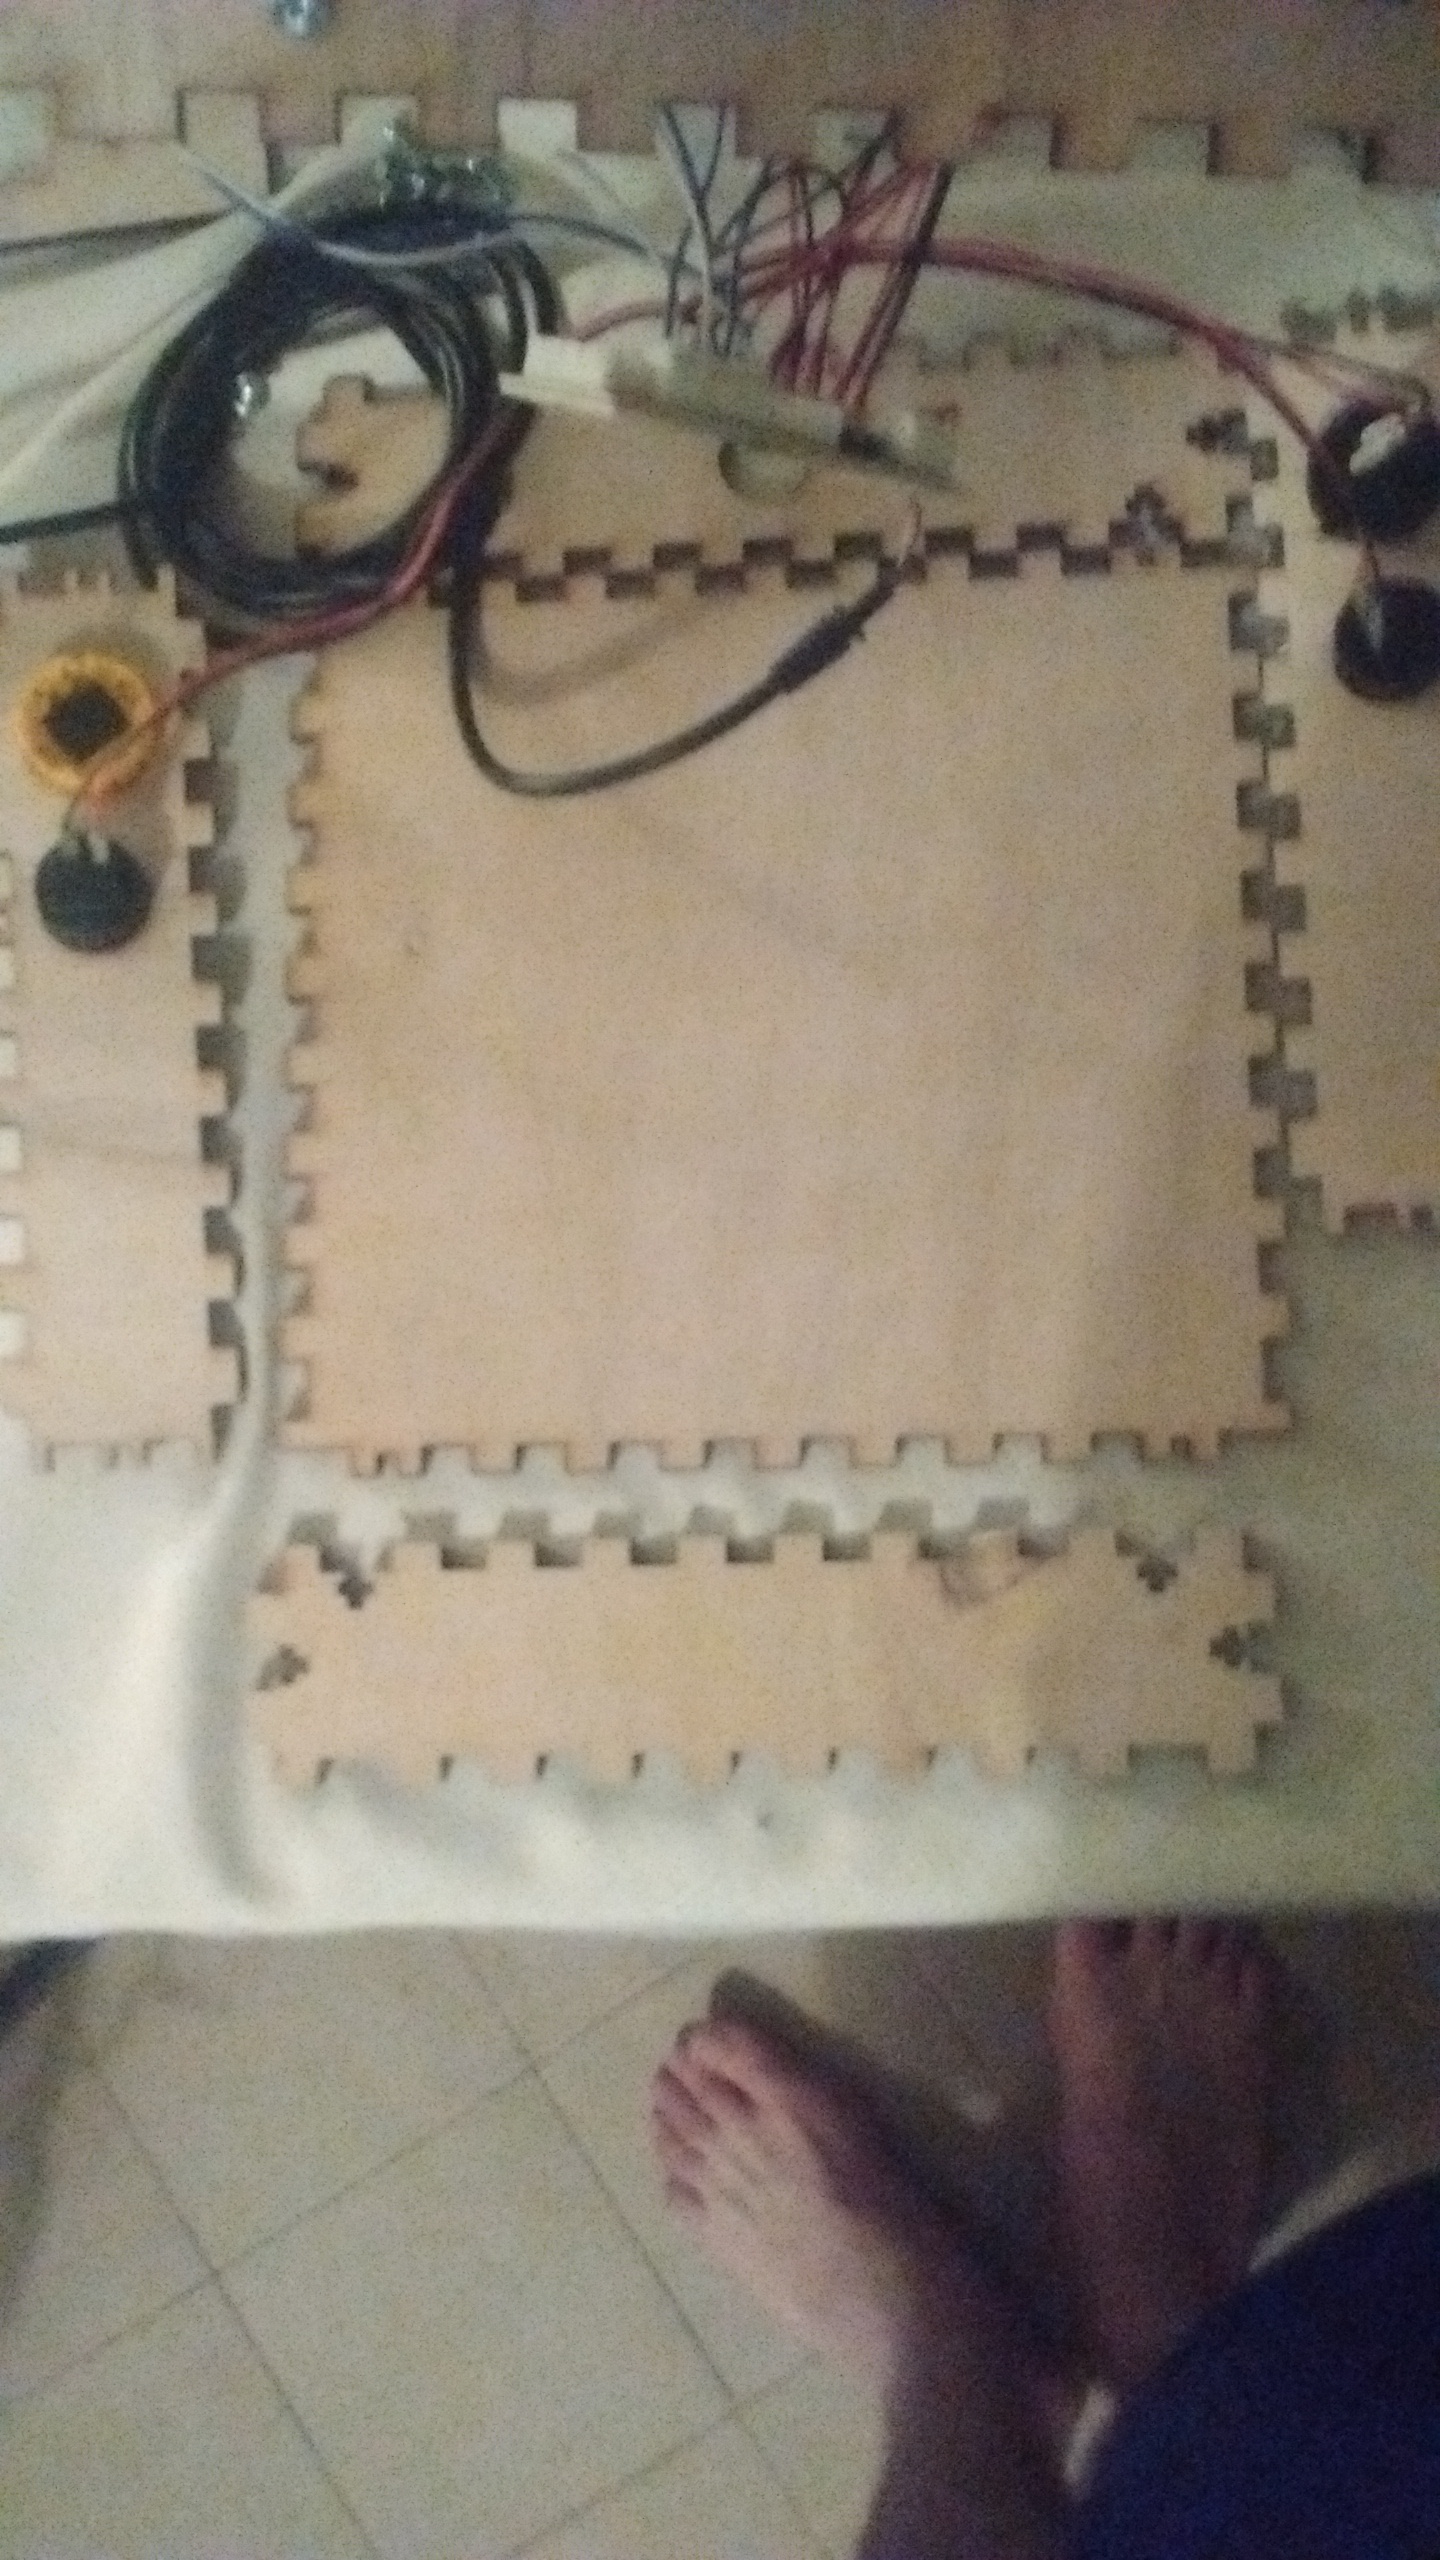
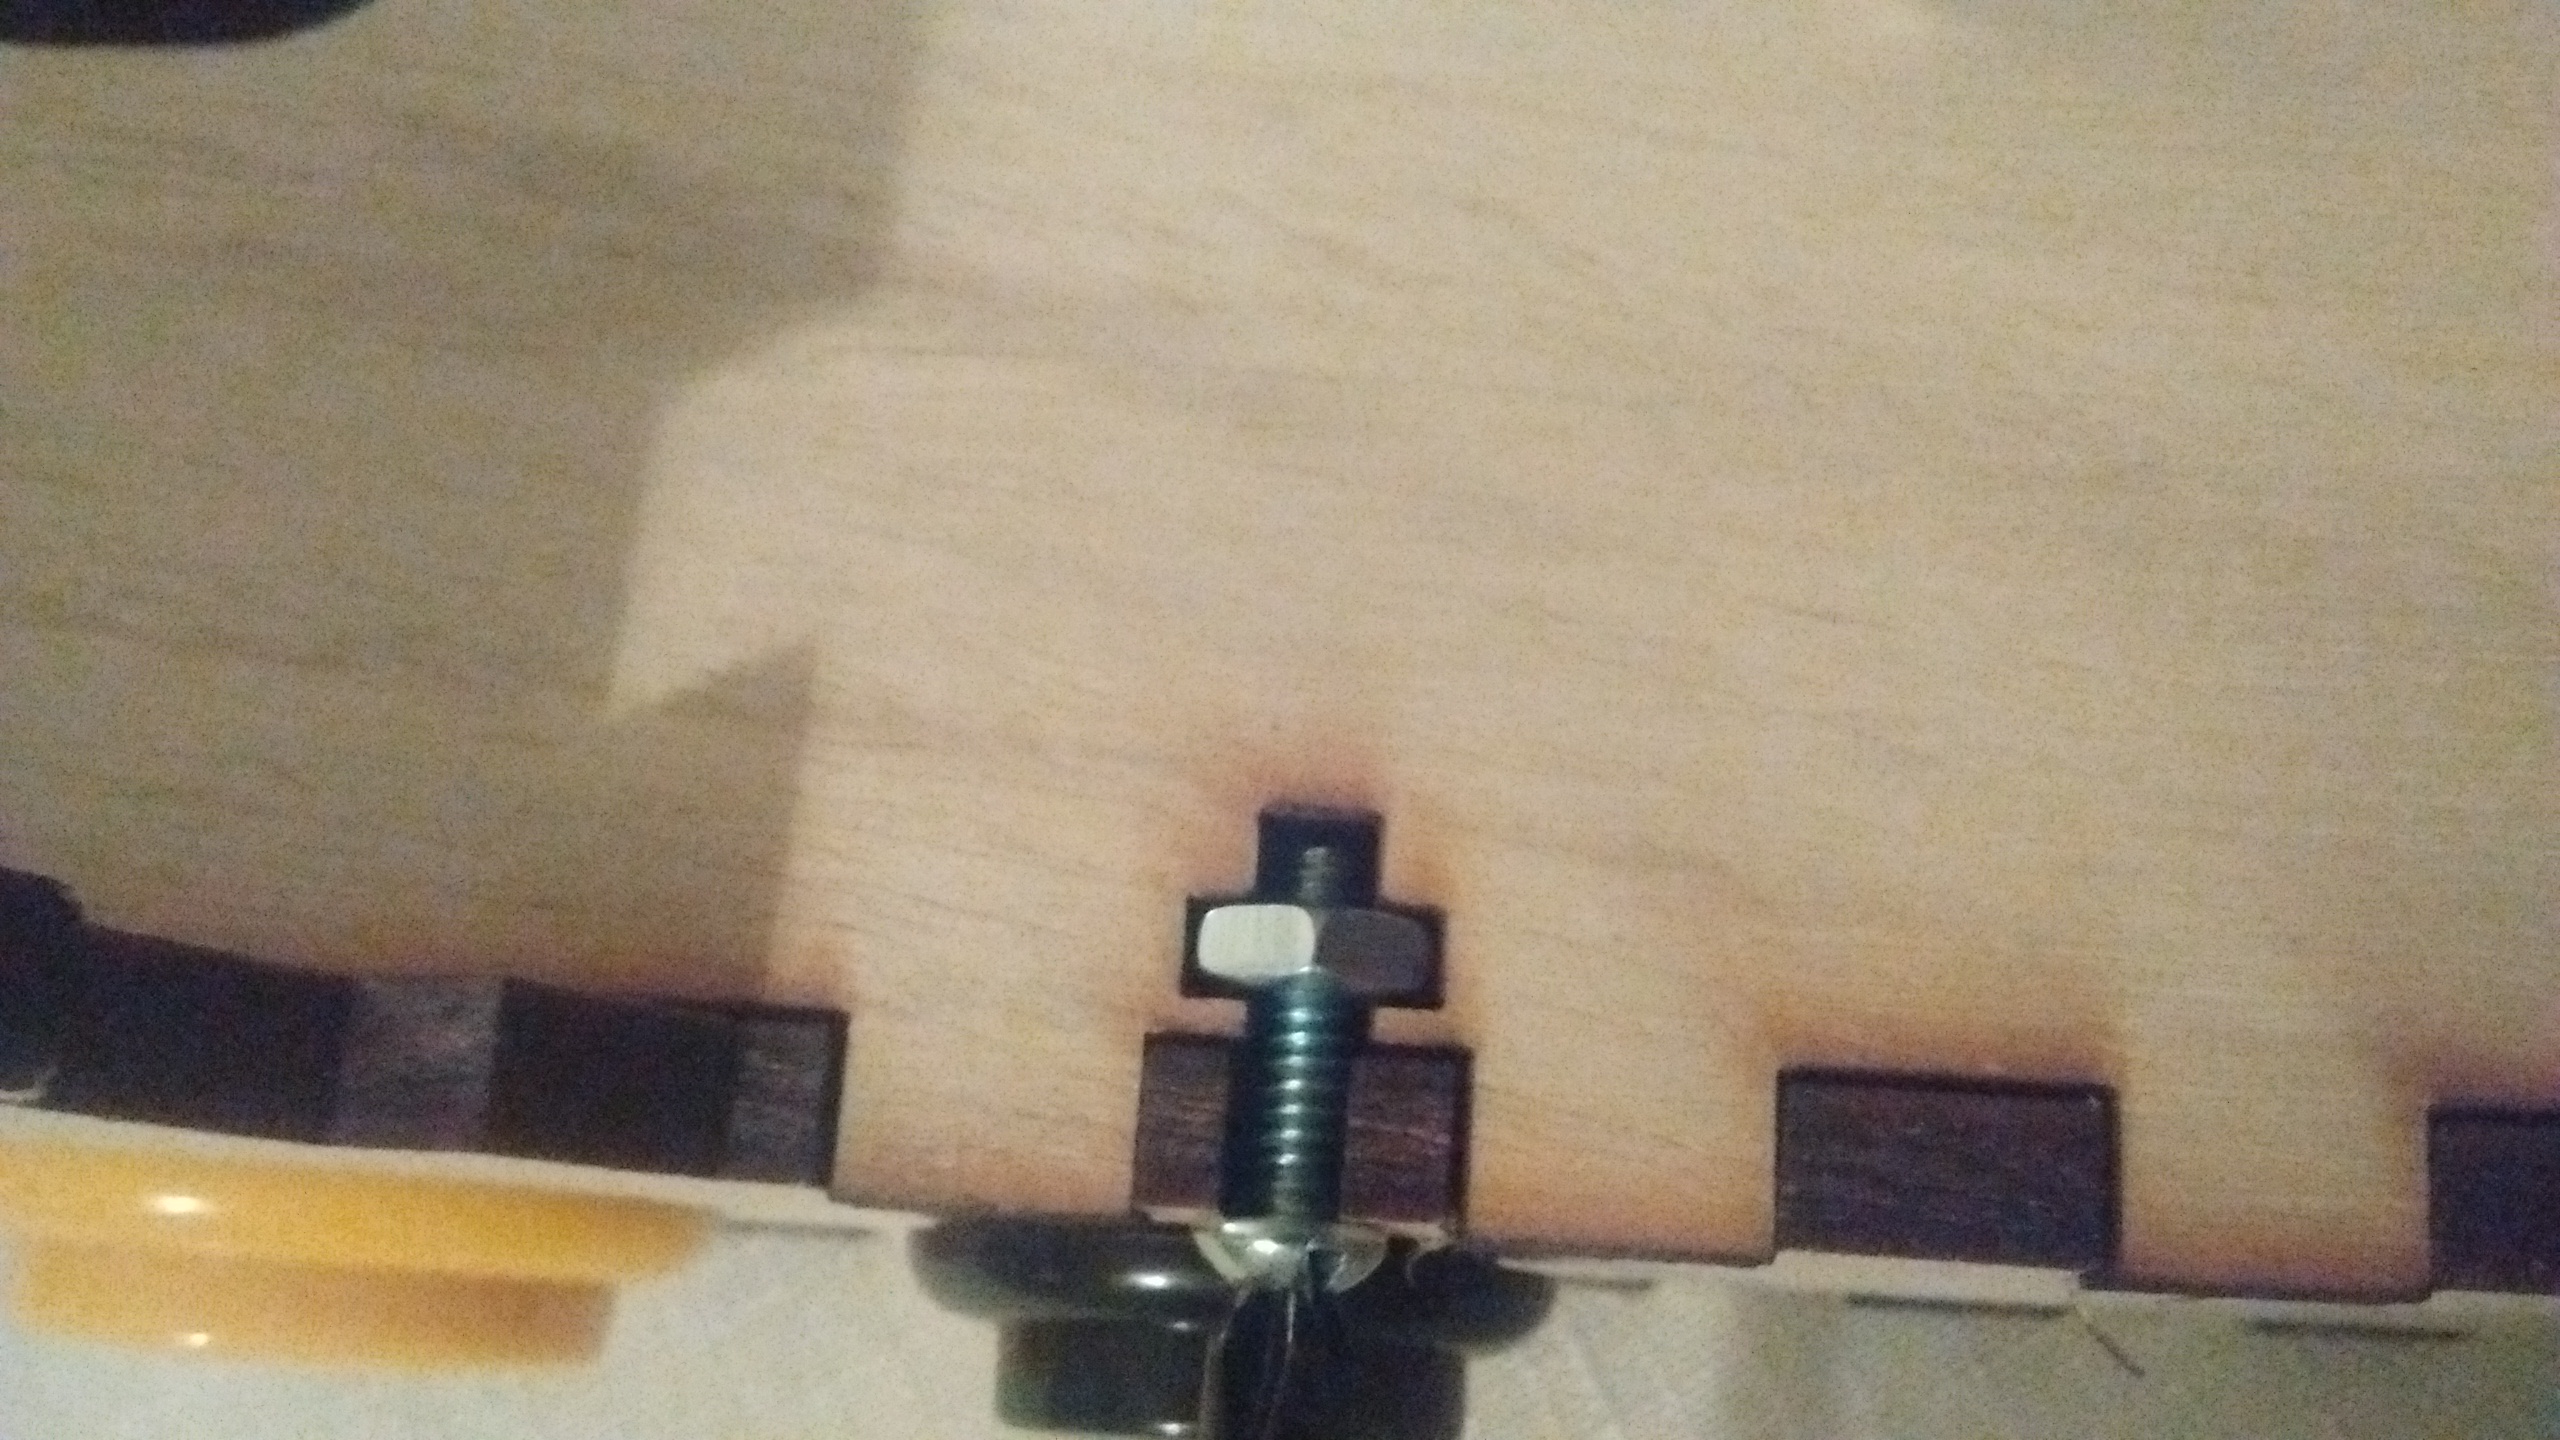
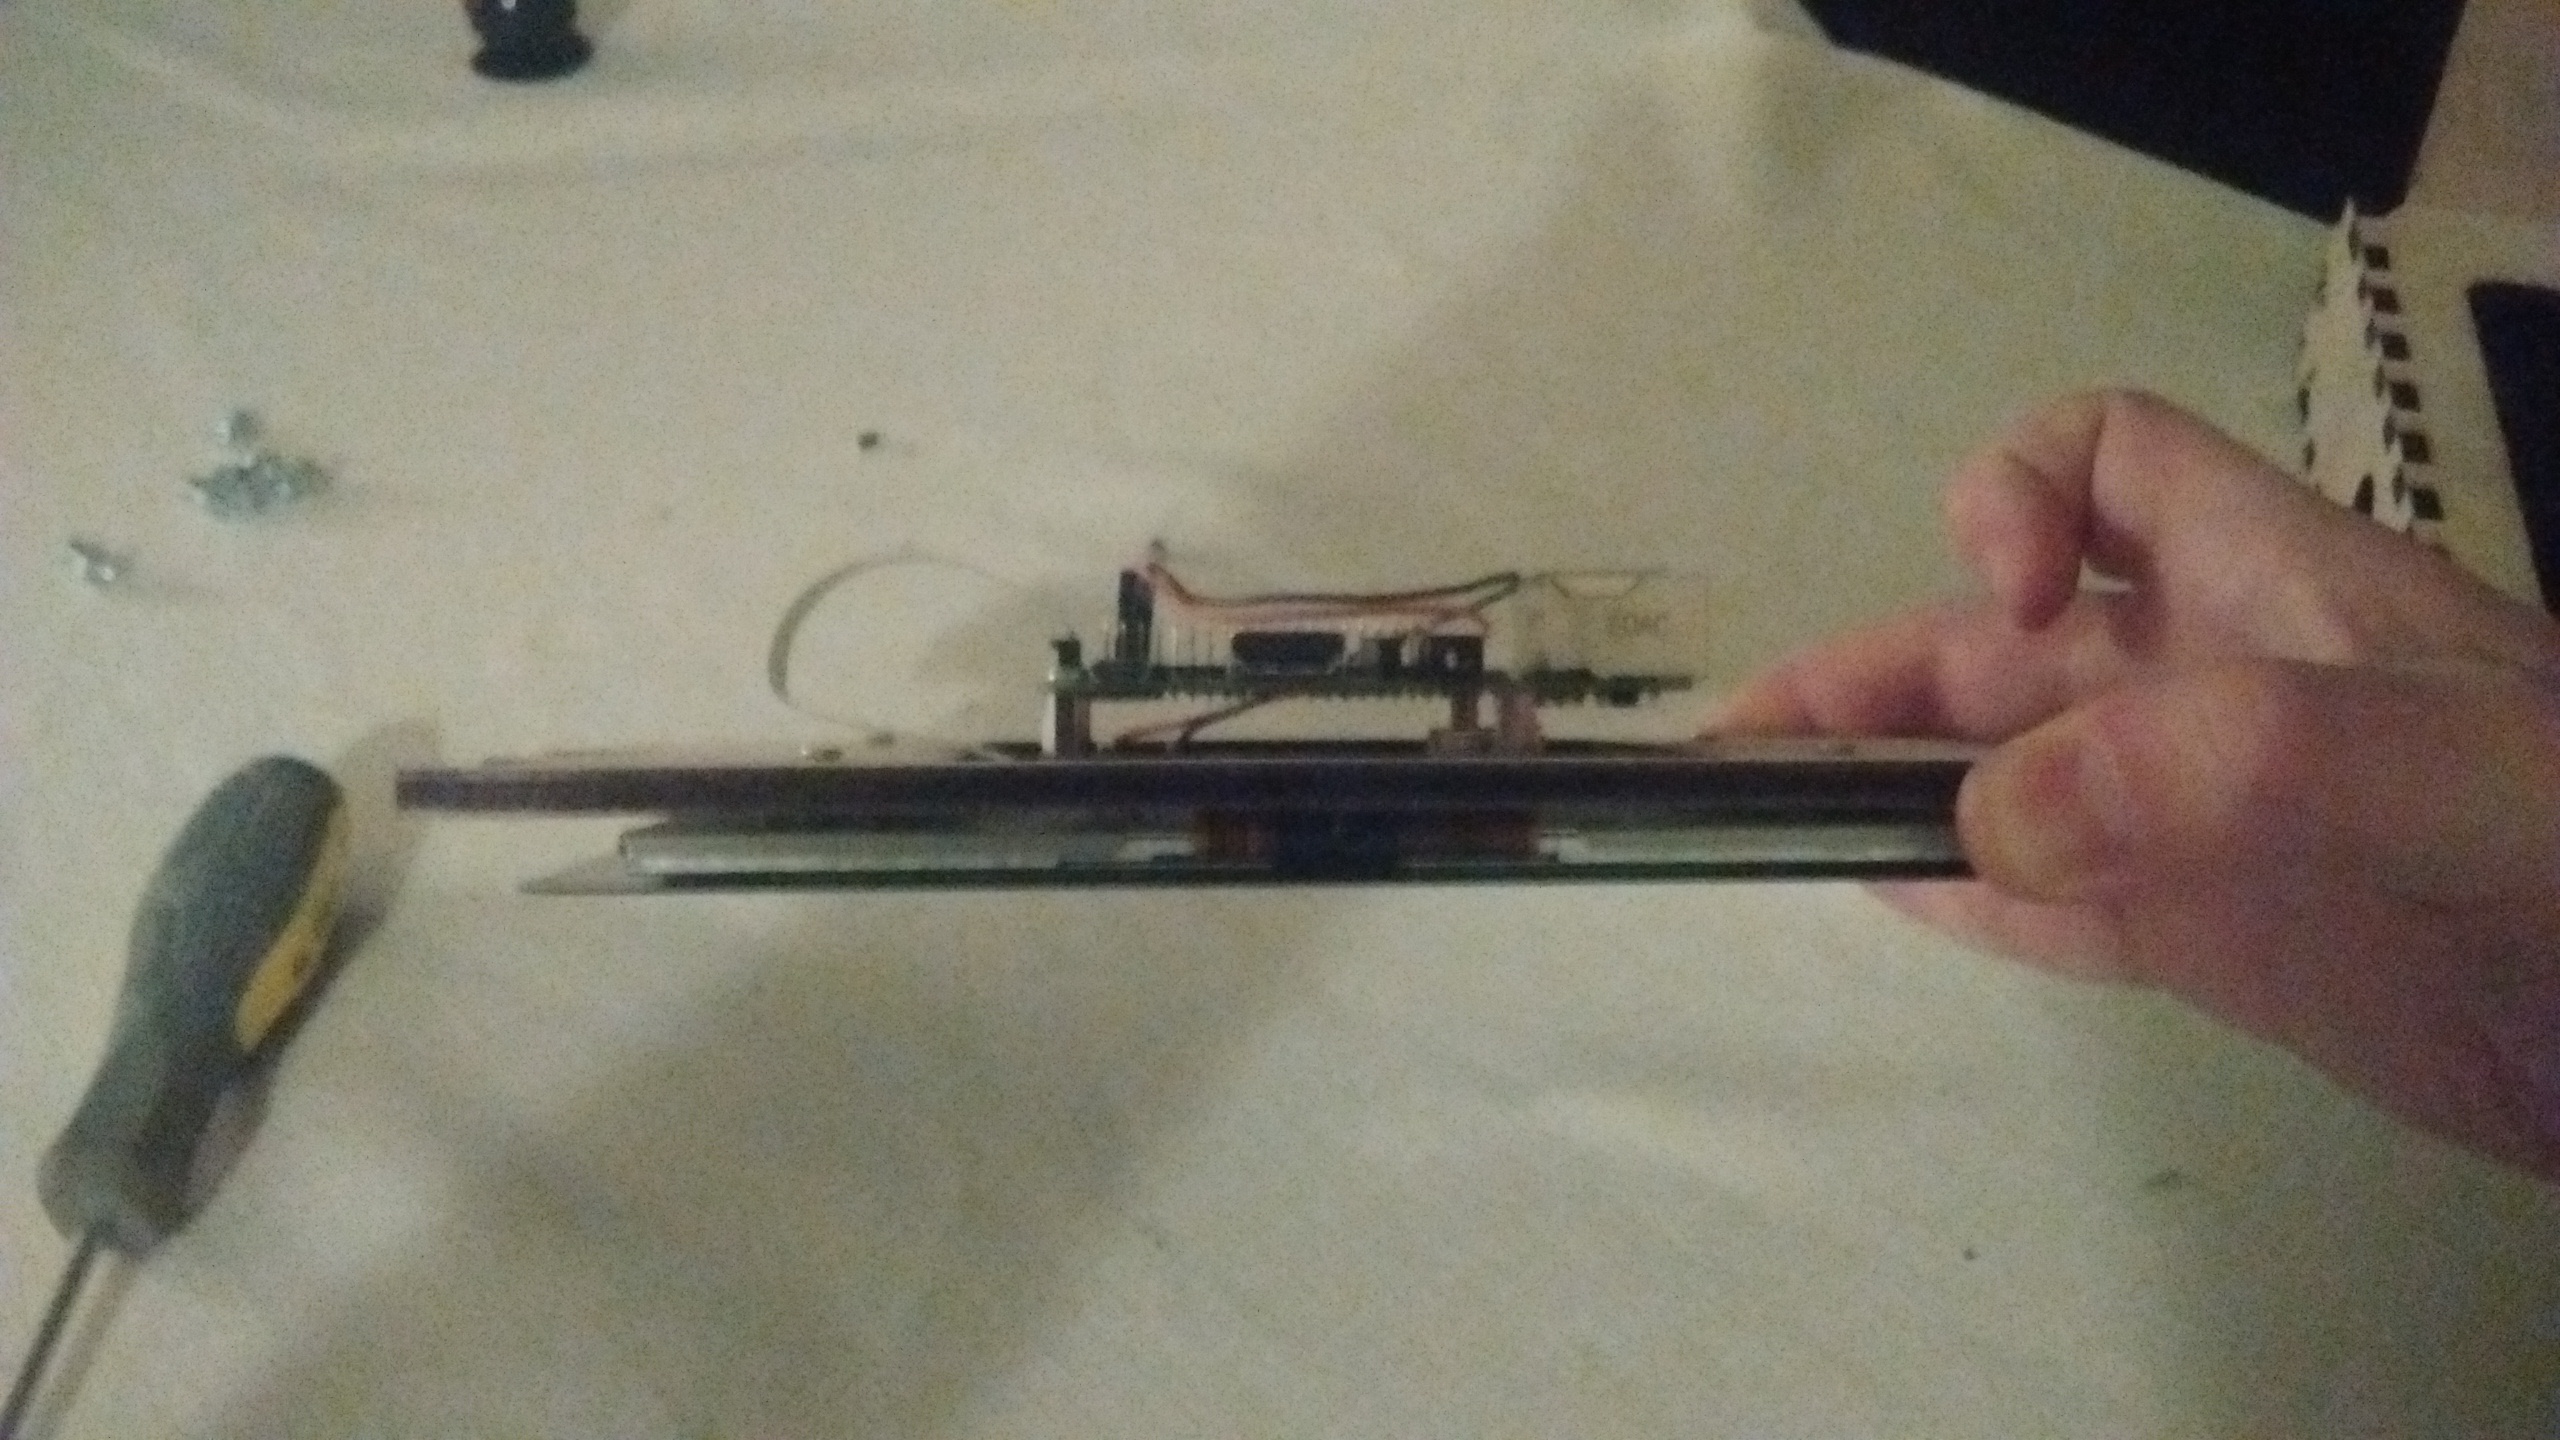
To secure the box together, use the 12 machine screws with nuts. To make it easier to screw in, I pre attach the nut and then screw it in the rest of the way.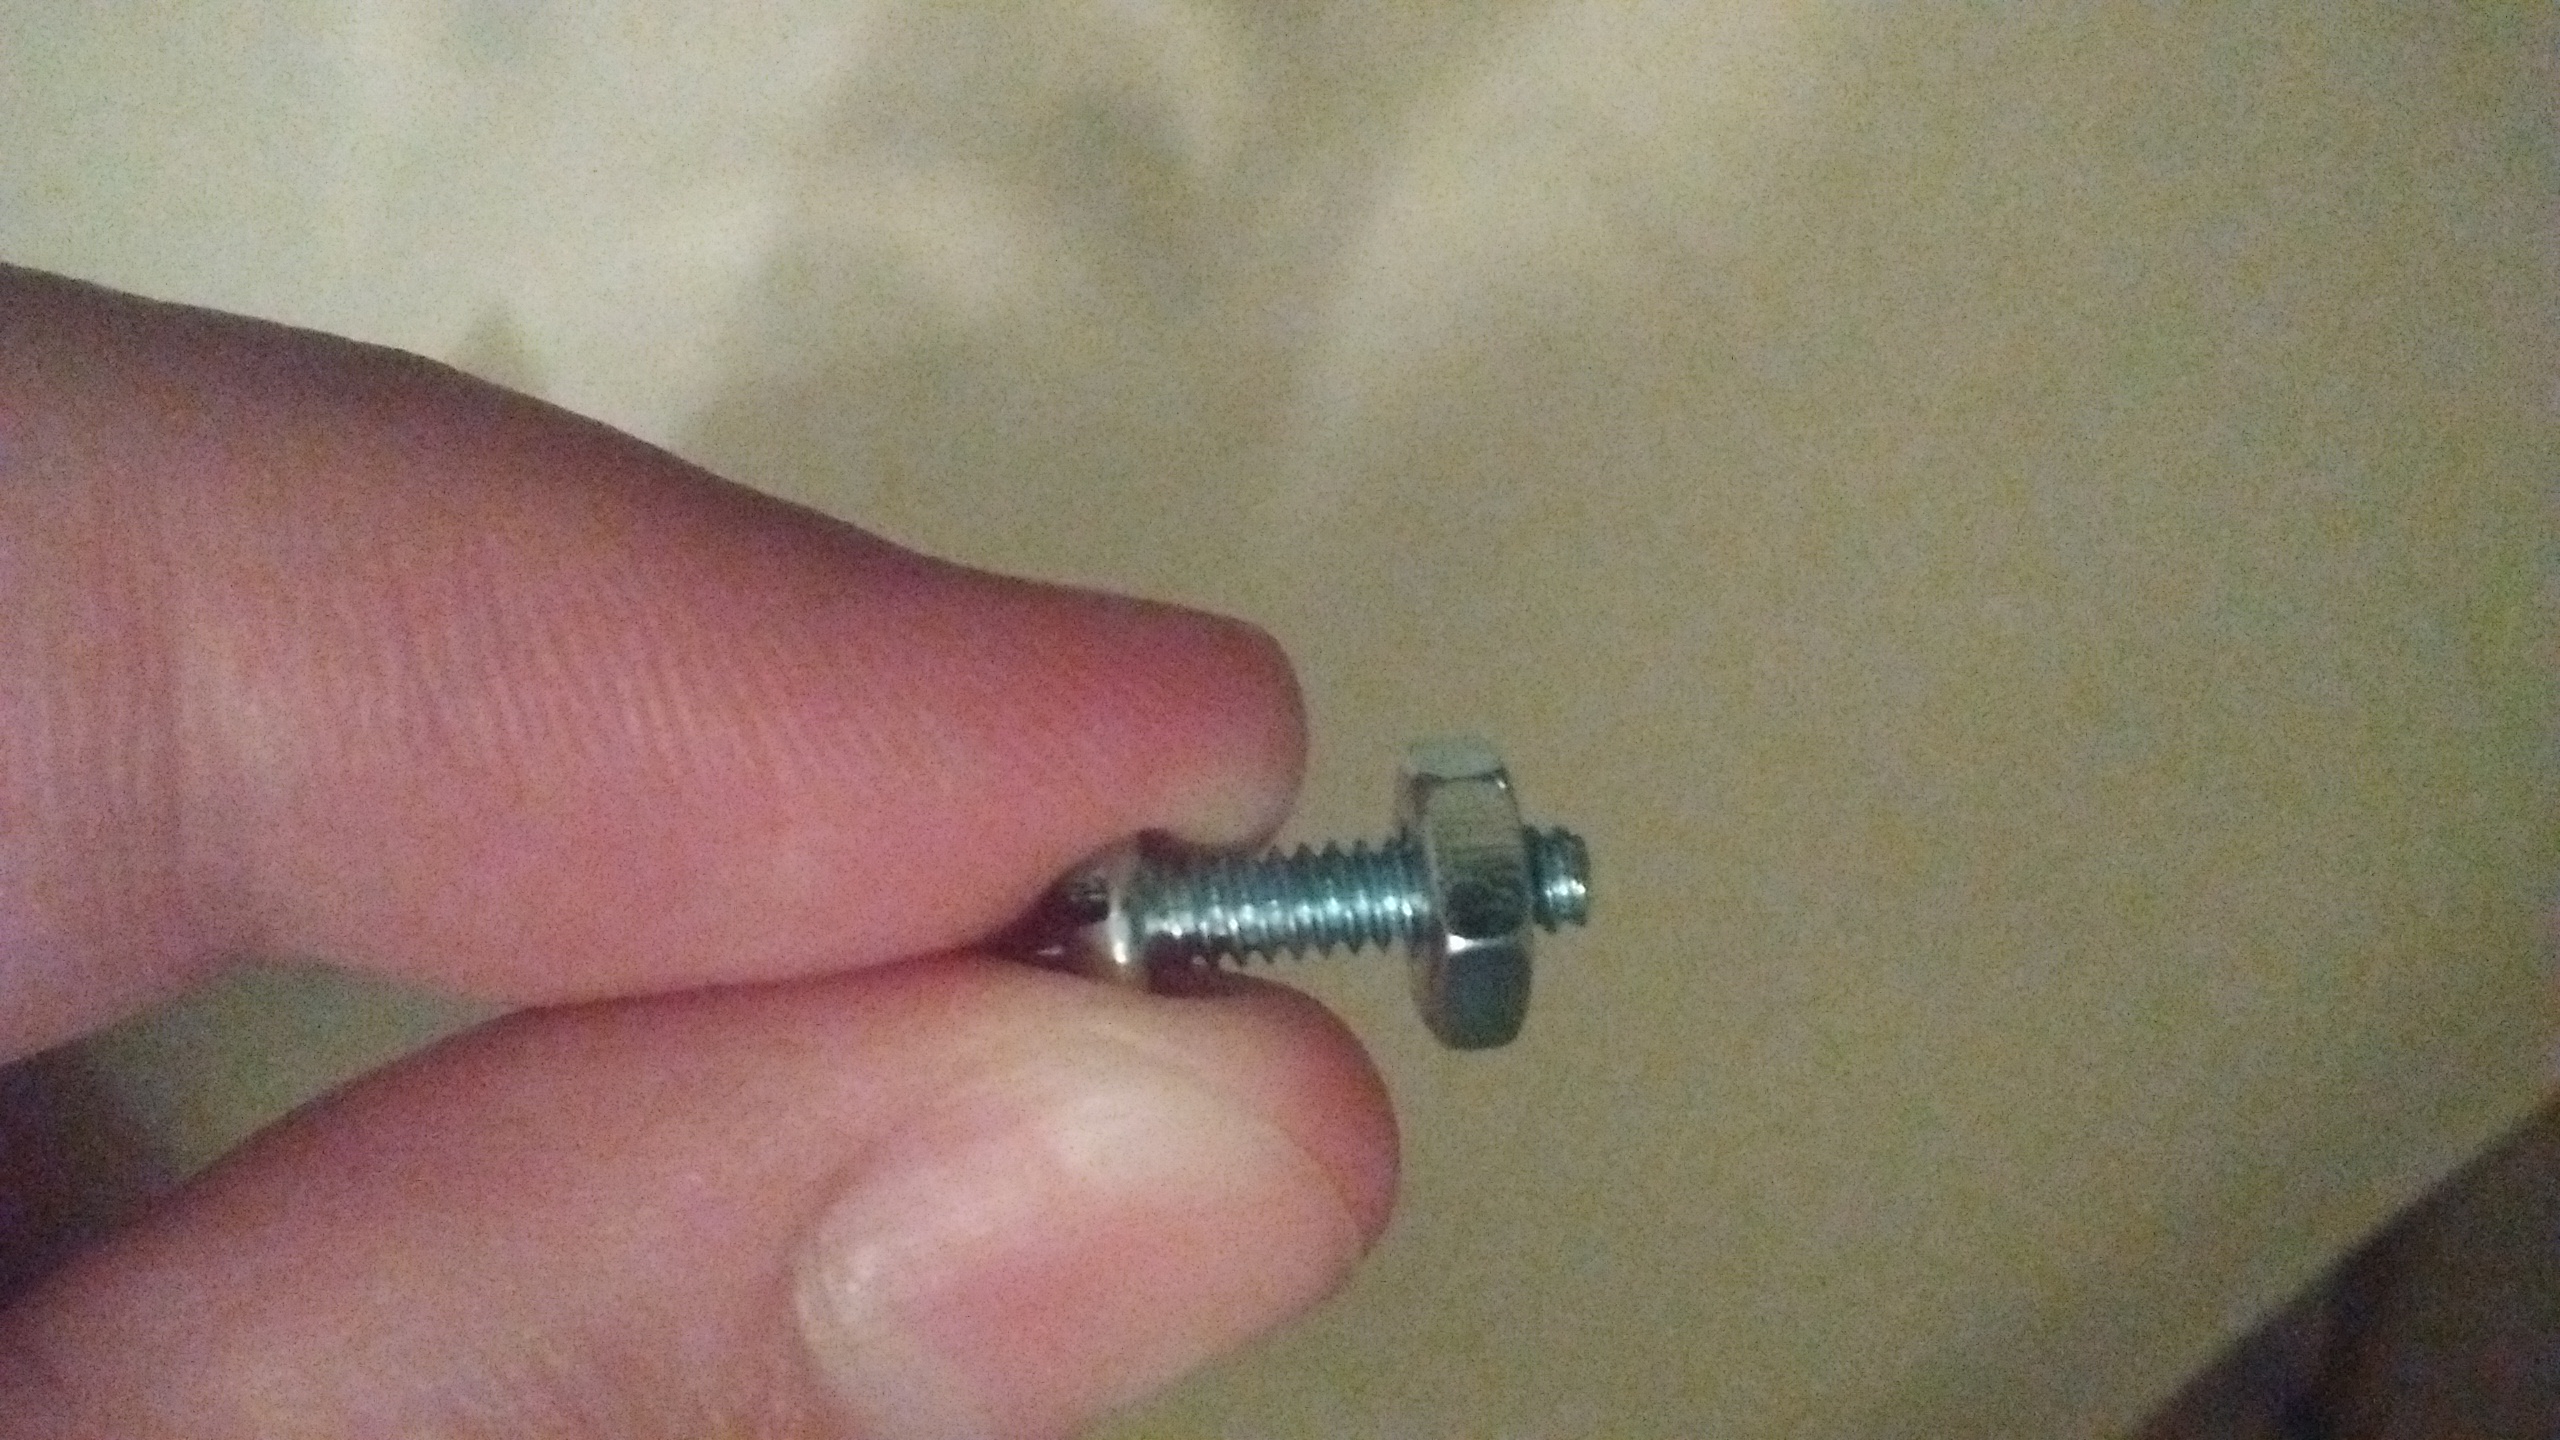

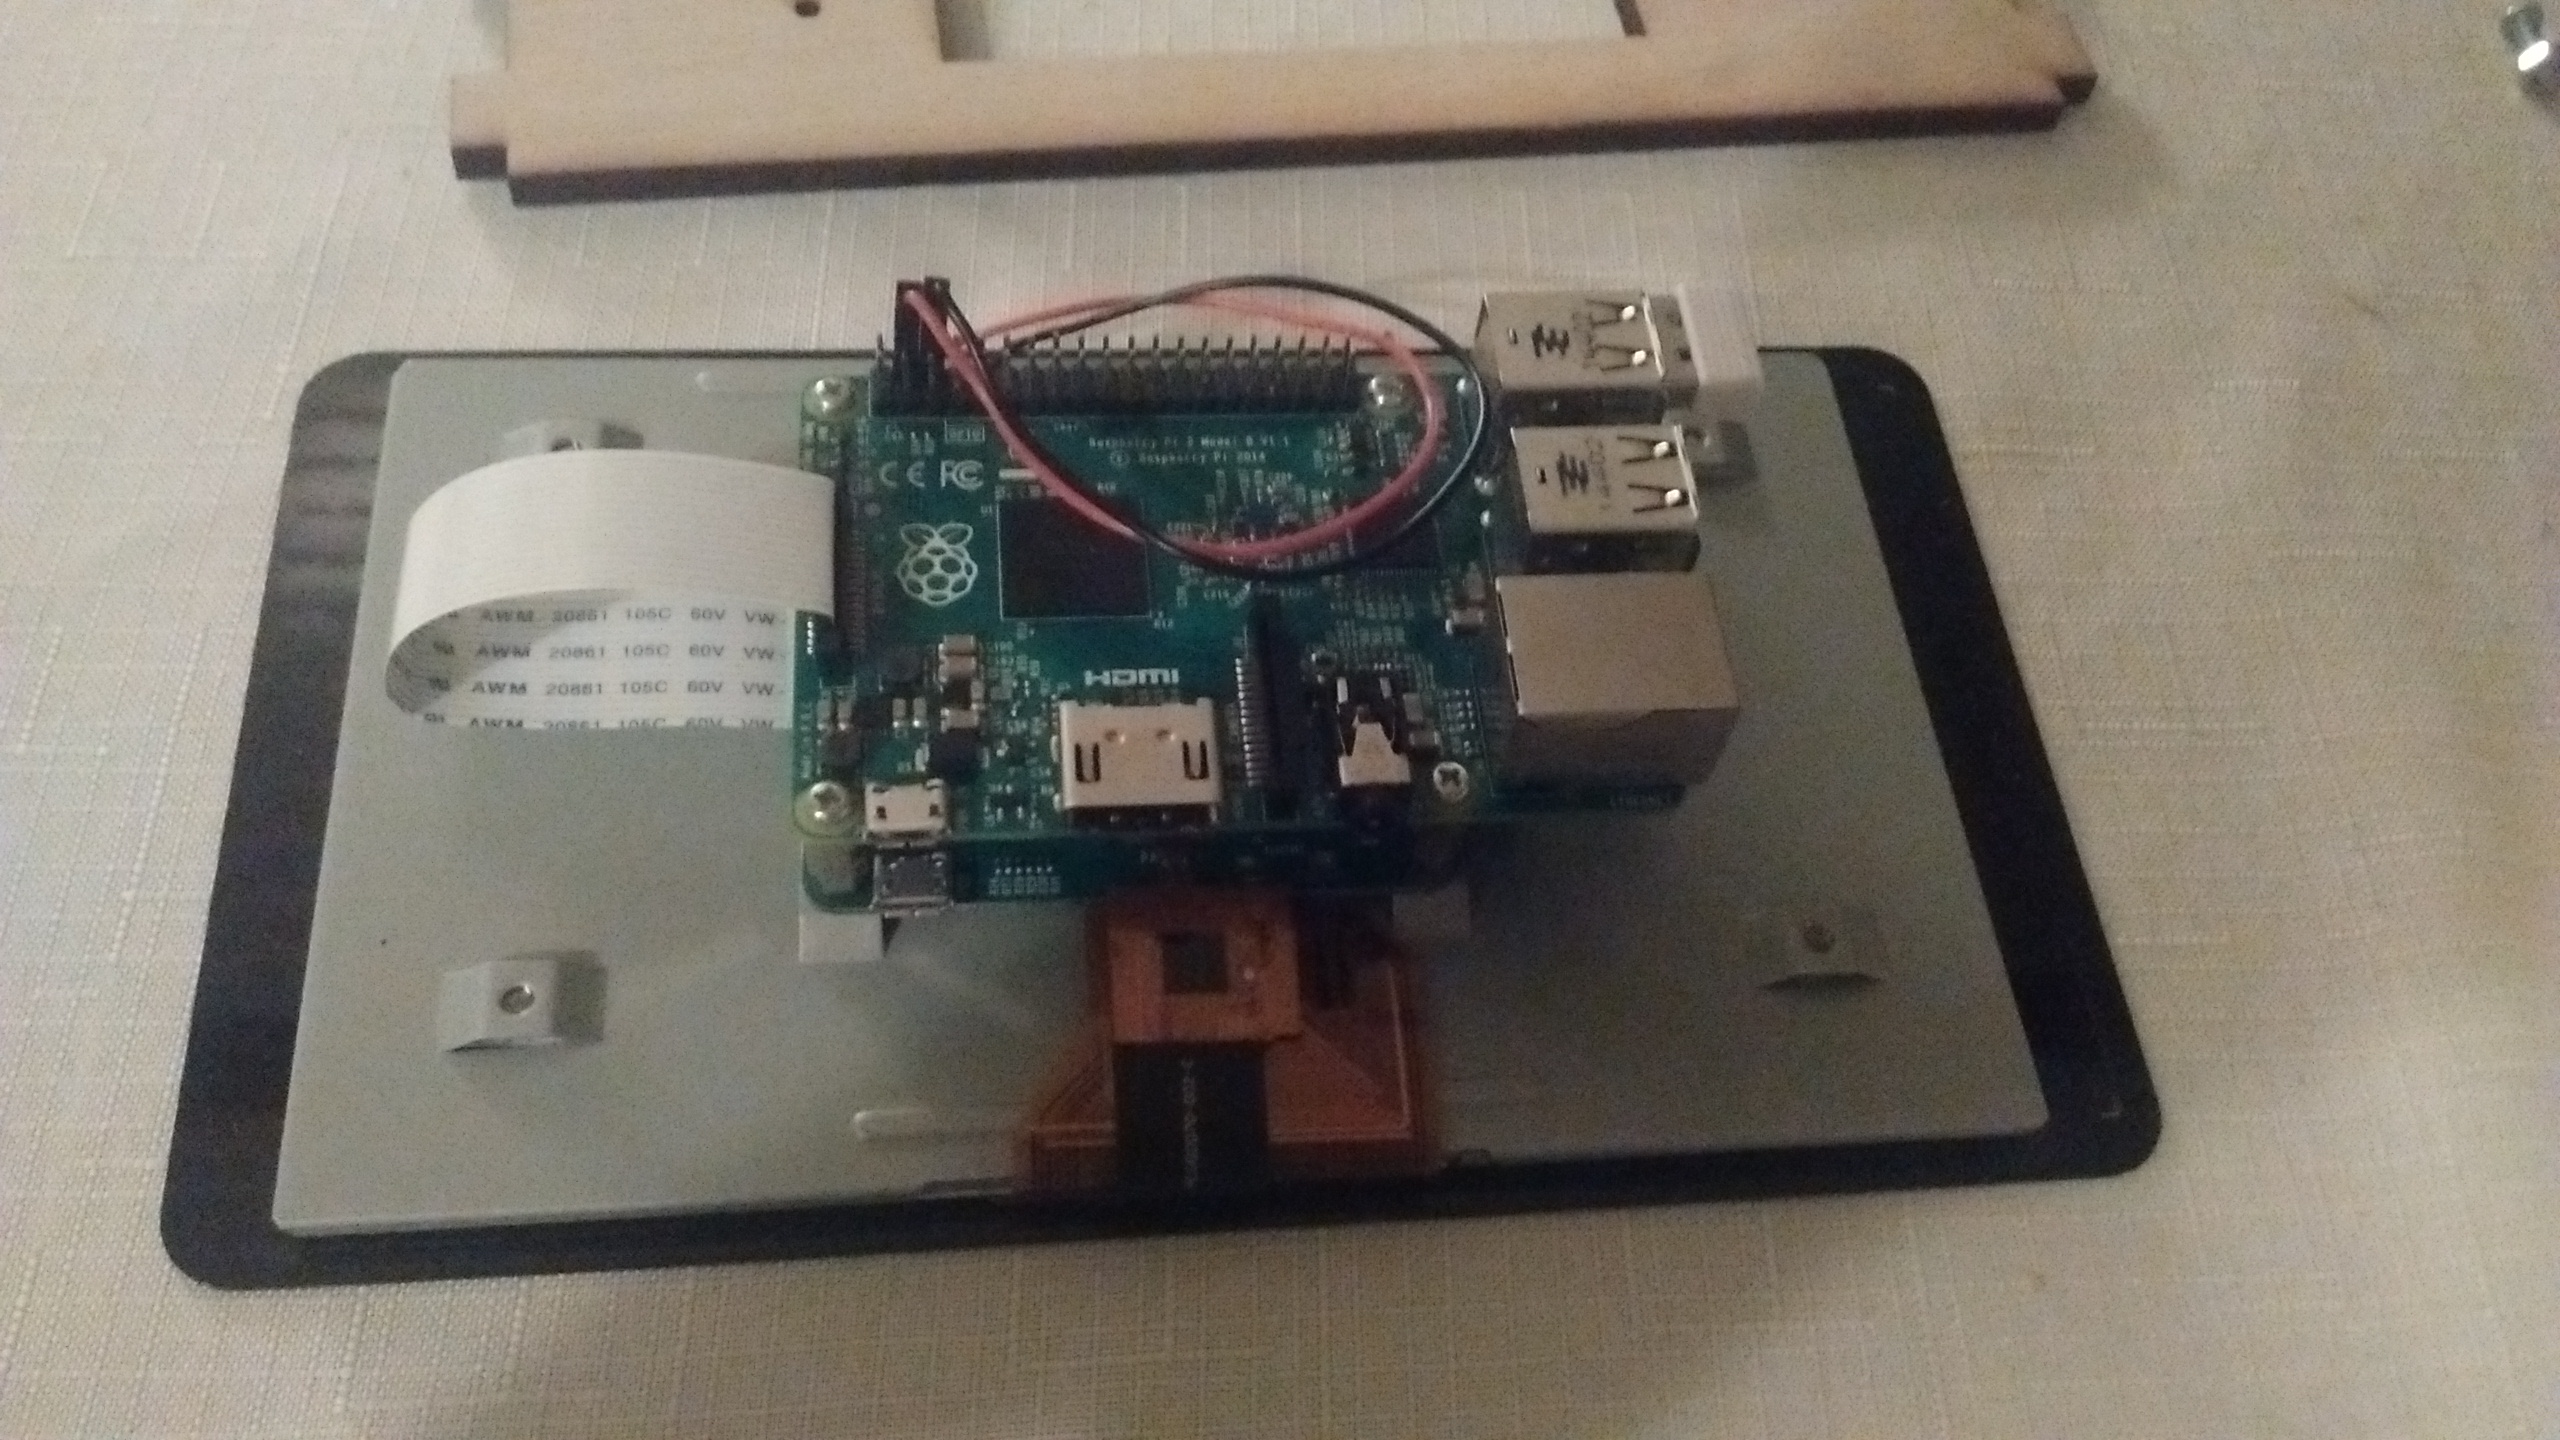
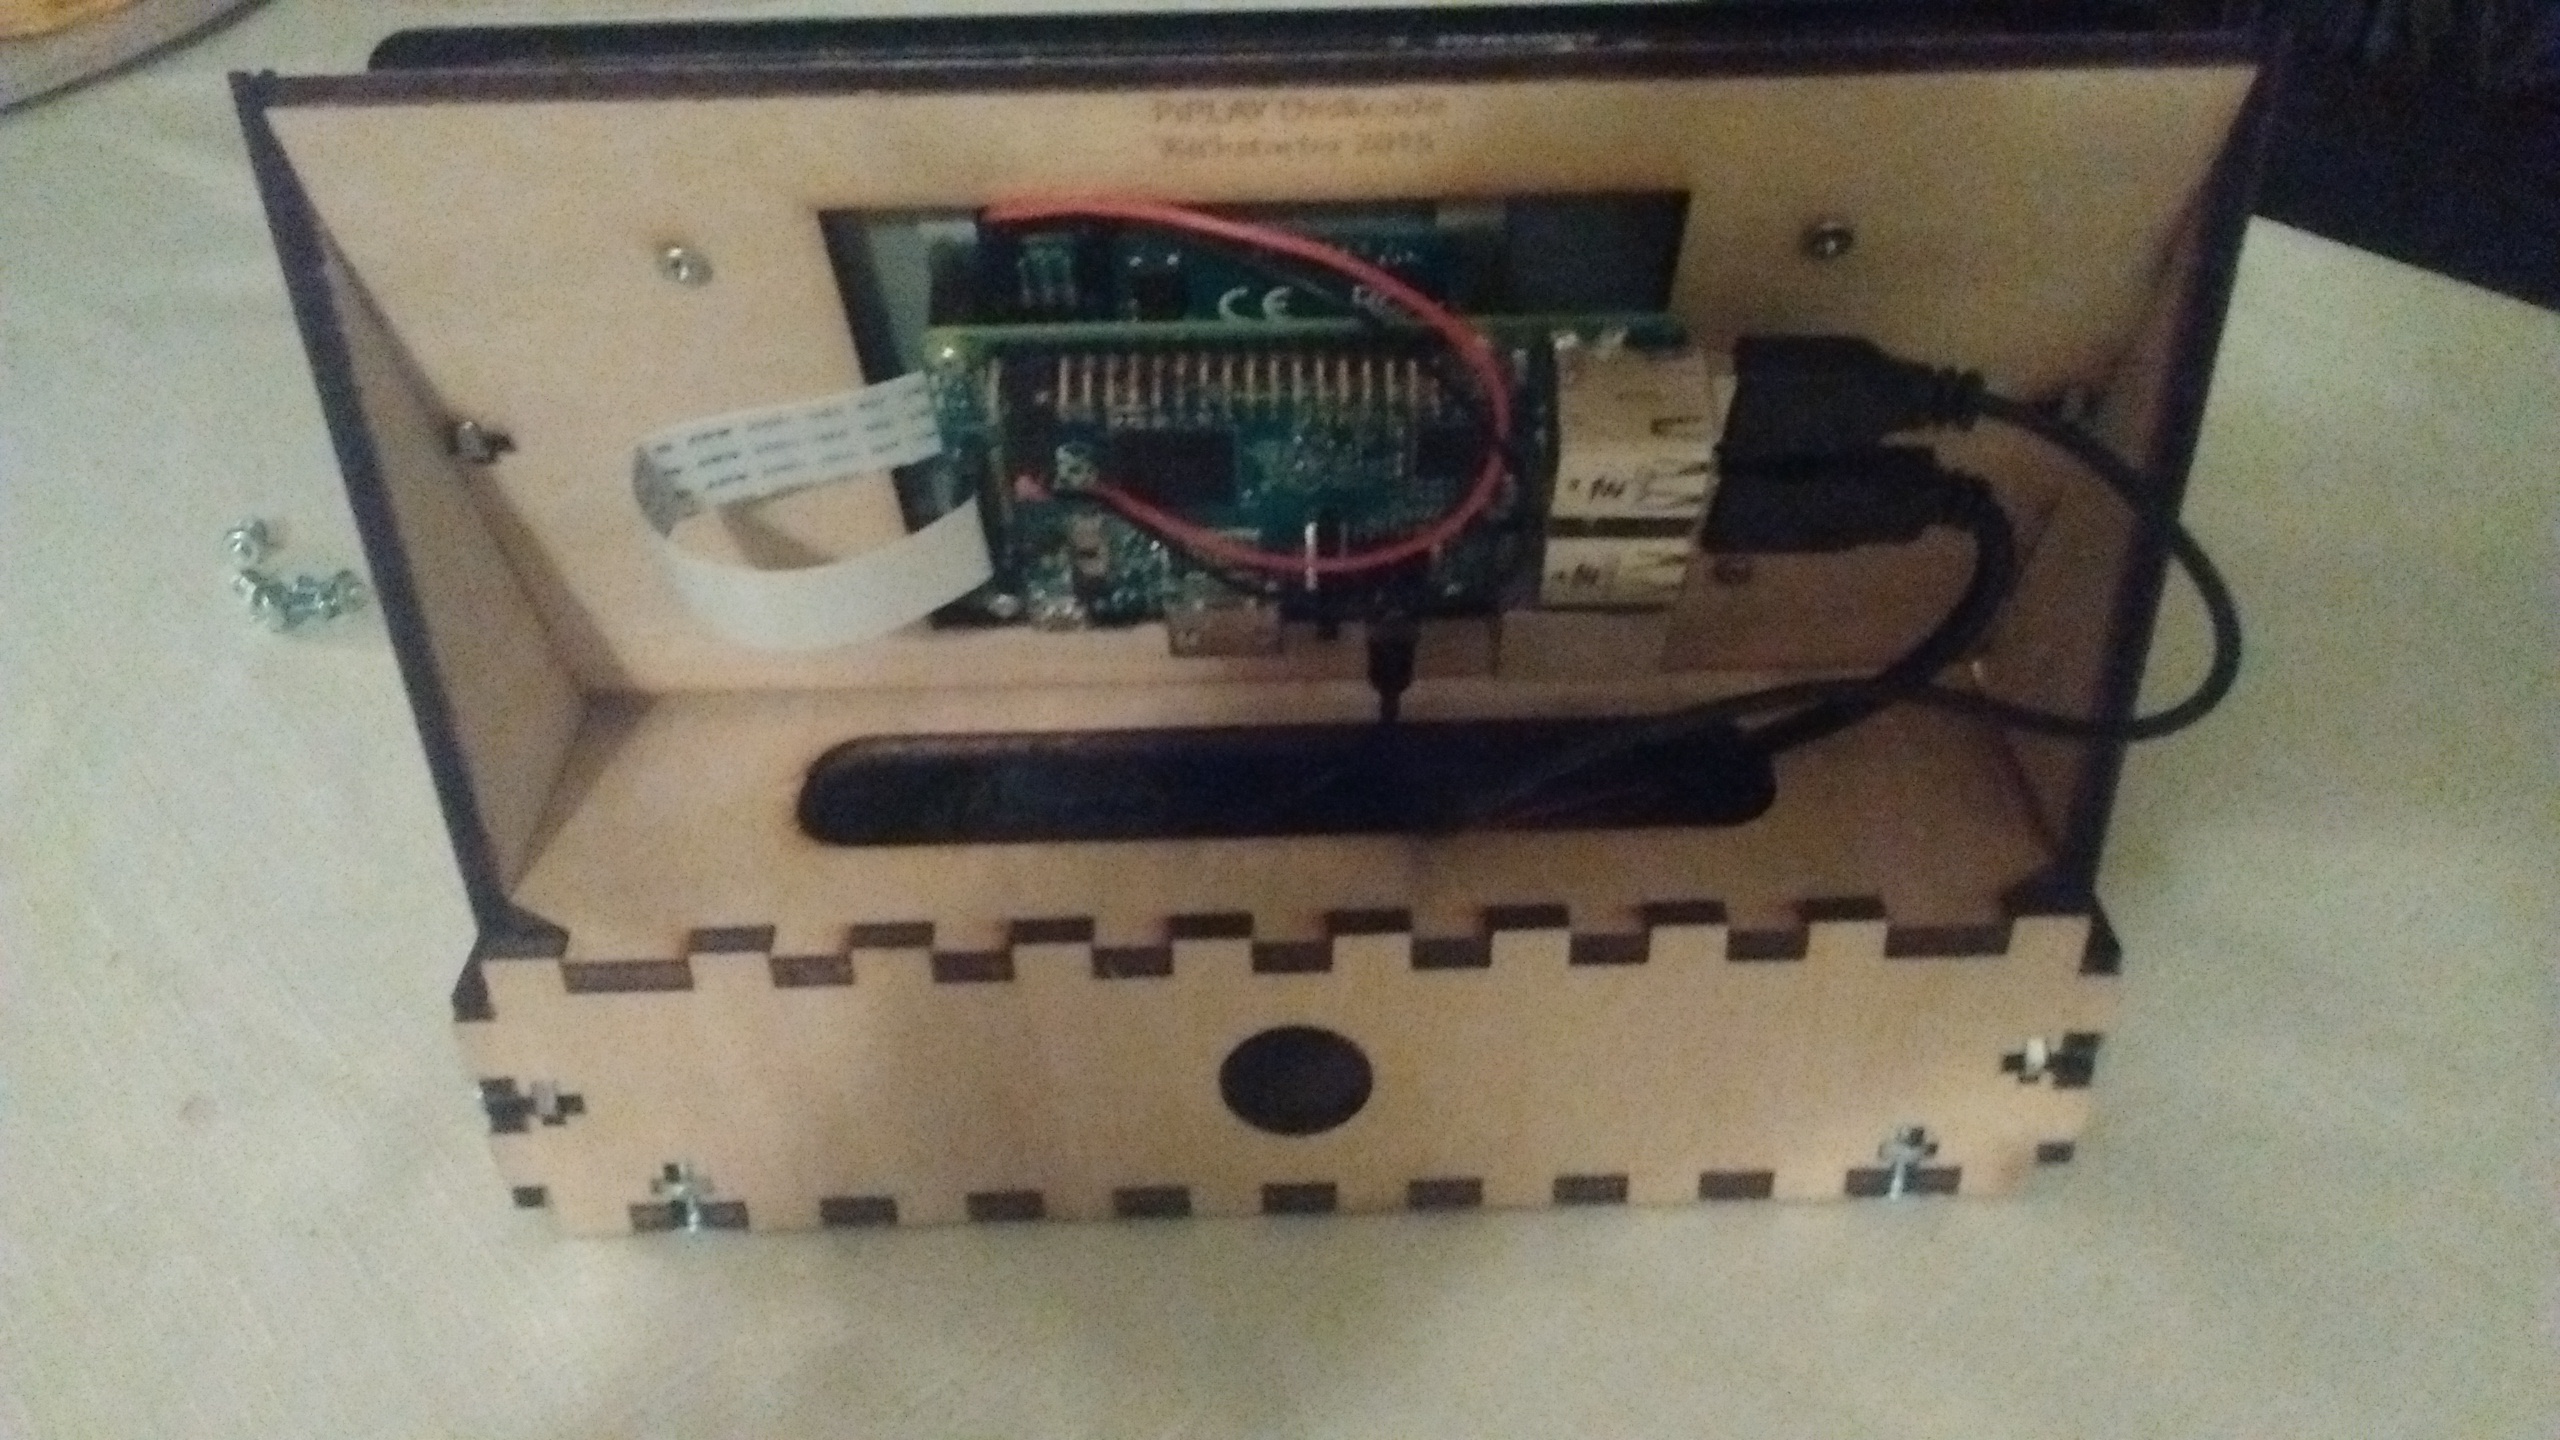
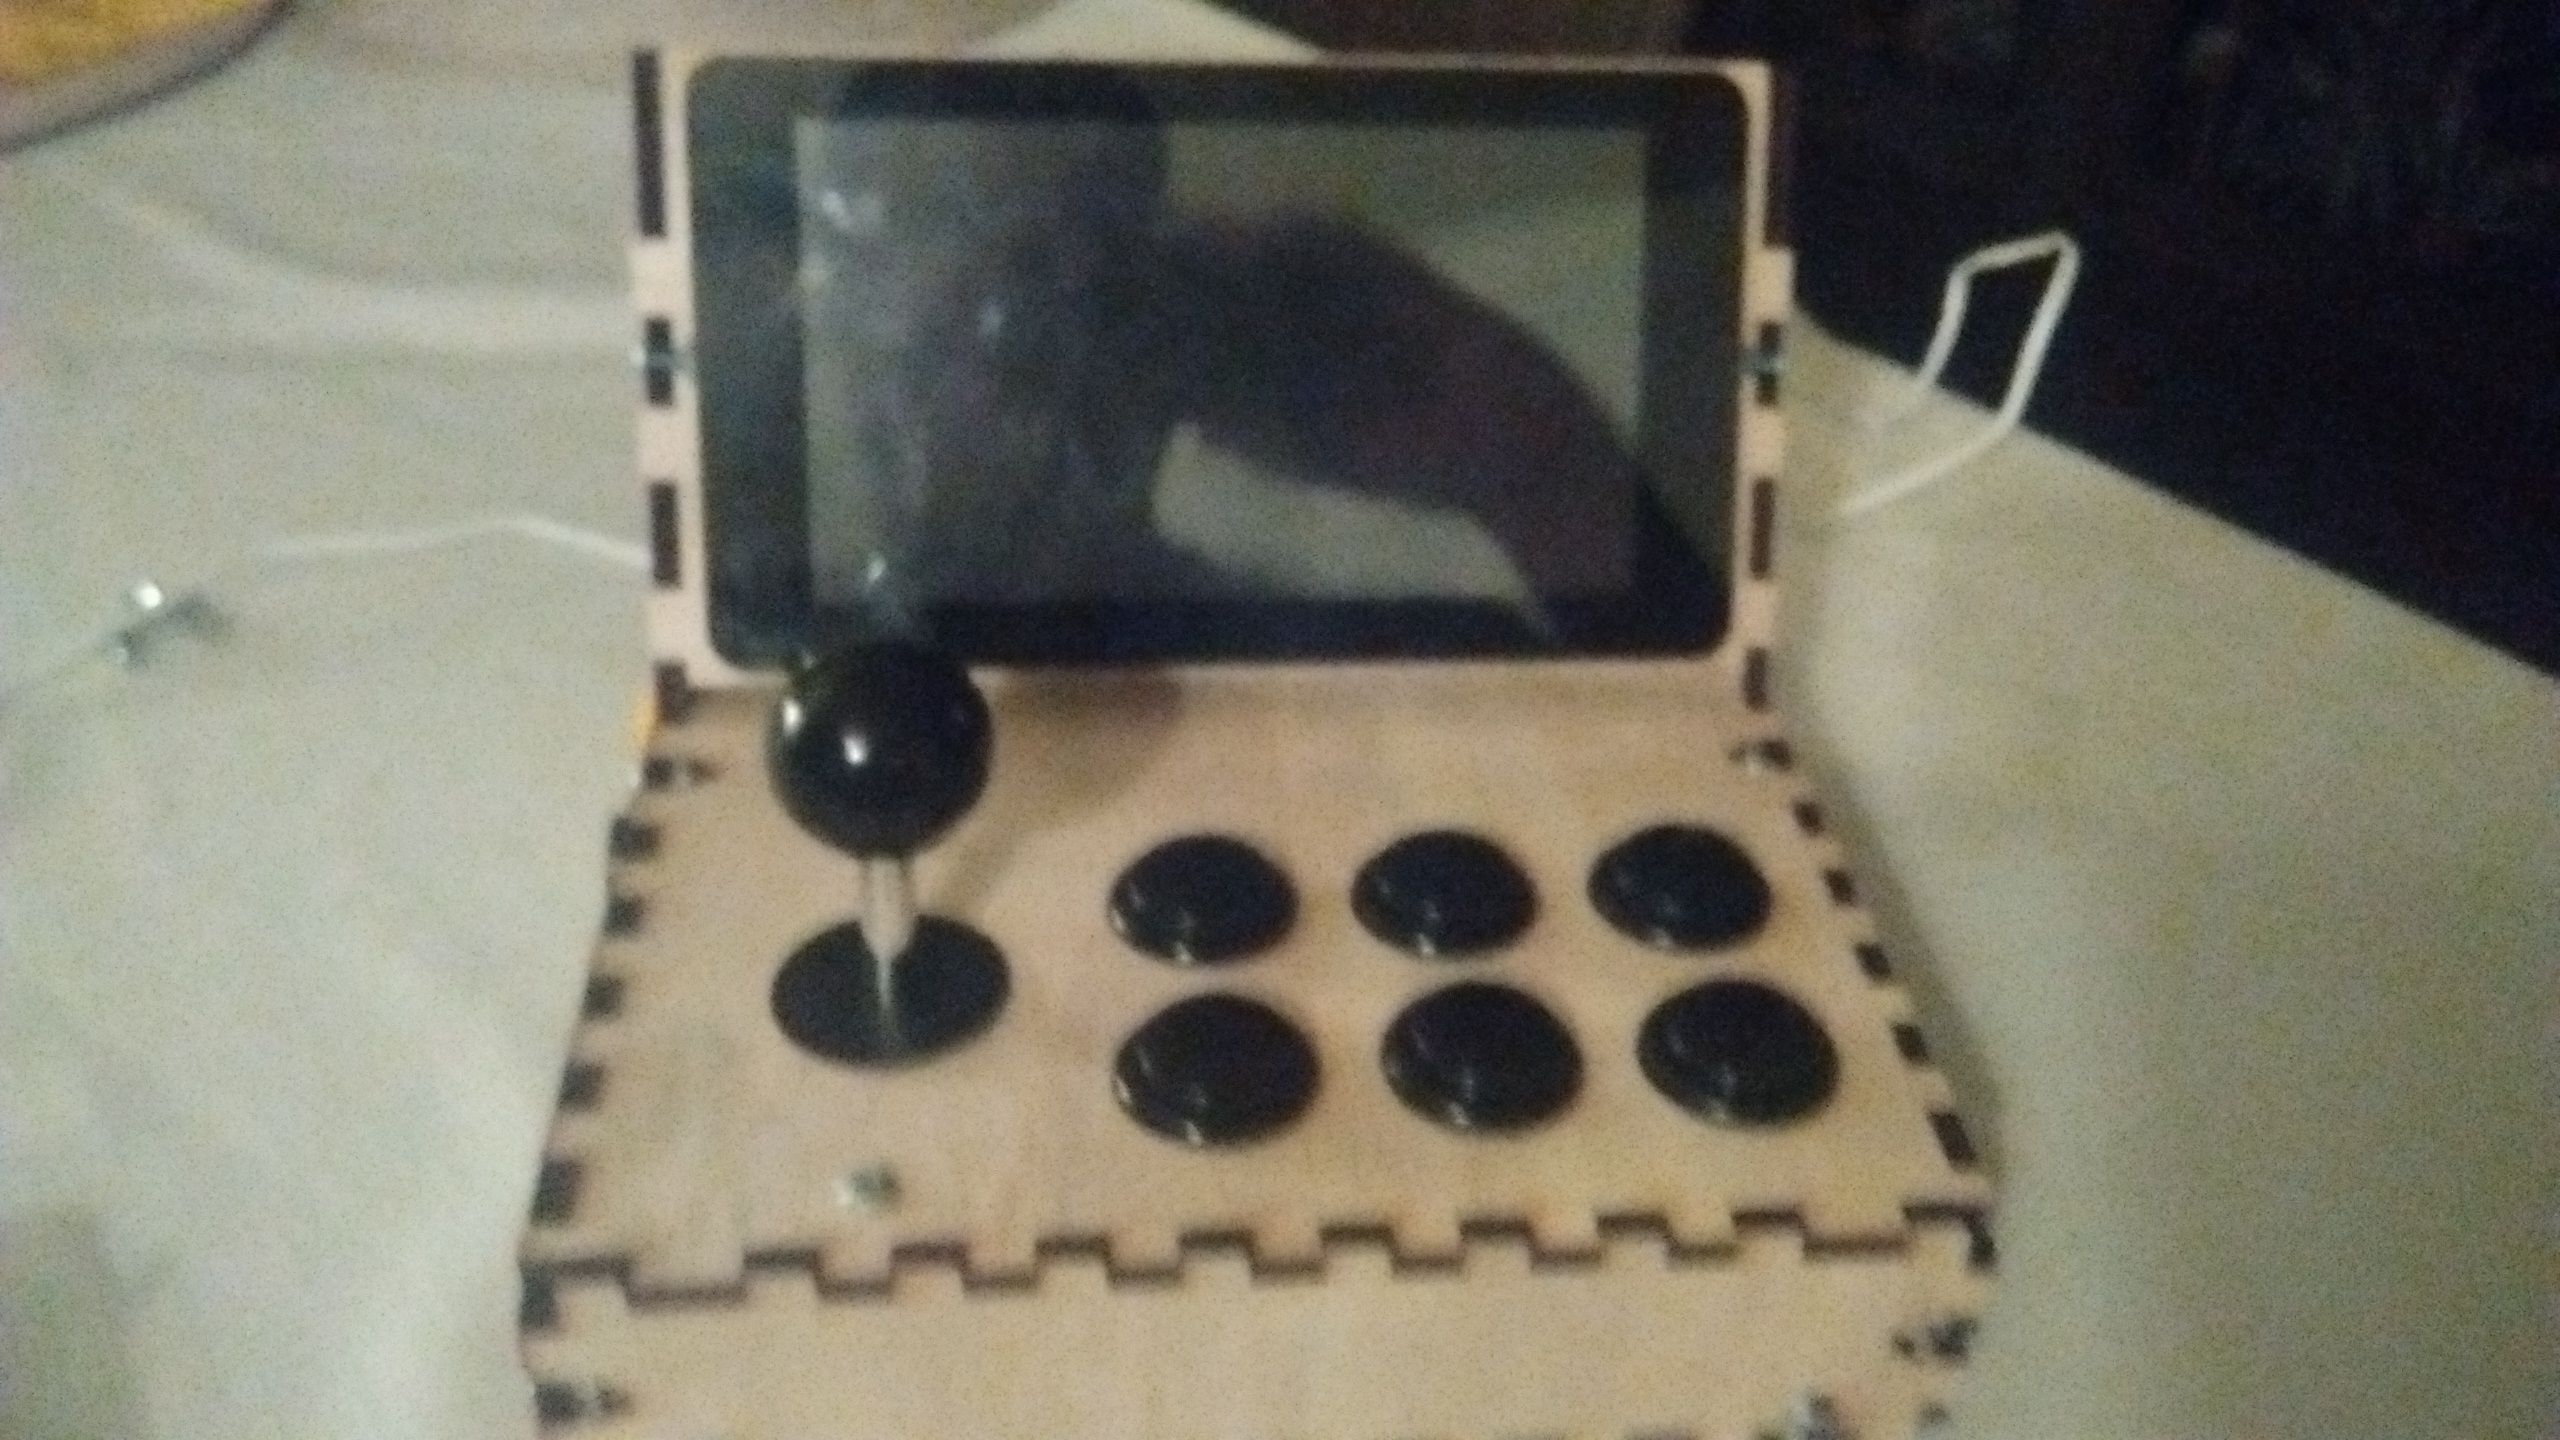
 The screen attaches to the front of the wood panel, with the PiPlay Deskcade facing the back.
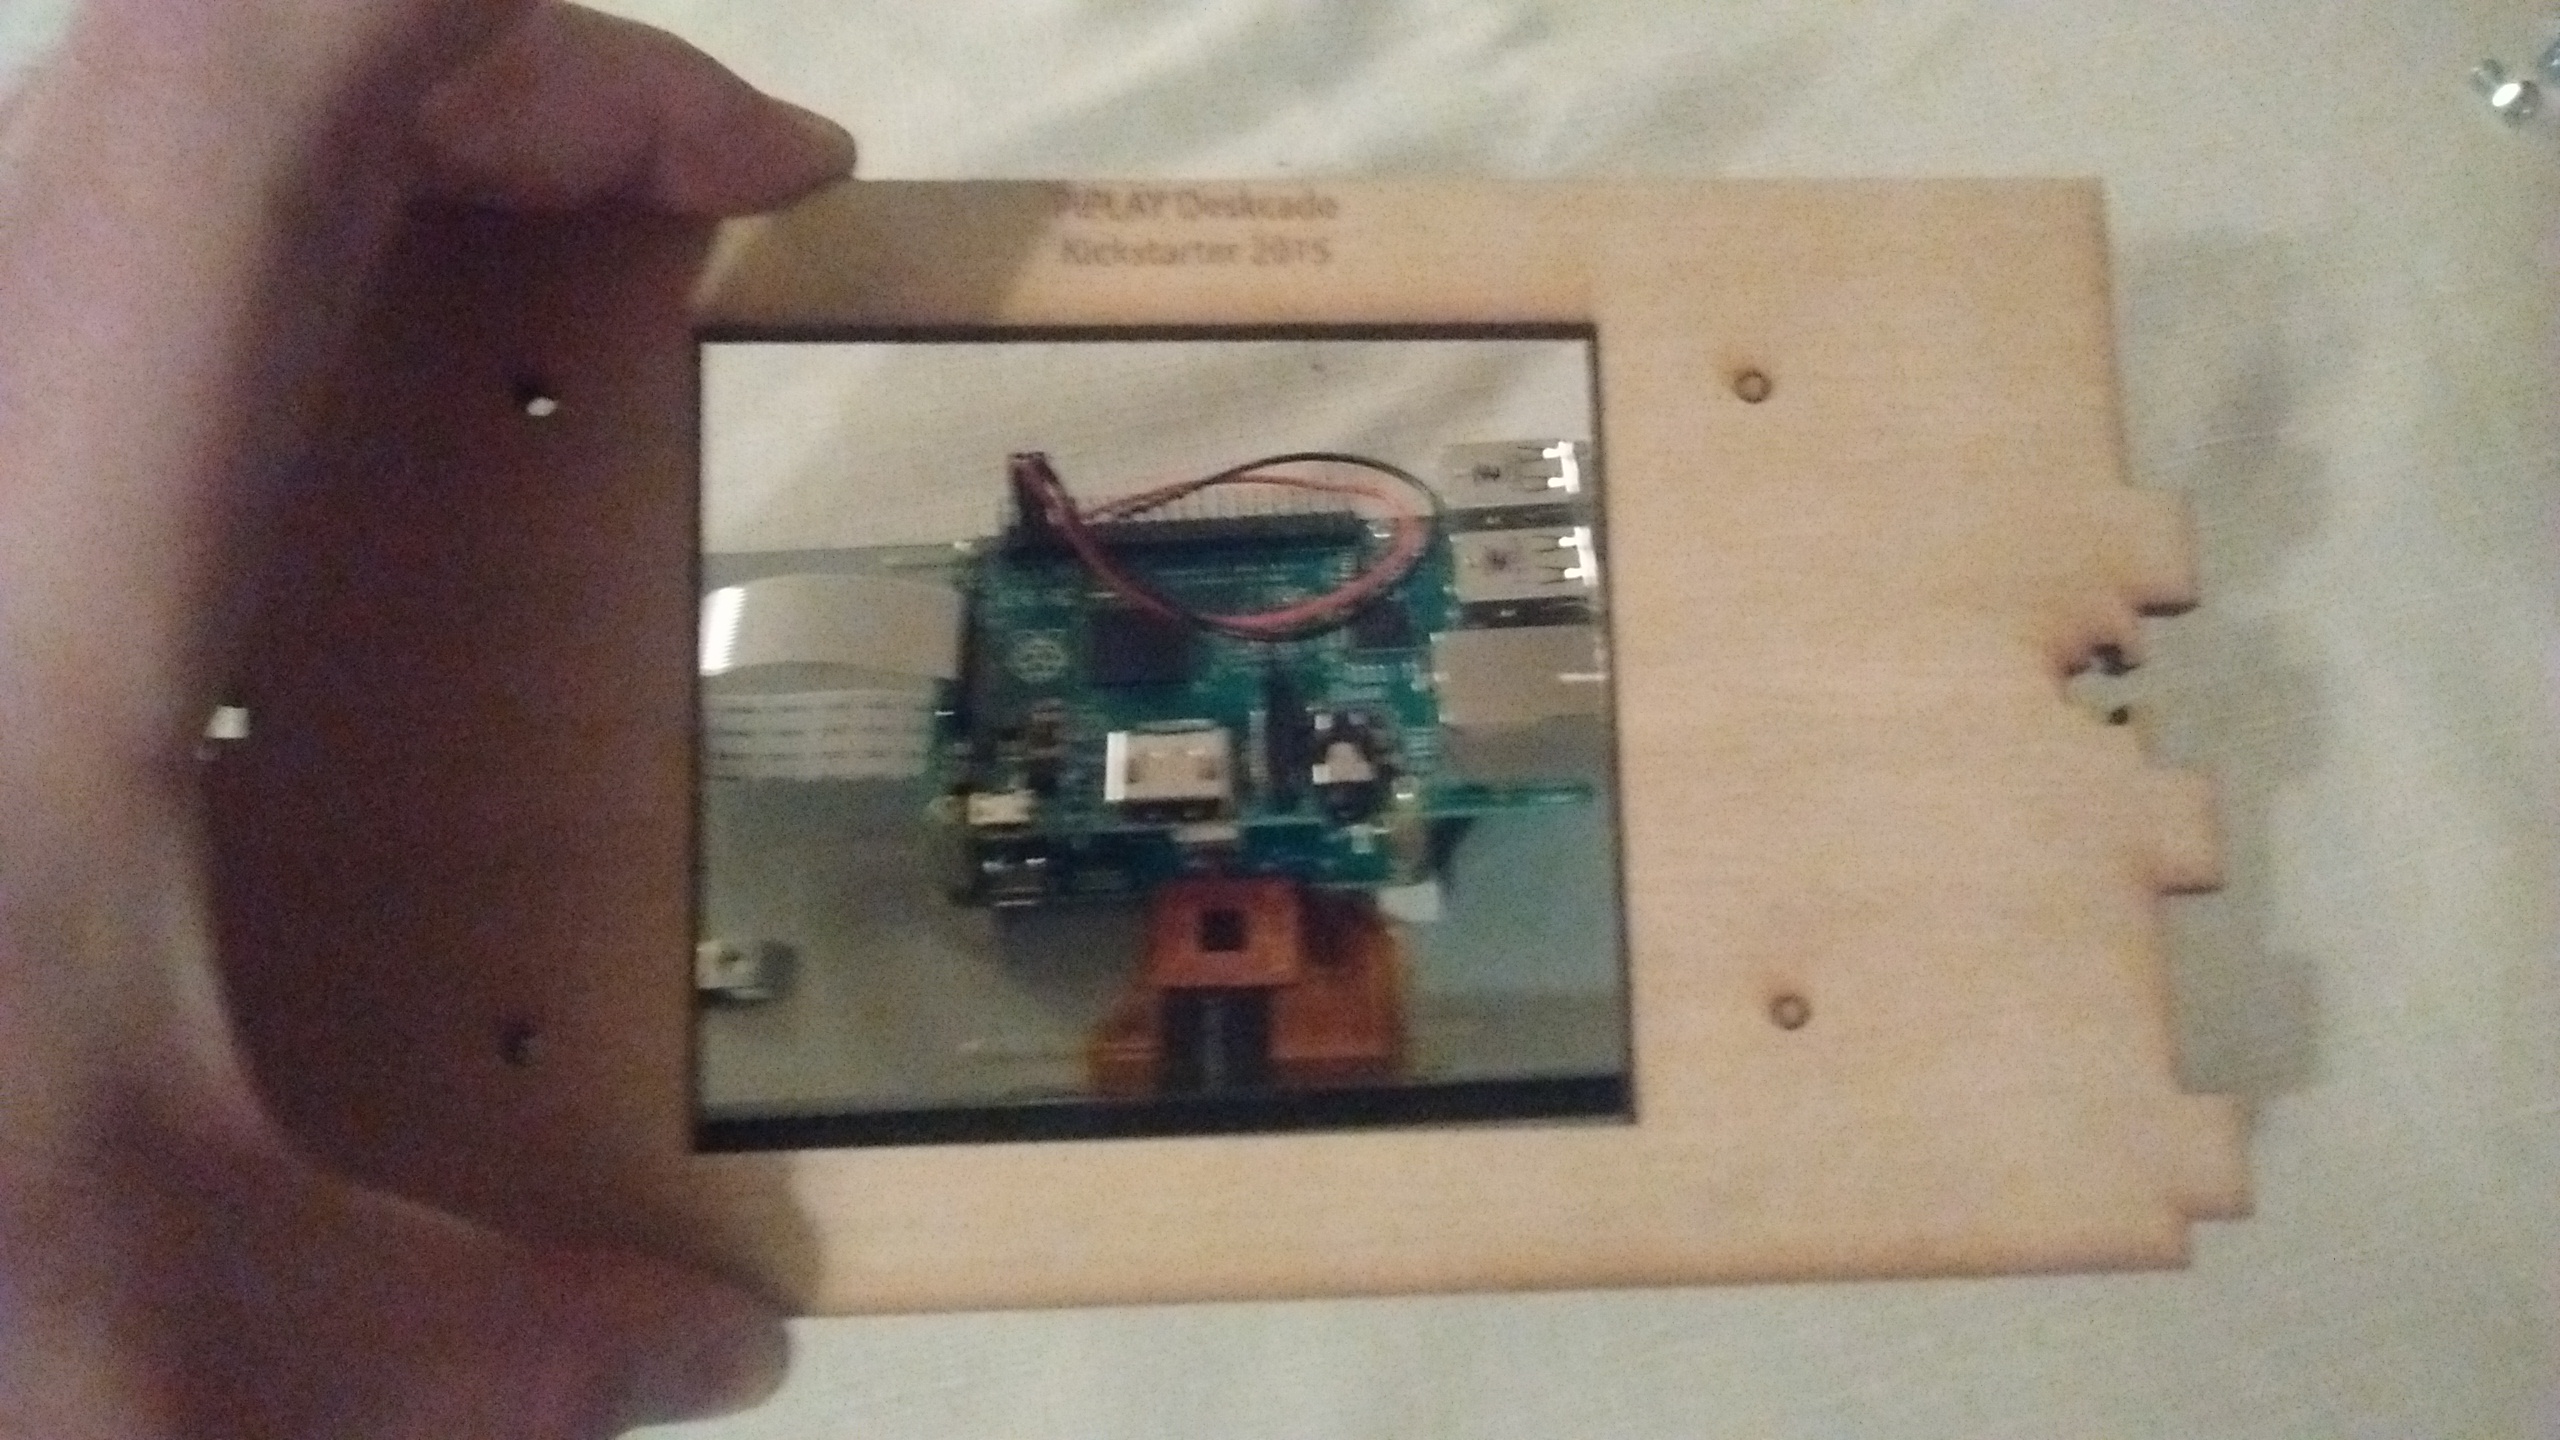
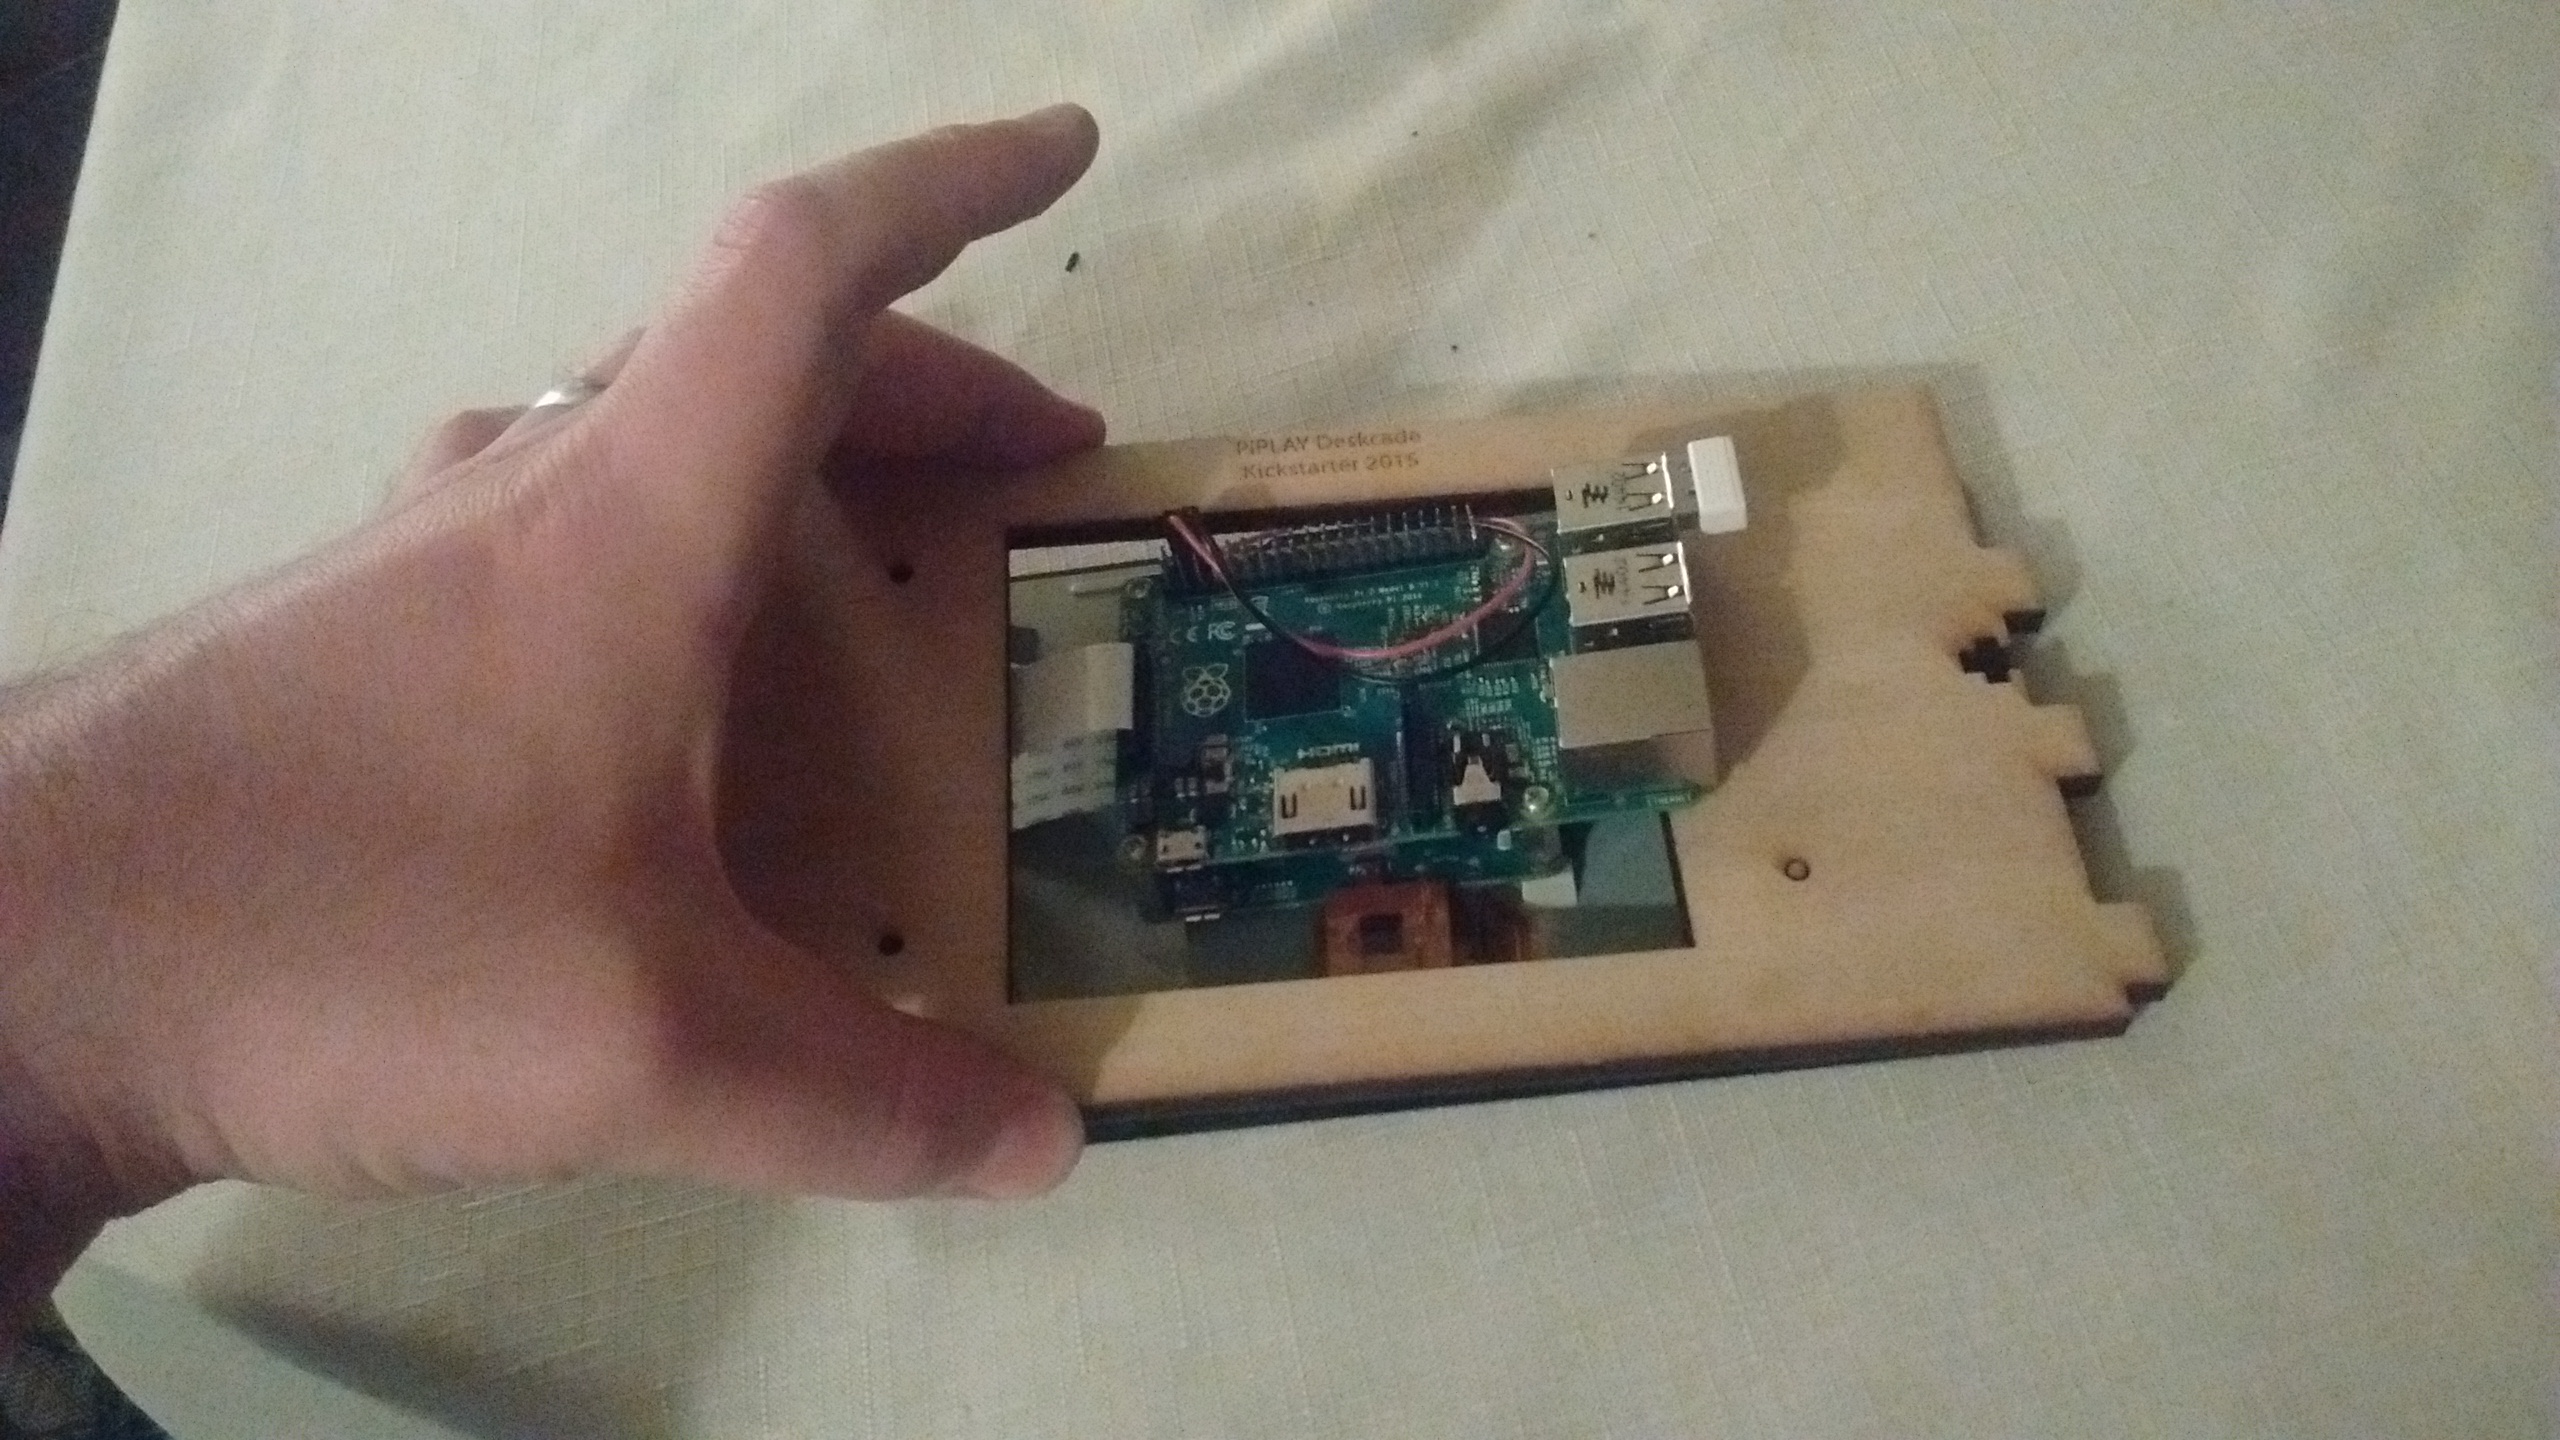
 Use the 4 screws to securely mount the screen to the panel.
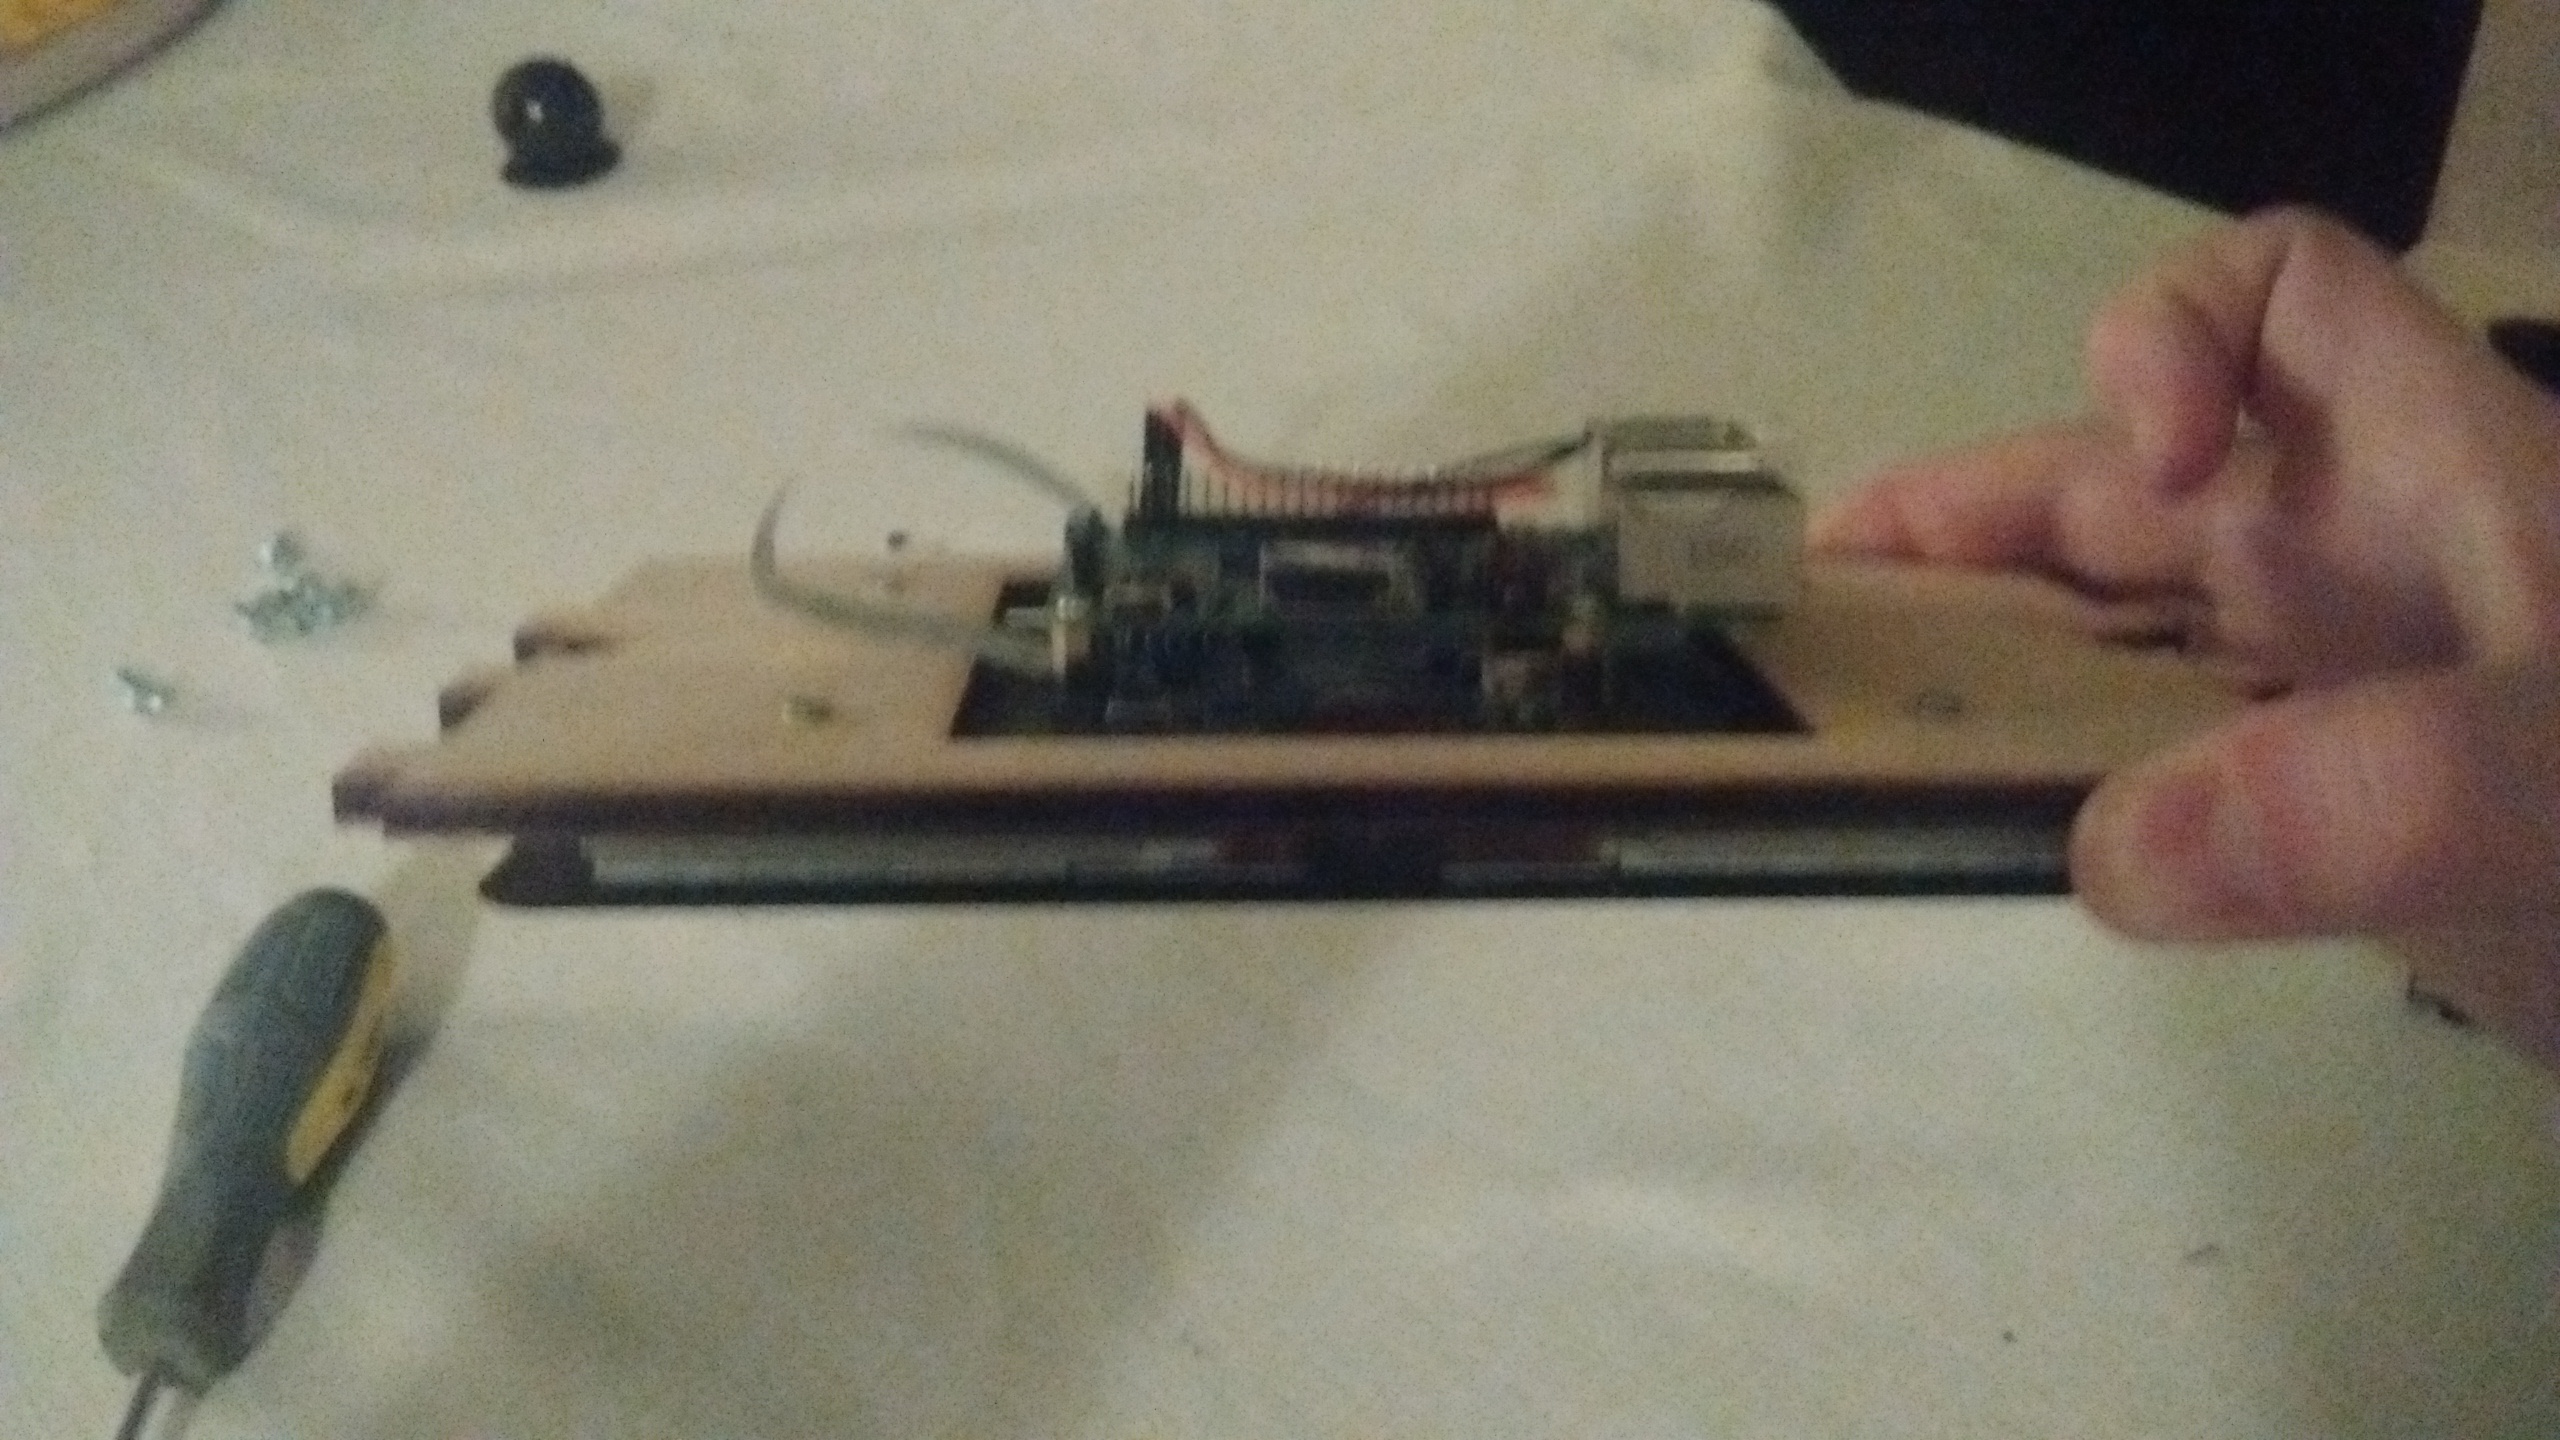

Thanks for the pics! I received mine on 28 Dec 2015. Looking forward to building it with my daughter. = )
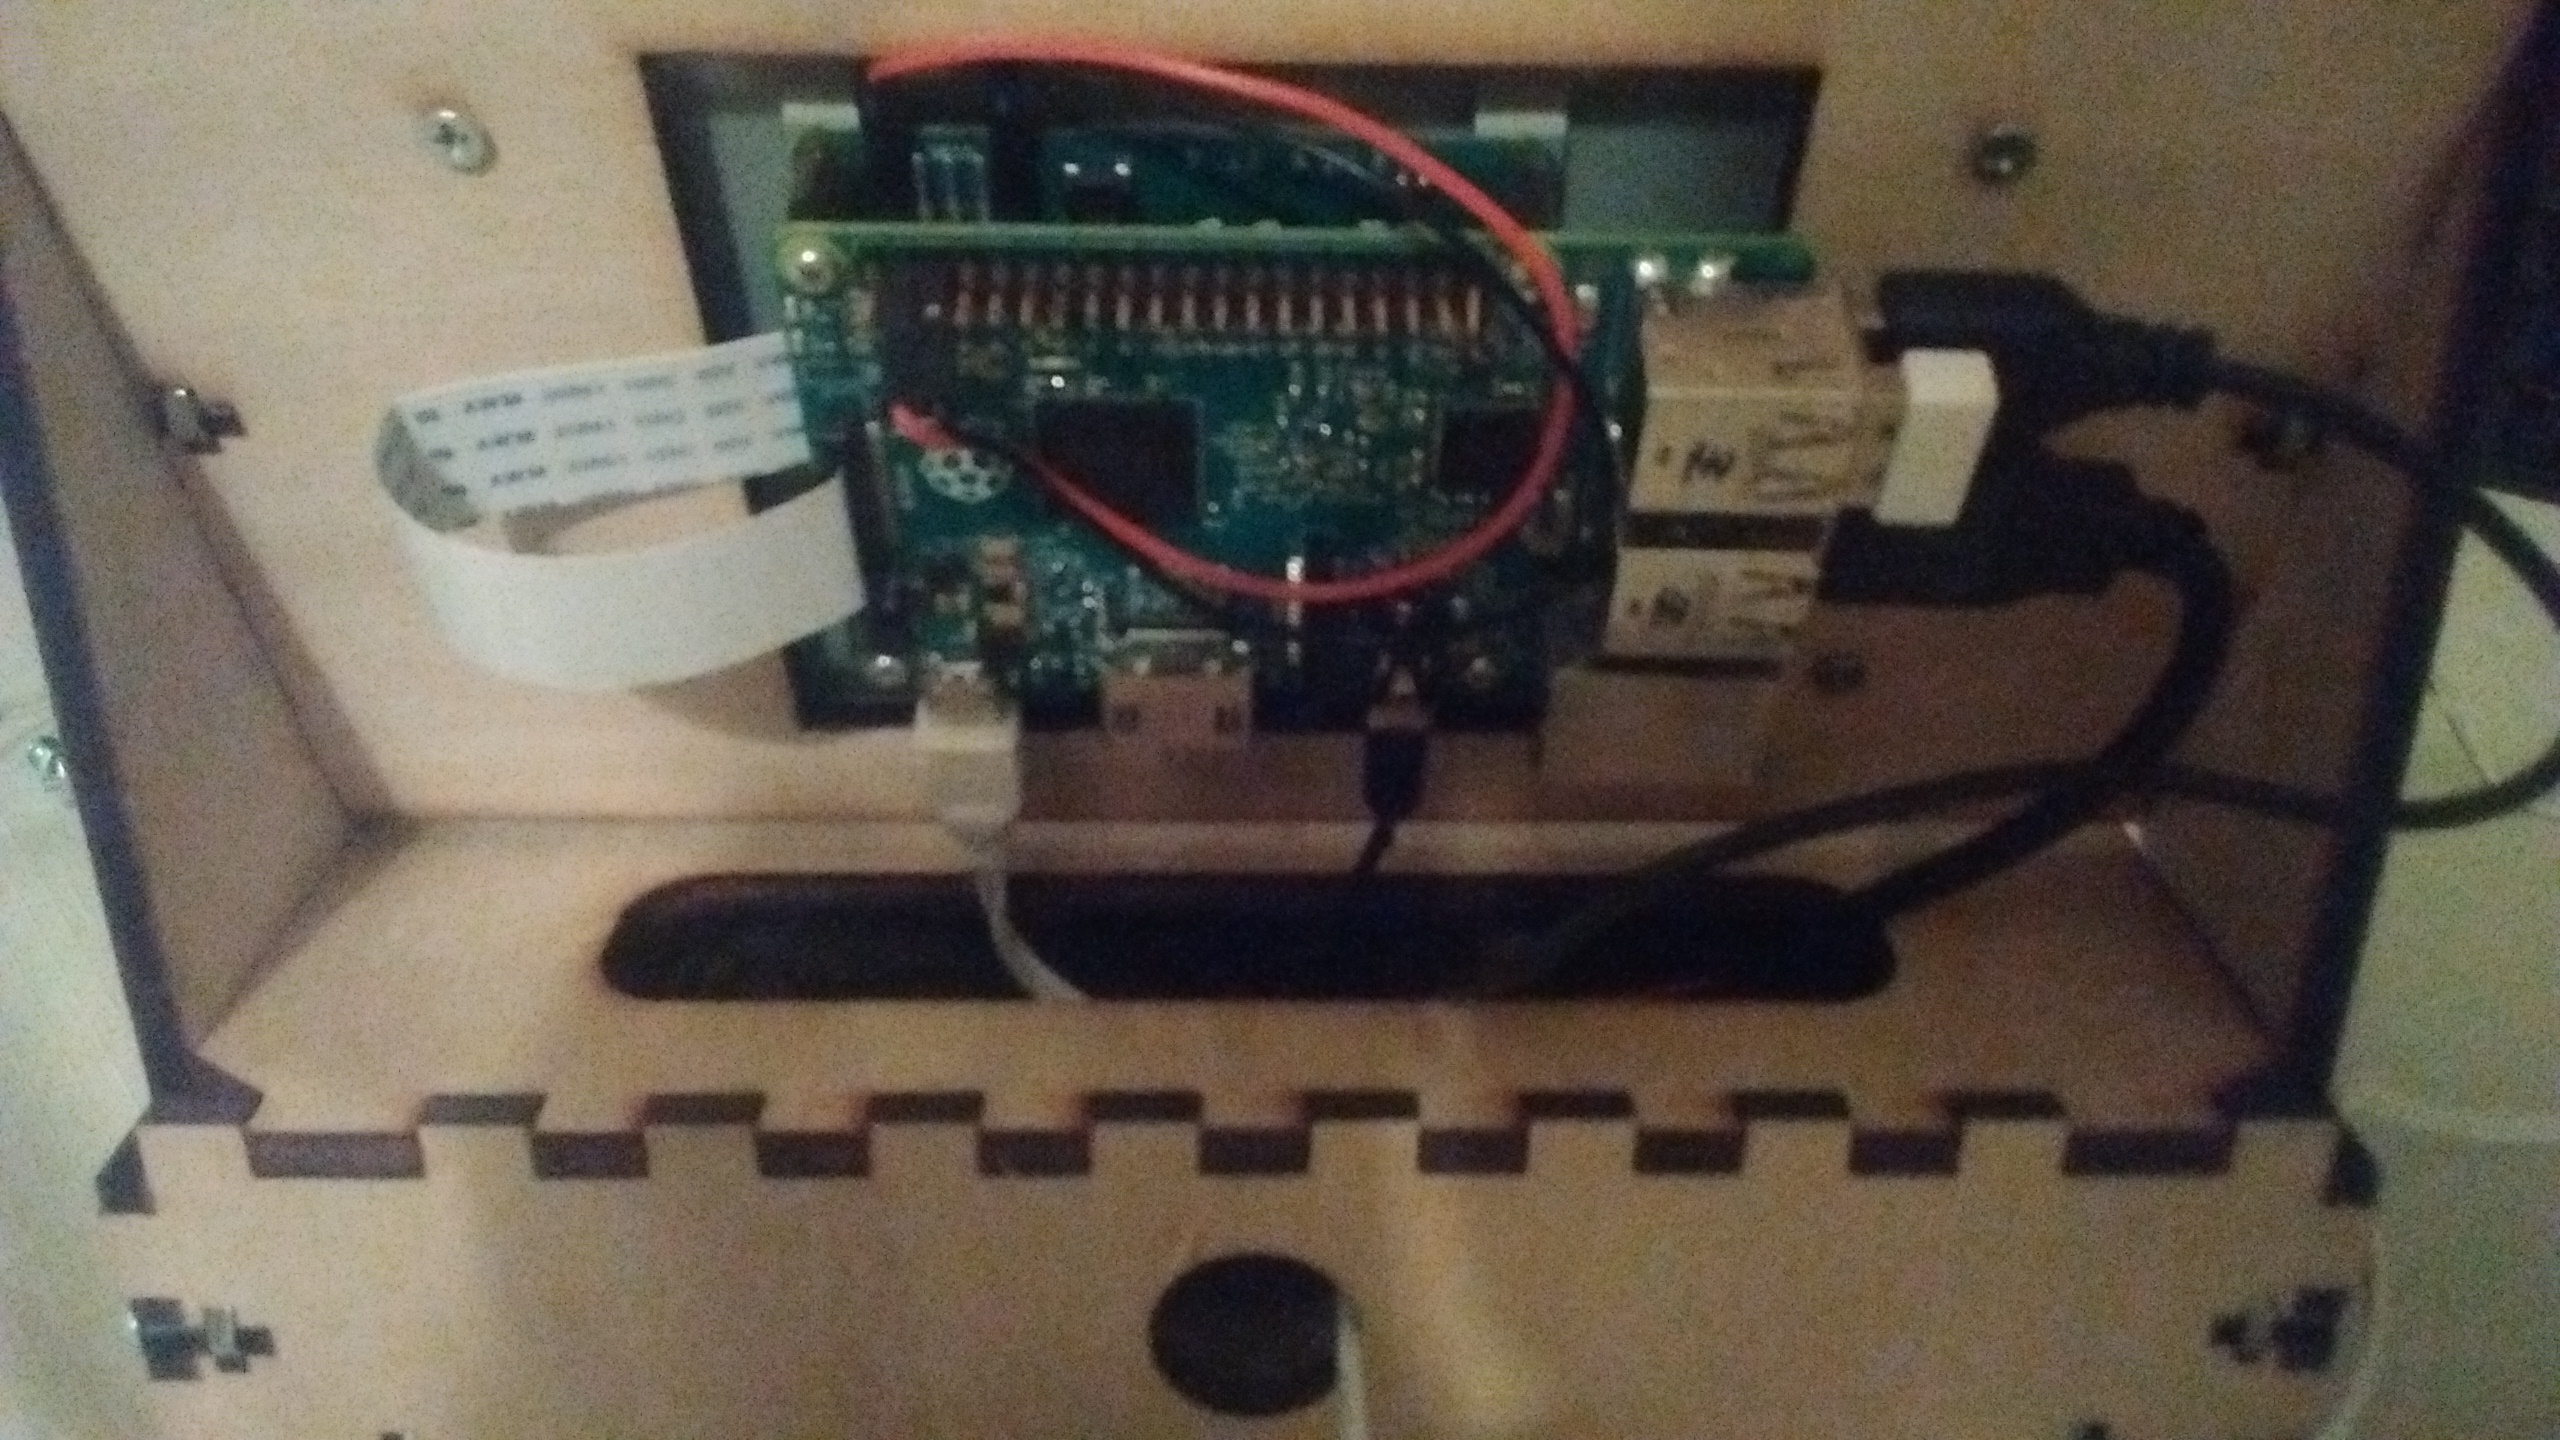
I’m having trouble powering this. A 2A USB power block, when driving the display then cascading to the Raspberry Pi 2, still gets me a rainbow square in the upper right hand corner of the display. Powering the Raspi2 directly and feeding the display from the GPIO pins gives me a blank white display (and the HDMI output indicates the machine is frozen and won’t boot). The back wooden panel isn’t constructed in a way to let me feed USB power to the display’s micro-usb port without some surgery. Is it possible to power a Pi2 and an official display (and the usb speaker, and the joystick controller) from one single USB power block? If so, can somebody post a link?
I’m doing it with the official Raspberry Pi power supply. Make sure your power supply is a name brand and is actually capable of providing 2amps. The official RPI PSU was made to power it all.
And I’m sorry about difficulty in connecting to the second power outlet. I’ll see how I can update the design to fix it.
I’m using a charger from an Asus tablet, so it’s not too shady. However, I’m also waiting for a CanaKit 2.5A charger (http://www.amazon.com/gp/product/B00MARDJZ4), hopefully this will work better.
I’m also waiting on some right-angle USB cables, hoping they will work better with the back panel configuration.
Pingback: FamiLAB’s DIY BioTech Lab Celebrates 1 Year Anniversary
Hi!,
I found your project when i was looking information to build my own bartop arcade machine with my new raspberry pi 3.
I’m not sure about de PCB usb interface. I’m thinking in IPAC2 (ultimarc) but i’ve seen this kind of chinese usb adapters oviously becouse the price is cheaper.
As you have one of this, What do you think about it? do you recomend it?
do you have to configure something in the raspberry (retropie/recalbox) or it is only plug and play?
I really apreciate if you could answer me
Finally I started to build it so many months after I received it thanks to your campaign.
Eventually I noticed I do not have any spacer for the LCD board and the raspberry pi.
Weren’t they provided? I have everything else but these 4 parts.