Jul 25

Friday Post: Even more 3D printing…

Hey All,

This has felt like one of the longest weeks of my life.  Had a couple meetings about Maker Faire Orlando, pushed out some software that 60,000 students will be using in a month. It’s super stressful.  Luckily it’s Friday and I can end up sleeping until Sunday 😀

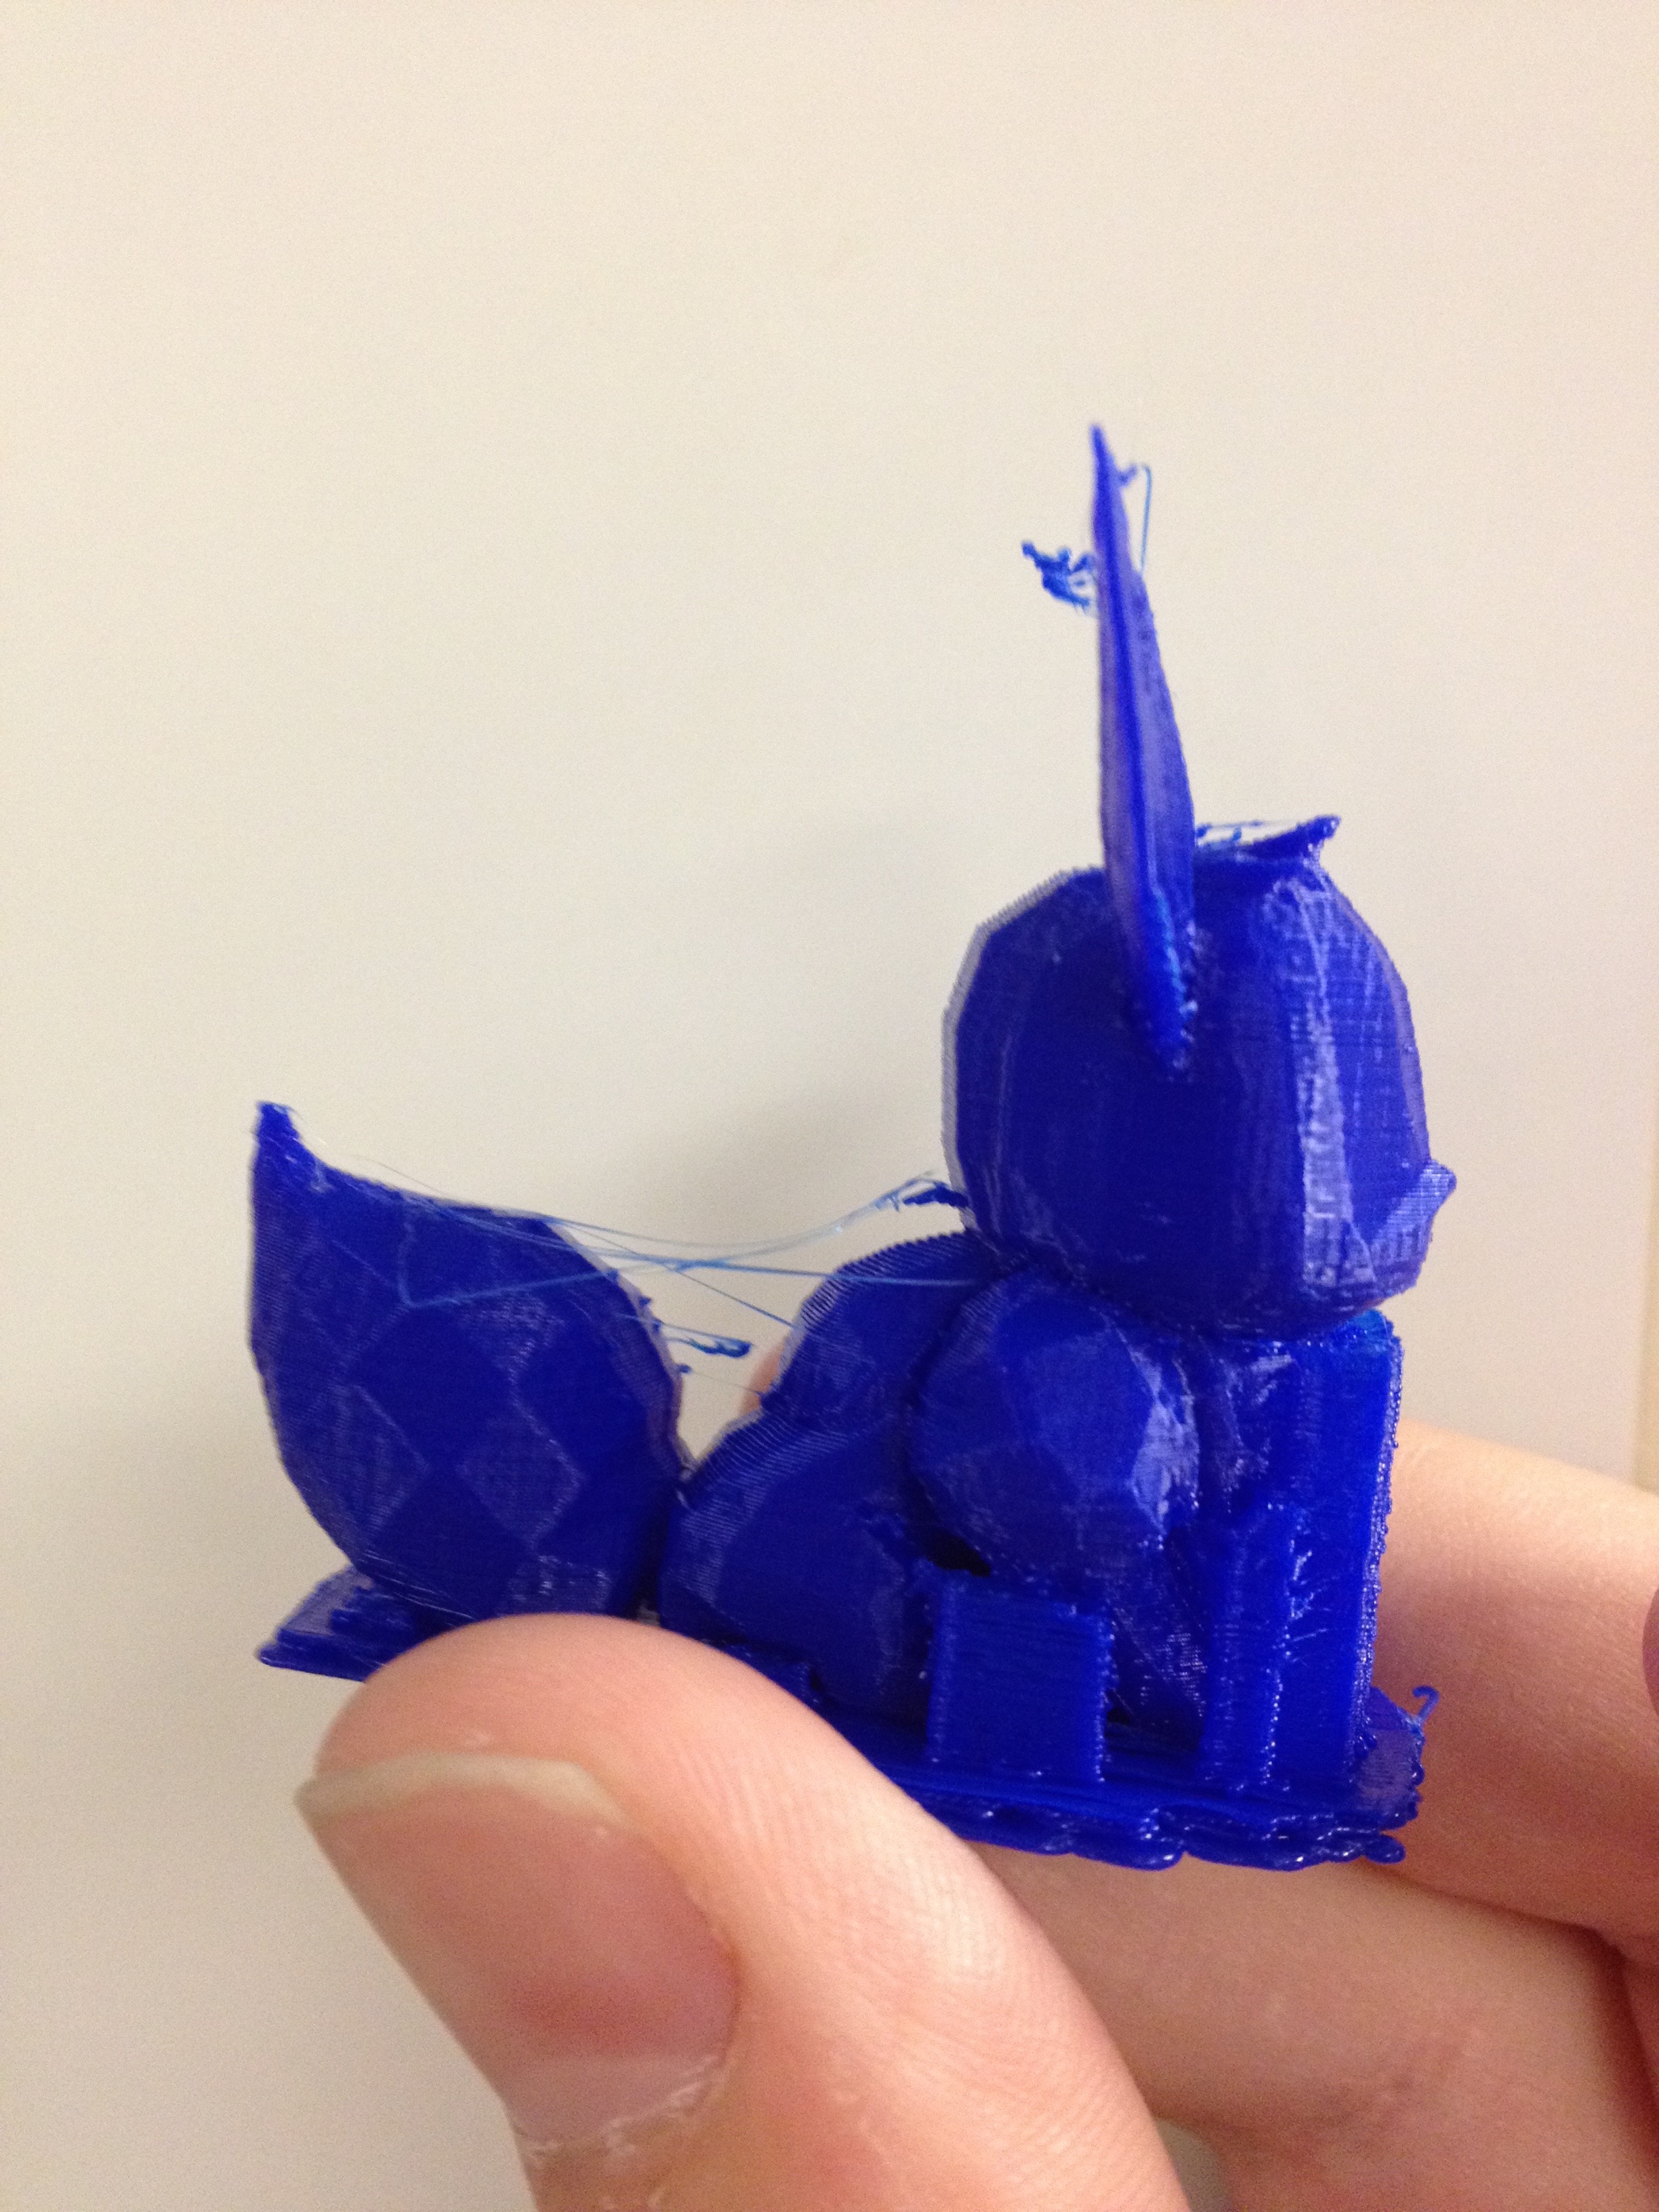
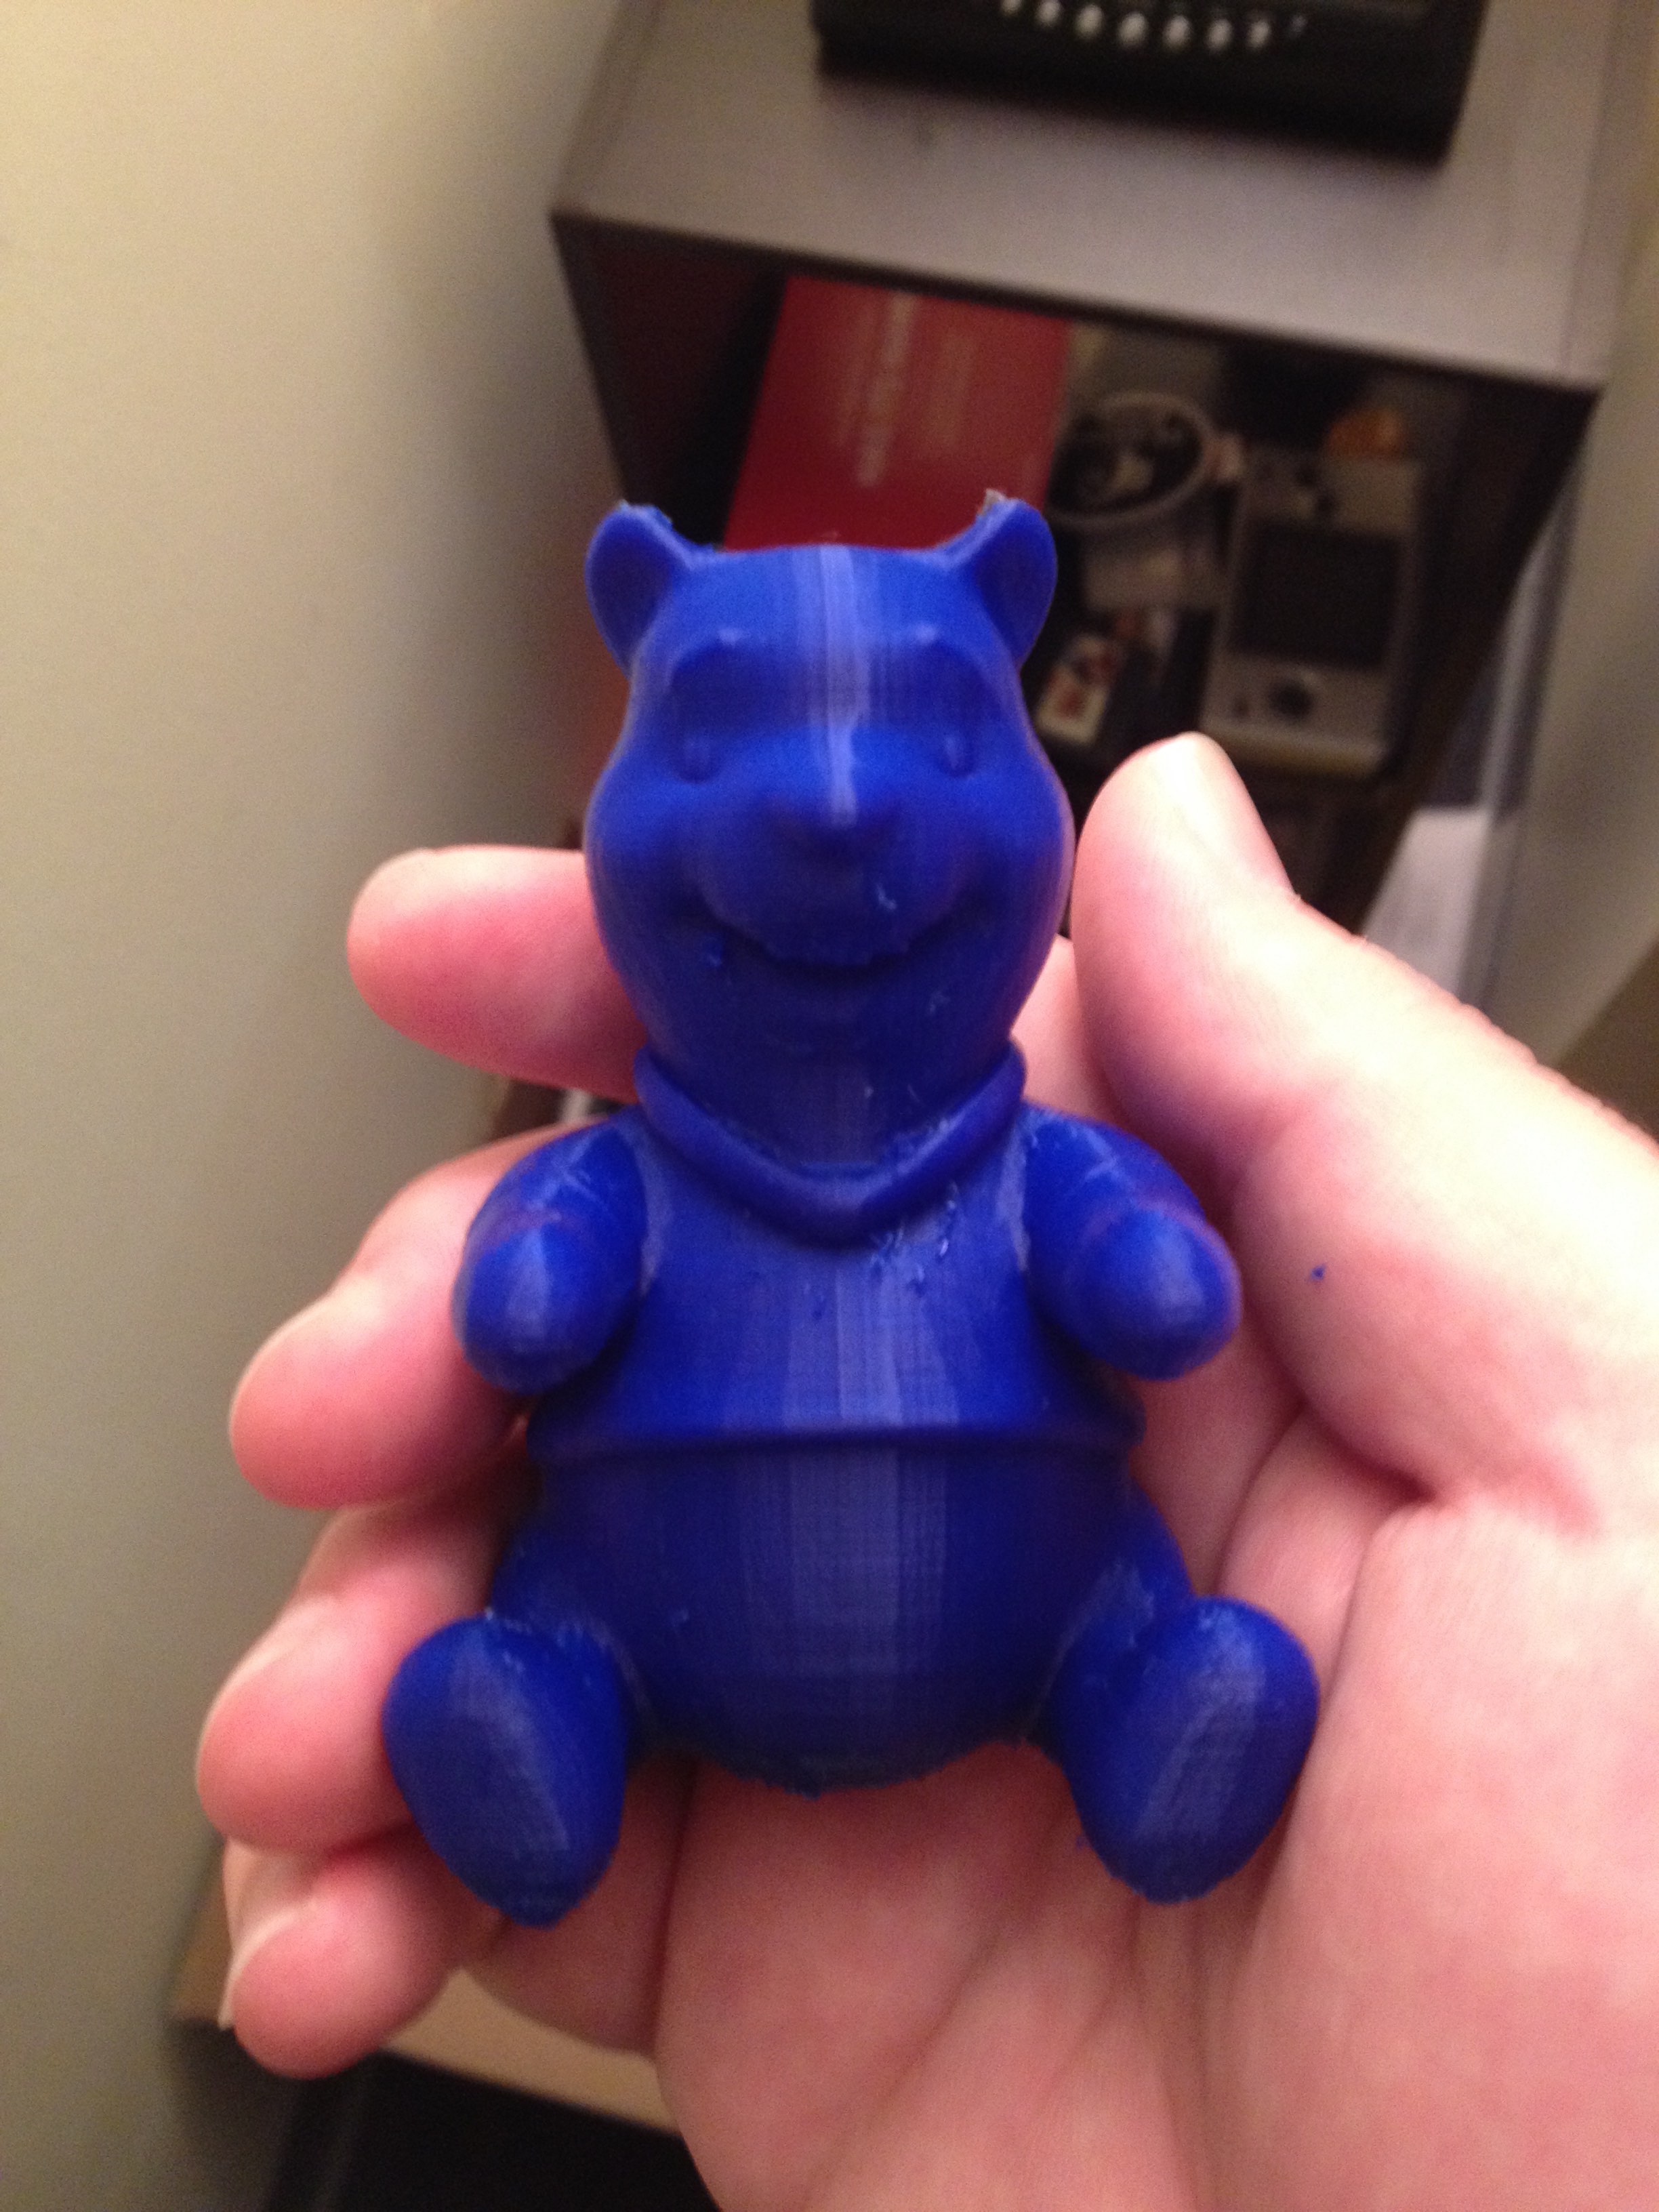
I was hoping to have some cool stuff to show this week about the 3D printing software, but of course at the last minute stuff wasn’t working.

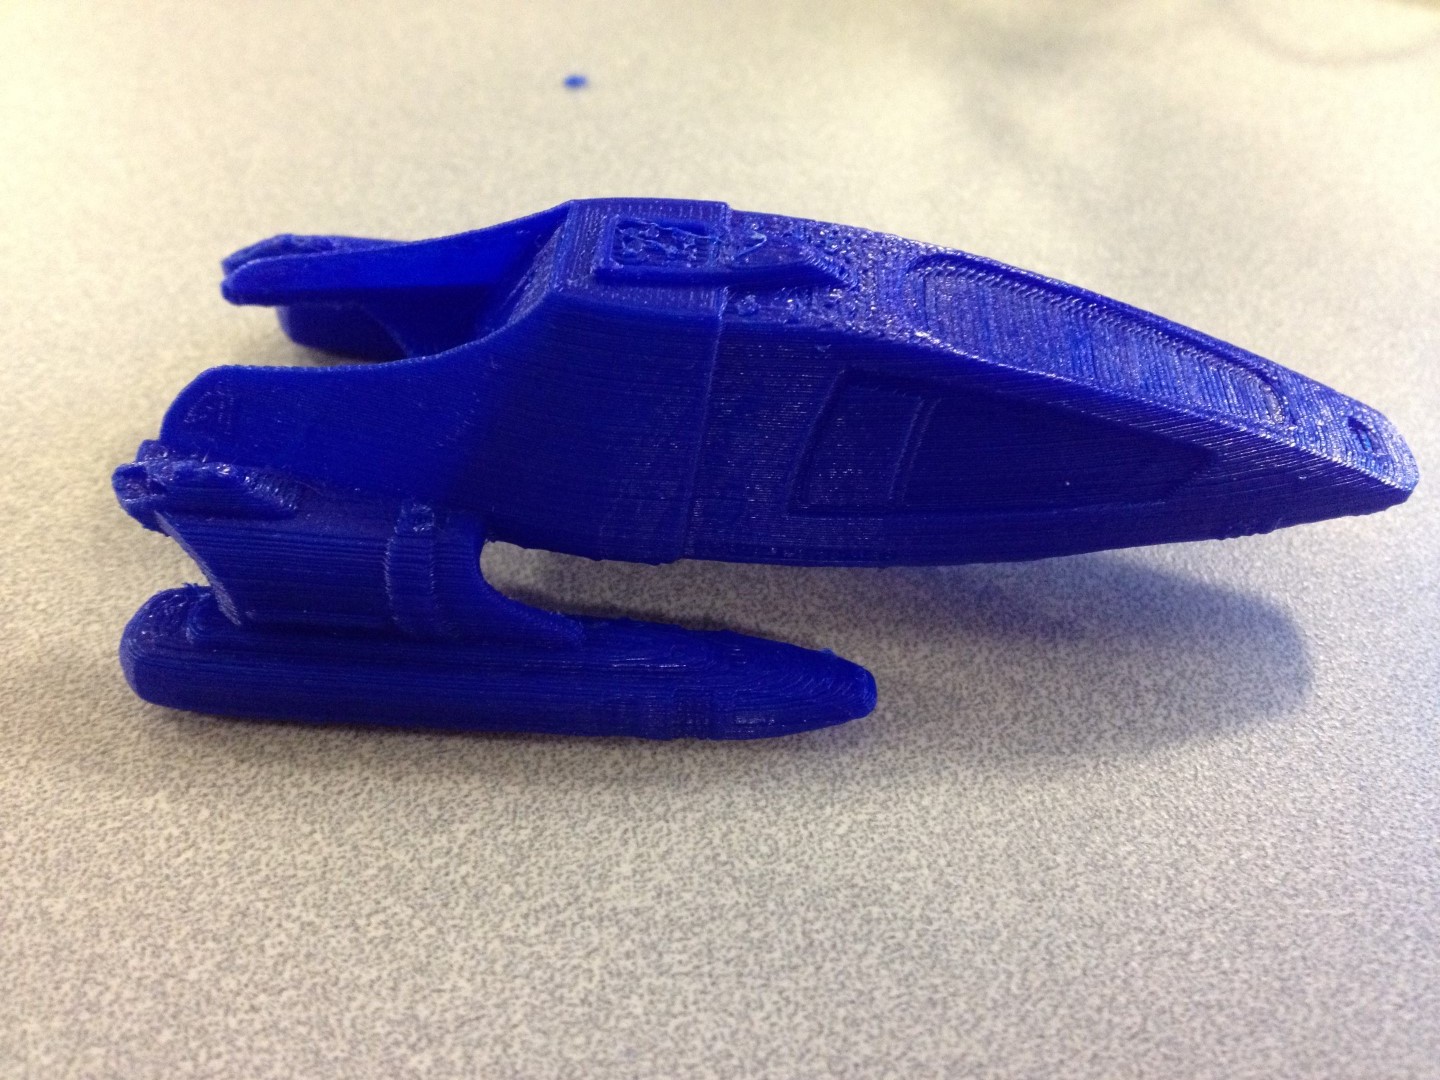
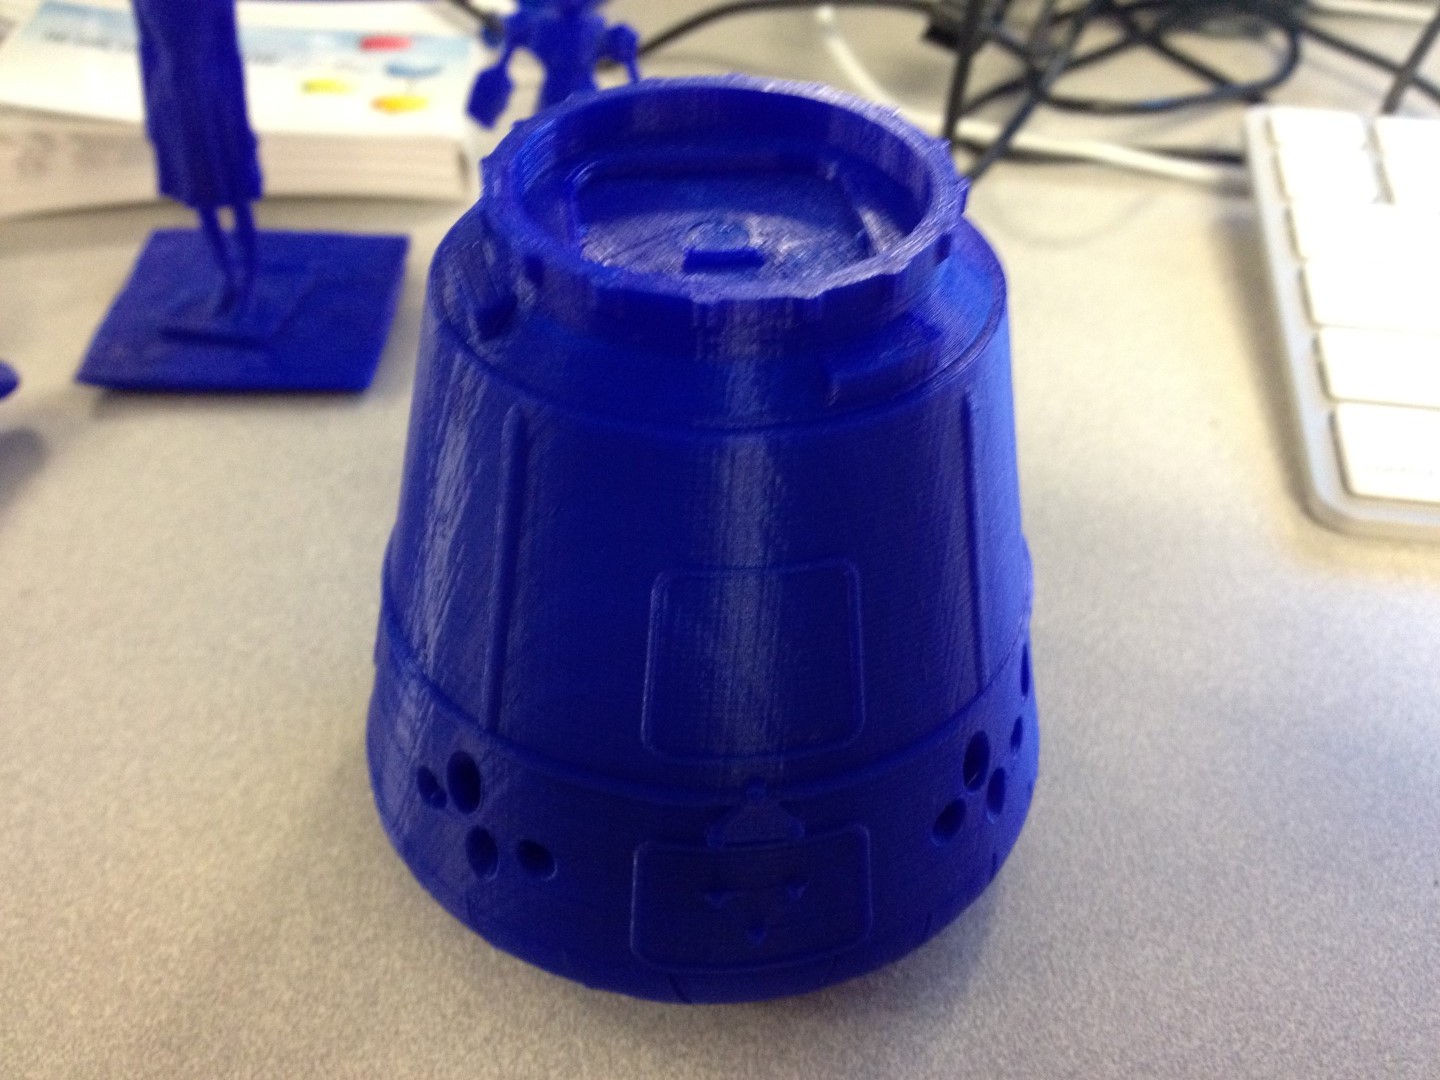
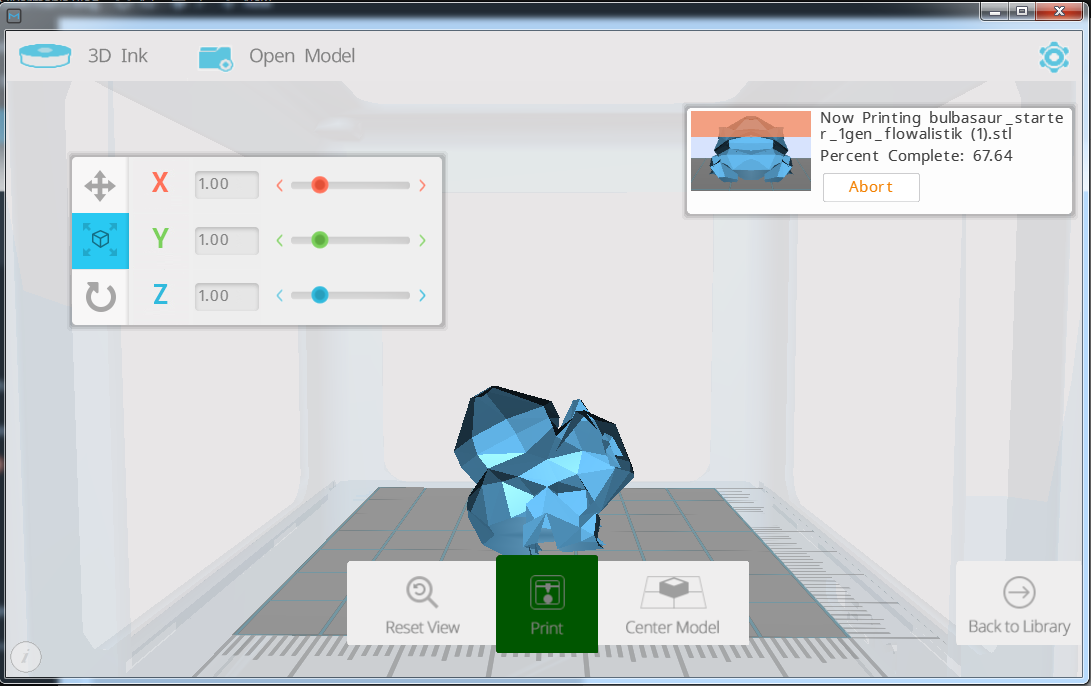
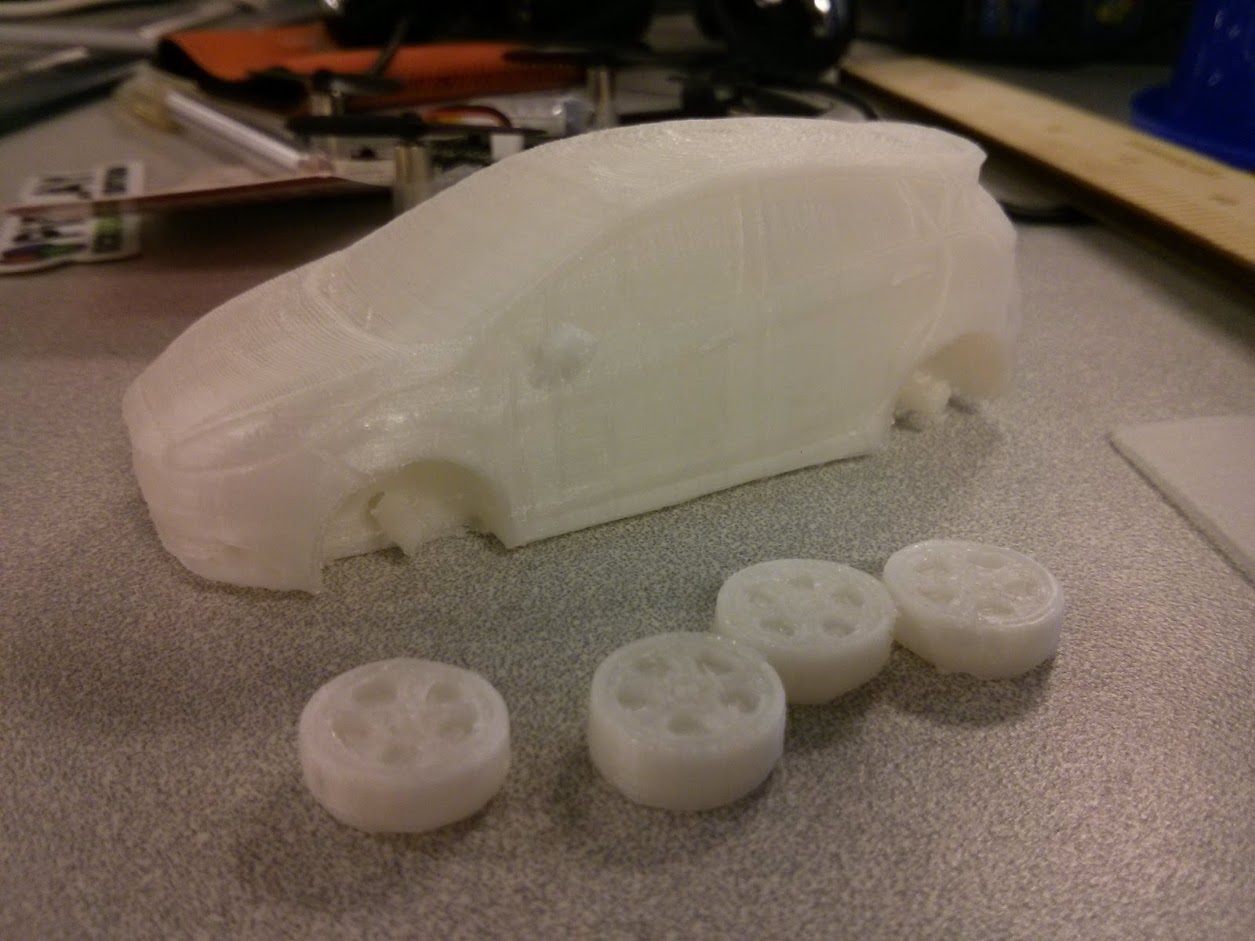
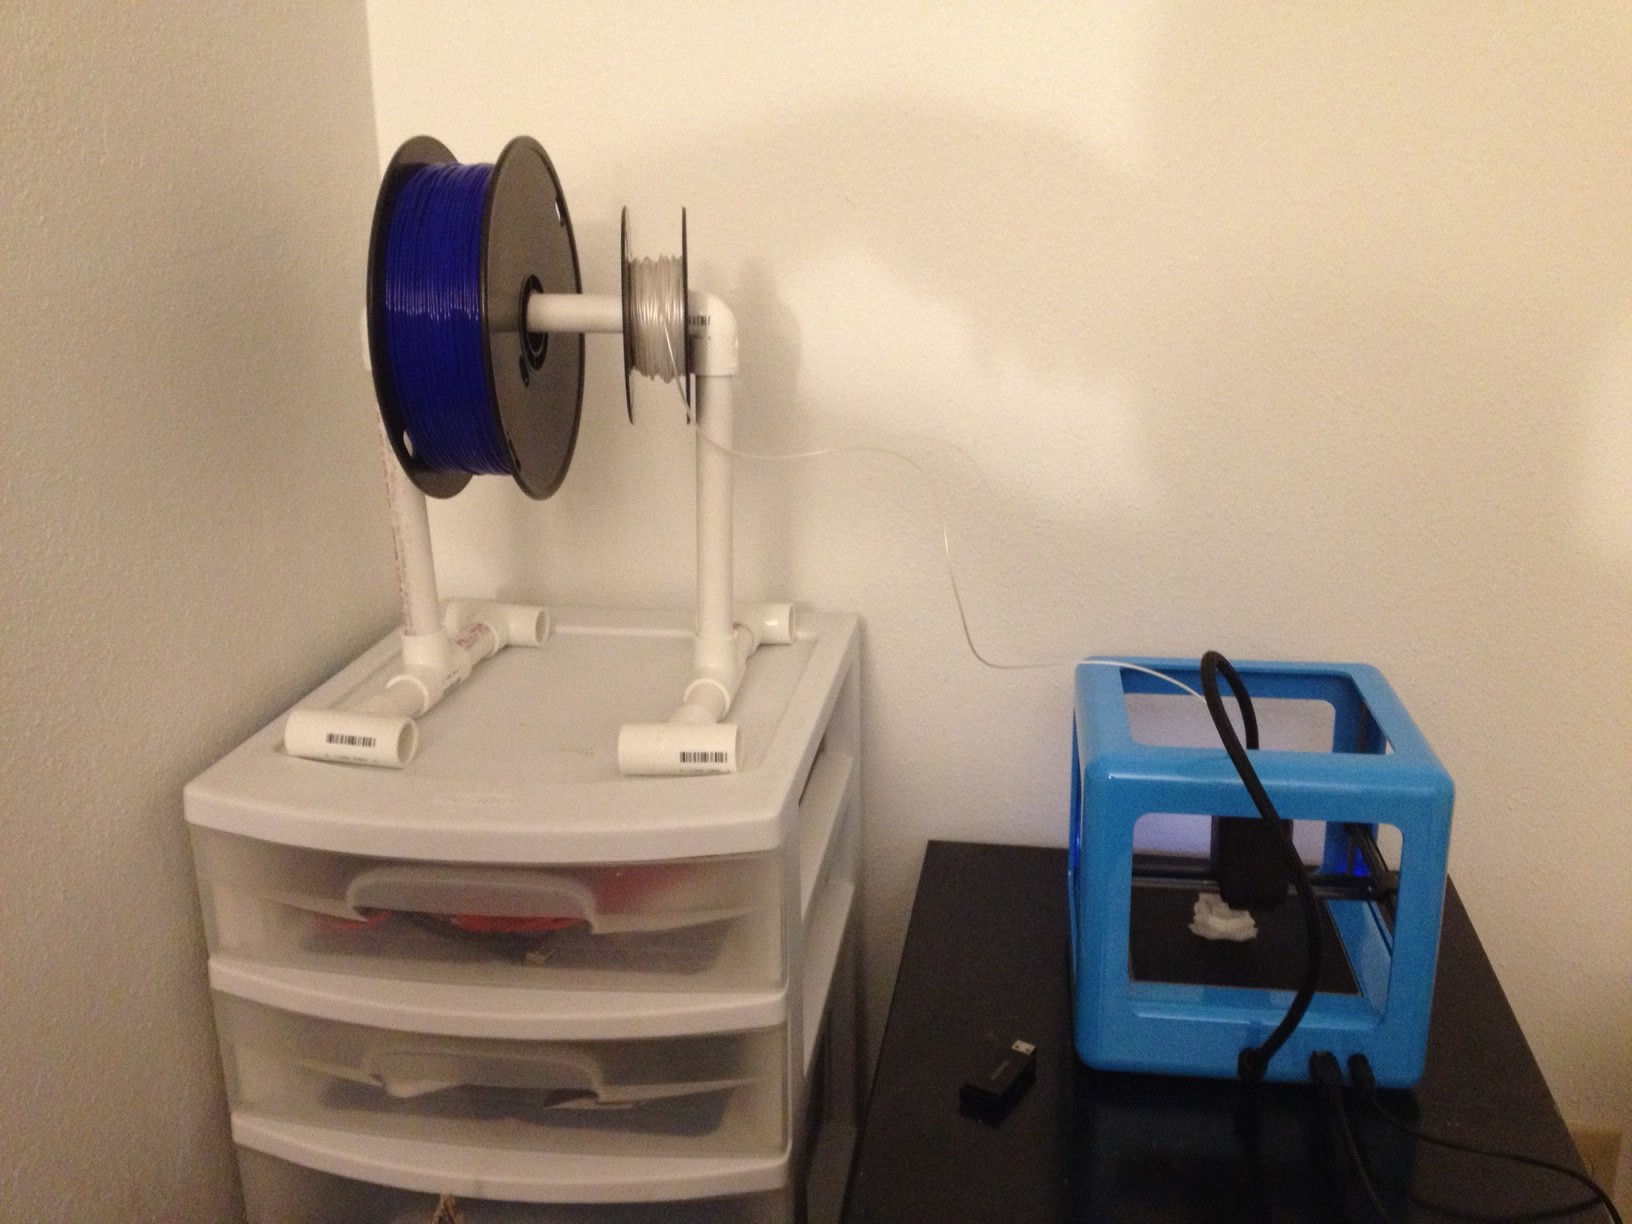
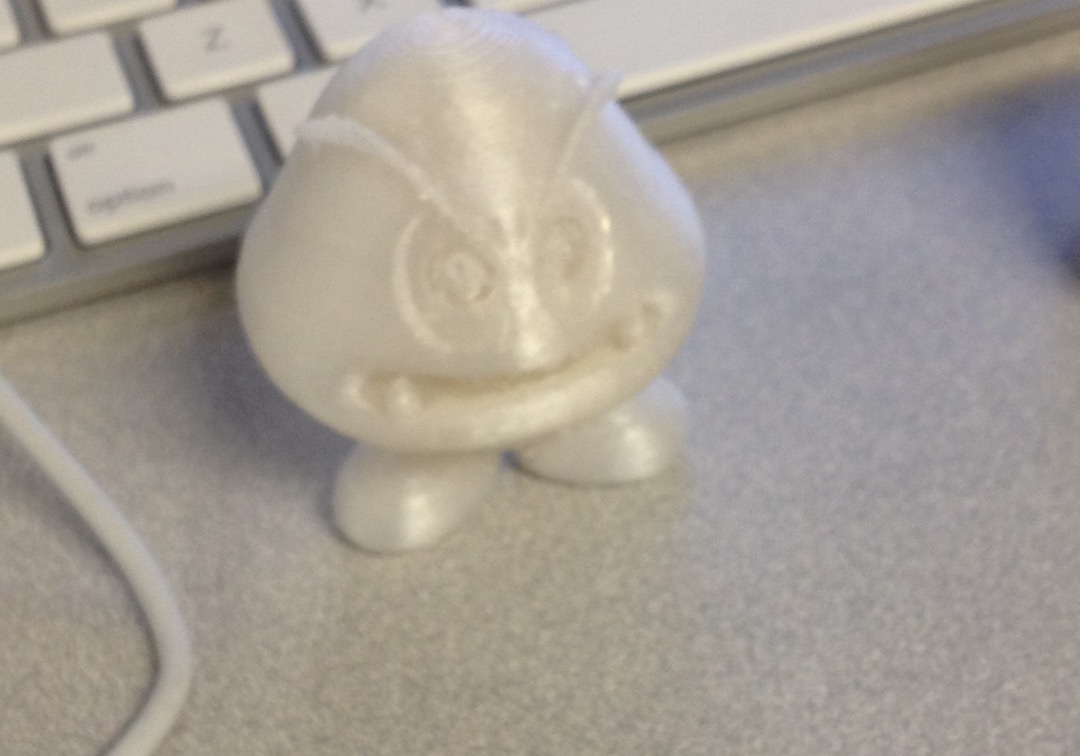
My 3D printer is a Micro3D 3D printer.  It’s a small $300 3D printer that is only now just getting people to hack on it.  With 3D Printing, you usually have two steps from model to plastic.

The first step is to run your model (an .STL file) through a slicer.  There are many slicers out there, Cura, Simple3D, Slic3r, etc.  These literally slice your model into layers which are written out as Gcode.

Gcode is an industry standard for 3D Printing and CNC milling that can control extruders, X Y and Z axis motors, temperature controls, etc.  Everything your print will do is going to be from a line of gcode commands.

The printing portion is actually a program that reads the gcode and sends it to the printer to act out.

OctoPi

There is a really cool open source suite of tools called OctoPrint, that combines a gcode processor and a beautiful web frontend to manage your 3D Printer.  A Raspberry Pi distribution was made call OctoPi which allows you to control most 3D printers from your Pi!

octoprintscreen

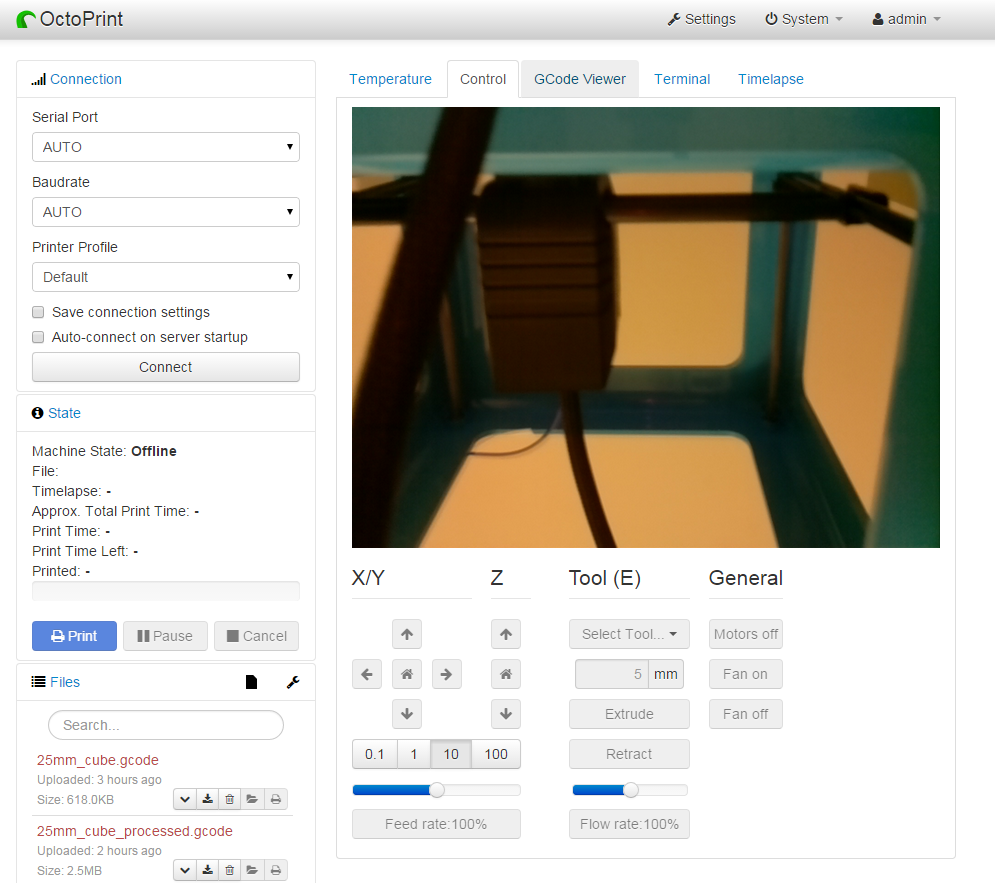
Because the Micro3D is so new, support is just starting to come out for it and the gcode processors are a little iffy at the moment.  I was able to get OctoPi to talk to my printer and manually move the axis, but it could not process the gcode properly.  Bummer 🙁

I am sure this will be fixed in the coming weeks though.  I am really happy with this printer.

Be on the lookout for a new PiPlay image.  It’s been too long!

-Shea

IMG_5401
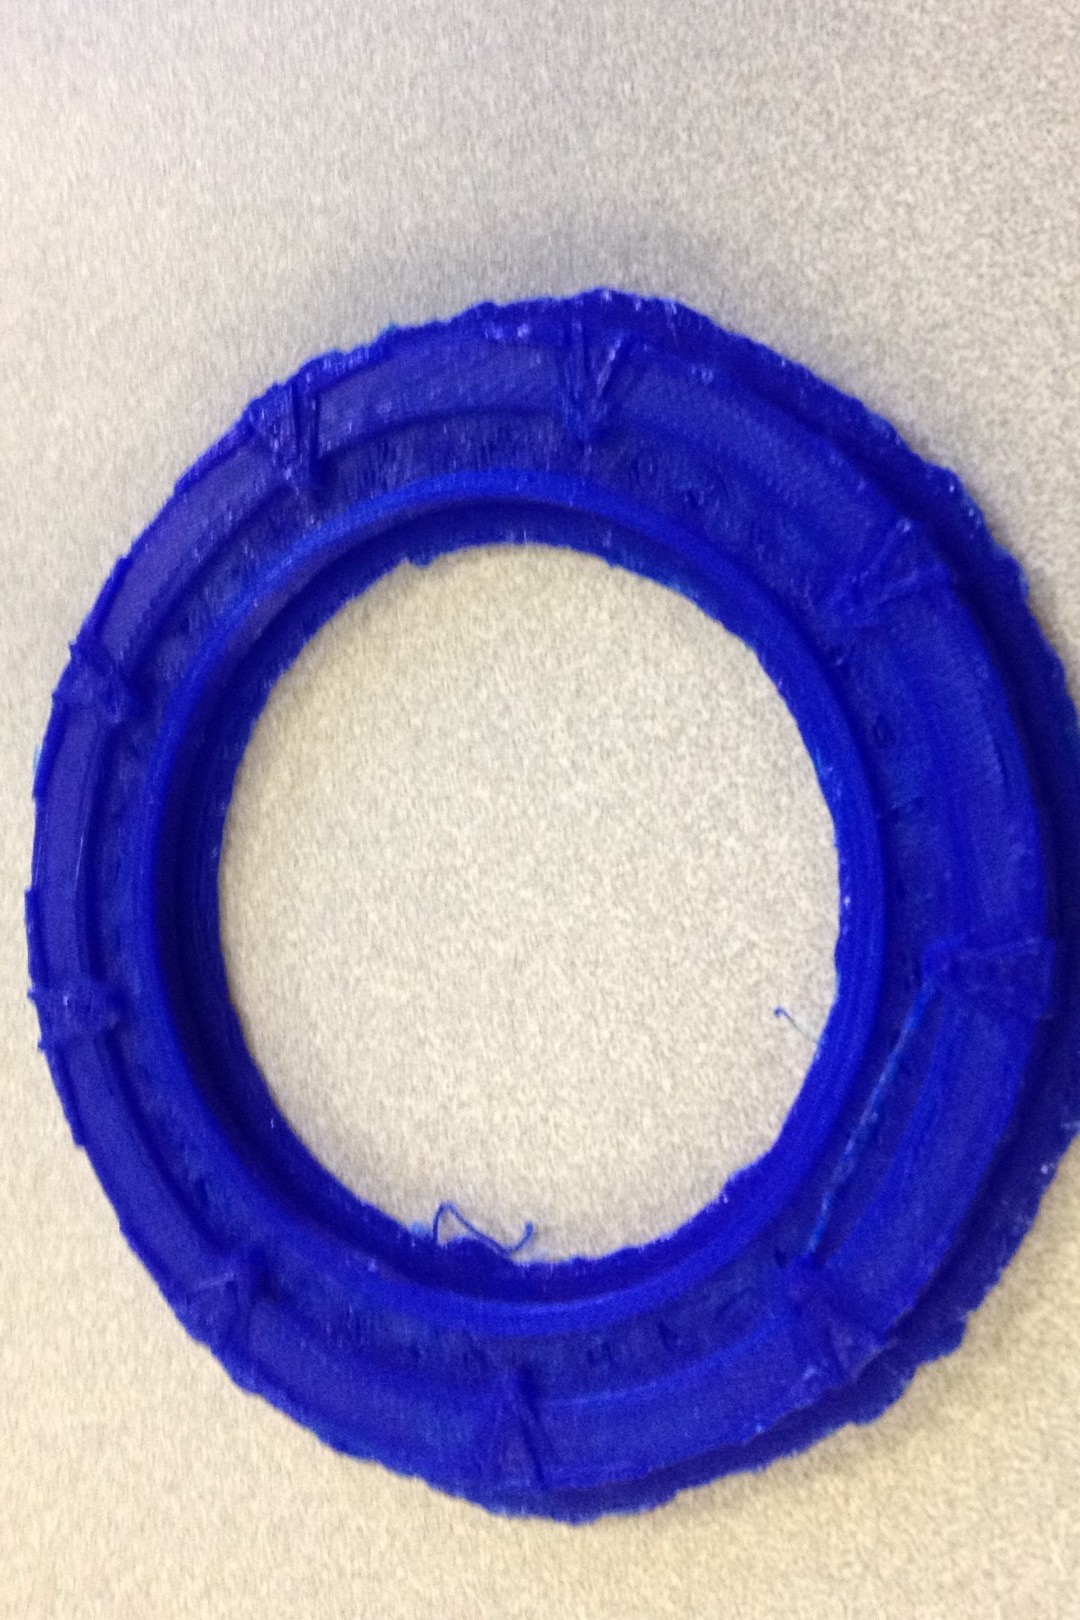
This hasn’t been cleaned up yet 😀

IMG_5403 IMG_5405 IMG_5406 IMG_5407 IMG_5408 IMG_5409 IMG_5410 IMG_5411 IMG_5412

Jul 17

Friday Post: More 3D Printing

Hey All,

Happy Friday!  Brain fried from a week of getting some new software at work prepped and ready to be moved to production.  Scary doing a push because some 60,000 faculty and students might run into an issue.  We test as well as we can, but theres always that one case that you miss.  So nerve wracking.

For the past two weeks my coworkers and I have been printing out tons of things on the Micro 3D Printer. After the first week, everything started to shift horribly to the left on each new layer.  Nothing would print right.  A vocal minority was also having this issue on the forums.  Micro3D has a huge support backlog, so communication was very sparse, BUT they DID keep us in the loop on how they were fixing the issue.  Two new software releases in 2 weeks and it seems to be working fine again.  I am extremely happy with the prints now.

Eevee (with support structure)

IMG_8146 copy IMG_5376 copy

Winnie the Pooh bear (with support structure cleaned off)IMG_5372 copy

Don’t mind the weirdness with the Eevee, that’s the support structure that pulls off.  I’m mailing it to a friend so I’m leaving it intact.  It’s like 3D printed bubble wrap, I can’t deny her the joy of ripping it off 😀  You can see a couple remnants of the support structure on the pooh bear as well.  I need to clean it up a bit more before I send it to my Mom.  She will love it.

My conclusion: It’s a $300 3D printer,You get what you pay for.  I am extremely happy with it.  It was broken, now it’s fixed to Micro3D’s credit.   I am hoping the shifting issue is now in the past and that it was just a software bug.

Have a good weekend all!

-Shea

Jul 10

Friday Post: Make Magazine!

Hey All,

Happy Friday!

This week just flew by, but projects are going really well, and I am hoping to have a cool announcement in the next week or so.  In the meantime…

PiPlay was featured in Make Magazine!!!!!!!

I’m seriously fanboying over here.  To have my project featured in Make is like having a researcher’s paper featured in Science or Nature magazine.  I’m just blown away.

The article is about making a home arcade system and controlling the games with an Arduino Esplora.

M45_Cover_LowRez_Sq_1024x1024


Have a good weekend all!

-Shea


Jul 03

Friday Post: 3D Printing and Raspberry Pi live streaming

Hey All,

Happy Friday and happy 4th of July weekend!

On Monday I recieved a 3D Printer from the company M3D.  It is the blue Micro 3D printer.  If you use the coupon code “refurb” you can get one for $300 dollars (plus about $12 shipping).

microBlueSo far I’ve printed out a bunch of things, ranging from Bulbasaurs, and Ford Fiesta ST scale models, to characters from Dota and keychains.  So far it has been an awesome little printer.  Now, it’s slow, a little loud, and only has a print size of 6x6x6, but that hasn’t been an issue yet.

I’m using a Raspberry Pi with the camera module to livestream my printer.


Broadcast live streaming video on Ustream

bulba

2015-07-01 (1)

IMG_5327 IMG_5336 IMG_5326 IMG_5325

Livestreaming from USTREAM on the Raspberry Pi

Here is a quick guide to livestreaming on the Raspberry Pi with USTREAM and an RPI Camera Module

References from: https://ustream.zendesk.com/entries/63723444-Raspberry-Pi-Streaming-video-to-Ustream and http://www.oz9aec.net/index.php/dvb/490-turn-your-raspberry-pi-into-a-live-hdtv-transmitter

  • Install Raspbian to your Raspberry Pi SD Card
  • Install the Raspberry Pi Camera Module
  • Using Raspi-Config activate the camera module
    • sudo raspi-config
    • Enable Camera
  • You are going to need a version of ffmpeg installed.  The version from apt-get will not work.
    • You can download a working binary here: http://files.oz9aec.net/datv/490-rpi-hdtv/ffmpeg
      • wget http://files.oz9aec.net/datv/490-rpi-hdtv/ffmpeg
      • chmod +x ffmpeg
    • Or you can download and compile the ffmpeg sources via git
      • git clone git://source.ffmpeg.org/ffmpeg.git ffmpeg
      • cd ffmpeg
      • ./configure
      • make
      • sudo make install
  • Set up a ustream script:
    • nano ustream
    •  #!/bin/bash
      RTMP_URL=<rtmpurl>
      STREAM_KEY=<streamkey>
      while :
      do
          raspivid -n -vf -hf -t 0 -w 960 -h 540 -fps 25 -b 500000 -o - | ./ffmpeg -i - -vcodec copy -an -metadata title="Streaming from raspberry pi camera" -f flv $RTMP_URL/$STREAM_KEY
          sleep 2
      done
    • Change RTMP_URL and STREAM_KEY to match the keys you get from your USTREAM Channel settings page.
    • If you compiled and installed your own version of ffmpeg, remove the ./ffmpeg and replace it with just ffmpeg in the code above.
    • chmod +x ustream
    • ./ustream
  • With any luck, you will now be streaming to your USTREAM channel.