Nov 16

I feel creative again!

Hey all,

It’s been a long 4 years. I’m so glad Biden won. I feel like a weight has been lifted off my shoulders. That I’m not just trying to survive the next news cycle, but also prospering and looking forward to the future.

It had taken its toll when every day you expect the worst and you are spending all your energy just getting through the day.

But now…

There’s a light at the end of the tunnel (and it’s NOT the headlights of the oncoming train).

This past year while we have all been quarantining I have been building and making things to pass the time. Nothing big enough to warrant it’s own post, but enough that I can update this blog, and hopefully again more and more for 2021.

I missed y’all. Heres to the next 4 years.

Jan 19

PCBArt

Authors Note: While PCBWay has offered to sponsor a run of the boards, everything purchased for this post was paid for out of pocket and without their knowledge. I wanted to make sure they were good on my own.

Hey All,

I’m a collector. I like to collect things. Video games, Raspberry Pis, Pokemon cards, and Pins. I don’t have many pins, but they really appeal to me. It’s like pixel art. Making awesome designs with limited colors on a small canvas.

The department I work for has always made our own logos for our teams and projects. We usually print stickers and give them out at conferences, or to our students when they hit certain milestones (like their first commit).

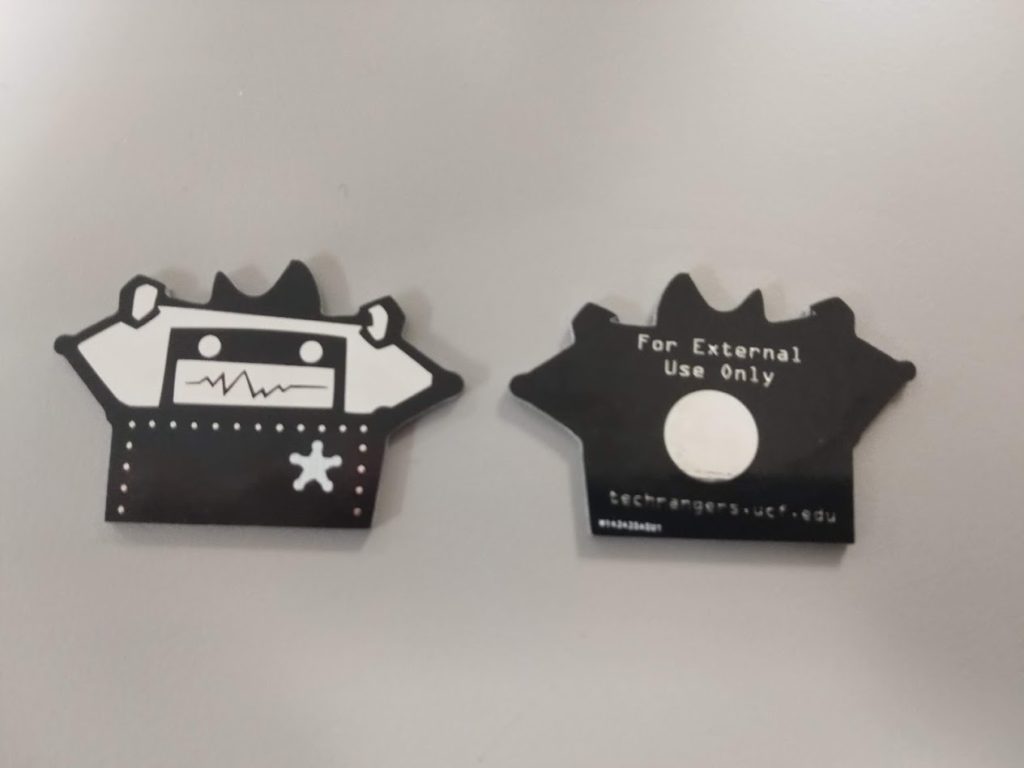
Techrangers Logo

A eureka moment hit when PCBWay contacted me this month asking if they could sponsor my next PCB board. I’m not ready to make another PiPlay run of boards (we are slowly working on version 2), but I loved the silkscreen art I was able to put on our original run.

What if I could turn our teams logo into a PCB?

I quickly started investigating and found an awesome plugin for Inkscape called SVG2Shenzen!

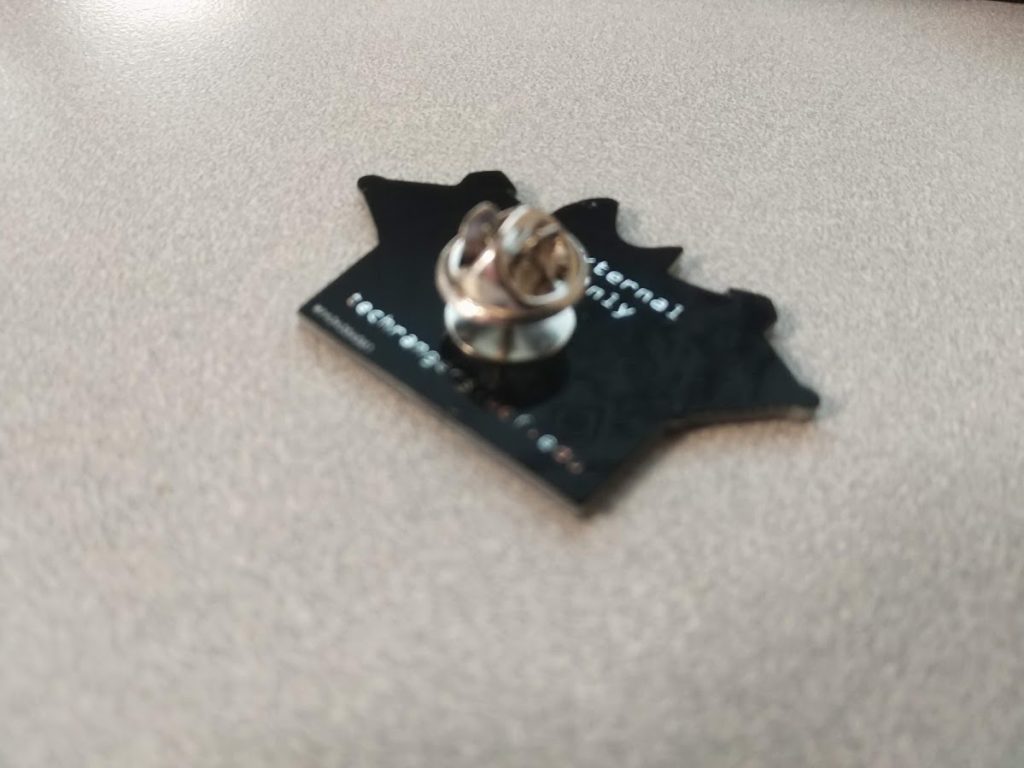
I use Inkscape for a lot of things, mostly for setting up projects on the Lasercutter at FamiLAB, but I never thought of using it to create PCBs! The boards came out amazing!

PCBWay

Pros:

  • The boards I received from PCBWay.com blew me away.
  • I was not expecting much for $5 (+ $15 shipping from China).
    • I ordered the boards on Saturday, they shipped them out on Wednesday, and they were in my hands by Friday.
  • The production speed is incredible.
  • They audit every board before you pay and begin production.

Cons:

  • The ordering experience was a little clunky.
    • I had to input my dimensions and order details BEFORE uploading my Gerber files. Other PCB manufacturers usually get order details from the Gerbers.
  • Because I was making pins, I didn’t need anything drilled. This caused the audit to fail, and due to the timezome difference, their message to me and my reply caused a 20 hour delay in production. edit: Adding a note to ignore the drill file for my second order caused it to pass the audit test without delay.

The Pros HEAVILY outweigh the very minor Cons I experienced. I will have zero problem using them from now on for my board needs!

Using SVG2Shenzen

https://github.com/badgeek/svg2shenzhen

Once the plugin is installed, you goto Extensions->Prepare Document and click on Apply.

This will generate a new vector document with layers for each layer of the board. Each layer represents a portion of the boards manufacturing. They are:

  • Drill
    • Parts of the board to be drilled out
    • Example: Holes for a key-chain, or for through hole parts like a resistor or LED
  • F. Silk
    • Front of the board’s silkscreen
  • F.Mask
    • Front of the board mask – I have found that the Mask and Copper should be the same design
  • F. Cu
    • Front of the board copper
  • B. Silk
    • Back of board silkscreen
  • B. Mask
    • Back of board mask – Again I have found that the Mask and Copper should be the same design
  • B. Cu
    • Back of board copper
  • Edge.Cuts
    • This is the shape of your board that will be cutout.

When you are happy with your layout, click on Extensions -> Export Kicad, and click apply.

You will now need to open the generated *.kicad_pcb file in Kicad’s pcb tool pcbnew.

You can check a render of your finished board by going to View->3D Viewer. You can change all the colors and see what your finished board will probably look like. If its good, it’s time for the most important step! Generating your gerbers!

Click on File-> Plot to open up the plotter dialog. Select your output directory, and leave the settings as default for now. Click on Plot and a bunch of files will be generated in that directory. These are the files you send to your manufacturer to generate a PCB for you!

Congrats, you made a board!

Happy Birthday To Me!

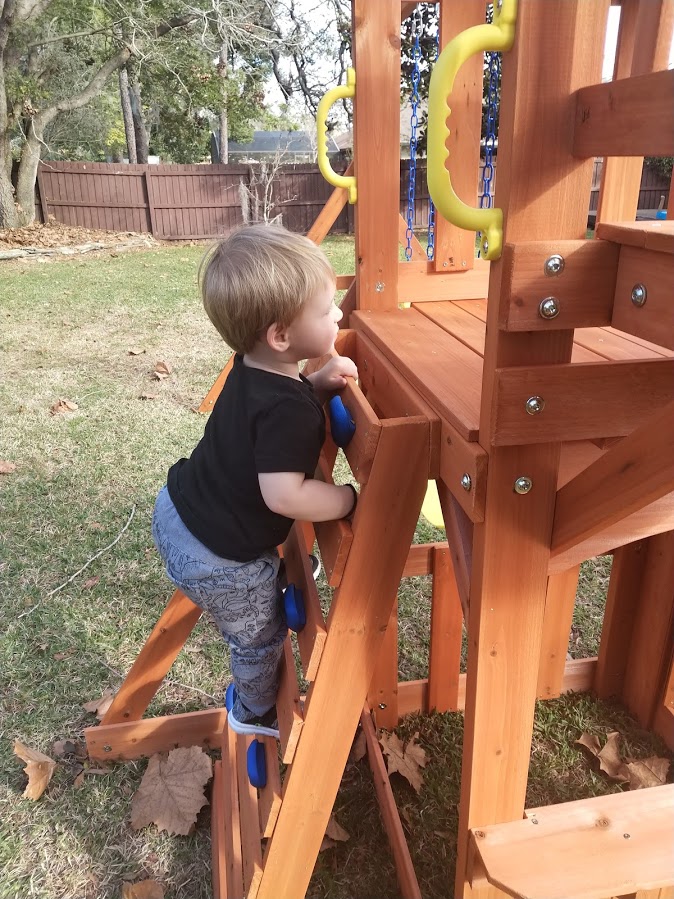
On another note… I turned 35 this month. Happy Birthday to Me! I couldn’t have had a happier birthday. Spending a nice day with my Wife and Son, watching the little dude play on a swing-set his Grandpa’s built in our backyard.

Have a good one all! – Shea

Jul 24

InstructureCon 2016

Hey All,

So last week I was at InstructureCon giving a presentation on ProctorHub (UCF’s passive proctoring solution).  InstructureCon was held at Keystone, Colorado this year, and it kicked my butt.  Those mountains and high elevation are no joke.  It was incredibly hard to breath that first day.

Everything went well,  presentation was awesome, met a lot of great educators doing all sorts of neat e-Learning.

The best part of the trip was that They Might Be Giants performed after the keynote.

It was a long week.  I’m glad to be home.

-Shea

May 28

Politics and PCBs

Hey All,

This has been a fun month.  Between campaigning, work, and Raspberry Pi stuff, I’ve been busy 😀

Politics

So I’ve been campaigning a lot this month.  I am running for the District 49 Representative in Florida’s House.  I love my district.  One thing that is crazy to me is the amount of money being put into this election.  I have raised around $2000.  I’m very proud of that number.  It’s coming from friends and family who believe in me.  It’s humbling.  My Republican opponent has raised around ~$7000.  I’m sure it’s more now. And now there is a second Republican who has entered the race.  On the other side, my Democrat opponent has raised over $90,000!  $90,000.  That is an absurd amount of money for a State House race.  I’ve heard the average is around $40,000.  

That is insane to me.  That’s a scholarship, a car, someone’s student loans.  And instead it’s going to a campaign for ad buys and t shirts.  I hate it.  I truly believe campaigns should be publicly funded at all levels.  On that note, I can’t help but see the irony in me asking for donations: https://donate.sheasilverman.com

PCBs

In other news, the first revision to the PiPlay Advance PCBs came in, and they are awesome!

Conferences

This week I was in San Antonio, Texas for the IMS Global Learning Impact Leadership Institute conference, where I gave two presentations on the LTI (Learning Tools Interoperability) standards.  I was also there because my team at UCF won 2nd place in the LTI App Challenge for ProctorHub, our free passive proctoring software!

 It was a very different conference than I am used too.  Most of the software conferences I have been to have been very low level.  Getting into the nuts and bolts of how things work.  These educational conferences are very high level.  It’s an interesting paradigm change but I think we got some good stuff done.  I was able to give anecdotal evidence regarding some of the gaps in the current standards, and what could be done to improve them at all levels.  Stuff I introduce today will help to change the shape of educational software in the next few years.  

MegaCon is also this weekend.  I’ll have some pictures up from that event soon.

Have a good weekend!

-Shea

Jan 09

(Late) Friday Post: and the winner is! Also Monoprice Maker Architect 3D Printer

Hey All!

The winner of the Raspberry Pi Zero giveaway is Aaron!  Congratulations!  I will be emailing you later tonight!

Onto other news.  This has been a hell of a week.  Had a small health scare with my grandmother, so we drove 200 miles yesterday to visit her.  We spent the night and drove back home today.  Hence the late post.  Shes doing better, so phew! 😀

This week I implemented a cool video encoding queuing system using Redis and Django.  The module I used is called Django-RQ, and it makes it super simple to convert your functions into queue-able objects using the @Job decorator.

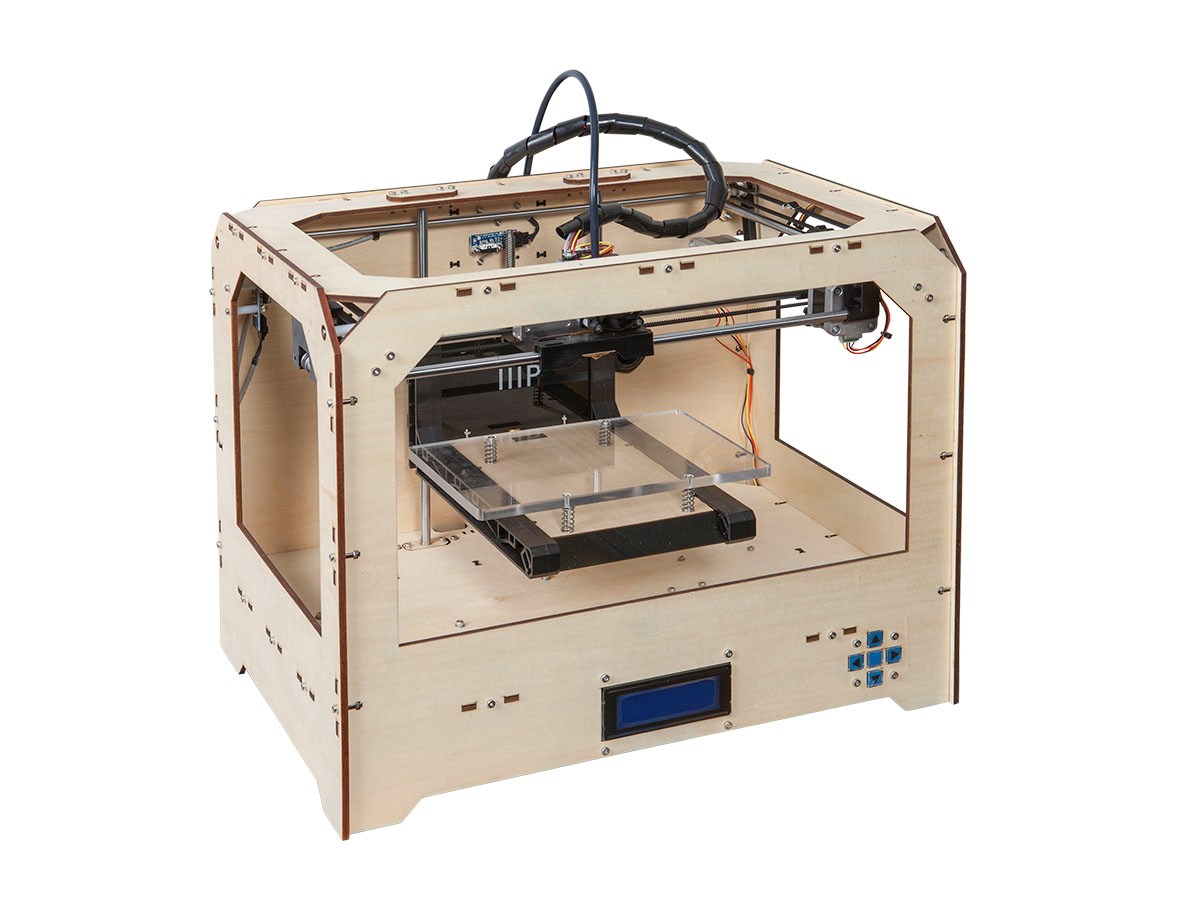
This Tuesday is my birthday! Woo!  I turn 32.  I’m content.  I also start classes that night.  Yay lol.  I bought this as a gift for myself:

138611


It’s a Monoprice Maker Architect 3D Printer for $300.  It’s a major upgrade compared to my Micro, but it takes a lot more to get it going.  I’ve had it for two days and I’ve finally got most of the settings dialed in.

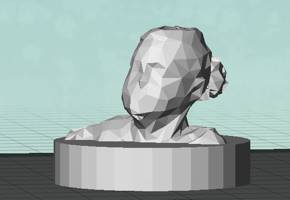
When I went to visit my Grandma I took along my Kinect sensor and used Skanect to scan her, so I was able to quickly print out a very low poly version of her as a bust.

12506821_10104783547948412_992828713_n

The Skanect free version limits exports to only 5000 polygons.  Once I upgrade I can export at full resolution.

Have a good week / weekend all.

Thanks for reading.  I really appreciate it.

-Shea

Dec 05

Friday Post: TGIF

Hey All,

TGIF!  Thank goodness it’s Friday.  This has been a trying week.

For the bad: I had a little food poisoning, had a small car issue, and dealt with an anxiety attack of epic proportions (hooray for an understanding doctor’s office / doctor.)

For the good: Got most of the kickstarter parts in.  Found a really cool edge case in a program we developed at work, and was able to fix it!  Also pushed a large project out to AWS for work and it worked.  The more I use AWS for large scale applications the more I love it.  Still afraid of vendor lock in for my personal projects though.

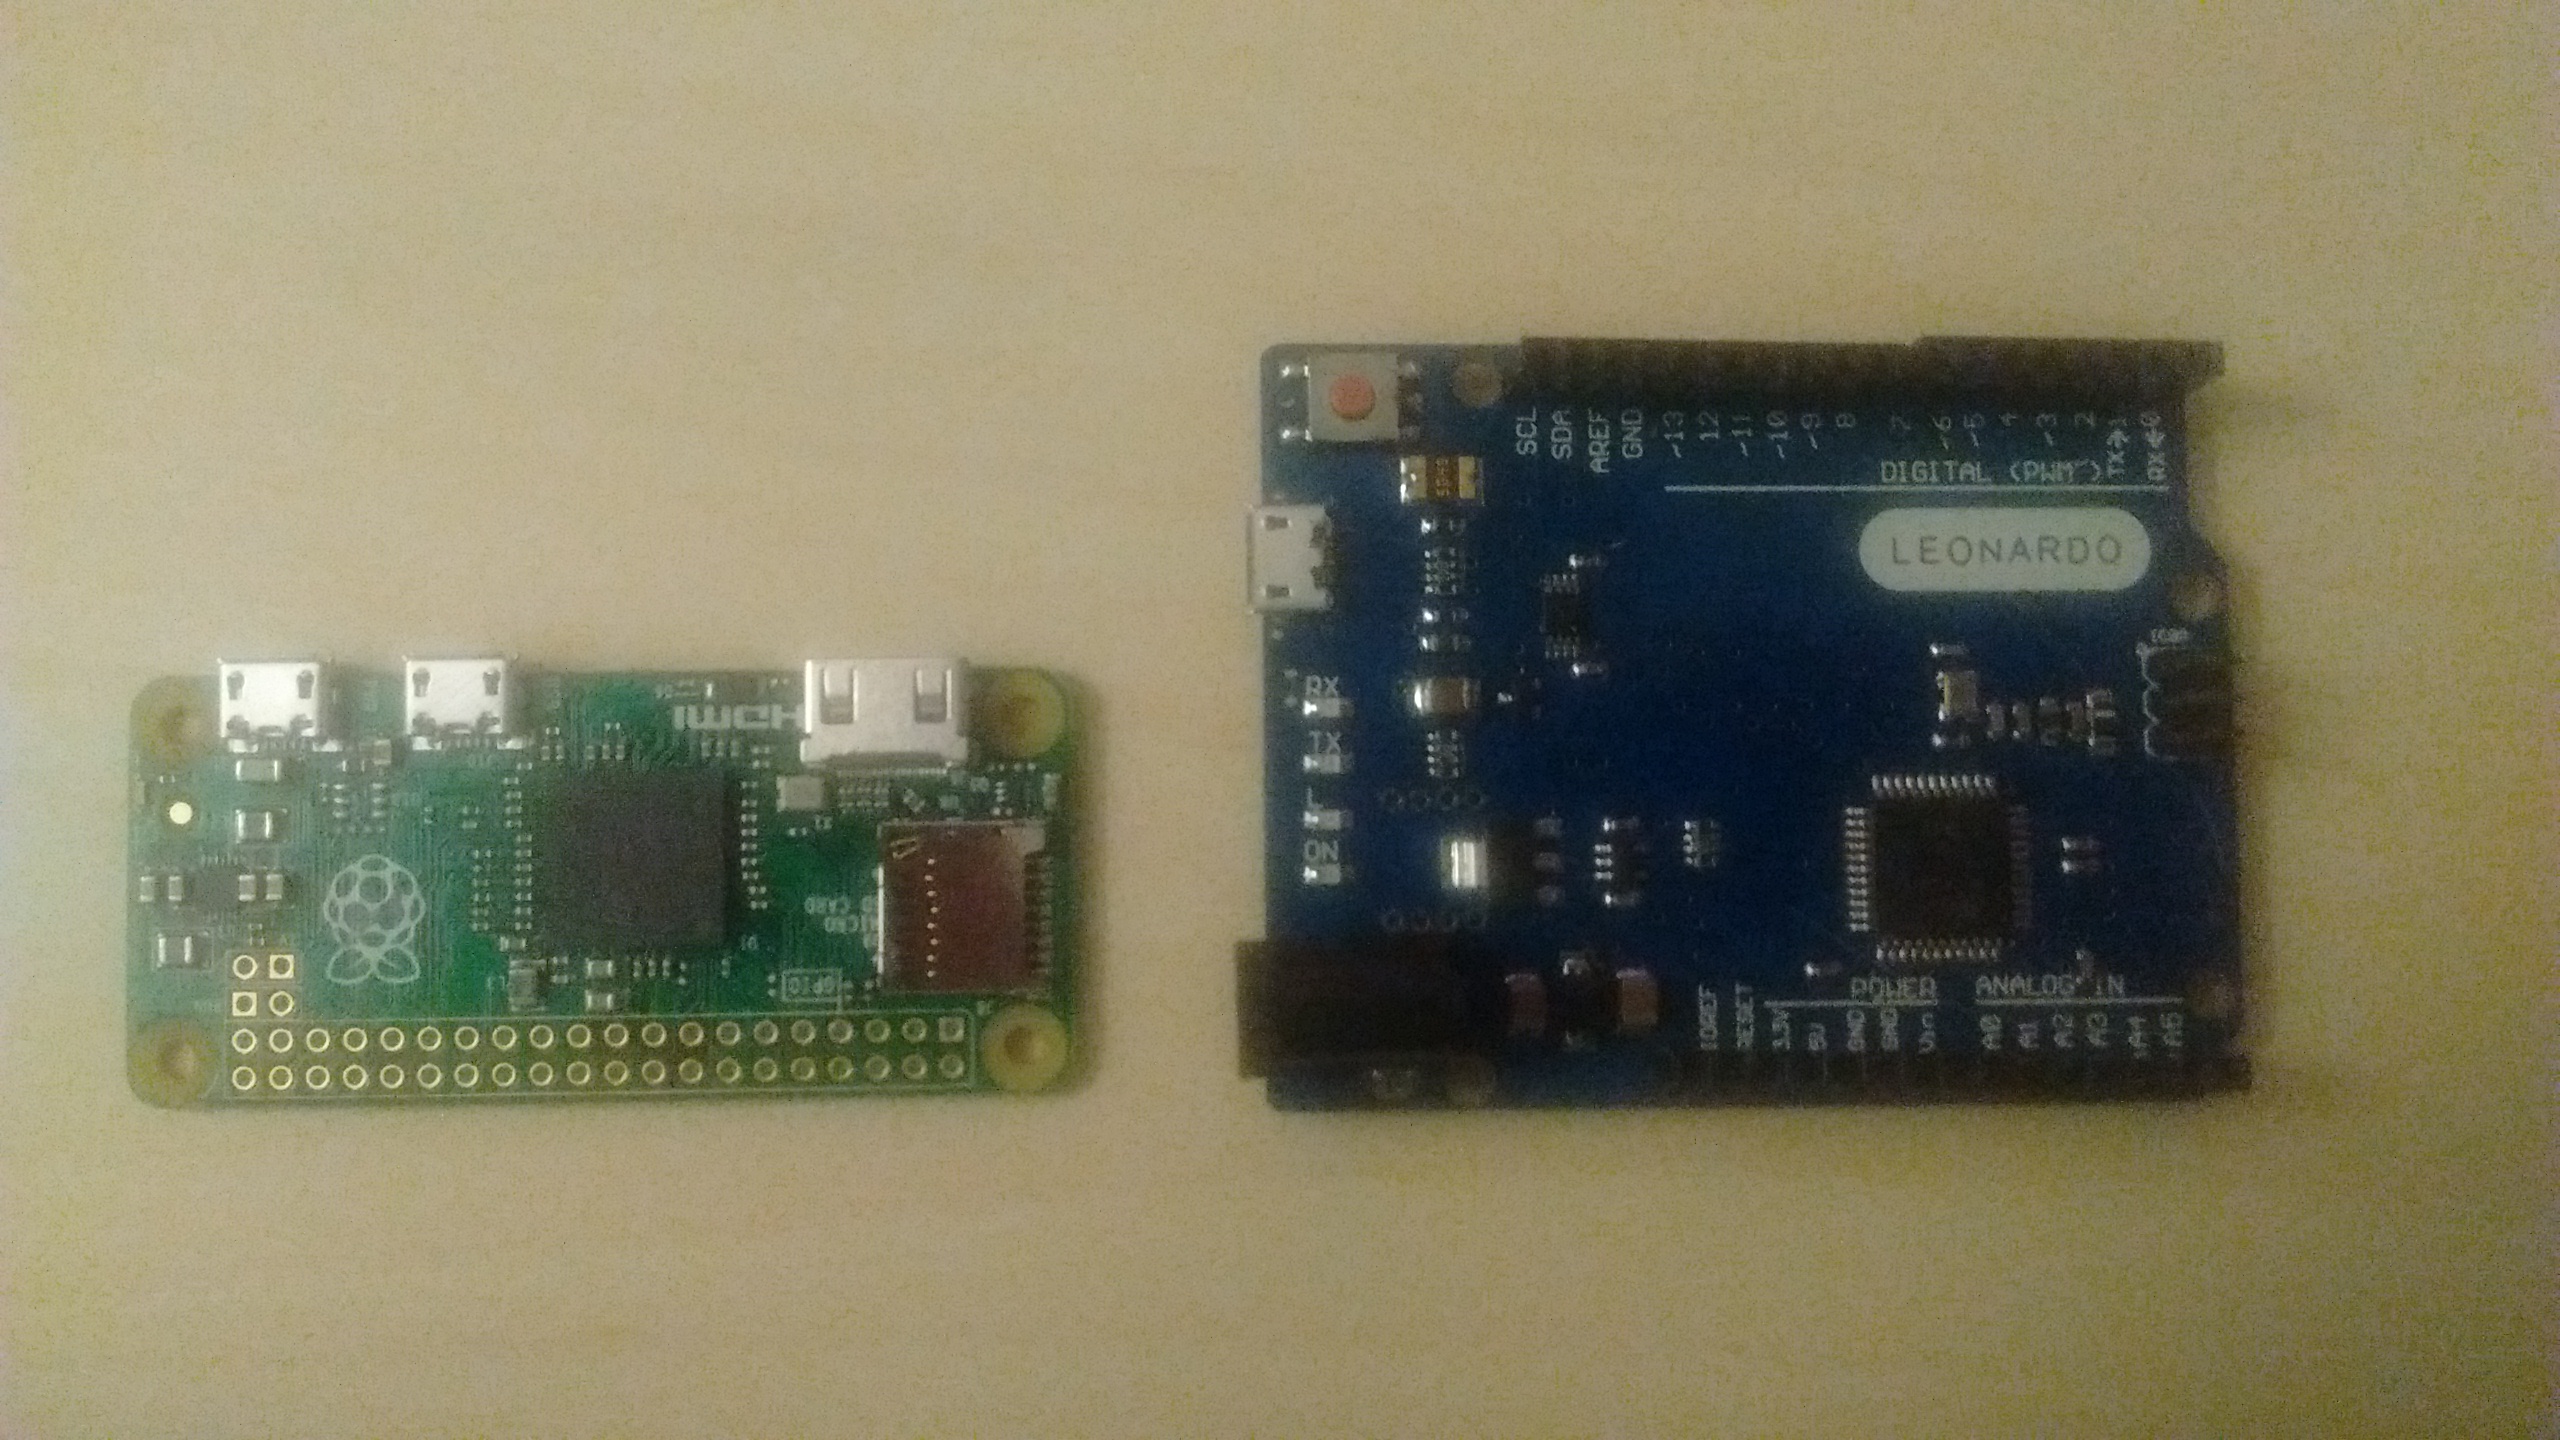
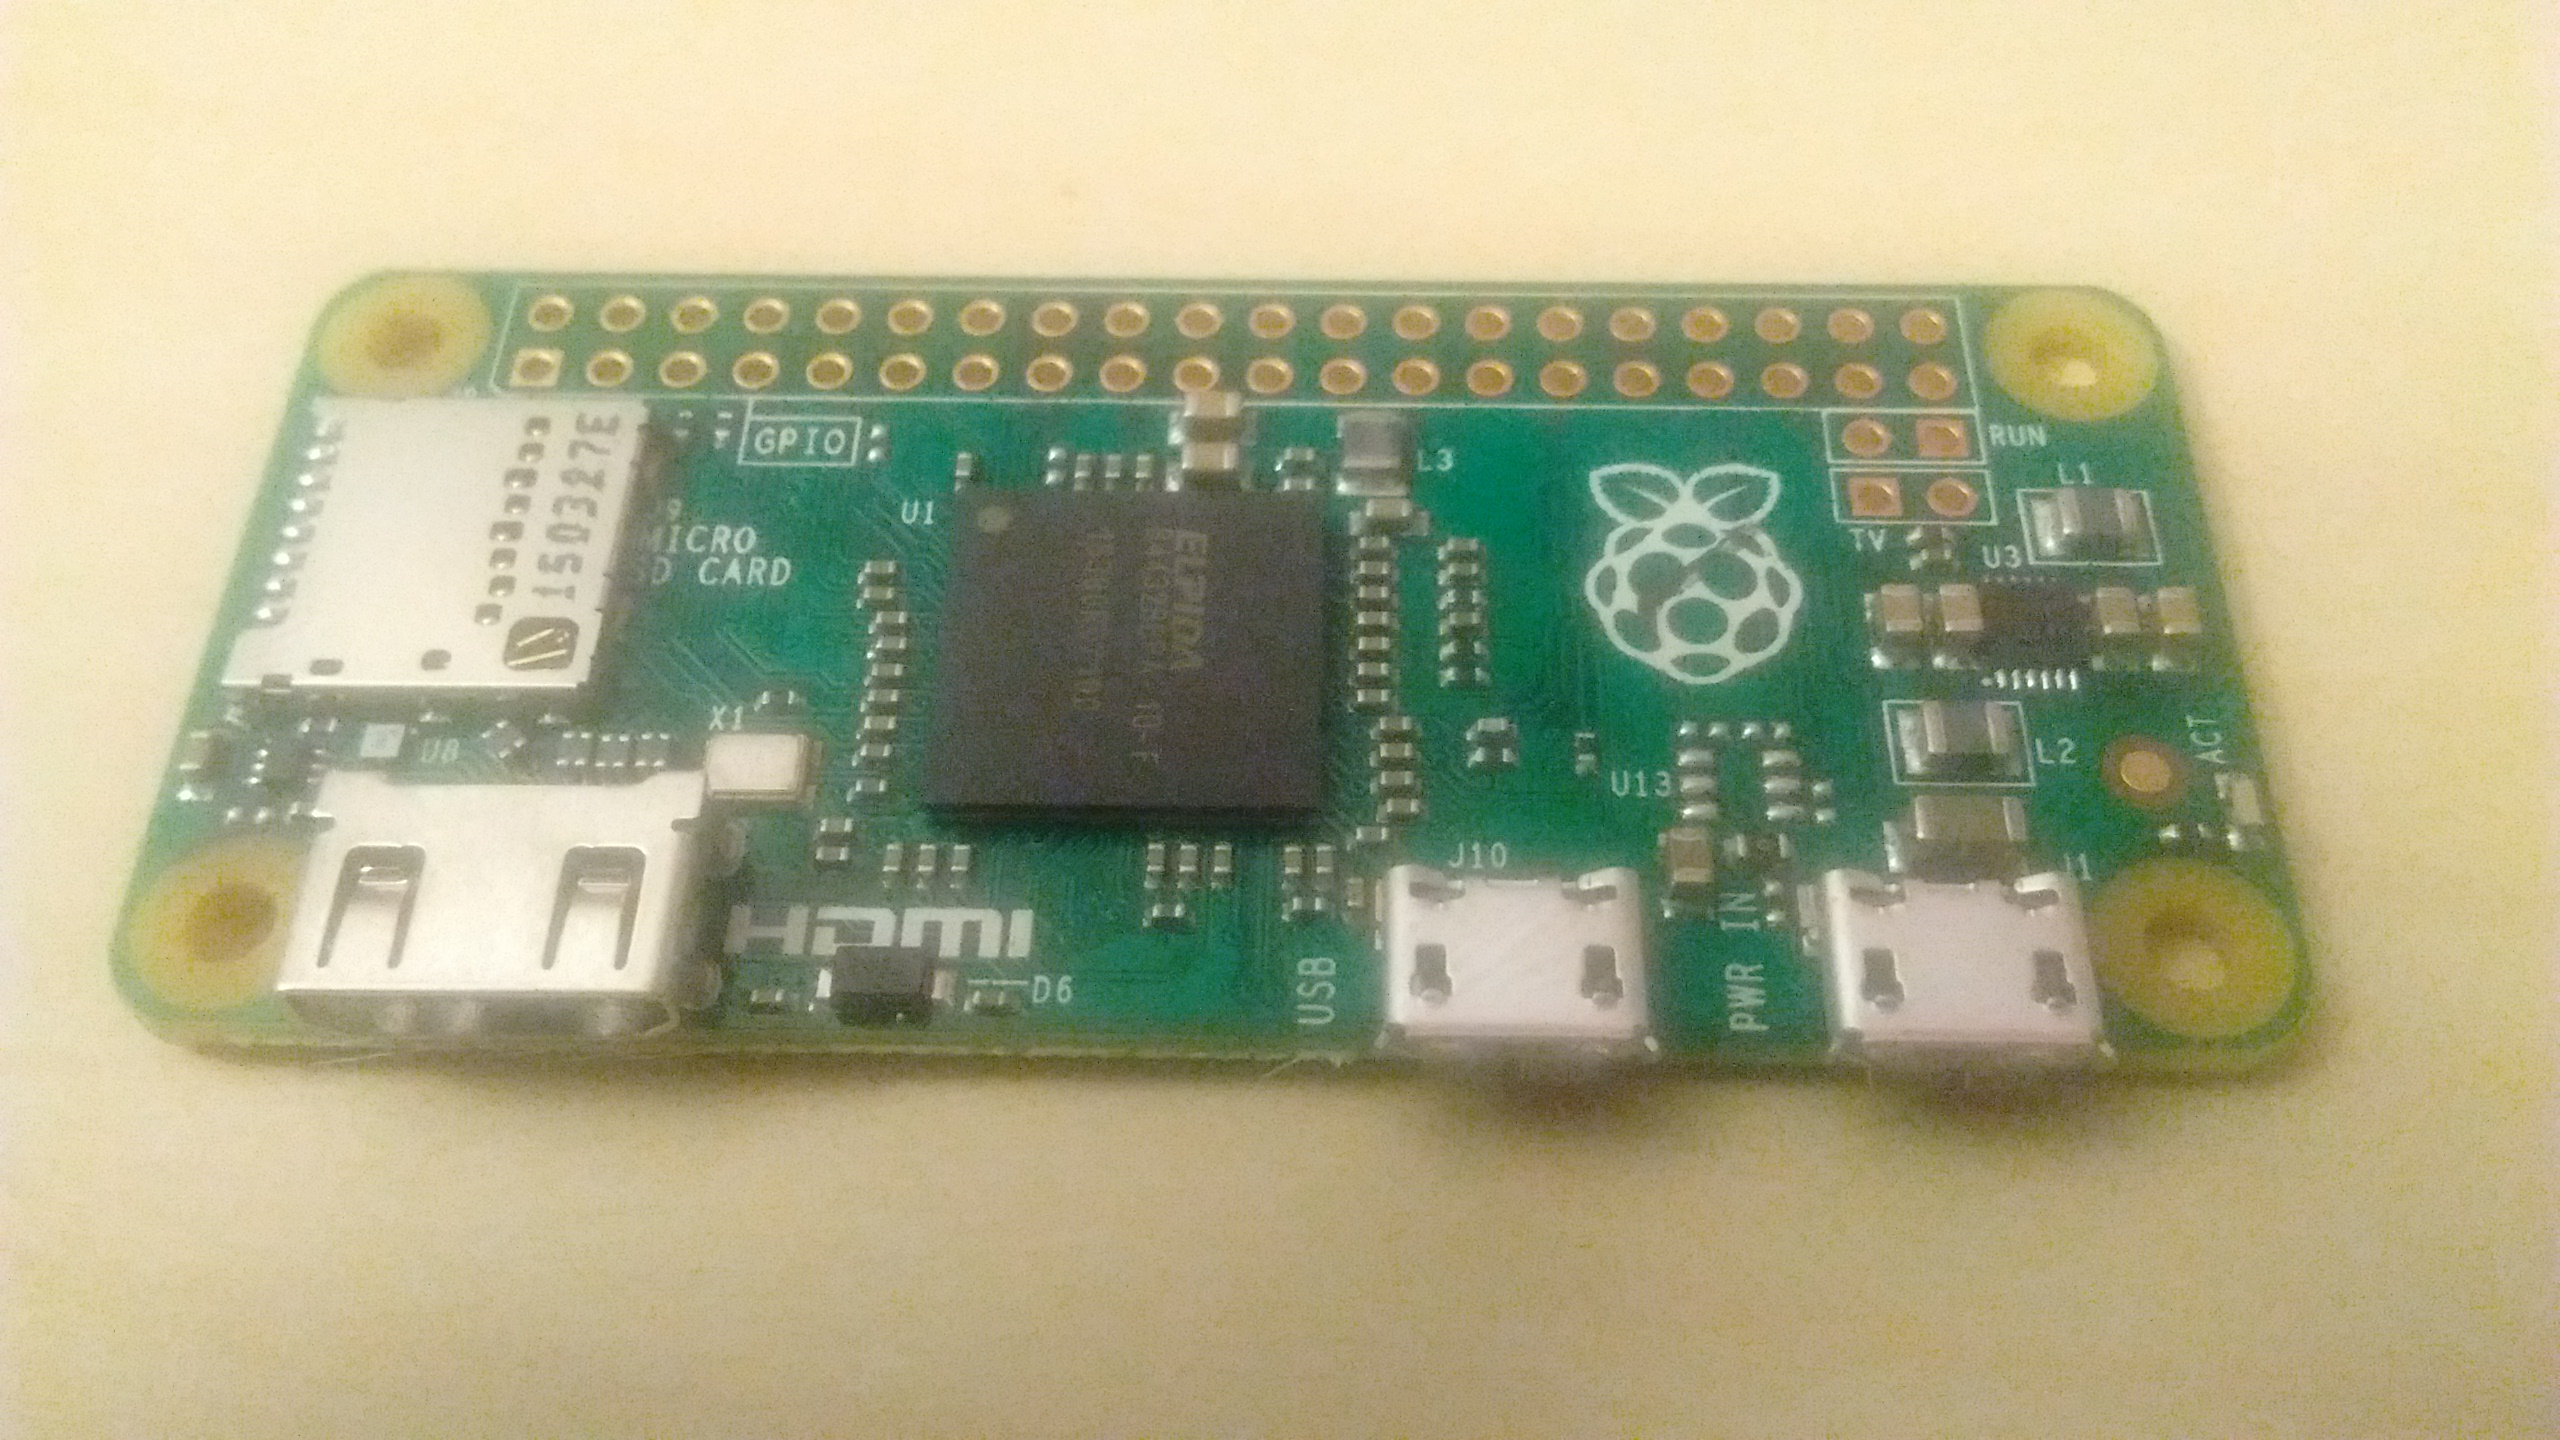
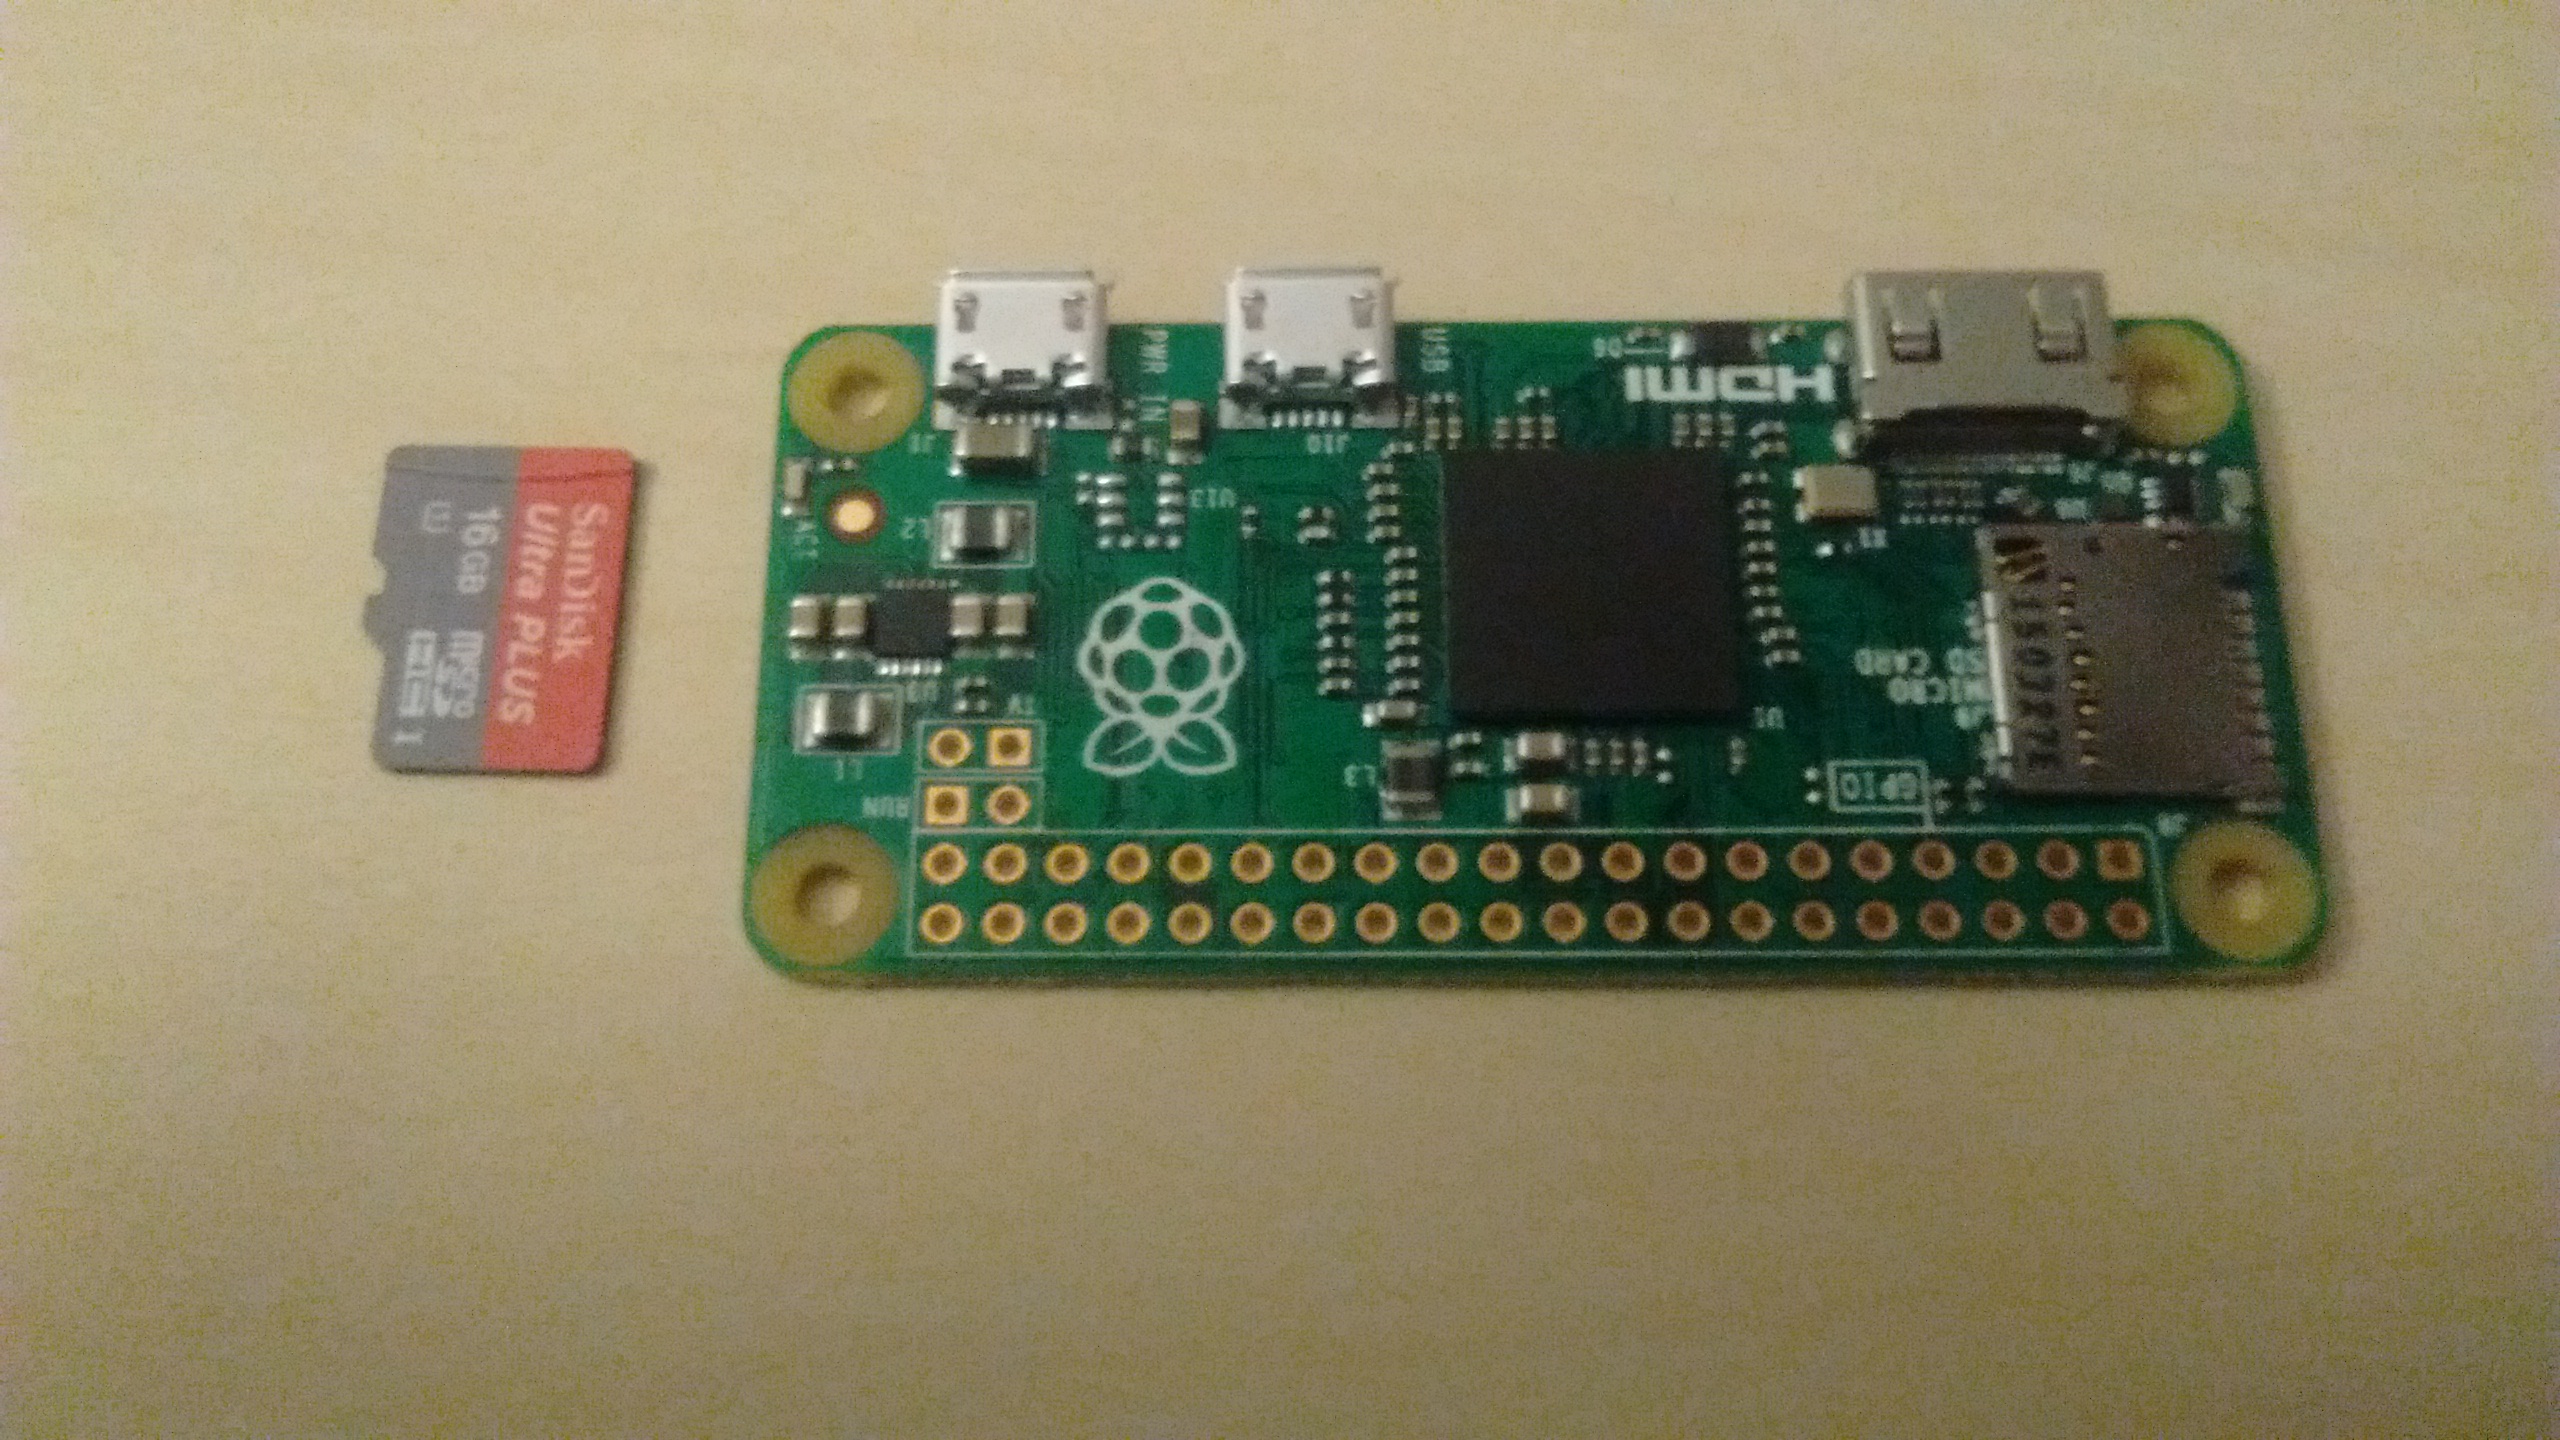
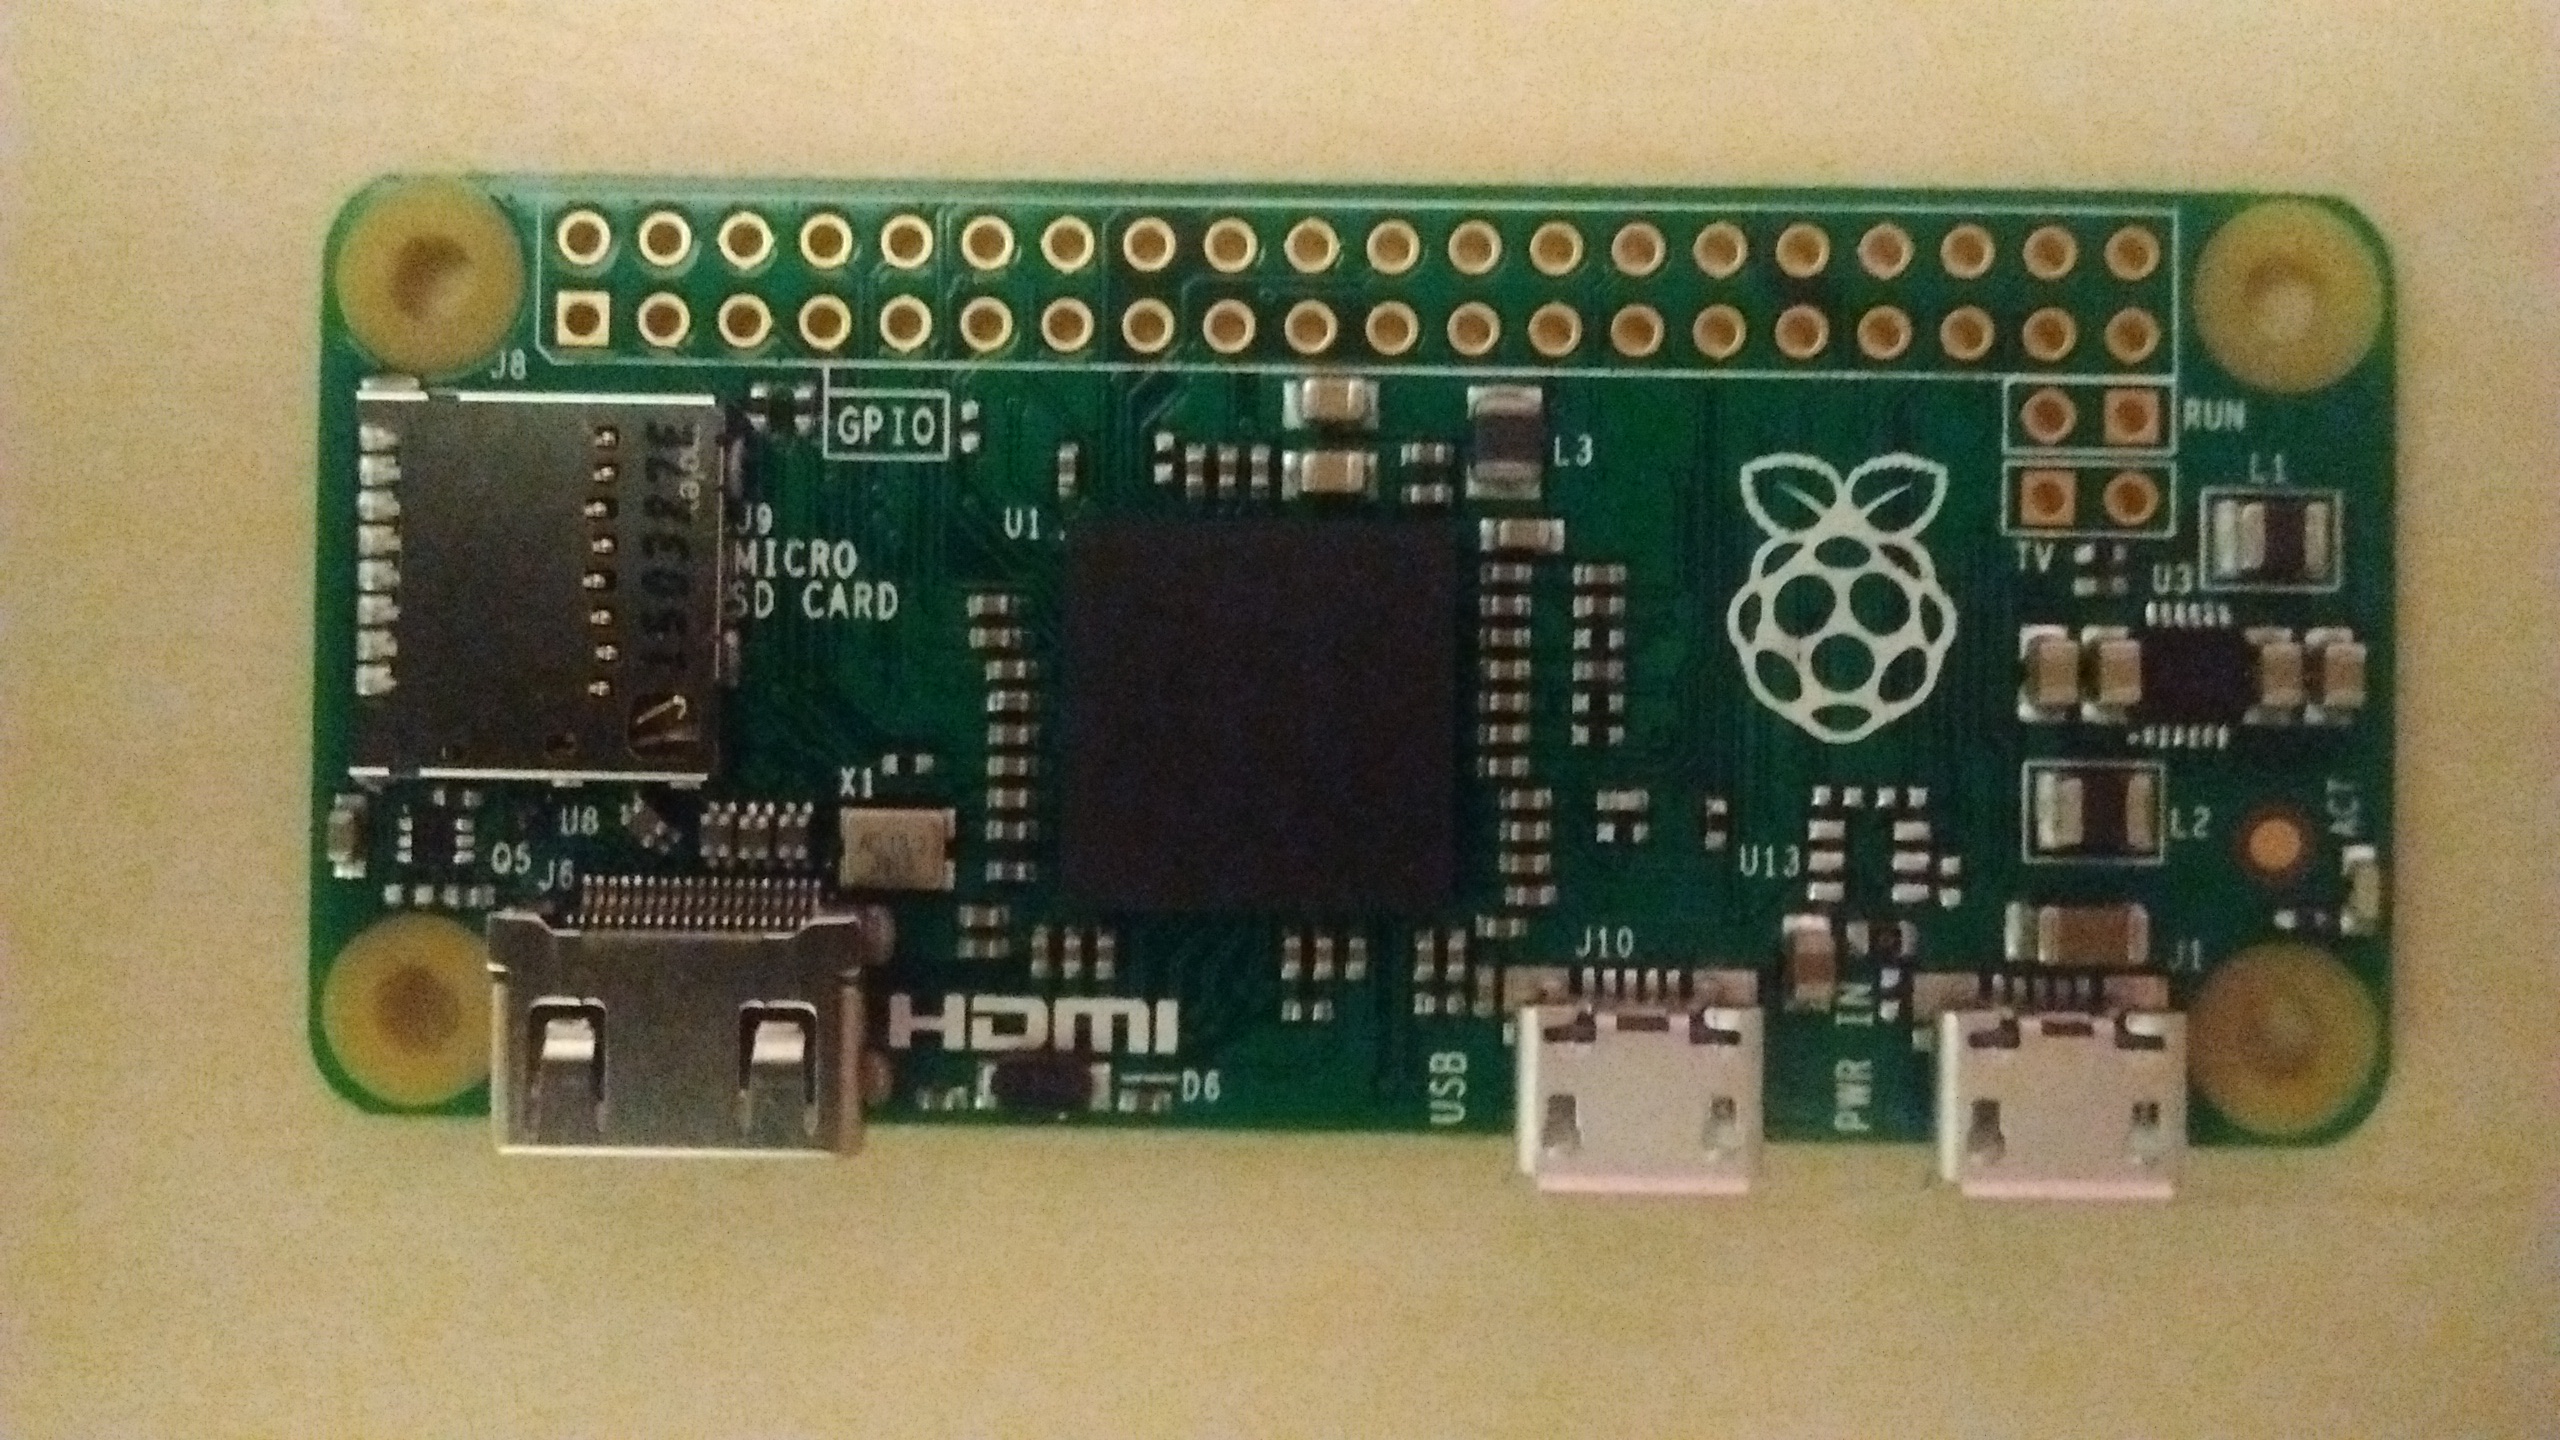
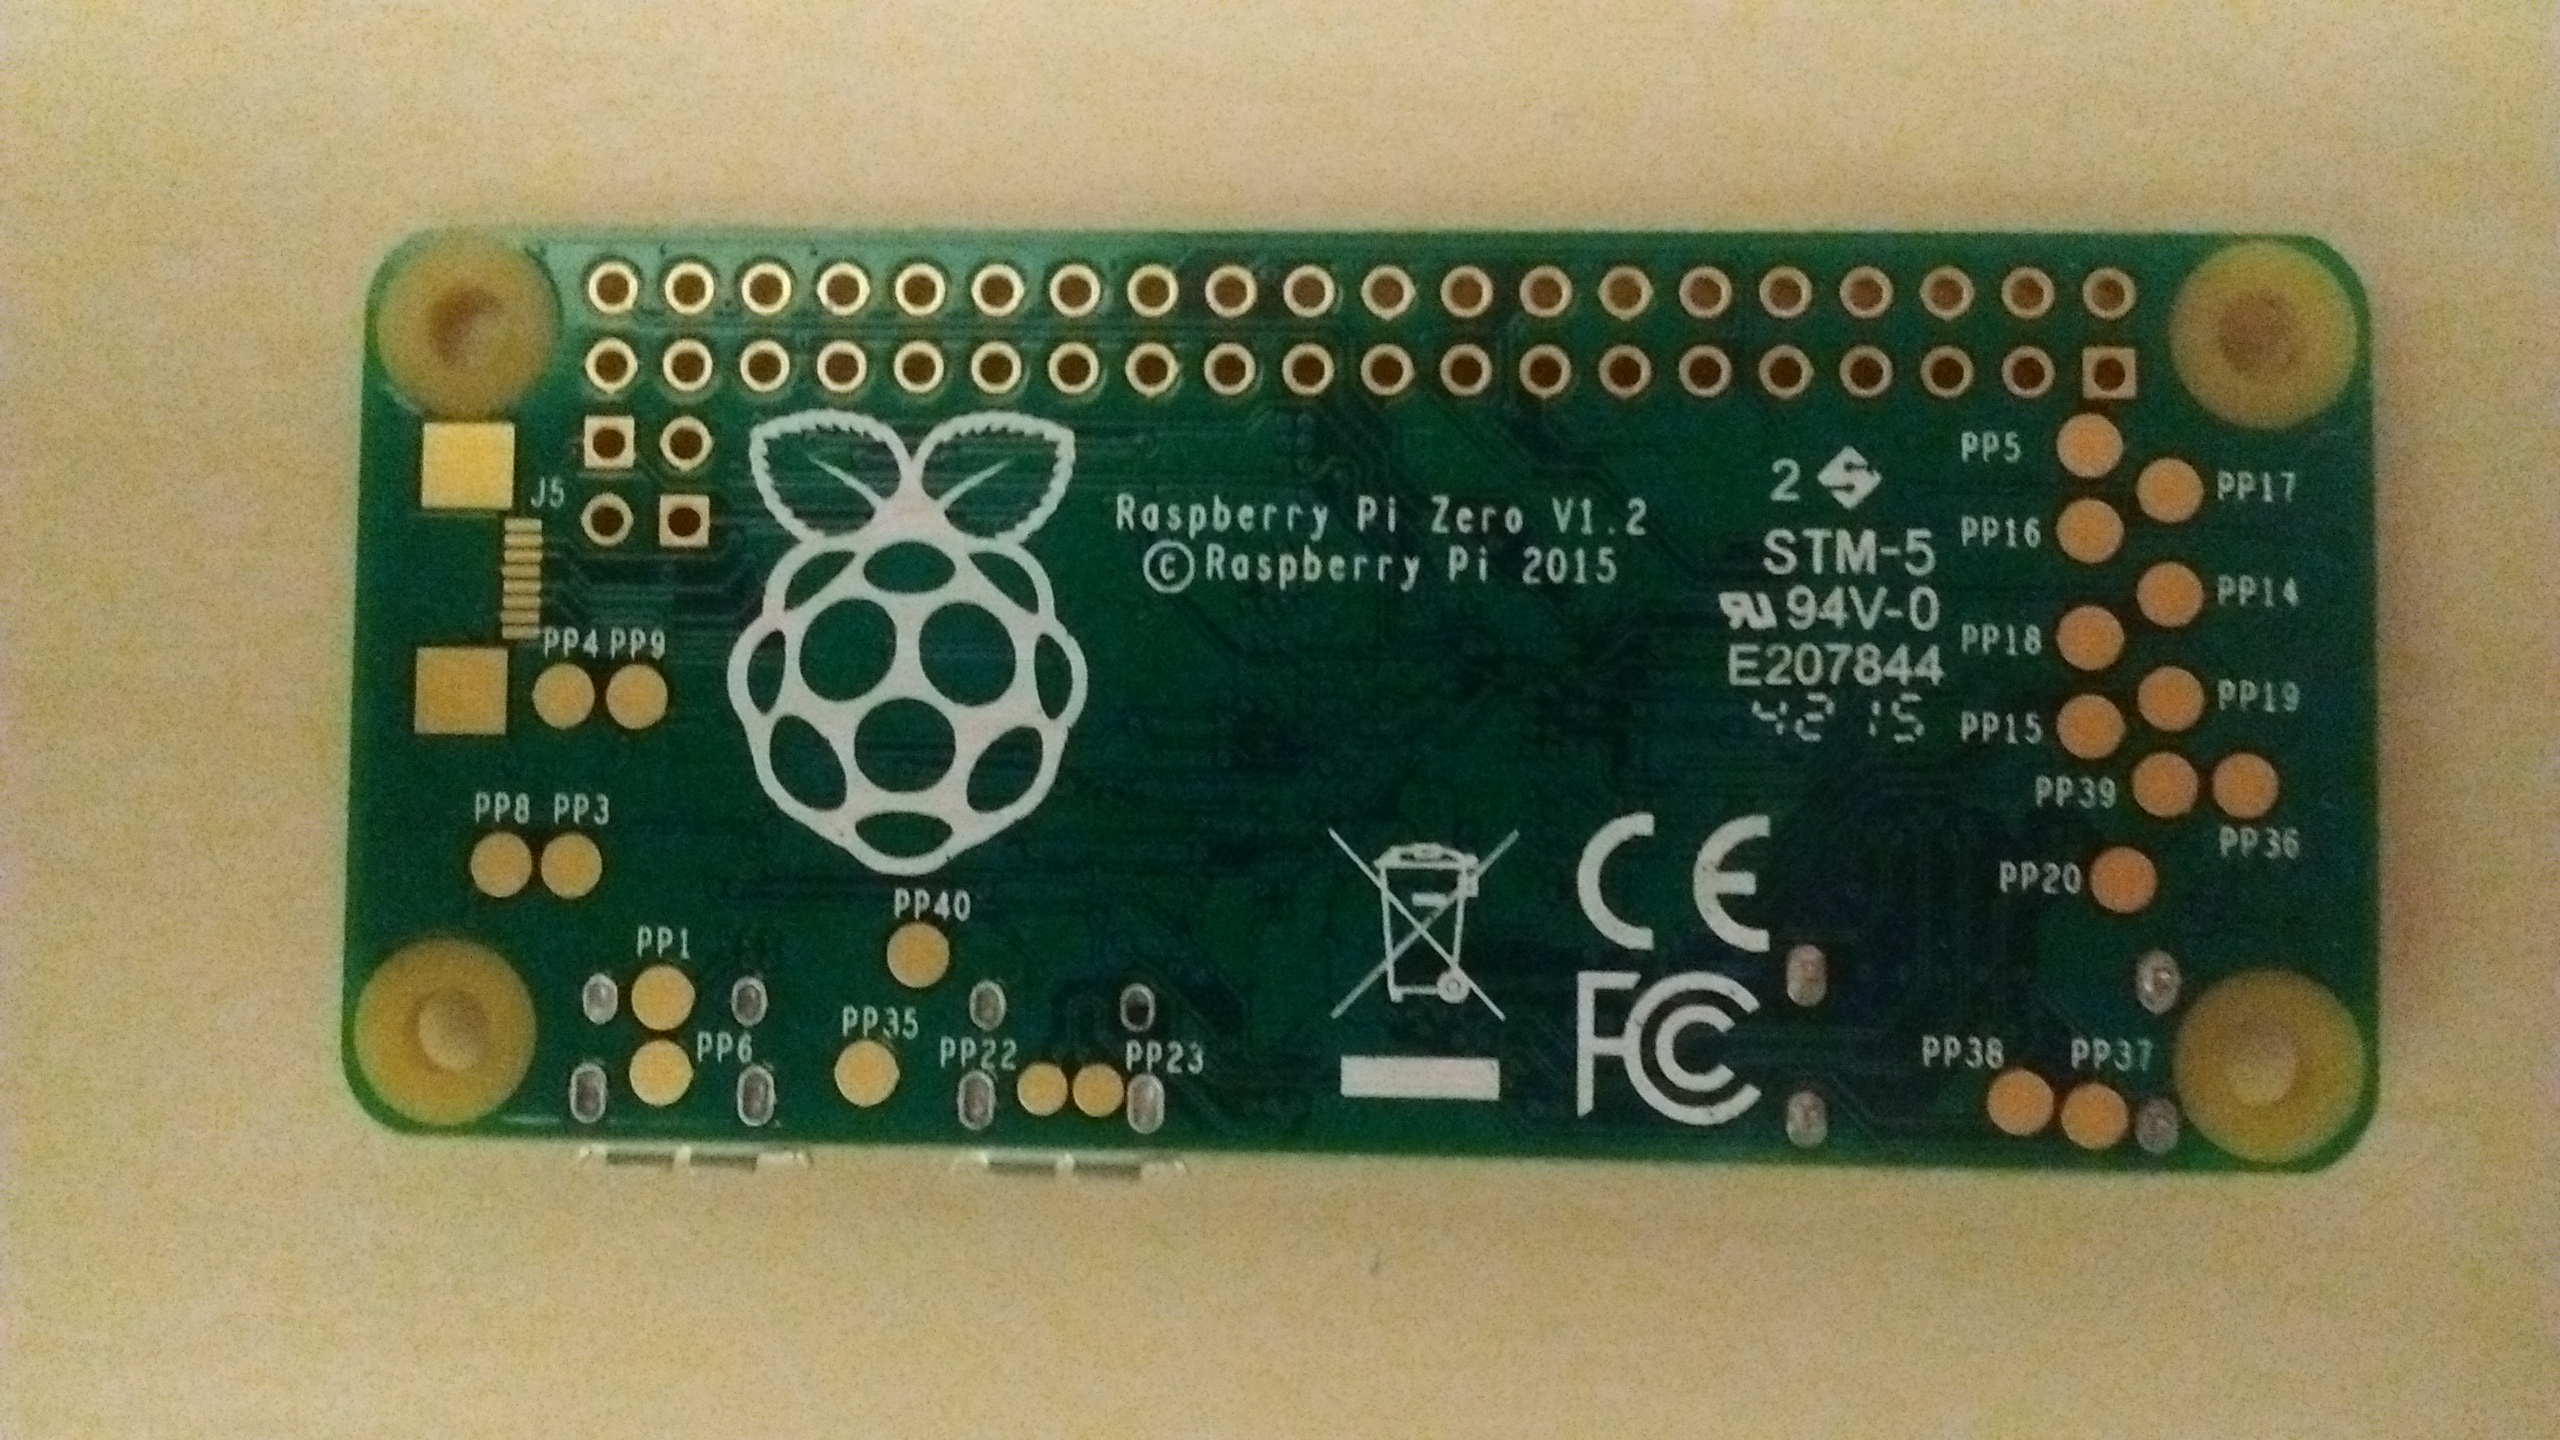
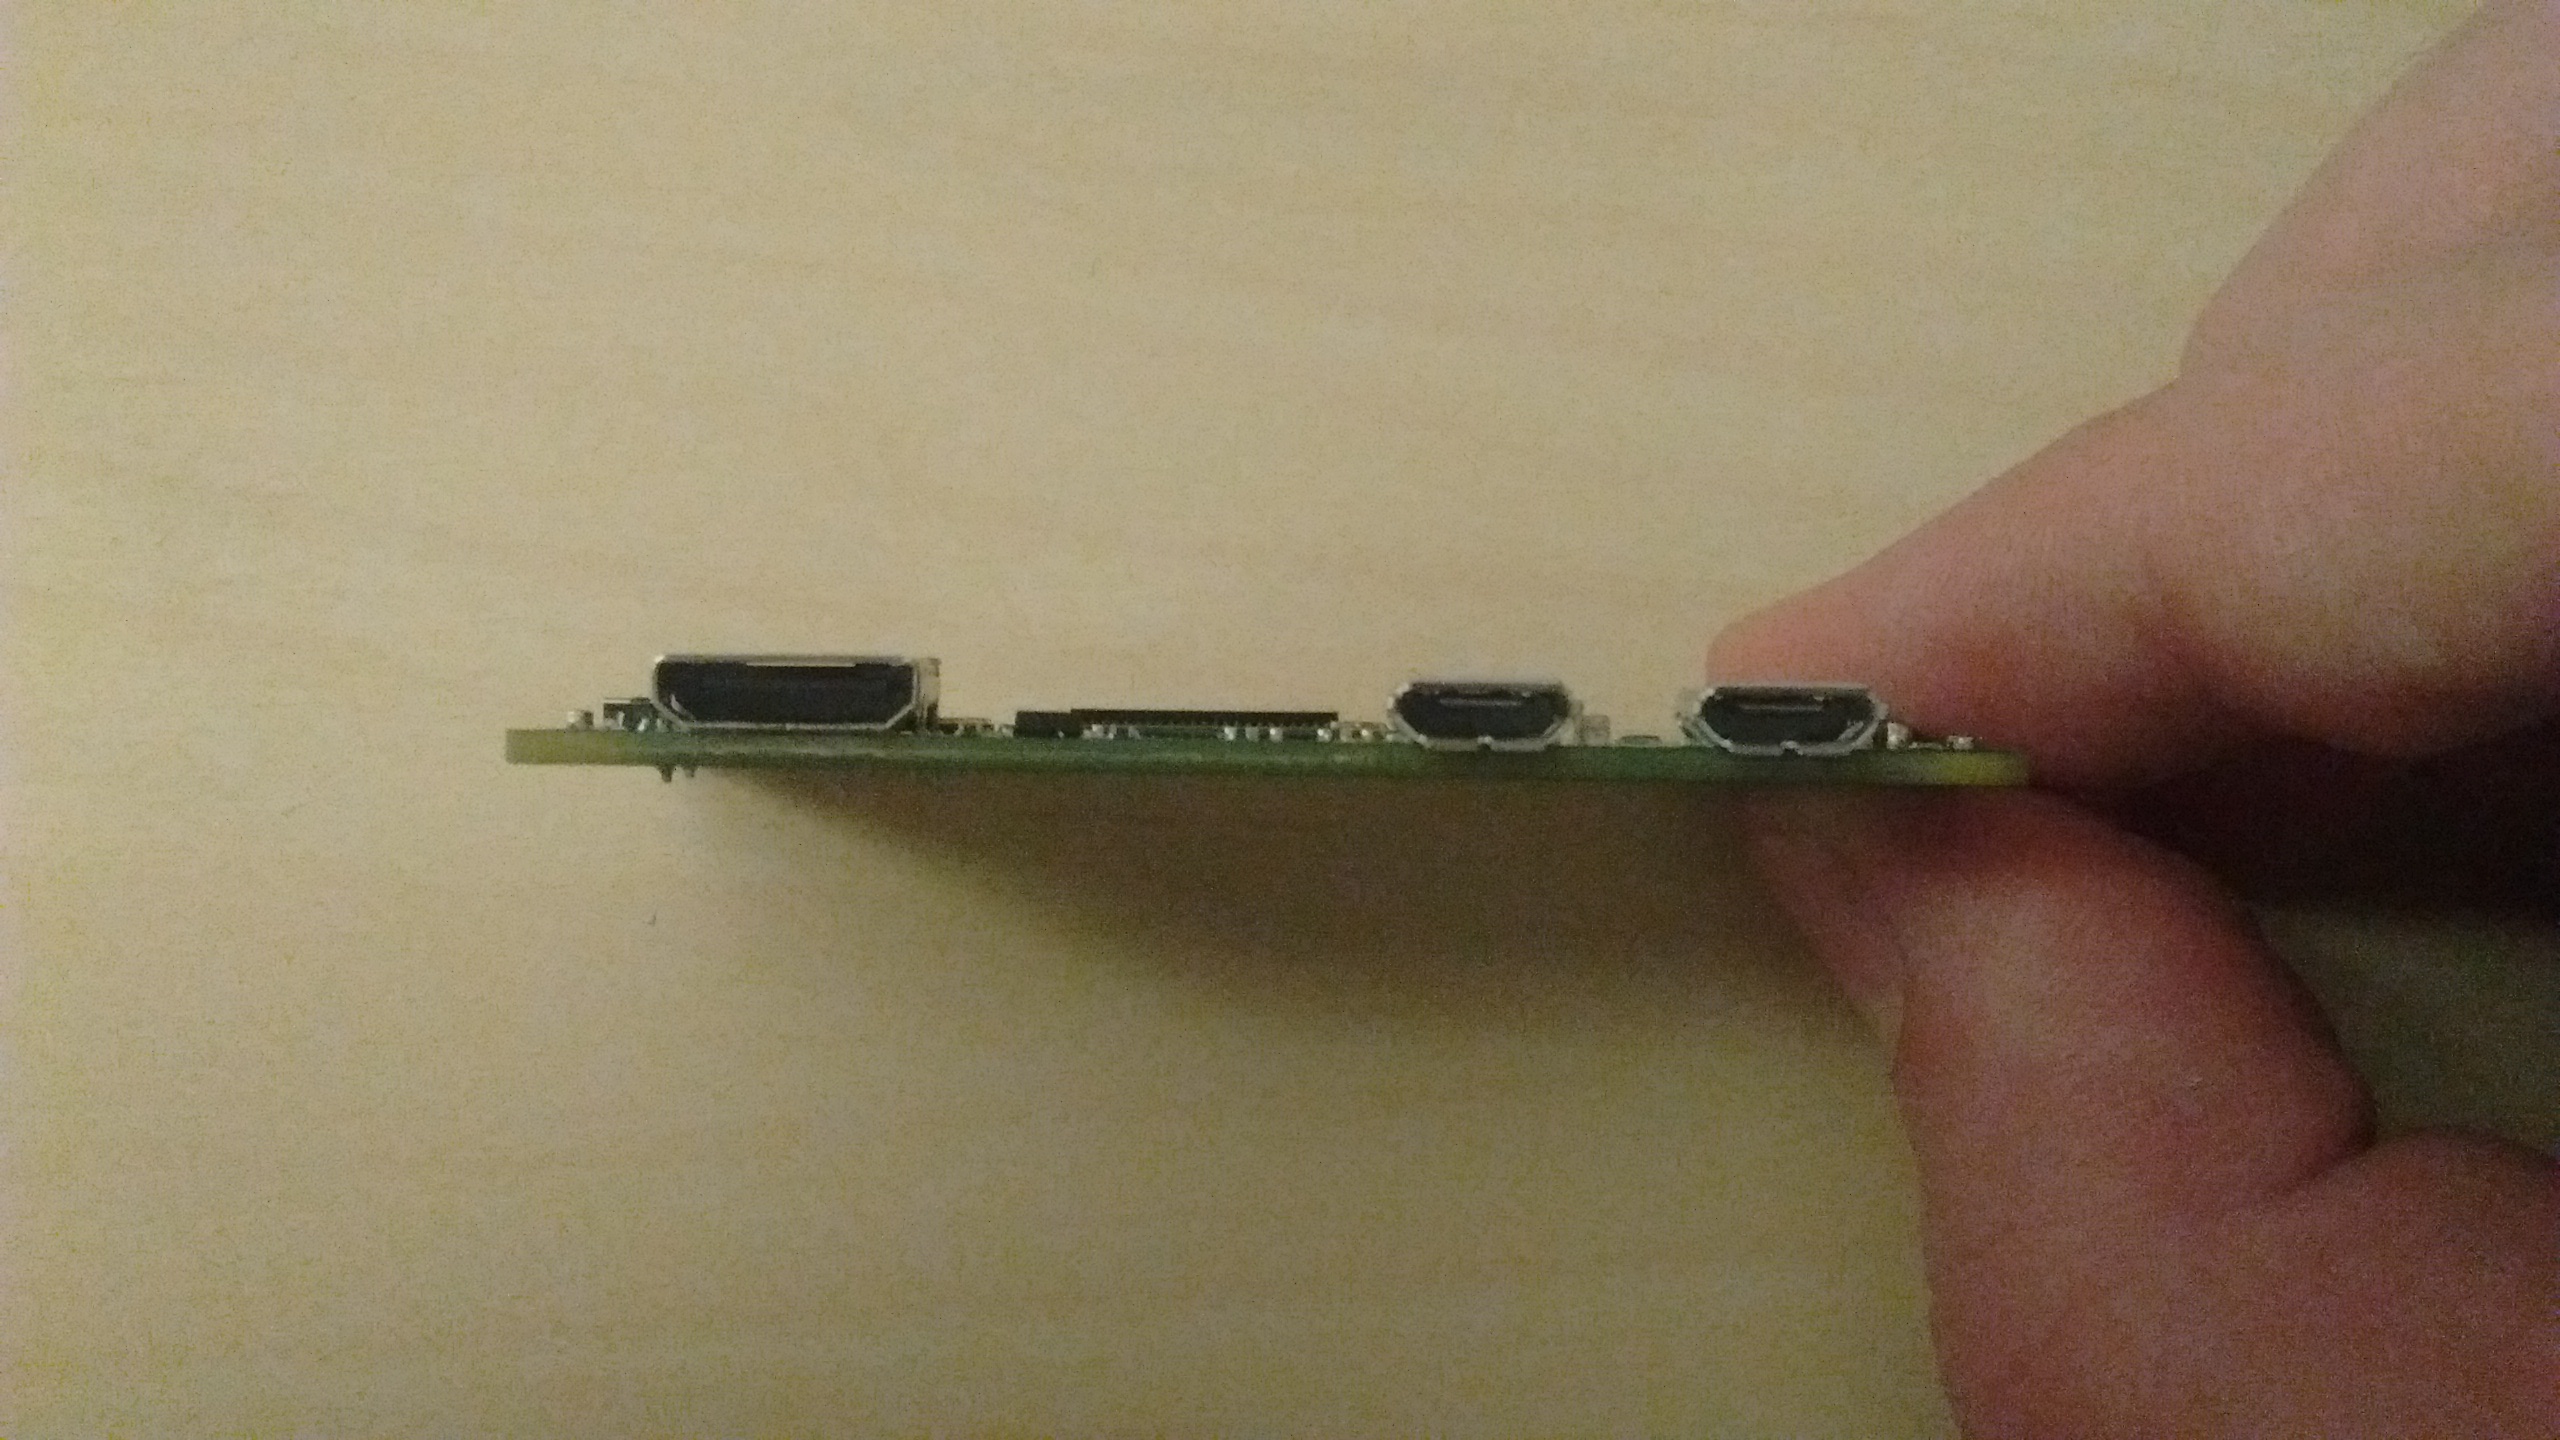
AND I got my Raspberry Pi Zero in!

This little guy is cool!

IMG_20151203_205459840 IMG_20151203_205532614 IMG_20151205_245916656 IMG_20151205_245926609 IMG_20151205_245937360 IMG_20151205_245957094


Have a good weekend all!

-Shea

Nov 06

Friday Post: Texas

Hey All,

Just got back from Austin, Texas for an educational conference.

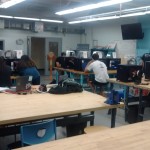
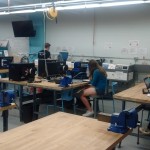
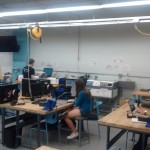
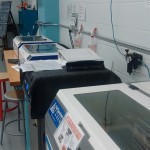
The University of Texas at Austin is beautiful! Had a good conference, the LBJ Presidential Museum is on campus, so I was able to check that out. There is a really nice Makerspace located in the basement of the engineering building. Had a great feel. Blink-182 blasting in the background, students just working on stuff. 3 laser cutters and 14 Flashforge 3D printers available to use. Small mills in the back, vices on every table. Lots of room to work, lots of supplies to purchase. It’s great. Good Job UT.

I also got to visit two arcades! One is called Pinballz and true to the name, has about 40 pinball machines. Everything there was in great shape, and the video game selection was incredible. Got to play a Typing of the Dead, SF4, and SF X Tekken. They even had the non deluxe version of Star Wars BattlePods which was fun to try.

https://www.google.com/maps/@30.3700915,-97.7213994,3a,73.7y,223.57h,90t/data=!3m7!1e1!3m5!1sWFQjGDbTKQ9D-VZ6GQTMmQ!2e0!3e2!7i13312!8i6656

I also went to ArcadeUFO, which was a small Japanese style arcade.  Lots of candy cabs, an interesting selection of games.  I really liked JuBeat.

Have a good weekend all!  Great to be back home 😀

-Shea

Oct 30

Friday Post: 100% Funded!

Hey All,

In just a short amount of time the Deskcade Kickstarter has been 100% funded!

This is awesome! Thank you all for your continued support. Here is some play testing I took at FamiLAB:

I have been told very last minute that I am going to Austin Texas next week to participate in a committee standard meeting, to help shape the next version of the Learning Tools Interoperability standard. I hate flying, so I’m nervous about the trip, but its only 2.5 hours. Just gotta try to sleep through the flight and I’ll be good. On the plus side, there are some INCREDIBLE arcades in Austin. Going to try to get Pinballz Arcade, and ArcadeUFO.

Have a good weekend all!

-Shea

Aug 21

Friday Post: Start of Semester

Hey All,

Sorry for not posting last weekend.  I needed a break.  I have been super swamped these past two weeks.  Fall semester begins on Monday, and for some reason, this feels like a weird one.  Something is in the air.  My team is launching a new app for teachers and students.  It’s coming out of pilot phase after a year.  I’m so excited and nervous!

Of course things didn’t roll out as they were supposed to.  Network errors, department ticket freezes, ubuntu issues…everything but the software has been blowing up around me.  Though this means on Monday, everything will work A-Ok!.  If everything went smoothly, I would really be worried 😀

Next week, once I hopefully have some time to breathe, I will have some big things to post about.

Have a great weekend, and a great start of classes to my fellow friends in Academia!

-Shea

Aug 07

Friday Post: Raspberry Pi iBeacon

Hey All,

Now that Hack Day at the office is out of the way, I would like to post about what I learned and some examples to get you started.  The following is some example code and an introduction to iBeacons.

Setting up a Raspberry Pi to be an iBeacon

Longer guide available here: Adafruit PiBeacon

On a fresh install of Raspbian, login to the terminal and type:

sudo apt-get update
sudo apt-get install libusb-dev libdbus-1-dev libglib2.0-dev libudev-dev libical-dev libreadline-dev

Next we want to download, build, and install BlueZ, a bluetooth stack for Linux and the Raspberry Pi.

sudo mkdir bluez
cd bluez
sudo wget www.kernel.org/pub/linux/bluetooth/bluez-5.11.tar.xz
tar xf bluez-5.11.tar.xz
cd bluez-5.11
./configure --disable-systemd
make
sudo make install

Now that BlueZ is installed, plug in your Bluetooth Adapter and reboot your Pi with:

sudo reboot

When it is finished rebooting, log back in and go into the bluez folder by typing:

cd bluez/bluez-5.11

Check that your bluetooth device is listed by running:

tools/hciconfig

You should see a few lines appear about hci0 and that it is currently down.

Issue these commands to bring up your bluetooth device:

 sudo tools/hciconfig hci0 up
sudo tools/hciconfig hci0 leadv 3
sudo tools/hciconfig hci0 noscan

Now we are going to turn the device into an iBeacon.

 sudo tools/hcitool -i hci0 cmd 0x08 0x0008 1E 02 01 1A 1A FF 4C 00 02 15 E2 0A 39 F4 73 F5 4B C4 A1 2F 17 D1 AD 07 A9 61 01 00 00 01 C8 00

The long set of character E2 0A 39 F4 73 F5 4B C4 A1 2F 17 D1 AD 07 A9 61 is actually the iBeacon’s ID.

The next four numbers: 01 00 are the major id and show up as 100.

The next four numbers 00 01 are the minor number and show up as just 1.

You don’t have to worry about the numbers before E2 and after the minor value 00 01.

You can set the major and minor to anything from 0 to 9999. This is how you will be able to tell apart different beacons in your app. The app is currently set to recognize Major 100 Minor 1 and Major 100 Minor 2.

If you change these numbers on your device, make sure to update the app.js code as explained below.

If you reboot your Pi, you will find that the bluetooth device has been reset and that it is no longer functioning as an iBeacon.

To fix this we are going to edit /etc/rc.local.

sudo nano /etc/rc.local

You will want to place the following code above the exit 0 at the end of the file.

sudo /home/pi/bluez/bluez-5.11/tools/hciconfig hci0 up
sudo /home/pi/bluez/bluez-5.11/tools/hciconfig hci0 leadv 3
sudo /home/pi/bluez/bluez-5.11/tools/hciconfig hci0 noscan
sudo /home/pi/bluez/bluez-5.11/tools/hcitool -i hci0 cmd 0x08 0x0008 1E 02 01 1A 1A FF 4C 00 02 15 E2 0A 39 F4 73 F5 4B C4 A1 2F 17 D1 AD 07 A9 61 01 00 00 01 C8 00

Press ctrl-x then y to save and quit.

Now reboot your Raspberry Pi and it should become an iBeacon on startup.

Application Side

We are now going to create the iBeacon app. The instructions below are to do this on a Mac with XCode, PhoneGap, and an iOS device with a developer subscription.  You can also do this on Android with Linux, OS X, or Windows, the Android SDK, and PhoneGap.

First, you want to install cordova. On a Mac or Linux machine use:

npm install -g cordova

(If you don’t have NPM on a Mac install the amazing tool Homebrew and then install node.js)

Then create your app directory:

cordova create beacon com.yourname.beacon beacon
cd beacon
cordova platforms add ios

(for android do cordova platforms add android, but make sure the android sdk is installed)

Add some basic plugins:

cordova plugin add org.apache.cordova.device
cordova plugin add org.apache.cordova.console

and the ibeacon plugin:

cordova plugin add https://github.com/petermetz/cordova-plugin-ibeacon.git

Now lets rename the www folder in the folder. We don’t need it, it’s the default phonegap application, but it could be a useful example later.

mv www www.example

Now let’s clone the ibeacon example!

git clone https://www.github.com/ssilverm/ibeacon-www www

Edit lines 7 – 23 of app.js to match the ID, Major, and Minor of your beacons. They will trigger the page changes on your device.

app.beaconRegions =
  [
	{
		id: 'Page1',
		uuid:'E20A39F4-73F5-4BC4-A12F-17D1AD07A961',
		major: 100,
		minor: 1
	},
	{
		id: 'Page2',
		uuid:'E20A39F4-73F5-4BC4-A12F-17D1AD07A961',
		major: 100,
		minor: 2
	},


  ]

You can see how the above code is set to the same as the iBeacon we set up above, as well as another beacon with the minor value set to 2.

The next steps are how to build your iBeacon app for an ios device like an iPhone or iPad. I don’t have an Android device, but as long as you have the Android sdk the functions should be the same. Change ios for android.

When you have finished editing app.js, save it and then type:

cordova build ios

After a few minutes your terminal should read Build Succeeded.

Open the platforms/ios folder and double click on the beacon.xcodeproj file to launch XCode. With your device connected you should be able to run your app on the device.

Make sure location services are enabled for the app.

Now go walk around to where you set up the beacons and the pages should automatically change as you get closer to them. It will also revert to the main page as you move out of range.
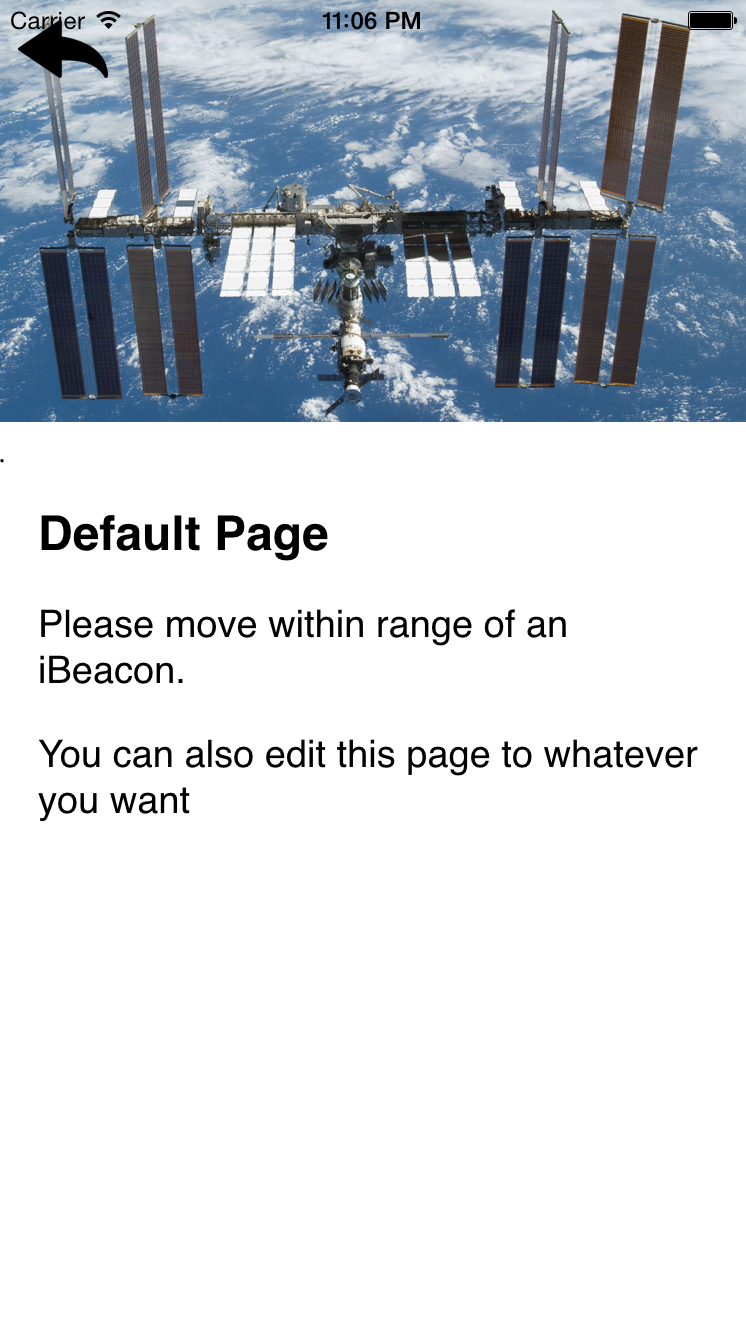
Screen Shot 2015-08-07 at 11.06.17 PM

I hope this has been helpful!

Have a great weekend all!

-Shea

GitHub Code: https://github.com/ssilverm/ibeacon-www