Jul 10

Friday Post: Make Magazine!

Hey All,

Happy Friday!

This week just flew by, but projects are going really well, and I am hoping to have a cool announcement in the next week or so.  In the meantime…

PiPlay was featured in Make Magazine!!!!!!!

I’m seriously fanboying over here.  To have my project featured in Make is like having a researcher’s paper featured in Science or Nature magazine.  I’m just blown away.

The article is about making a home arcade system and controlling the games with an Arduino Esplora.

M45_Cover_LowRez_Sq_1024x1024


Have a good weekend all!

-Shea


Apr 17

Friday Post: PyCon 2015!

Hey All,

PyCon 2015 is over.  It was an amazing time in Montreal.  My coworker and I presented ProctorHub, the homegrown proctoring solution that we created for our university.

We met a lot of fellow educators, tons of fellow pythonistas, and learned a ton!

A PiPlay kit was also auctioned off during the PyLadies auction, where it brought in $200!

All of the talks are up on YouTube:

https://www.youtube.com/channel/UCgxzjK6GuOHVKR_08TT4hJQ

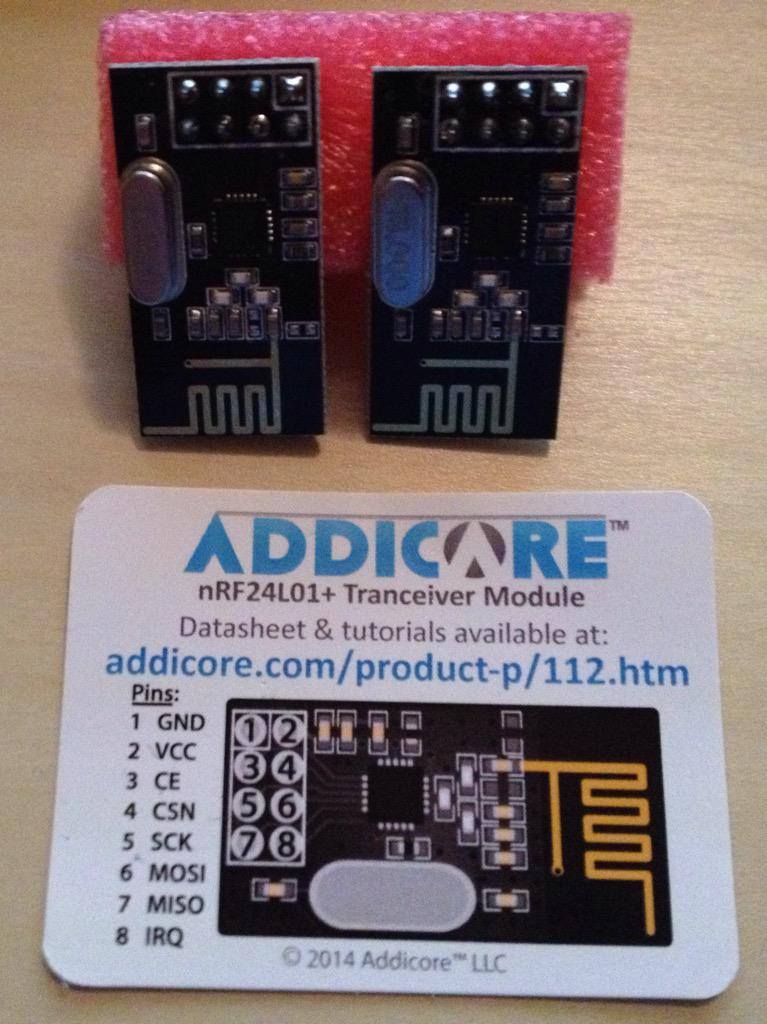
I’ve also picked up two of these nrf24l01+ Transceivers.

11038420_10104069360076632_3430831120835634129_o

I have a neat project I’m working on involving a Raspberry Pi and an Arduino.  Hopefully I’ll have the prototype to show next week 😀

Have a good weekend!

Jan 25

Friday Post: Little Boards

Hey all,

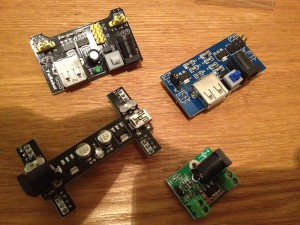
I’ve been anxiously awaiting some voltage regulator boards I ordered from eBay for the past 2 weeks.  It seems they all came from China and all got here within a day or two of each other.  It’s kinda neat to see how each came packaged differently, through different mail systems, but yet all arrived safely on the other side of the planet.

Photo Jan 25, 9 41 31 PM


Photo Jan 25, 9 41 58 PM


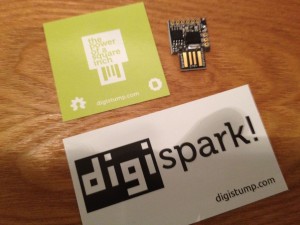
My DigiSpark mini Arduino board came in as well.  This was a kickstarter based project from DigiStump that puts a whole Arduino with USB connector into a 1 square inch of space.

Photo Jan 25, 9 42 29 PM

It seems that the PiMAME 0.5 beta release is going well.  I advise everyone running it to expand the filesystem before uploading any games.  To do this, exit out of AdvMENU, then type sudo raspi-config on the command line.  Press enter and run the Expand Filesystem tool so you will have the usable space of your SD Card.  PiMAME was built to run on a 2GB SD Card, but only has 8MB of usable space be default.

Have a good weekend!

-Shea


Sep 15

Friday Post: Stuff in the pipeline

Not much to blog about tonight.  My PCSX_ReARMed binaries are getting a lot of hits.  I’m really impressed by the performance.  This weekend I’m working on my NeoGeo controller project.  Got more of the parts I need and a bunch of the Arduino code written.

Still working on the Mednafen Emulator.  Their IRC channel on freenode is really active, so that’s a great sign.

Also, VIA Technologies tweeted my APC unboxing video 🙂  That was a neat little treat.

Have a great weekend everyone.

Sep 01

Friday Post: Arduino Keyboard Joystick

Hey all,

It’s been a long week, and I am really glad I have a long weekend to sleep in.

When the Arduino Leonardo was announced I was really excited to see it have built in USB HID support and could act as a keyboard, mouse, or joystick.  I was even more excited to find out that my year old Teensy++ (Arduino compatible board) was based on the same chipset that the Leonardo now uses, and is able to act as a keyboard as well!

This is a new feature that was introduced in the Arduino 1.0 IDE.  You can now send keyboard presses with this simple line of code: Keyboard.write(‘a’);  If I wanted the Up joystick to be the up arrow on the keyboard, I would just use: Keyboard.write(0x0E); .

.

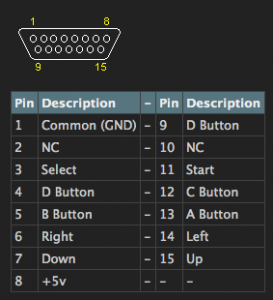
My goal is to use my Neo Geo AES controllers as an input for MAME.  The Neo Geo pads don’t have any control boards built into the unit.  The console itself interprets each pin individually, just like an actual arcade board.  The pad uses a standard midi gameport (DA-15) connector, with each pin representing one button.

My idea is to make a Neo Geo pad to usb adapter using the Teensy++ as go-between.  The Neo Geo pins will be wired up to the digital pins on the Teensy, and the Teensy Arduino sketch will interpret each button press as a keyboard press.
I’m looking forward to working on this project.  I hope everyone has a great weekend and a restful Labor Day.

Apr 03

Arduino and EL Escudo

Another fixit type post.  Every so often I repurpose my Arduino and EL Wire for a new project, and each time I always forget how to properly get the EL_Escudo library resetup.  I should probably just fork the code on GitHub with the fixes that have been posted, but who remembers to do that.

So, the EL Escudo is a cool shield for the Arduino.  SparkFun sells it.  I highly recommend them.  There is a small bug in the library code that is fixed by bobmct’s post (http://www.sparkfun.com/products/9259#comment-4eaad859757b7fd35100ba5d):

“I realize this is a rehash of what others above have said, but I got mine to work by doing the following.

Getting the El Escudo to work
Two problems:
1. Must fix a mistake in the library code: Needed to make in EL_Escudo.cpp (thanks BMK):
void EL_EscudoClass::on(char channel)
{
pinMode(channel, OUTPUT);
digitalWrite(channel, HIGH);
}
void EL_EscudoClass::off(char channel)
{
pinMode(channel, OUTPUT);
digitalWrite(channel, LOW);
}
2. They also recommend GND and HVGND are tied together. Look at photo (thanks miku) http://dl.dropbox.com/u/3551240/el-escudo.JPG . With the code change made above I also tried to see if the El Scudo would work without this jumber (between GND and HVGND), and it did work and it did work without it. I was using the EL_Blink.pde example when testing this.
The above got things to work with a handheld 3V inverter (two AA battery powered) with the button pressed 3 times (a steady AC supply, no blinking) with the output of this inverter connected to the El Escudo shield’s “EL Driver Inverter Ouput” JST jack.
The Arduino was powered from a 5VDC wall transformer (1A capacity) with the barrel jack plug connected either on the Arduino’s barrel jack connector or connected to the El Scudo’s “EL Driver Raw Voltage” JST connector.
You will need to fabricate the strange El Wire plugs to JST plugs to make all the connections. In my experience above, the polarity was not a factor because the output from the inverter is AC and so is the input to the el wire.
Hope this helps.”

My only issue was with number 1.  Fixing that caused the main library to work again.

With the upgrade to Arduino 1.0, WConstants.h will throw an error since that isn’t being used anymore.  You should be able to safely change all WConstants.h to Arduino.h