Authors Note: While PCBWay has offered to sponsor a run of the boards, everything purchased for this post was paid for out of pocket and without their knowledge. I wanted to make sure they were good on my own.
Hey All,
I’m a collector. I like to collect things. Video games, Raspberry Pis, Pokemon cards, and Pins. I don’t have many pins, but they really appeal to me. It’s like pixel art. Making awesome designs with limited colors on a small canvas.
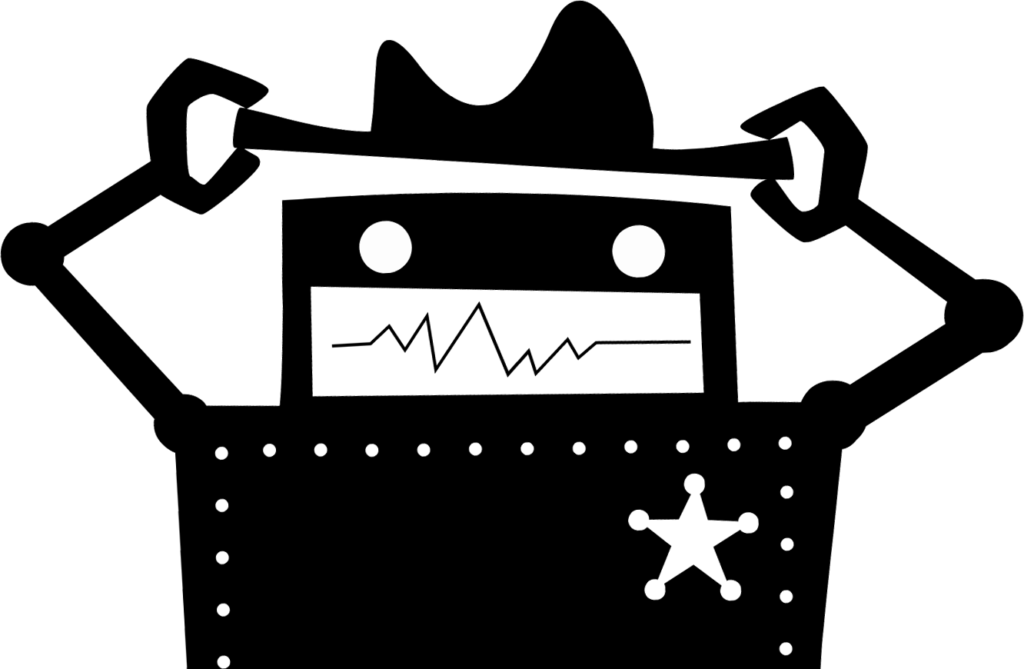
The department I work for has always made our own logos for our teams and projects. We usually print stickers and give them out at conferences, or to our students when they hit certain milestones (like their first commit).
A eureka moment hit when PCBWay contacted me this month asking if they could sponsor my next PCB board. I’m not ready to make another PiPlay run of boards (we are slowly working on version 2), but I loved the silkscreen art I was able to put on our original run.
What if I could turn our teams logo into a PCB?
I quickly started investigating and found an awesome plugin for Inkscape called SVG2Shenzen!
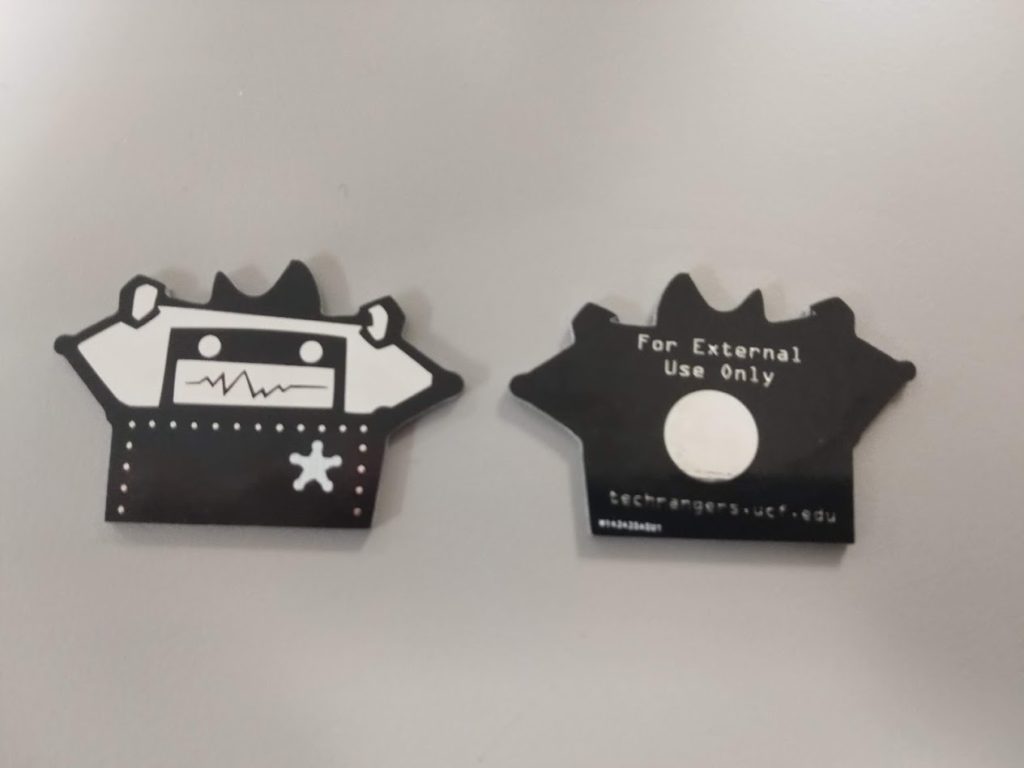
I use Inkscape for a lot of things, mostly for setting up projects on the Lasercutter at FamiLAB, but I never thought of using it to create PCBs! The boards came out amazing!

PCBWay
Pros:
- The boards I received from PCBWay.com blew me away.
- I was not expecting much for $5 (+ $15 shipping from China).
- I ordered the boards on Saturday, they shipped them out on Wednesday, and they were in my hands by Friday.
- The production speed is incredible.
- They audit every board before you pay and begin production.
Cons:
- The ordering experience was a little clunky.
- I had to input my dimensions and order details BEFORE uploading my Gerber files. Other PCB manufacturers usually get order details from the Gerbers.
- Because I was making pins, I didn’t need anything drilled. This caused the audit to fail, and due to the timezome difference, their message to me and my reply caused a 20 hour delay in production. edit: Adding a note to ignore the drill file for my second order caused it to pass the audit test without delay.
The Pros HEAVILY outweigh the very minor Cons I experienced. I will have zero problem using them from now on for my board needs!
Using SVG2Shenzen
https://github.com/badgeek/svg2shenzhen
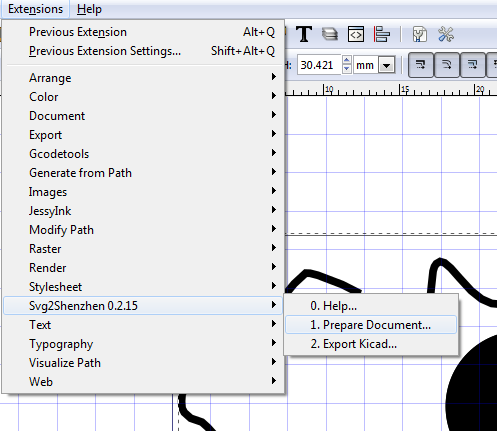
Once the plugin is installed, you goto Extensions->Prepare Document and click on Apply.
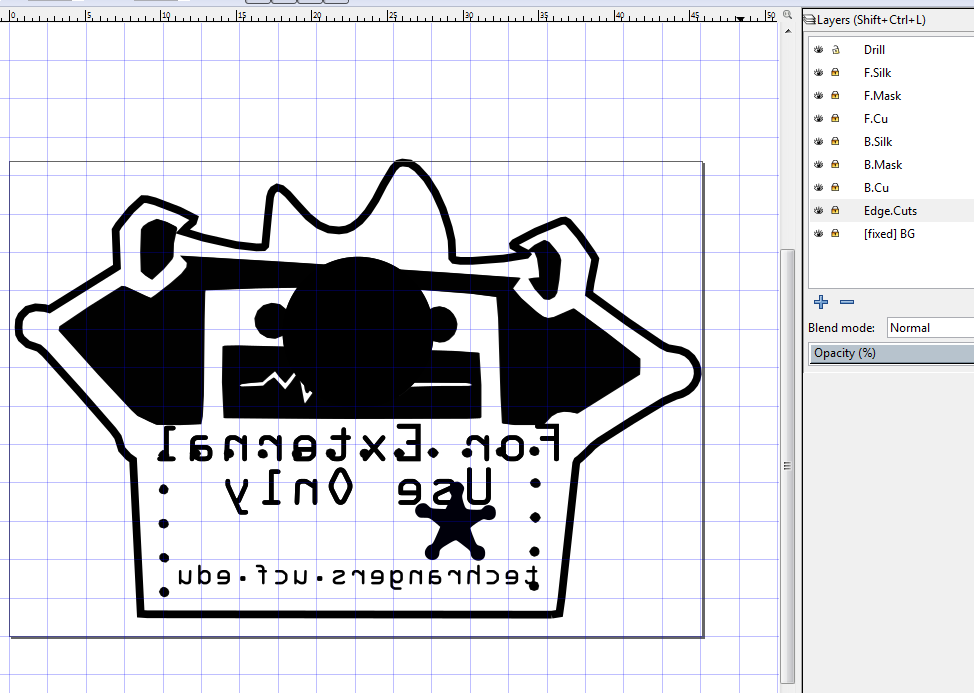
This will generate a new vector document with layers for each layer of the board. Each layer represents a portion of the boards manufacturing. They are:
- Drill
- Parts of the board to be drilled out
- Example: Holes for a key-chain, or for through hole parts like a resistor or LED
- F. Silk
- Front of the board’s silkscreen
- F.Mask
- Front of the board mask – I have found that the Mask and Copper should be the same design
- F. Cu
- Front of the board copper
- B. Silk
- Back of board silkscreen
- B. Mask
- Back of board mask – Again I have found that the Mask and Copper should be the same design
- B. Cu
- Back of board copper
- Edge.Cuts
- This is the shape of your board that will be cutout.
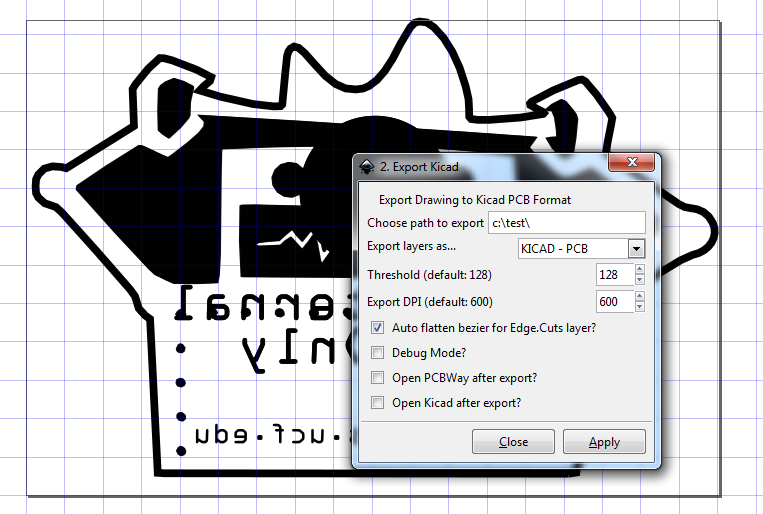
When you are happy with your layout, click on Extensions -> Export Kicad, and click apply.
You will now need to open the generated *.kicad_pcb file in Kicad’s pcb tool pcbnew.

You can check a render of your finished board by going to View->3D Viewer. You can change all the colors and see what your finished board will probably look like. If its good, it’s time for the most important step! Generating your gerbers!
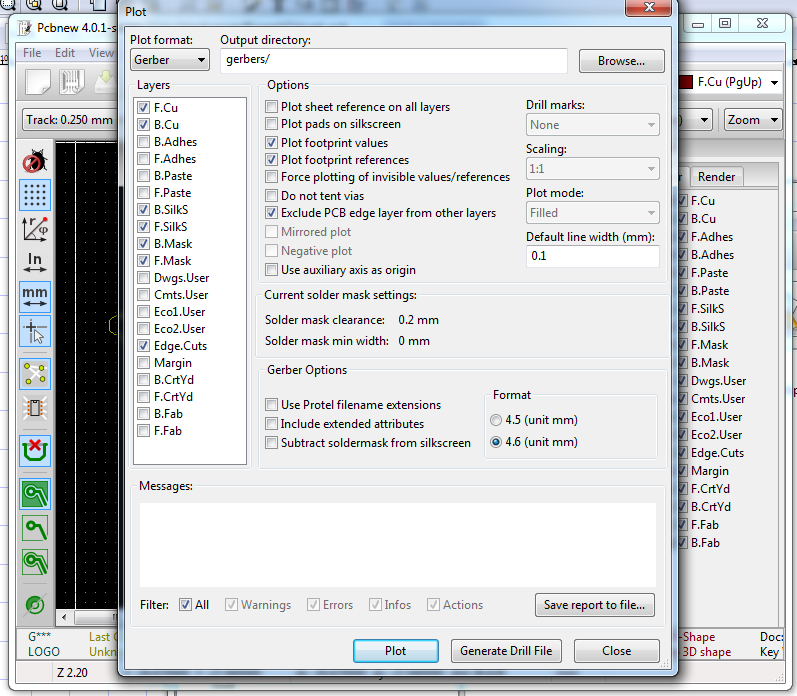
Click on File-> Plot to open up the plotter dialog. Select your output directory, and leave the settings as default for now. Click on Plot and a bunch of files will be generated in that directory. These are the files you send to your manufacturer to generate a PCB for you!
Congrats, you made a board!
Happy Birthday To Me!
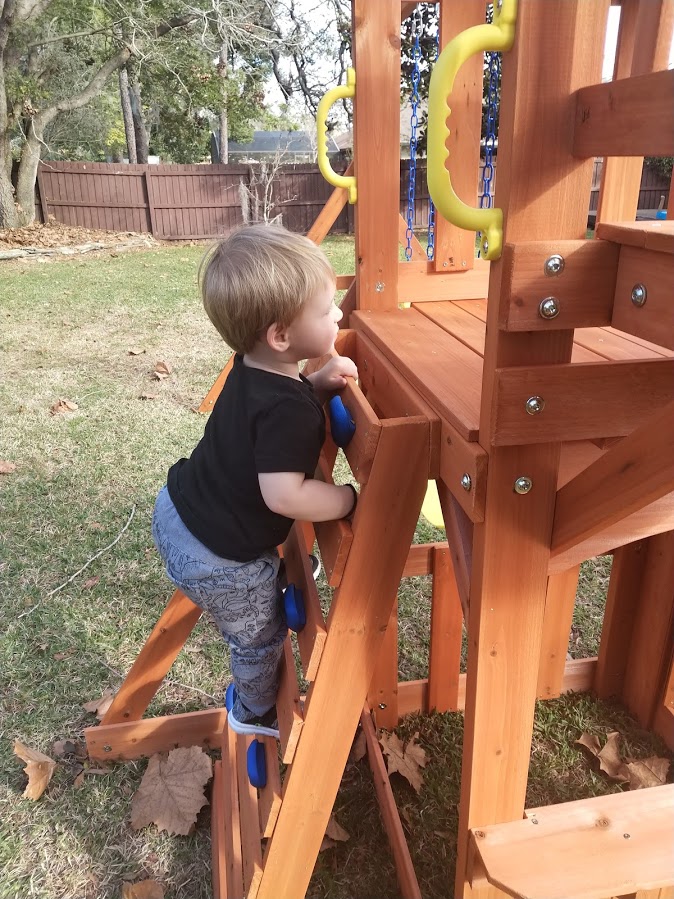
On another note… I turned 35 this month. Happy Birthday to Me! I couldn’t have had a happier birthday. Spending a nice day with my Wife and Son, watching the little dude play on a swing-set his Grandpa’s built in our backyard.
Have a good one all! – Shea