Feb 20

Making Making Making

I’ll be honest, I really keep thinking if I blog what I’m doing now then that will be it, and I won’t have any content for next week. Hah!

Every week just reminds me how many things I end up putting myself into so yeah, I just need to stop worrying about having content and just keep making content.

I’ve been trying to do YouTube videos and blah, it sucks. It’s super hard to create content like that for me. I’m getting better at it, but it just ain’t clicking lol.

What I did these past two weeks?

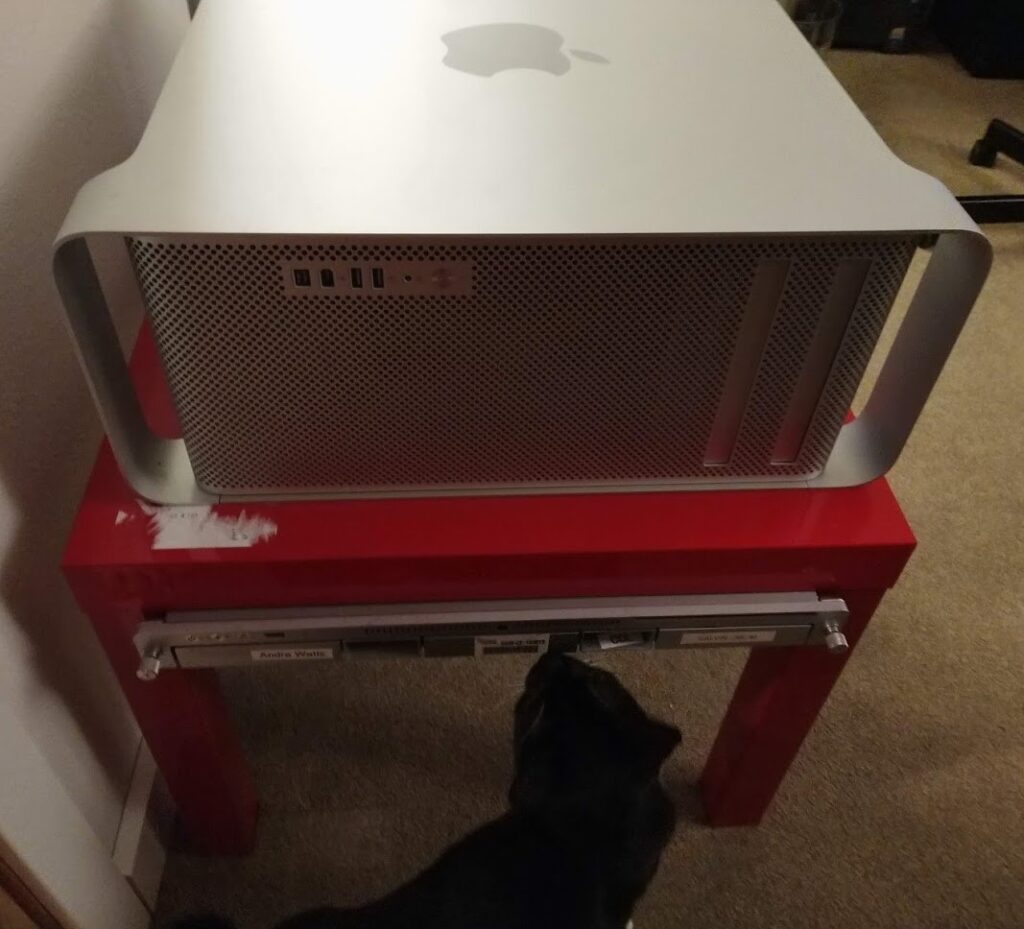
Well I did setup the Ikea Lack Rack!

This setup is a beast and is taking up so much room. I have no use for it anymore, but it felt good “completing” a task I had on my todo list for years.

New GBA Flash Carts!

So many years ago I tried to do some DMG and GBA homebrew development. I didn’t get far but I had always wanted a flash cart and to be able to run my own code on a Gameboy!

Well, in 2021 there are now homebrew flashing devices, because all of the pirated / reproduction games out there are actually just really cheap 16MB reflashable cartridges!

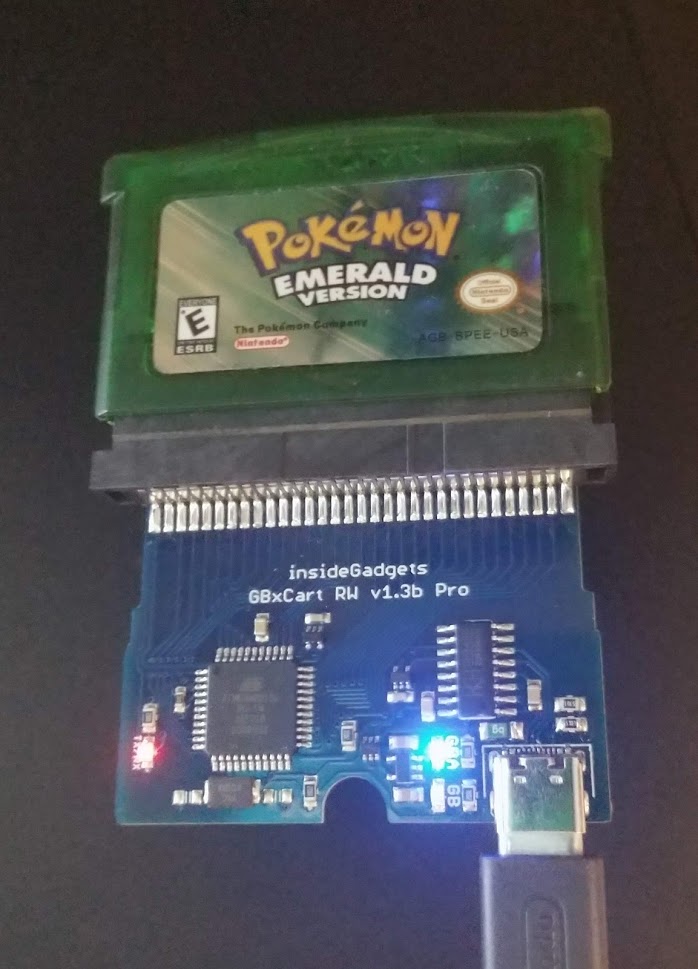
A secret santa sent me some games a while ago and a few of them ended up being pirated (The E and Nintendo logo are too thin!) carts. I picked up a GBXCart reader/writer and now I can flash my own games to the carts!

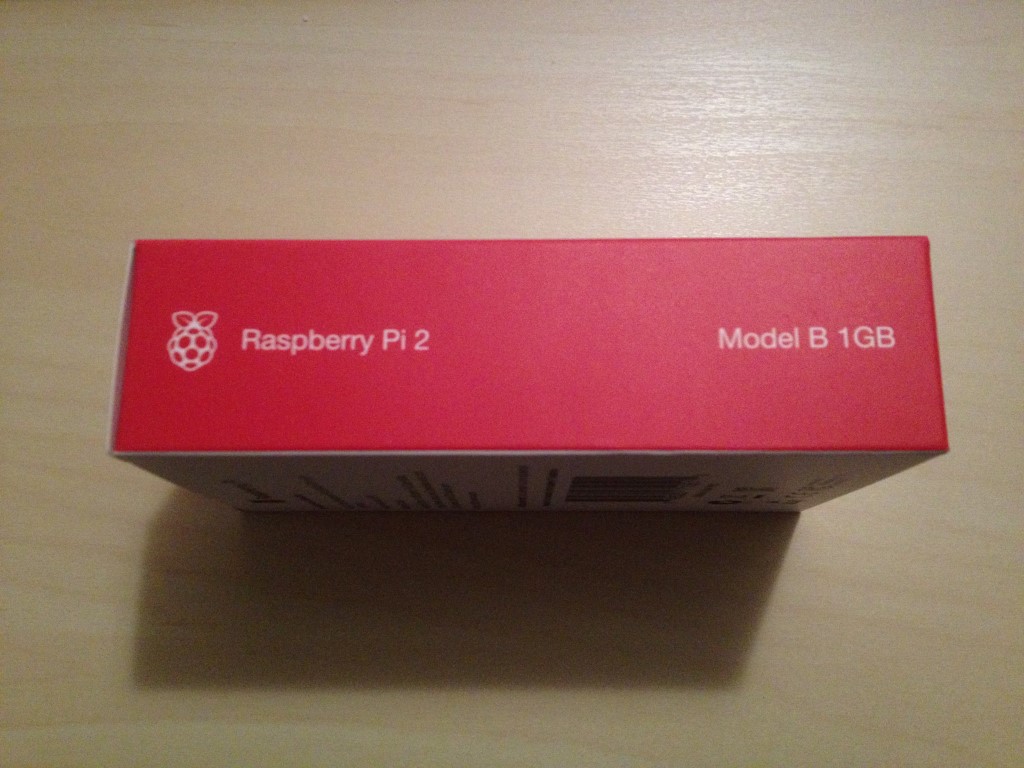
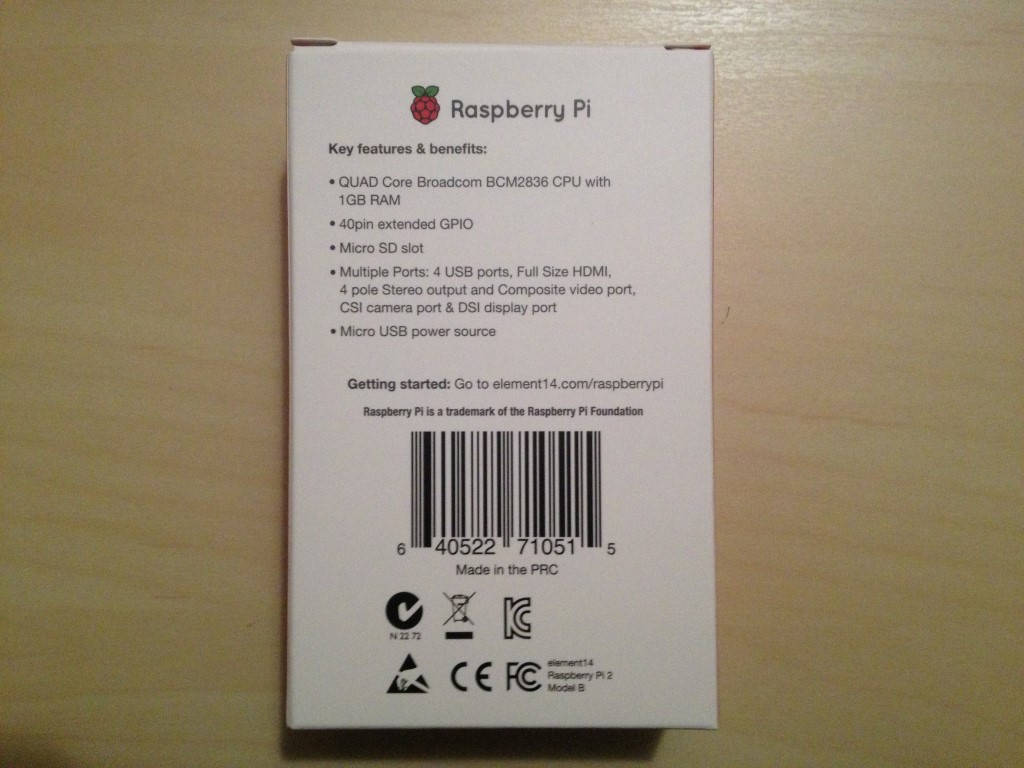
Raspberry Pi Press

I’ve had these books on my sights for a while now, but I just never bit the bullet. And to be honest, it’s been hard to be motivated to read lately. BUT I’m going to fix that. I’m going to read. My goal is to finish both of these books by the end of July.

Next week I’ll have some more new videos ready. Did something cool with my coworker on my CNC machine to help his D&D campaign, and one of the Kickstarters I backed delivered their console, so I hope to have an unboxing done by then.

Have a good week all!

Feb 10

Projects!

Hey All,

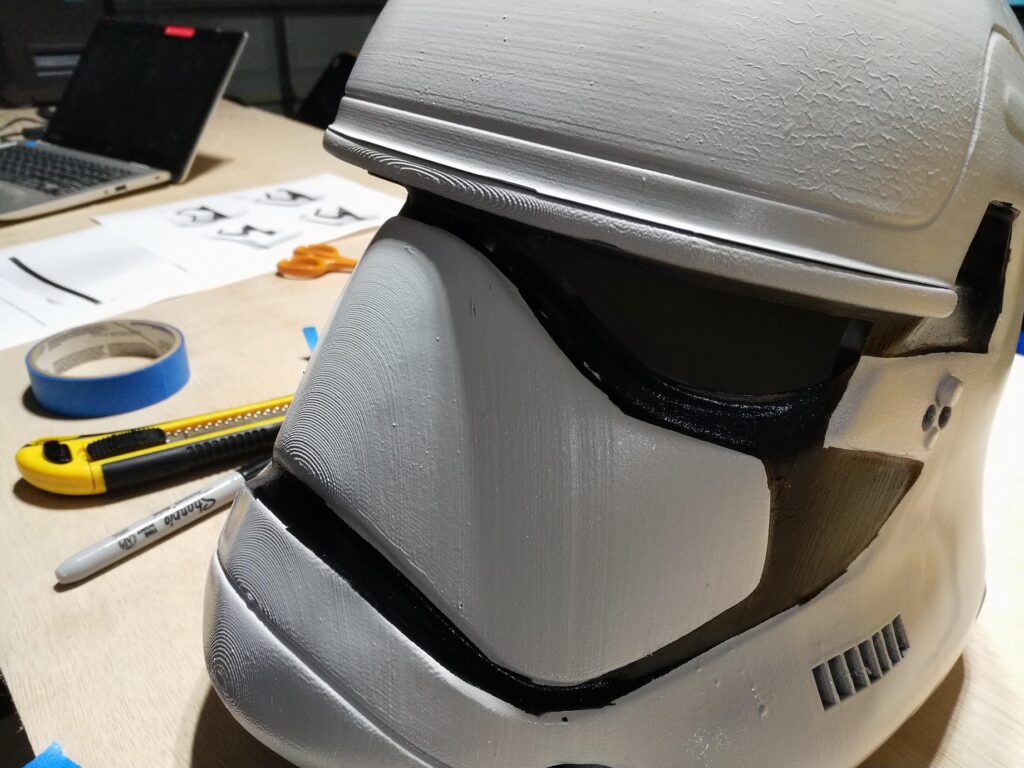
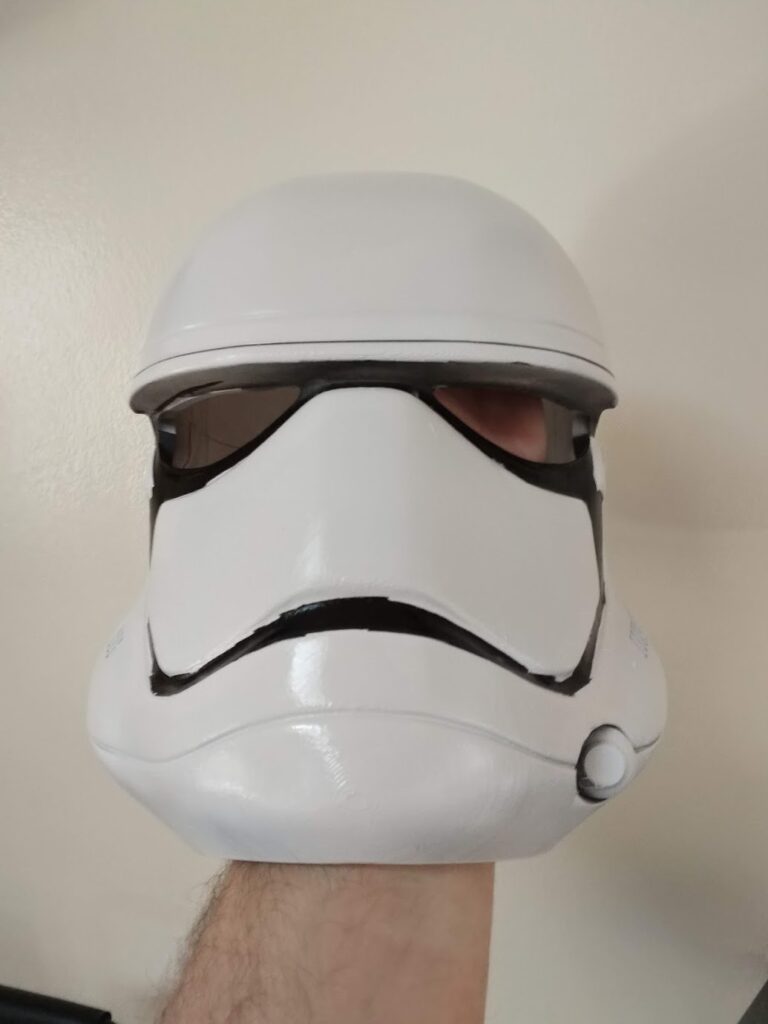
Last post I talked about completing projects…and I’ve got an update on my First Order Stormtrooper helmet!

99% done! I just need to do a little more touchups, paint the vent silver, and add the lenses!

Here’s what it looked like as I was touching it up:

Hopefully in another week or so I can finish it up!

Chip Coasters

Last week on Twitter I saw Eben Ubton and @jasoncoon_ talking about etching CPUs into slate coasters, so I had to try it myself.

I made a video of the creation and etching process. Hope you enjoy!

See y’all next week 🙂

Jan 01

Happy New Year! Hi 2021! Go Away 2020…

Hey all.

Happy New Year!

This year I resolve to blog once a week again. Every Friday I will post what I’m working on. I’ve become creative again (I think…) and I want to put out to the world what I’m working on.

Raspberry Pi StepMania Dance Pad

Right now I’m working on a CNC’d StepMania dance pad for the Raspberry Pi. I can’t wait to get it complete but so far we have the FSR’s working with the Arduino connected to the Pi.

LEGO

I’ve been building a few LEGO sets with my toddler these past few months. Mainly I build them and he does QA I should say 🙂 It’s so much fun watching him get better and better at putting stuff together. I love it!

3D Printing

Last print of 2020 was of course a Bulbasaur. My favorite starter Pokémon!

Image may contain: indoor

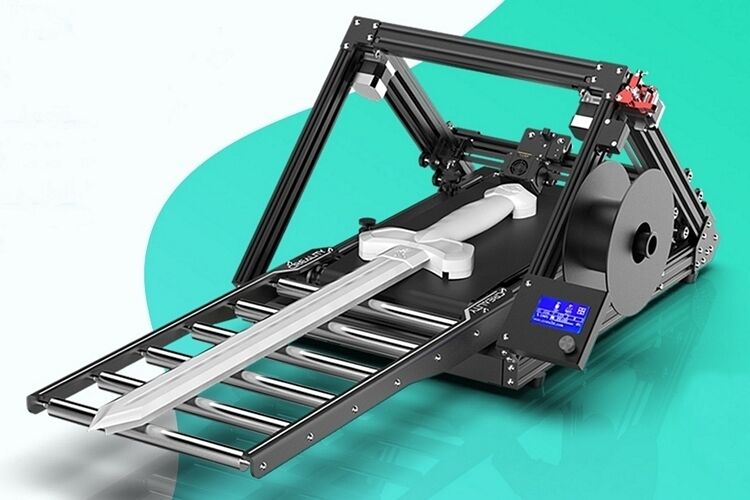
I backed Naomi Wu’s 3D PrintMill “infinite Z” printer on Kickstarter which should hopefully arrive in a few months. I know how many 3D printers have failed on Kickstarter before, but this is a collaboration between Naomi and Creality, and they already have the printer built, this is more of a way to how many they need to make for their factory. And I get that. It’s a great use of Kickstarter. I’m excited to buy vast amounts of filament for this thing!

Conveyor Belt 3D Printers : Creality CR-30 3DPrintMill

That’s it from me for this week. Here’s to an amazing 2021!

See ya next Friday!

Nov 16

Things I did in 2020

So, like my last post stated, I did some things while stuck at home.

My absolute favorite project was this:

I followed this guide (https://github.com/geaz/simplyRetro-D8) and built this awesome 3D printable desktop arcade cabinet. It of course uses a Raspberry Pi running RetroPi and uses an awesome readily available 4 x 3 LCD screen!

And of course my little guy helping me build and test it 😀

I got a small CNC machine in January and hadn’t had time to use it until recently but I have been having fun making some videos of it in action.

That’s a 3040T CNC Machine. You can find a lot of them on eBay and various other importing sites. More fun hobbies that involve turning one thing into another thing 🙂

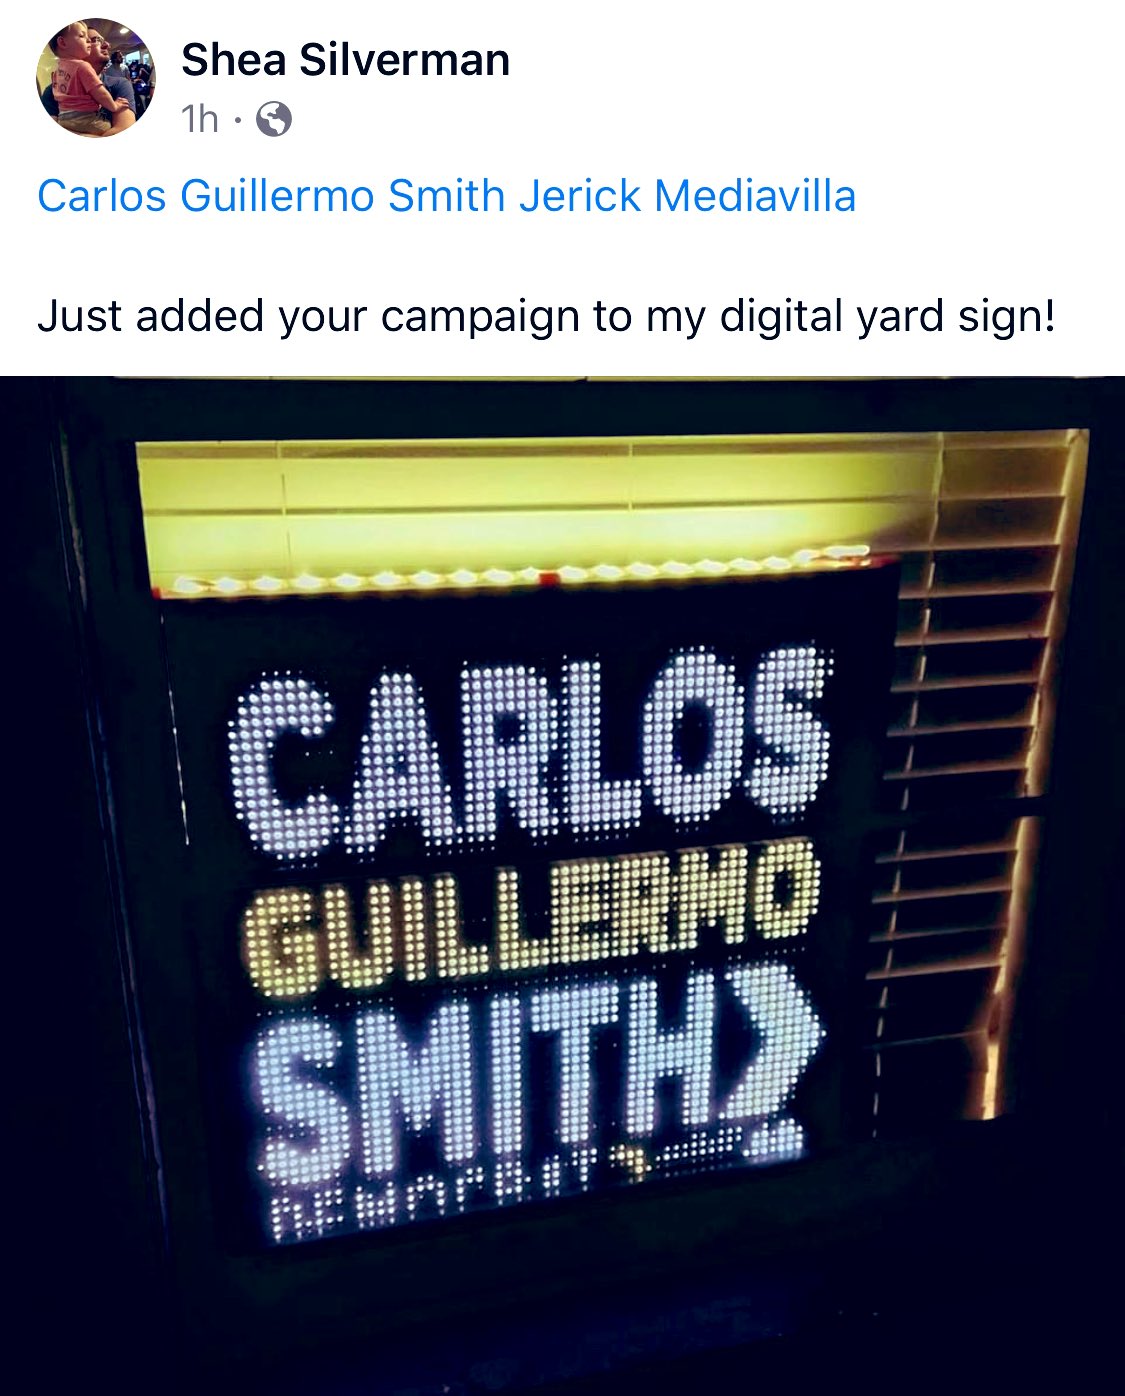
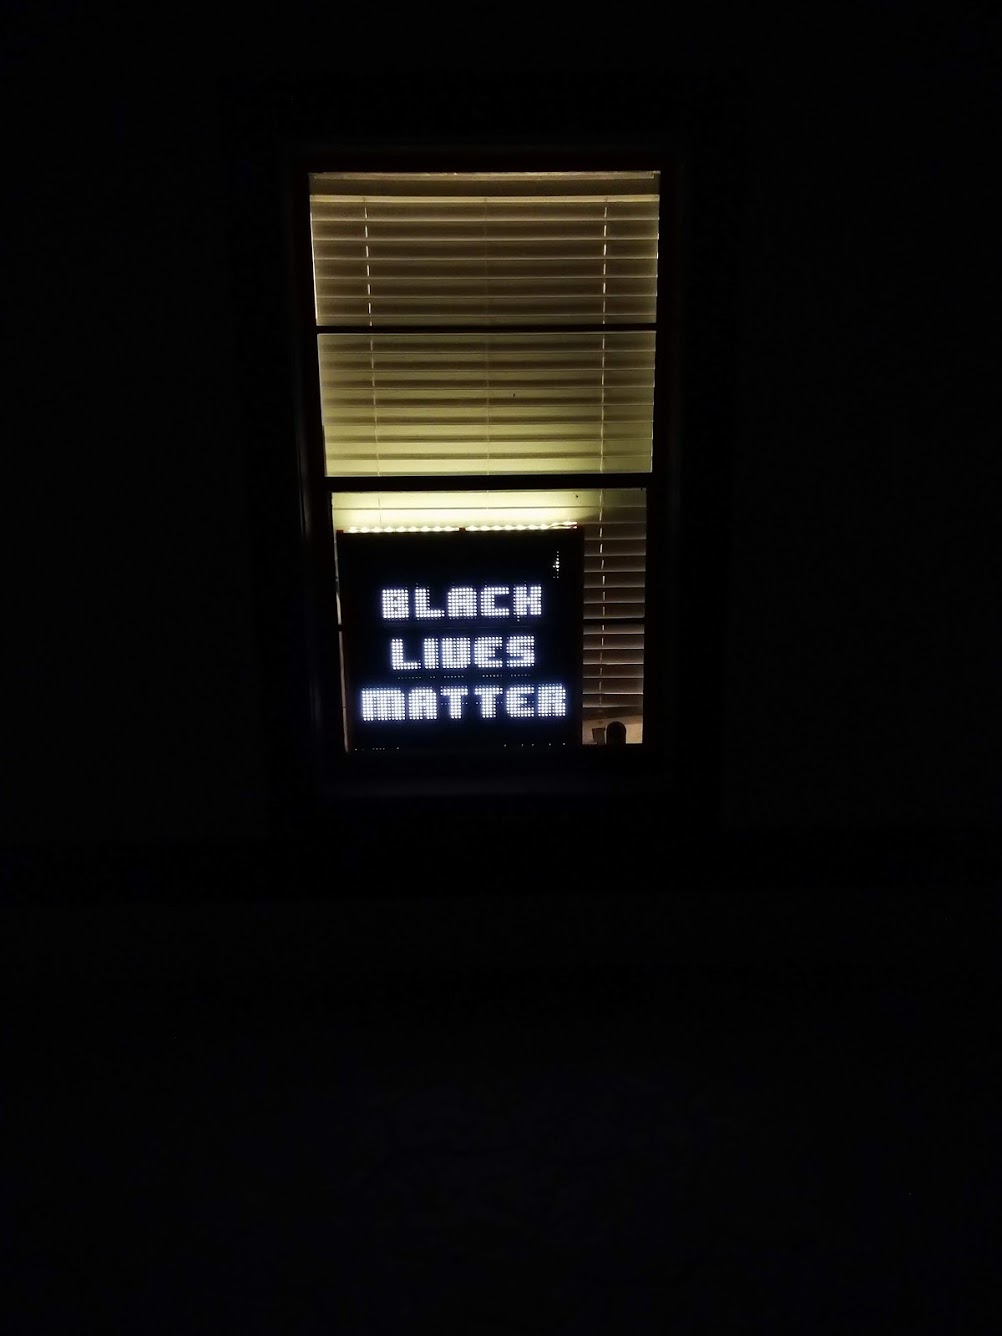
On that note, I repurposed my 4k LED display for a lot of statements this year!

Image
ImageImageImage

My house got egged for one of those statements. Worth it.

Image

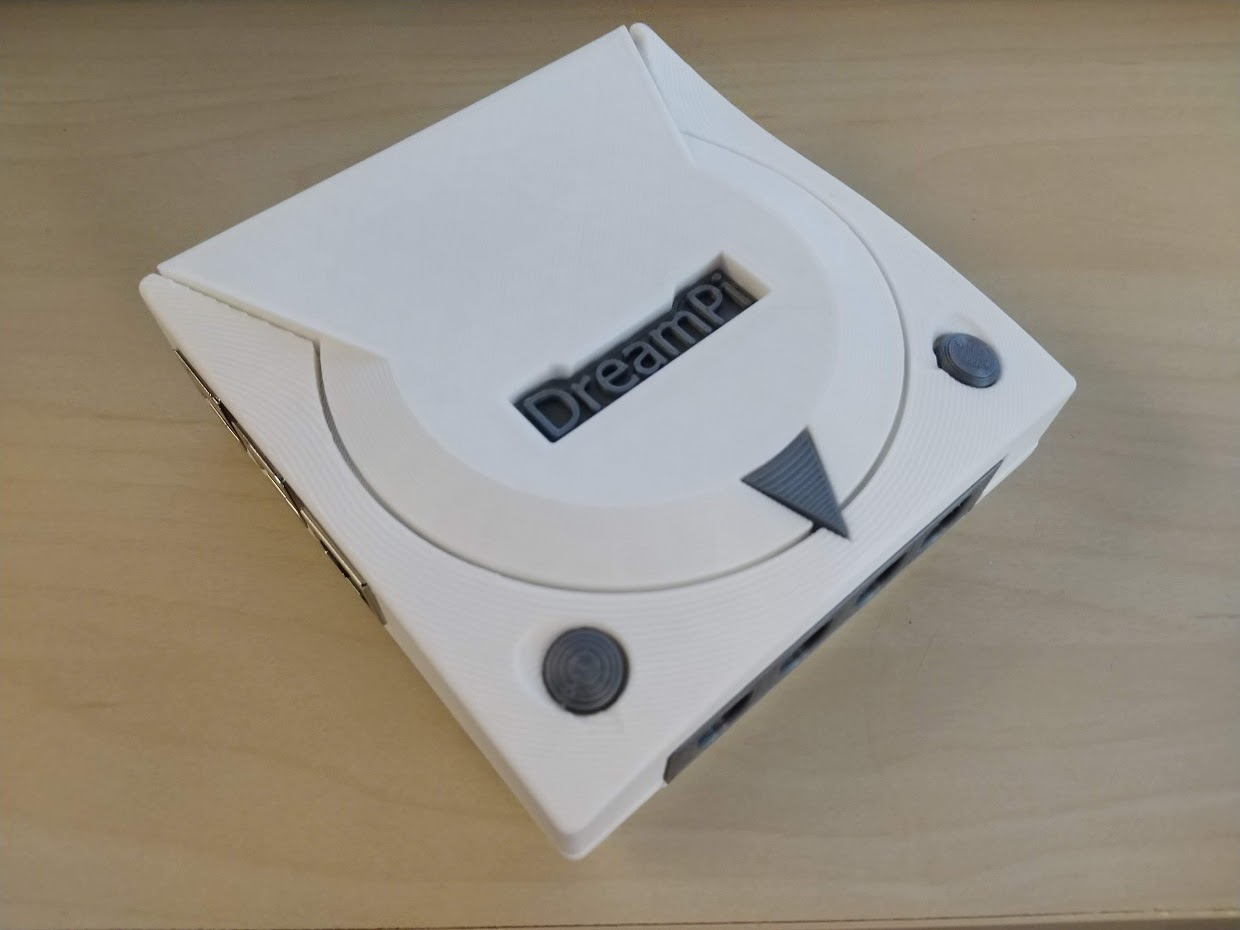
I edited and 3D Printed a mini Dreamcast case for the Raspberry Pi! Did you know you can play Dreamcast games at 60FPS on the Pi4 now? No? WELL YOU CAN! Using Redream it’s totally possible! You can download the case files here https://thingiverse.com/thing:4539273.

And we got a new kitten!

Image

Say hi to Dash. Our Manx kitty. He’s kinda awesome.

If you’ve gotten to this part of the post, all I can say is thank you! It’s been a year. Please stay safe out there. Wear a mask. Keep on making. I’ve missed y’all!

-Shea

Jan 22

Friday Post: AdvanceMAME 1.4 debs

Hey All,

Updates maybe sporadic for the next few weeks.

AdvanceMAME updated to 1.4 so I have recompiled the source and made .debs out of it.  This will work on the Pi and Pi2.

AdvanceMAME 1.4 Deb Download

To install goto a terminal and type:

sudo dpkg --force-install -i advancemame_1.4-1_armhf.db
advmame

You will now have a directory in ~/.advance and will need to edit your advmame.rc file.

nano ~/.advance/advmame.rc

Add to the first line:

device_video_clock 5 - 50 / 15.62 / 50 ; 5 - 50 / 15.73 / 60

Then press ctrl-x then y and hit enter to save.

You can now place your game files into the ~/.advance/roms directory and launch a game with the command:

advmame gamename
advmame sf2

Have a good weekend all!

-Shea

Aug 07

Friday Post: Raspberry Pi iBeacon

Hey All,

Now that Hack Day at the office is out of the way, I would like to post about what I learned and some examples to get you started.  The following is some example code and an introduction to iBeacons.

Setting up a Raspberry Pi to be an iBeacon

Longer guide available here: Adafruit PiBeacon

On a fresh install of Raspbian, login to the terminal and type:

sudo apt-get update
sudo apt-get install libusb-dev libdbus-1-dev libglib2.0-dev libudev-dev libical-dev libreadline-dev

Next we want to download, build, and install BlueZ, a bluetooth stack for Linux and the Raspberry Pi.

sudo mkdir bluez
cd bluez
sudo wget www.kernel.org/pub/linux/bluetooth/bluez-5.11.tar.xz
tar xf bluez-5.11.tar.xz
cd bluez-5.11
./configure --disable-systemd
make
sudo make install

Now that BlueZ is installed, plug in your Bluetooth Adapter and reboot your Pi with:

sudo reboot

When it is finished rebooting, log back in and go into the bluez folder by typing:

cd bluez/bluez-5.11

Check that your bluetooth device is listed by running:

tools/hciconfig

You should see a few lines appear about hci0 and that it is currently down.

Issue these commands to bring up your bluetooth device:

 sudo tools/hciconfig hci0 up
sudo tools/hciconfig hci0 leadv 3
sudo tools/hciconfig hci0 noscan

Now we are going to turn the device into an iBeacon.

 sudo tools/hcitool -i hci0 cmd 0x08 0x0008 1E 02 01 1A 1A FF 4C 00 02 15 E2 0A 39 F4 73 F5 4B C4 A1 2F 17 D1 AD 07 A9 61 01 00 00 01 C8 00

The long set of character E2 0A 39 F4 73 F5 4B C4 A1 2F 17 D1 AD 07 A9 61 is actually the iBeacon’s ID.

The next four numbers: 01 00 are the major id and show up as 100.

The next four numbers 00 01 are the minor number and show up as just 1.

You don’t have to worry about the numbers before E2 and after the minor value 00 01.

You can set the major and minor to anything from 0 to 9999. This is how you will be able to tell apart different beacons in your app. The app is currently set to recognize Major 100 Minor 1 and Major 100 Minor 2.

If you change these numbers on your device, make sure to update the app.js code as explained below.

If you reboot your Pi, you will find that the bluetooth device has been reset and that it is no longer functioning as an iBeacon.

To fix this we are going to edit /etc/rc.local.

sudo nano /etc/rc.local

You will want to place the following code above the exit 0 at the end of the file.

sudo /home/pi/bluez/bluez-5.11/tools/hciconfig hci0 up
sudo /home/pi/bluez/bluez-5.11/tools/hciconfig hci0 leadv 3
sudo /home/pi/bluez/bluez-5.11/tools/hciconfig hci0 noscan
sudo /home/pi/bluez/bluez-5.11/tools/hcitool -i hci0 cmd 0x08 0x0008 1E 02 01 1A 1A FF 4C 00 02 15 E2 0A 39 F4 73 F5 4B C4 A1 2F 17 D1 AD 07 A9 61 01 00 00 01 C8 00

Press ctrl-x then y to save and quit.

Now reboot your Raspberry Pi and it should become an iBeacon on startup.

Application Side

We are now going to create the iBeacon app. The instructions below are to do this on a Mac with XCode, PhoneGap, and an iOS device with a developer subscription.  You can also do this on Android with Linux, OS X, or Windows, the Android SDK, and PhoneGap.

First, you want to install cordova. On a Mac or Linux machine use:

npm install -g cordova

(If you don’t have NPM on a Mac install the amazing tool Homebrew and then install node.js)

Then create your app directory:

cordova create beacon com.yourname.beacon beacon
cd beacon
cordova platforms add ios

(for android do cordova platforms add android, but make sure the android sdk is installed)

Add some basic plugins:

cordova plugin add org.apache.cordova.device
cordova plugin add org.apache.cordova.console

and the ibeacon plugin:

cordova plugin add https://github.com/petermetz/cordova-plugin-ibeacon.git

Now lets rename the www folder in the folder. We don’t need it, it’s the default phonegap application, but it could be a useful example later.

mv www www.example

Now let’s clone the ibeacon example!

git clone https://www.github.com/ssilverm/ibeacon-www www

Edit lines 7 – 23 of app.js to match the ID, Major, and Minor of your beacons. They will trigger the page changes on your device.

app.beaconRegions =
  [
	{
		id: 'Page1',
		uuid:'E20A39F4-73F5-4BC4-A12F-17D1AD07A961',
		major: 100,
		minor: 1
	},
	{
		id: 'Page2',
		uuid:'E20A39F4-73F5-4BC4-A12F-17D1AD07A961',
		major: 100,
		minor: 2
	},


  ]

You can see how the above code is set to the same as the iBeacon we set up above, as well as another beacon with the minor value set to 2.

The next steps are how to build your iBeacon app for an ios device like an iPhone or iPad. I don’t have an Android device, but as long as you have the Android sdk the functions should be the same. Change ios for android.

When you have finished editing app.js, save it and then type:

cordova build ios

After a few minutes your terminal should read Build Succeeded.

Open the platforms/ios folder and double click on the beacon.xcodeproj file to launch XCode. With your device connected you should be able to run your app on the device.

Make sure location services are enabled for the app.

Now go walk around to where you set up the beacons and the pages should automatically change as you get closer to them. It will also revert to the main page as you move out of range.
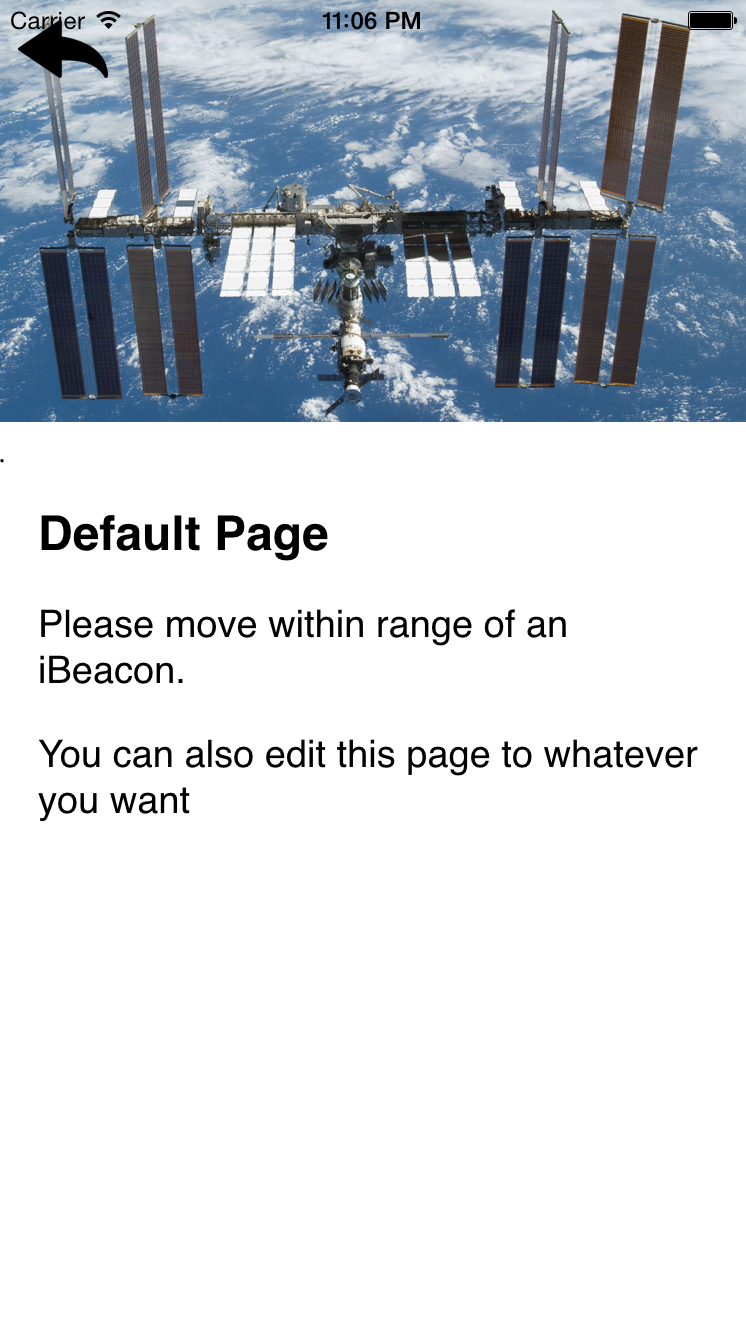
Screen Shot 2015-08-07 at 11.06.17 PM

I hope this has been helpful!

Have a great weekend all!

-Shea

GitHub Code: https://github.com/ssilverm/ibeacon-www
 

Mar 22

Very Late Friday Post: 2 Years!

Hey All,

Sorry for the very late post this week.  Trying to figure out why I’m having such connectivity issues to my web host.  Replaced the router.  Still happens.  Modem is fine.  It’s not my host.  But my ISP can’t see it as being down since it comes up 5 minutes later.  I can VPN into work and access my host from there.  So weird.

Anyways,

Tomorrow marks my 2nd Wedding Anniversary.  It feels like it’s been a day and a half 🙂 K, I love you.  Thank you for putting up with me.

PiPlay

0.8 Beta 9 is coming along.  It should be released in a day or so.  This is the best version yet, and I’m so sorry for the Beta 8 release.  Trying to get everything working on both the Pi and Pi2 has been a challenge.  But I think this version will be great.  We have upgraded to the latest Raspbian image, moved more emulators into GitHub / Git and now can update most of PiPlay with a Git Update.  Mark has created an awesome file watching script which automatically updates the frontend when a new file has been uploaded.  No more running the scraper, it all happens in the background.

Mario Party 10

Mario Party 10 came out this week.  I had a chance to play it with a group, and, well, it feels like Mario Party Lite.  The game is gorgeous, the levels are beautiful, but there are only three game modes.  Amiibo Party, Bowser Party, and “Mario Party” which isn’t like previous games.  Everyone works together to get to the end in a vehicle, basically pooling dice rolls.  The classic game has been shortened and moved to Amiibo Party.  It feels like a lot of content is missing.  The load times are also really long.  I really wanted to love this game, but I feel like its a demo.  I’m hoping patches and some free DLC fix that.

SmartiPi

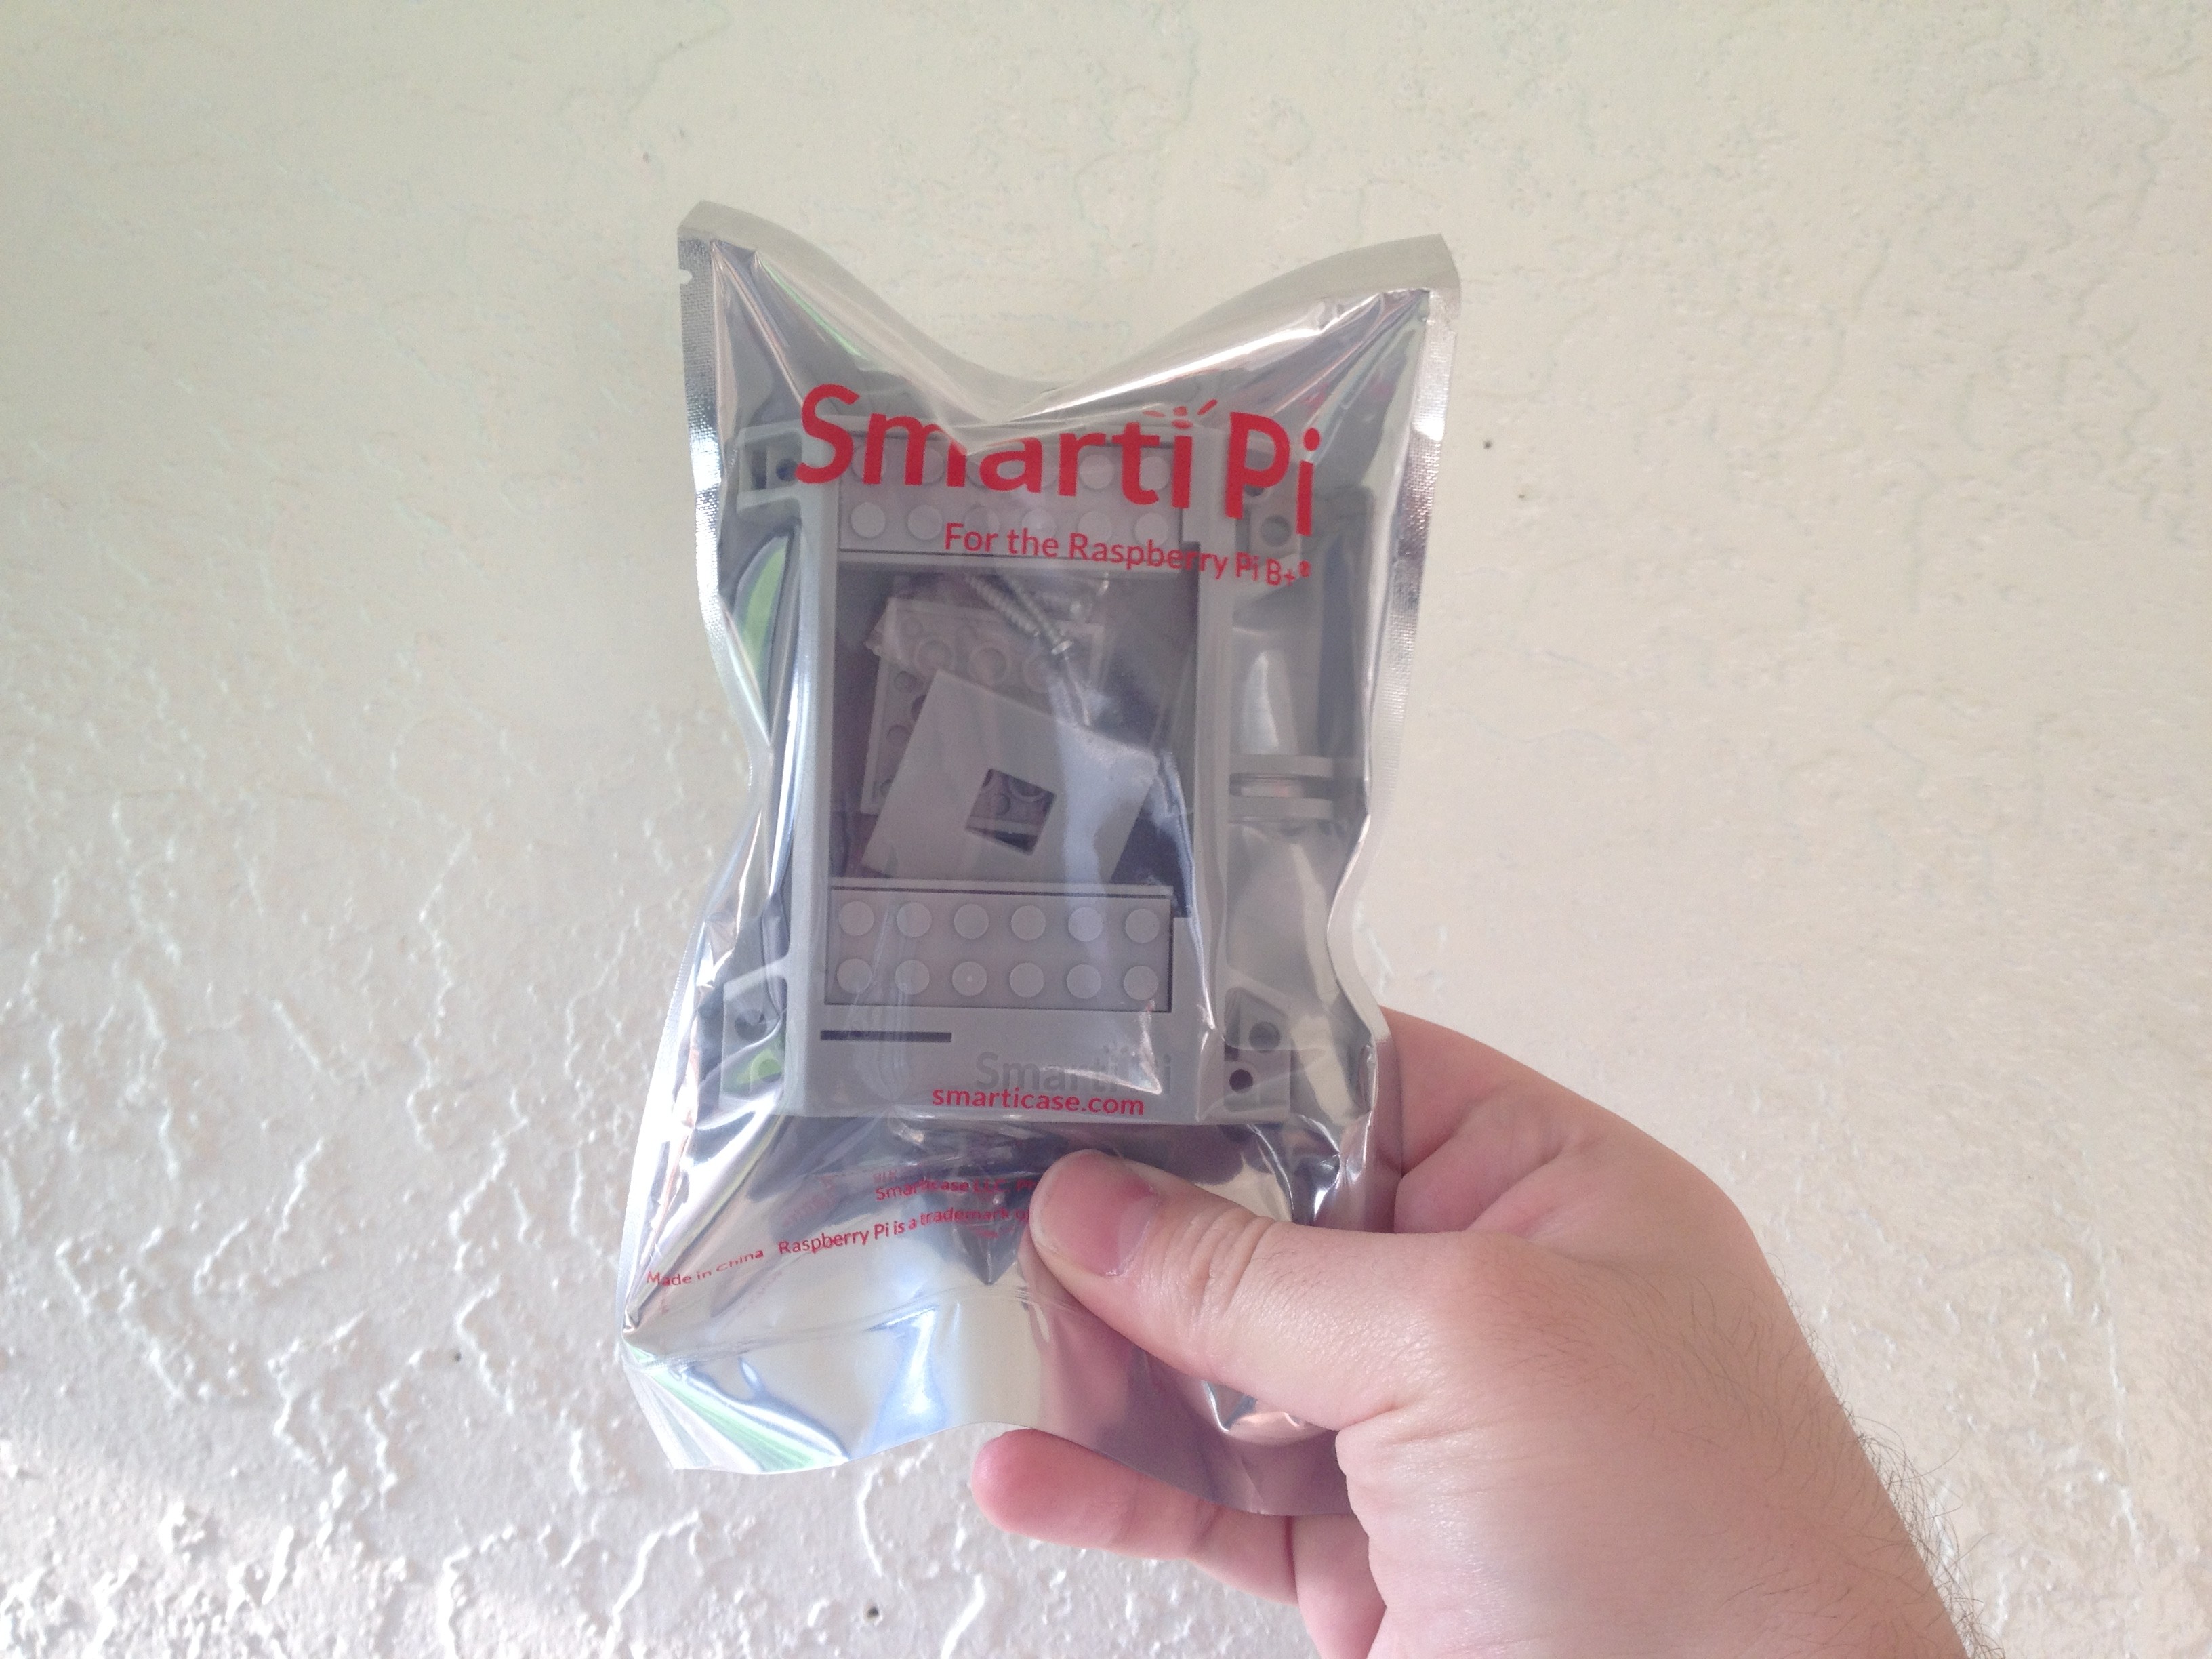
I backed the SmartiPi kickstarter a short while ago, and received my case the other day.  I think this is one of the best designed cases out there.  It easily wraps around the whole Pi, and has LEGO compatible pegs on the case.

IMG_4913


Have a great week(end)!

-Shea

Nov 07

Friday Post: DISPMANX_vnc and Homepass

Hey All,

Happy Friday!  I want to send a Very Happy Birthday to my Father.  This weekend is his birthday and I’m very proud to be his son.

I’ve been very busy these past few weeks,  I’ve been contracted to write a second edition of my Raspberry Pi Gaming book, and it’s taking up a lot of my time.  Even though its a subject I’m very familiar with, i’m finding out tons of new things I can do with the Raspberry Pi that have cropped because of my need to record and capture things coming from the Pi’s framebuffer.

I’ve been using a few tools, mainly ones involving DISPMANX to copy the framebuffer into a png file.  It’s called raspi2png and it works really well.  Sometimes its difficult to trigger raspi2png at the right time though.

One thing I have always wanted was a way to ssh / tunnel into the actual console terminal.  Not a new tty device, and not from XWindows, but the one that displays on /fb0.  Enter dispmanx_vnc.  I had never thought of using VNC to tunnel the framebuffer,  but Hanzelpeter has done just that with dispmanx_vnc

There’s definite input lag, and I can only achieve about 15fps, but it is the best way I’ve found to record and capture straight from the framebuffer right now.  I can ssh into my Pi, run the dispmanx_vnc command, then use a VNC viewer (I used tightvnc) to control the main display.  I’m so excited about this 😀

Other news, if anyone has a 3DS, then you know about StreetPass.  It’s a way to virtually meet others who are around you with their 3DS.  There are a bunch of mini games built into the 3DS that require you to meet people using Street Pass in order to advance. There is also Street Pass Relay, which Nintendo created last year.  This allows those who are connected to a Nintendo Zone wifi access point to StreetPass with others from around the world, who are also connected to a Street Pass Relay. So of course this has been reverse engineered, and you can now turn a Raspberry Pi into a “HomePass” StreetPass relay.

Original instructions here .  There is a premade SD card available here, but I have yet to try it out.

Have a good weekend all!

-Shea