Hey All,
I almost didn’t blog for the whole year. To be truthful, it’s been hard to write this past year. Lots of amazing wonderful things have happened to me in 2018, but I’m exhausted. And this blog was easy to overlook. I want to write again, but at my own pace. I’m going to try to start again.
That said…. BEING A FATHER IS AWESOME! I have an amazing little mini me who is 20 months old and is just so much fun. He has made me grow in ways I never even knew imaginable.

Maker Faire Orlando 2018
My friend Jacob and I worked on an awesome project for Maker Faire Orlando this year, and I am so proud to say we won Maker of Merit! It is a deep honor to me to win that award. And of course it’s Raspberry Pi related 😀
We made a 4096 LED pixel framebuffer display powered by the Raspberry Pi!
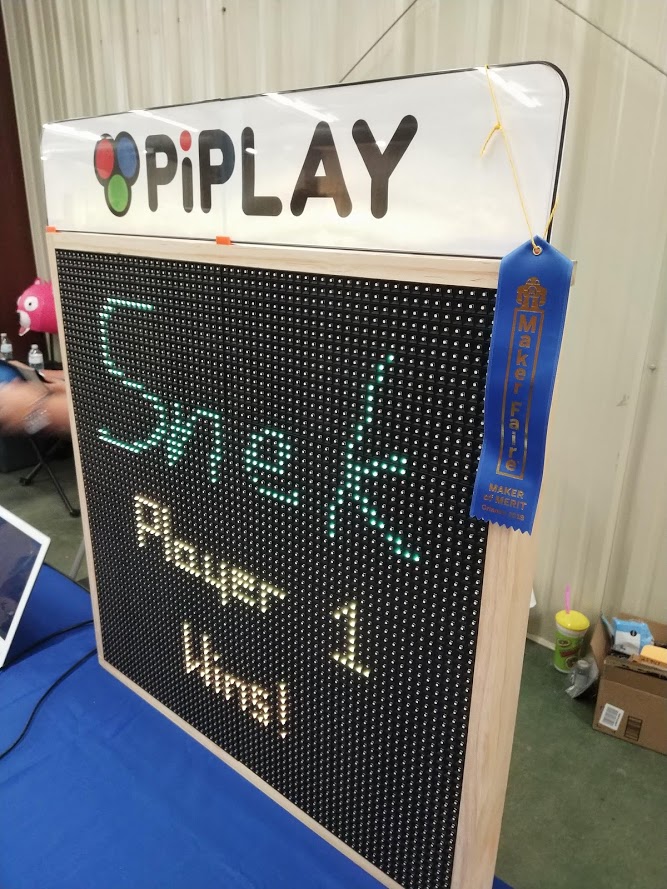
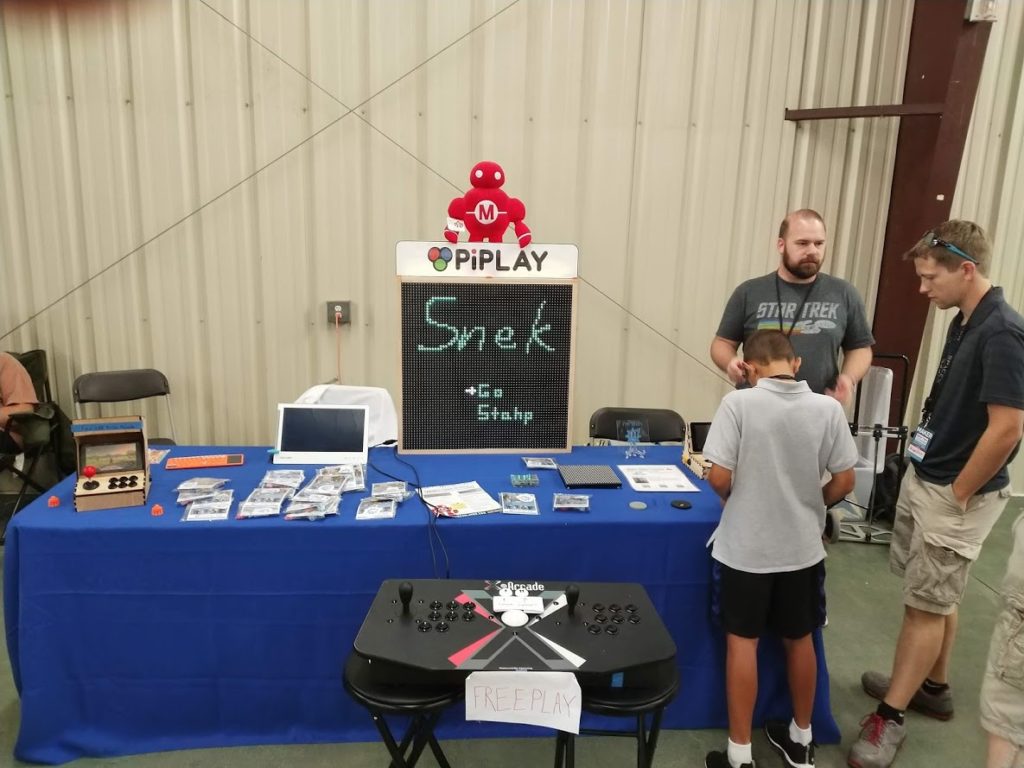
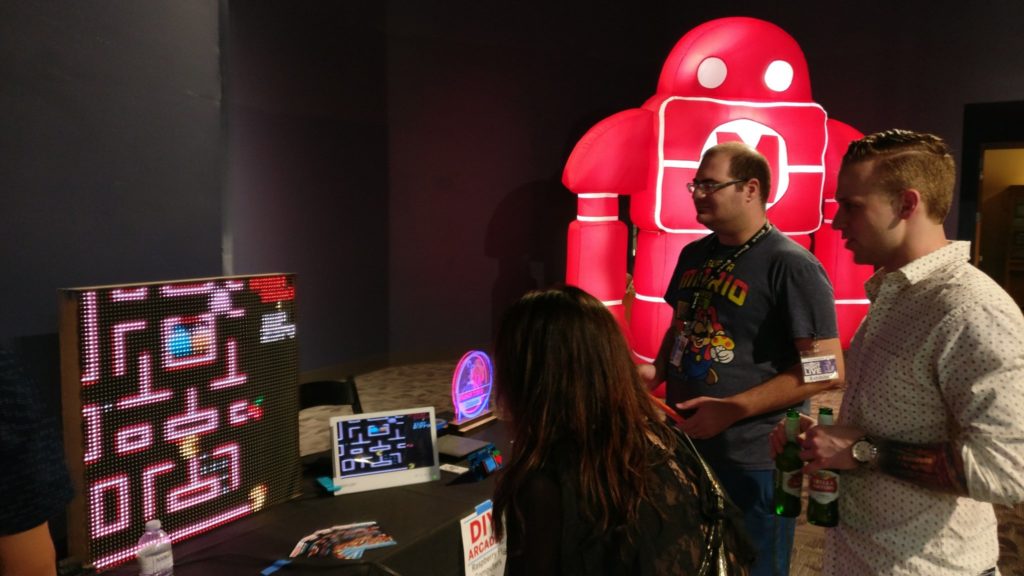
How it works?
We are using P10 LED panels as the basis for the screen. P10 means a 10mm dot pitch, so 10mm between each LED. They range from 3 – 10mm. The panels also usually come in a size of 16 x 32, but luckily they are daisy chainable!
The Raspberry Pi can even handle upto 32 of them in 3 chains! For our purposes we only used 8 16×32 panels in one chain.

The above picture may look complicated, but it’s not that bad.
8 P10 panels are daisy chained together using a standard HUB75 cable (it’s like an smaller IDE cable).
The panels are mounted together with the orange and red 3D printed brackets.
The first panel is connected to a Raspberry Pi 3B+ via an Adafruit LED matrix bonnet.
The power for the panels and the Pi comes from a 10amp DC supply, which plugs into the bonnet. The bonnet powers the Pi, and has two screw terminals for the voltage output. The +/- screw terminals connect to a CFOL Distro 8 PCB (in the center of the board) which takes the input and breaks it out to 8 screw terminals. We only need 4 since each cable powers two panels, but it gives us room to expand.
After that we use https://github.com/adafruit/rpi-fb-matrix to copy whats on the HDMI framebuffer out onto the LED matrix!
and Voila! You now have a giant low resolution display!
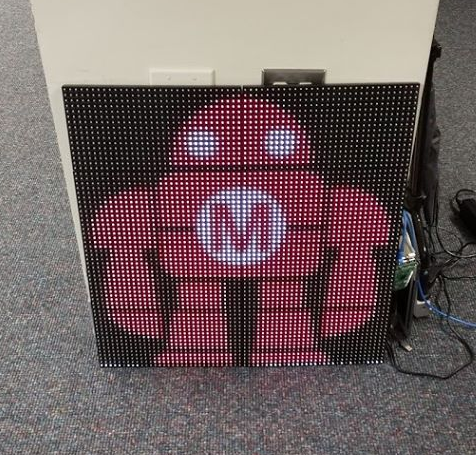
Many thanks to Adafruit for making such a great beginner tutorial that we could jump from, and building a great bonnet for the Pi!
Happy Making and a Happy New Year! Here’s to a wonderful 2019 everyone!
-Shea
Leave a Reply