Hey All!
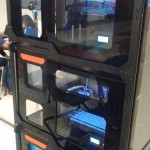
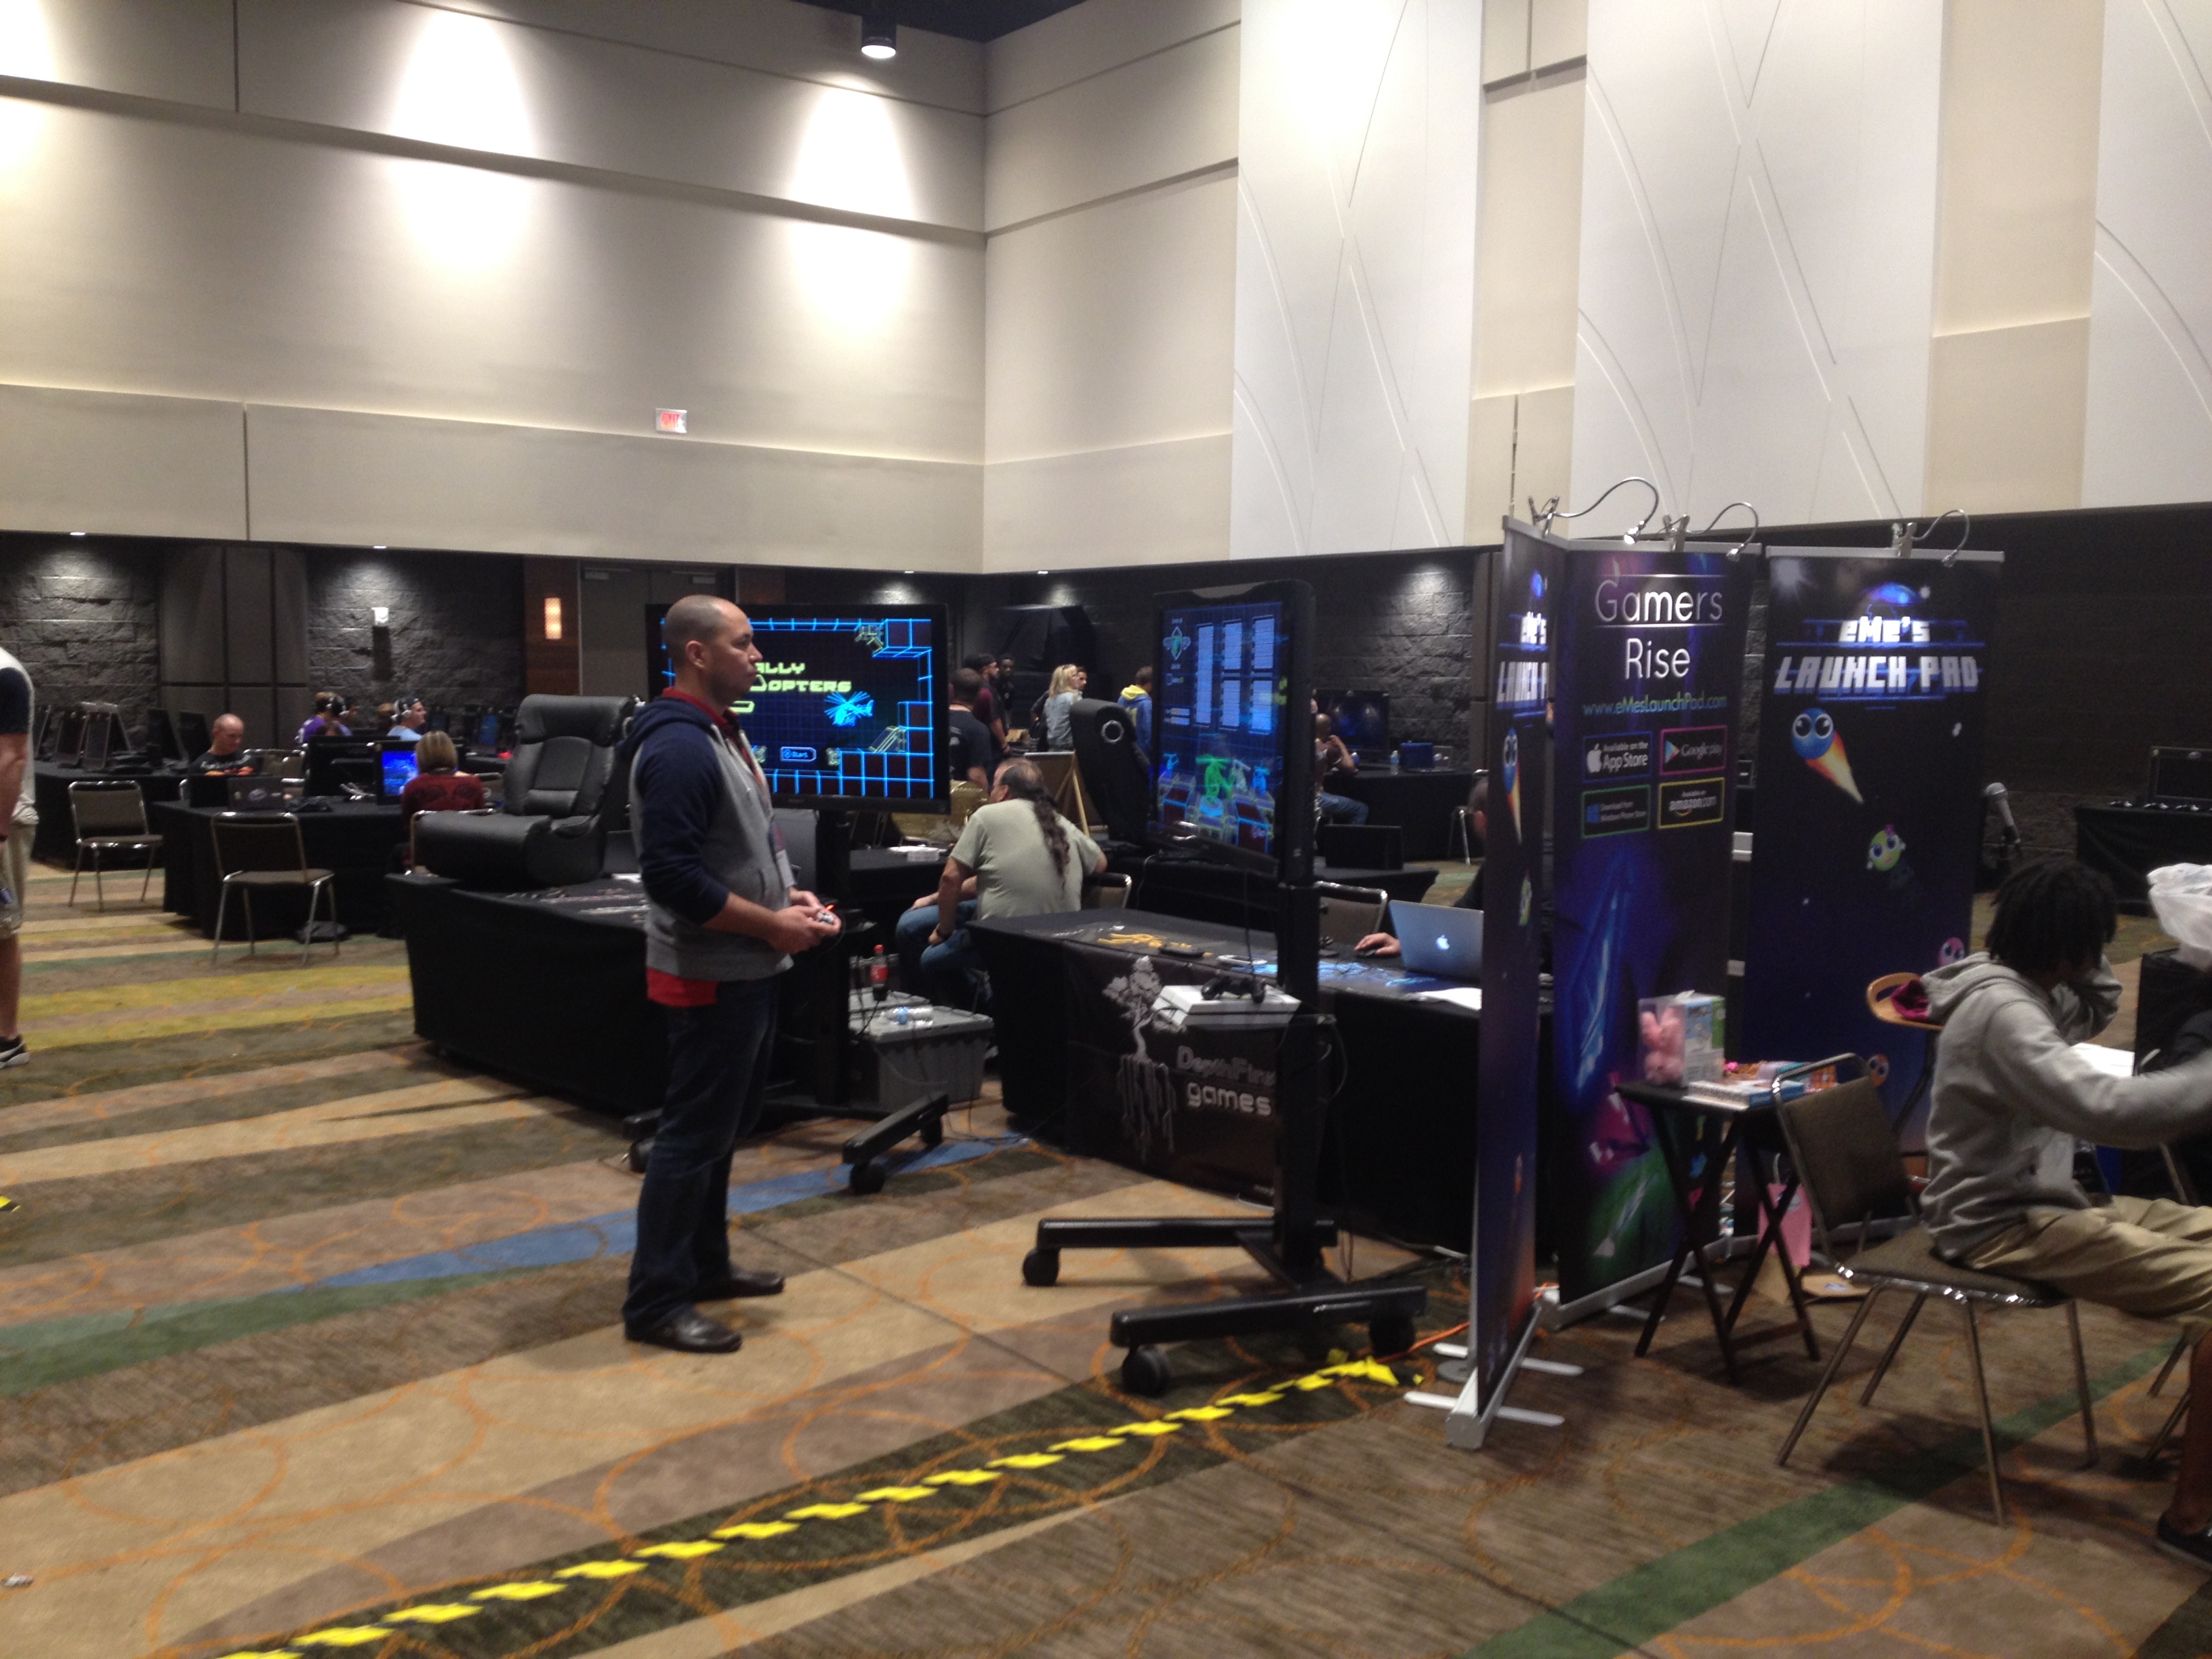
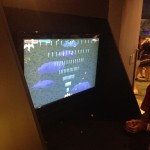
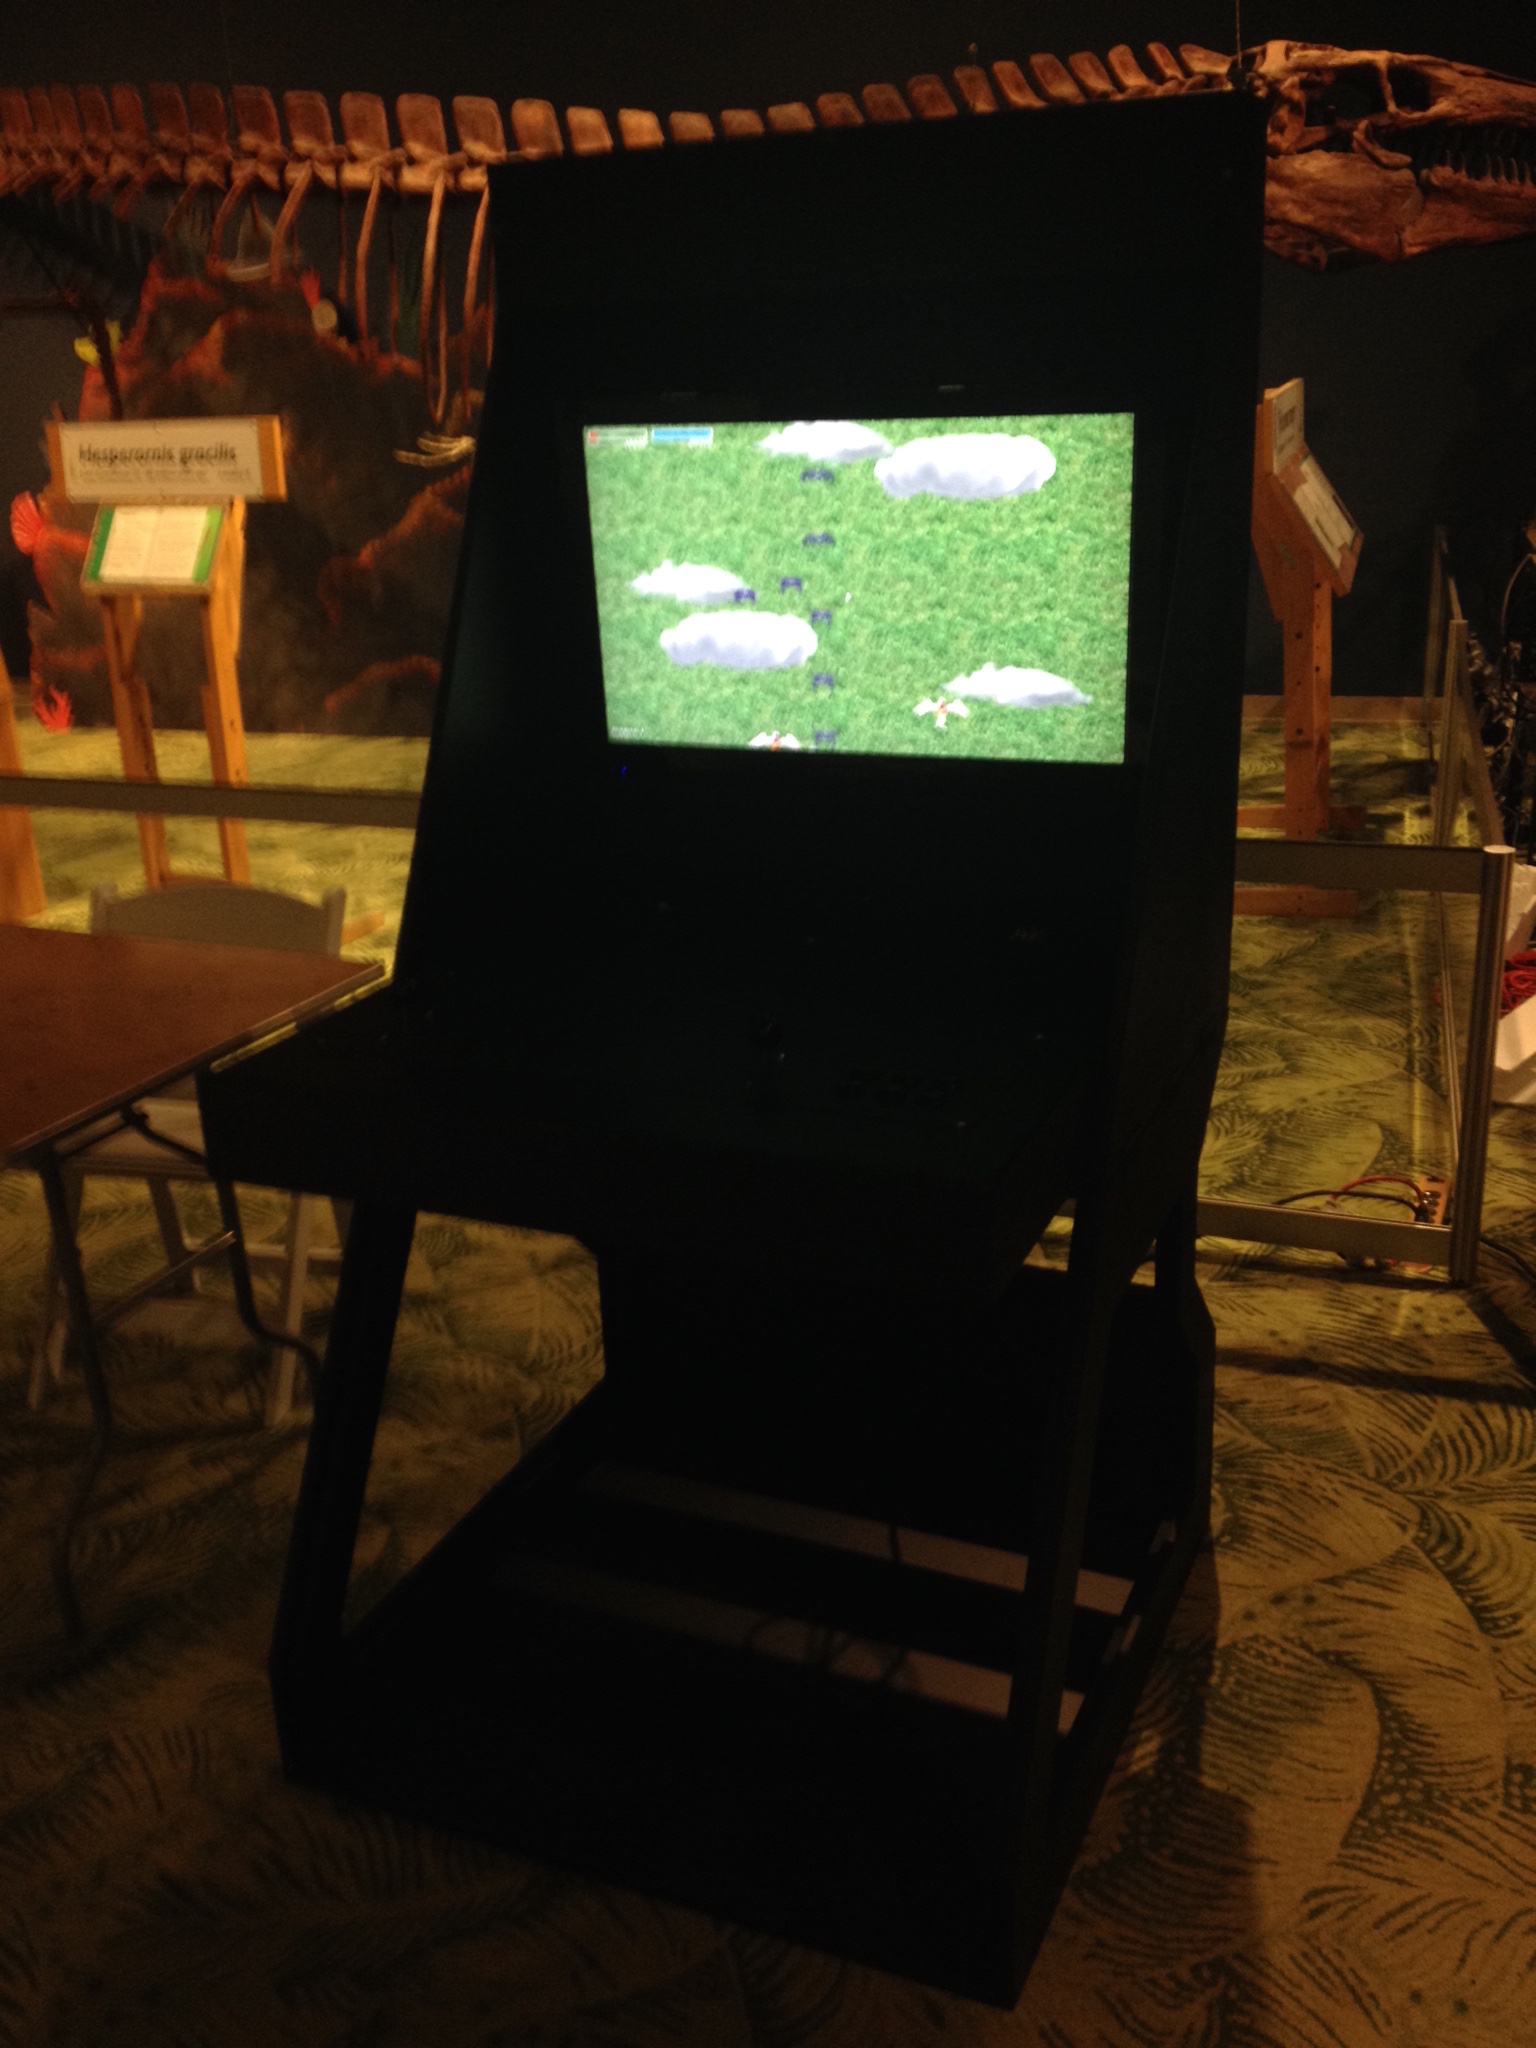
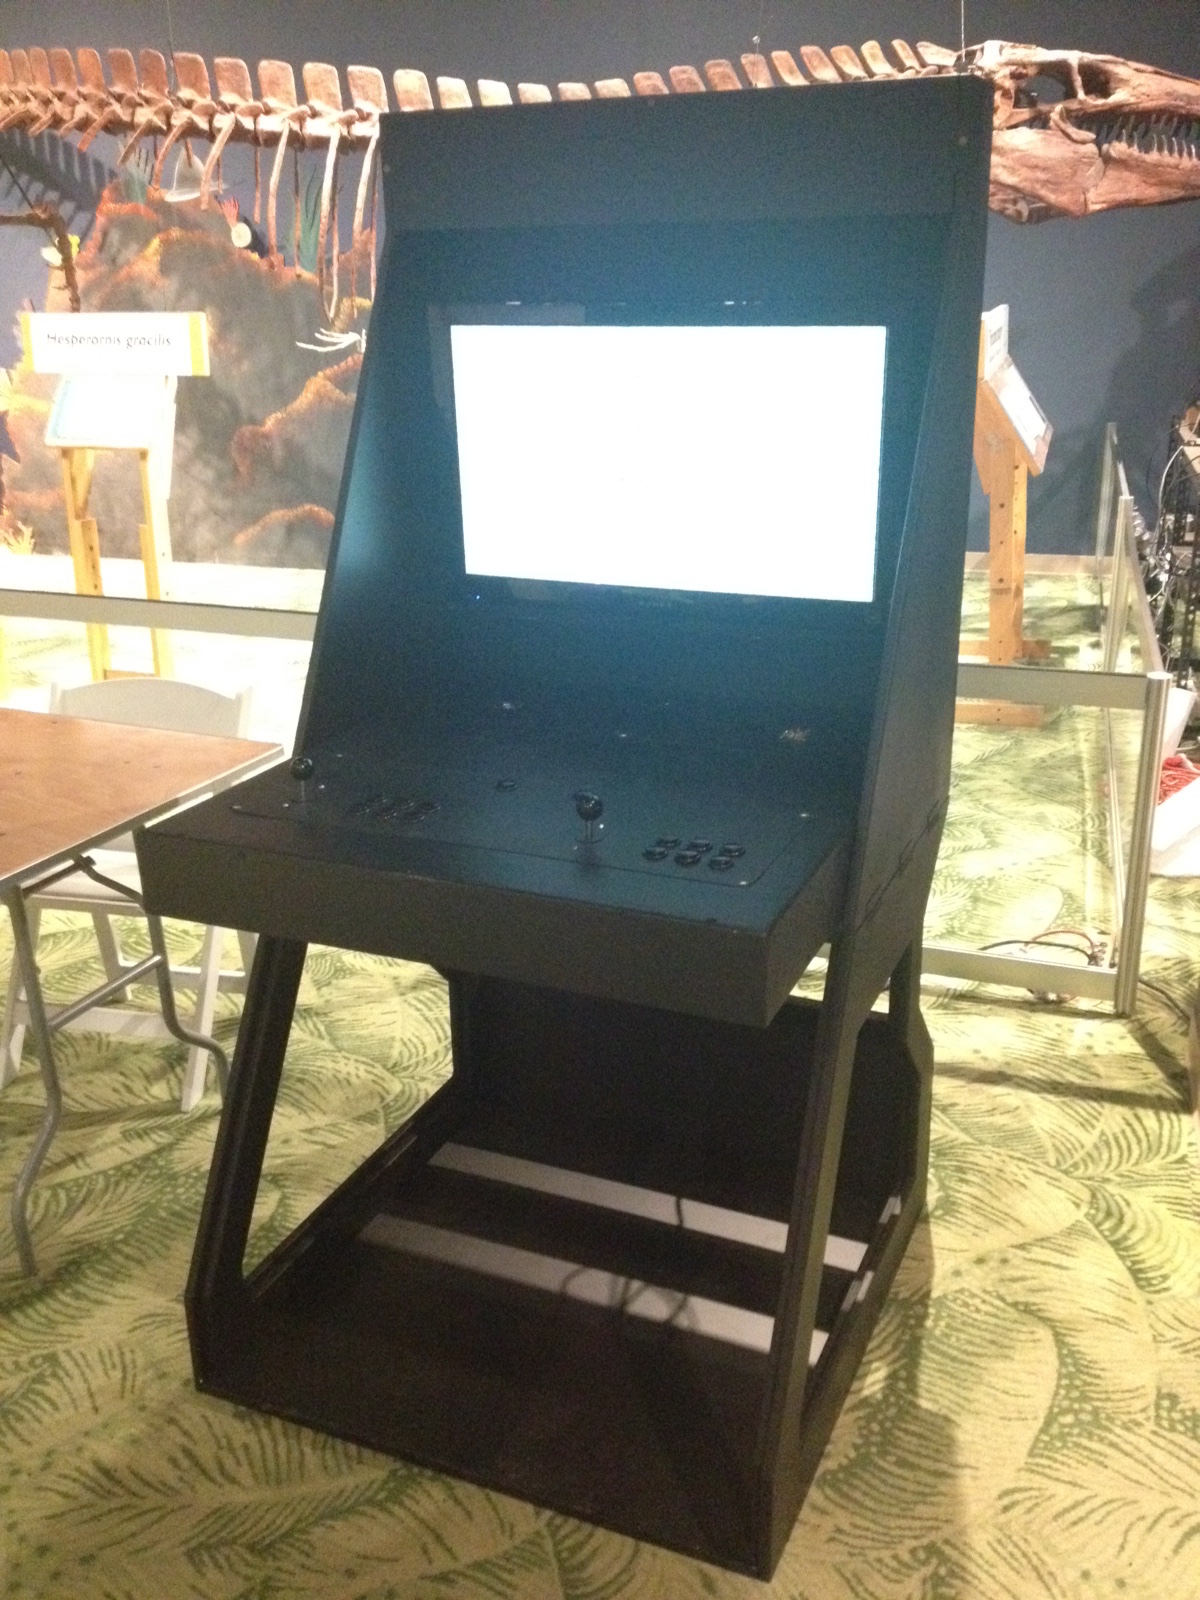
Less than 24 hours left on the Deskcade Kickstarter! So excited!!!
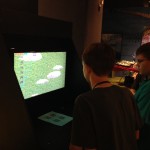
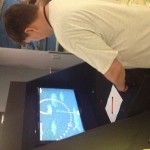
On a related note, I picked up a Steam Controller to see what the hype was about. It’s cool, but what’s really neat is that it can be a keyboard, mouse, or gamepad at the same time, depending on the game. Whats not cool is it requires steam to be running to set that.
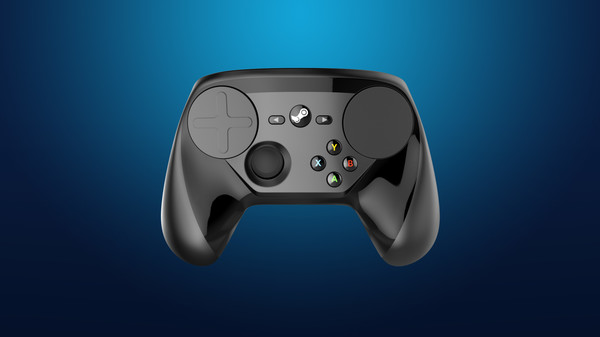
ynsta (Staney Marcel) is writing some code to make it run locally under Linux without the steam driver. The github repo is here: https://github.com/ynsta/steamcontroller
I’ve forked it (https://github.com/ssilverm/steamcontroller) and I’m going to see if I can get it running as just a joypad for now. It can currently run on the Raspberry Pi, and I can see the buttons being detected and get the feedback. It’s just not being passed into a uinput item yet. Soon 😀
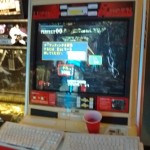
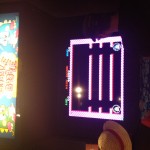
Also, I’m trying to get the bootsplash to work again in Raspbian Jessie. Jessie introduces Systemd, which takes over for init.d. Currently the bootsplash runs later in the startup, so by the time omxplayer starts, the login screen is about a second away from showing up. I’m working on that too.
Here’s my current steps:
sudo nano /etc/systemd/system/bootsplash.service
Insert this:
[Unit]
Description=BootSplash
DefaultDependencies=no
After=sysinit.target local-fs.target
Before=base.target
[Service]
Type=oneshot
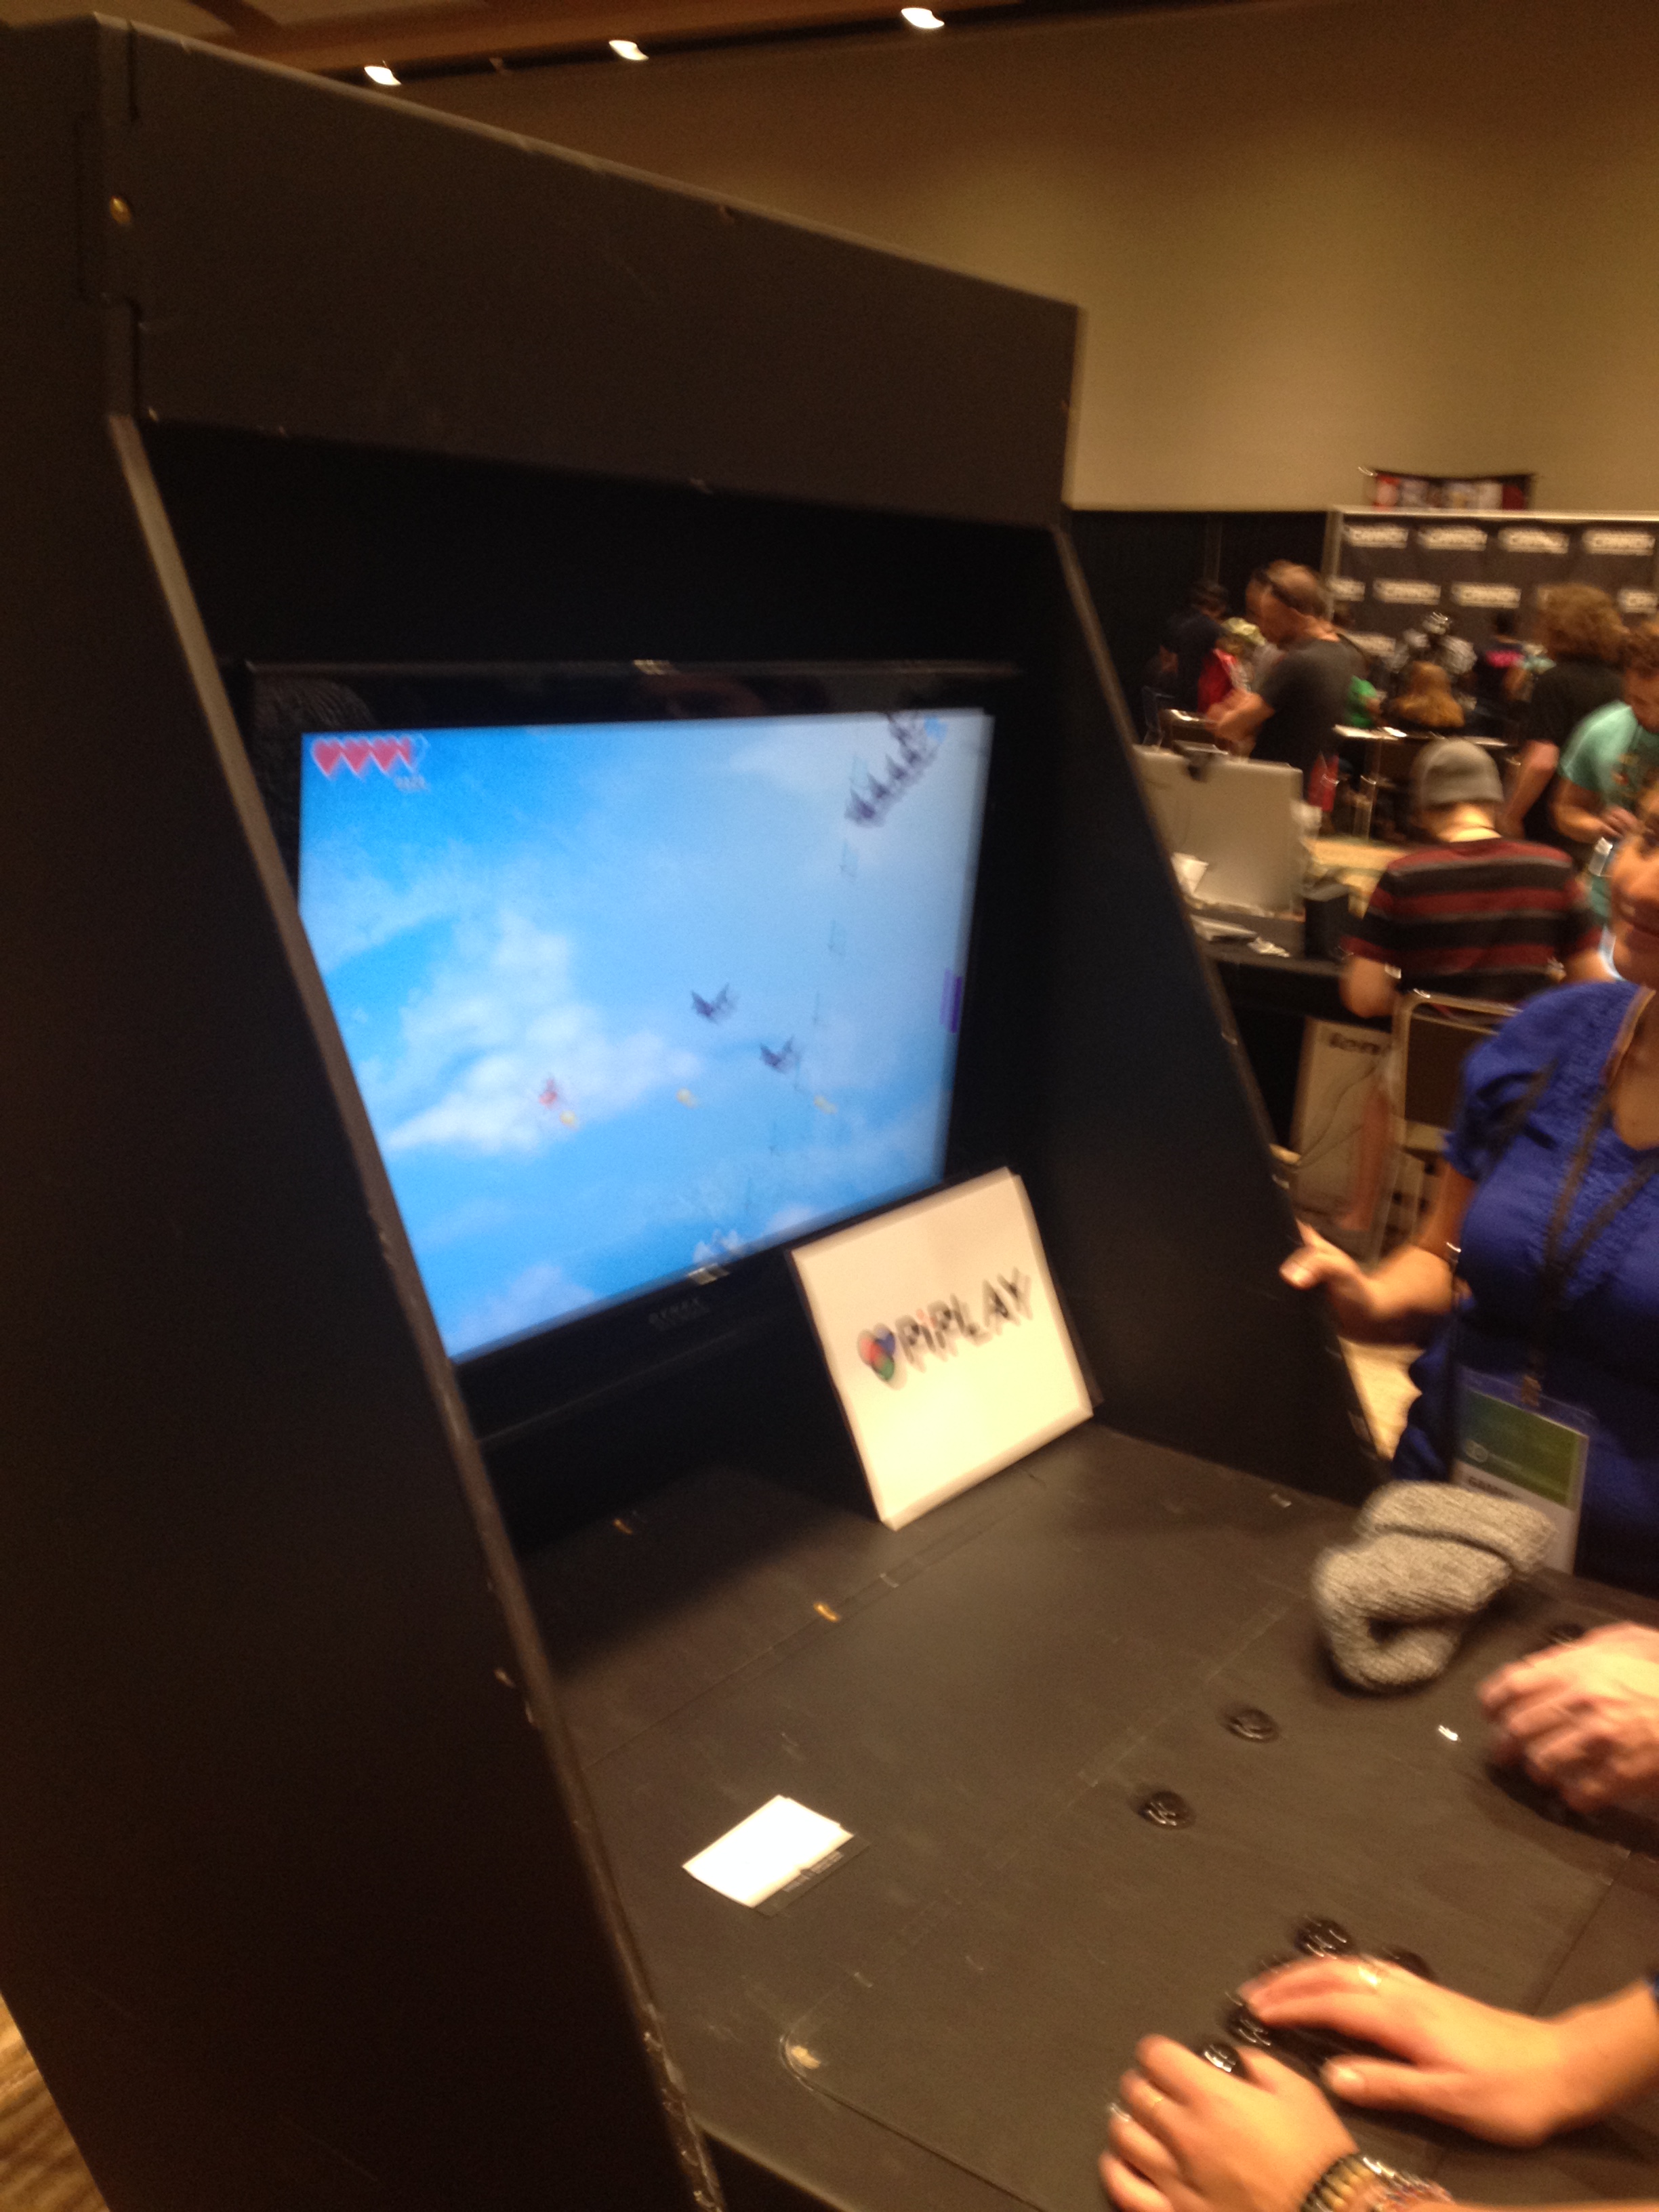
ExecStart=/usr/bin/omxplayer /home/pi/PiPLAY.mov
[Install]
WantedBy=base.target
Then run:
sudo systemctl enable bootsplash.service
and reboot.
You should now get a bootsplash on startup, but it may be running to late. I’m going to try and fix that.
Have a good weekend all!
-Shea
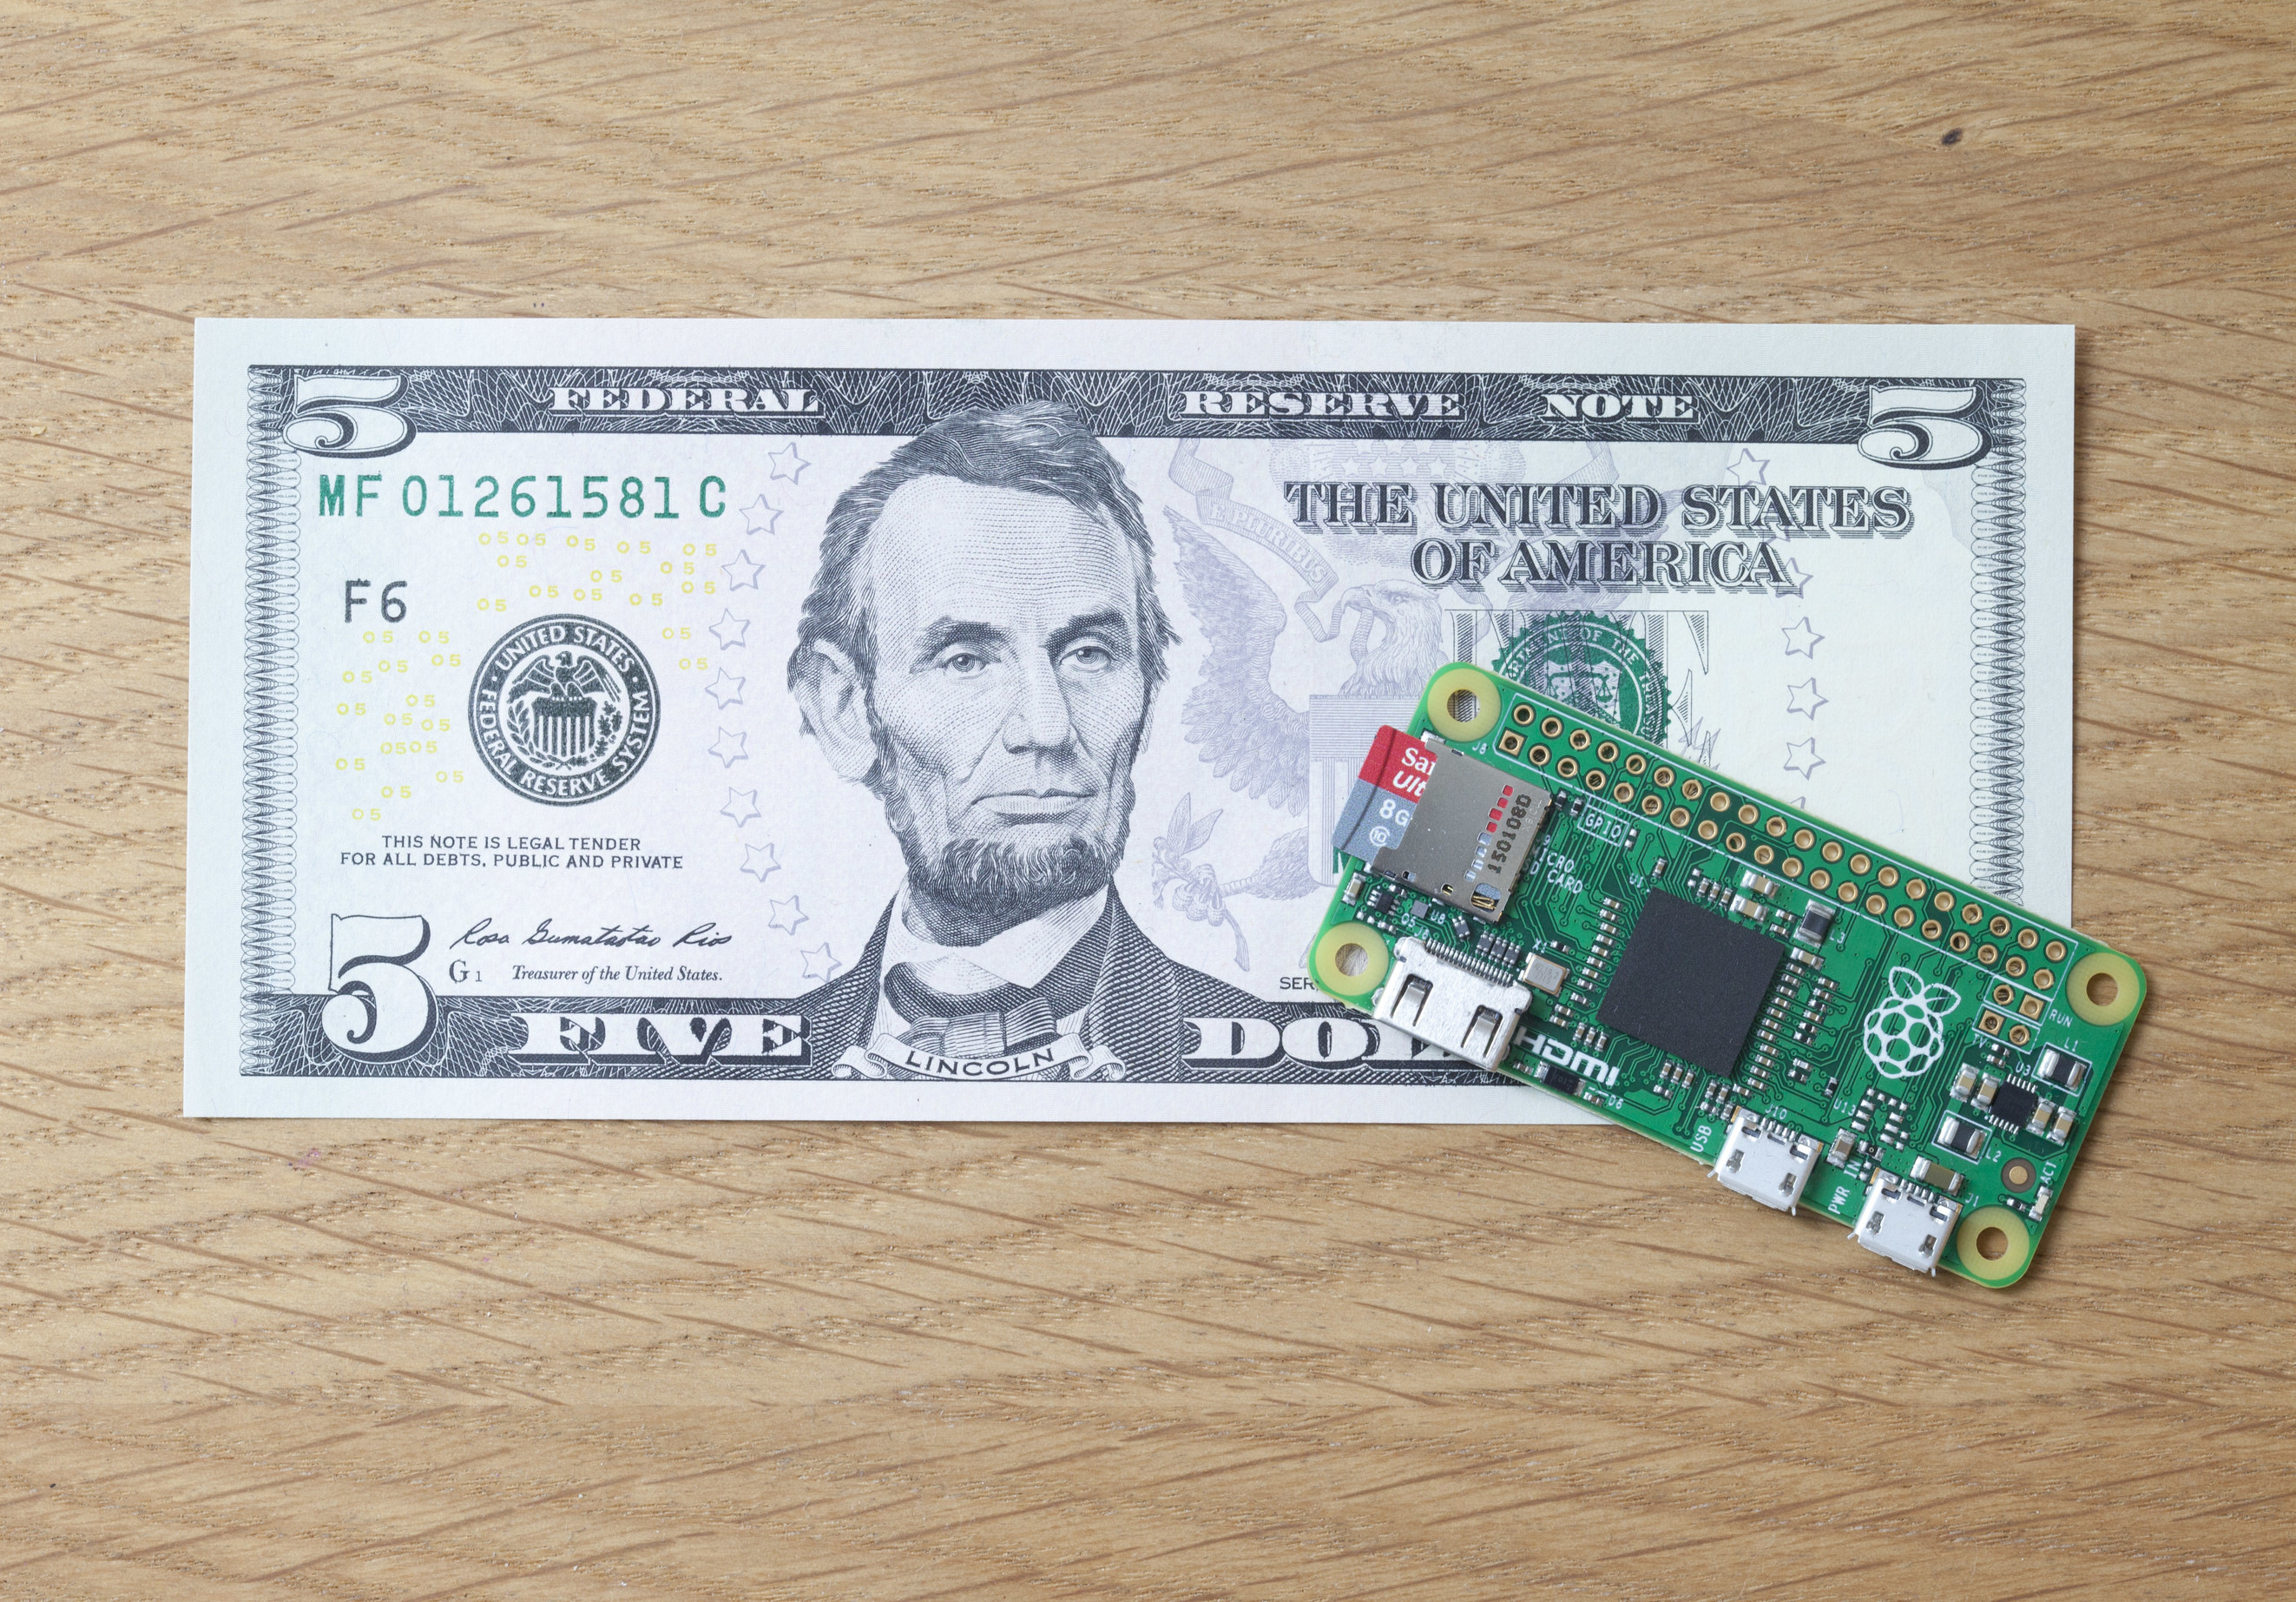 It’s TINY! And only $5 dollars. So far it’s a Pi 1 clocked at 1ghz, 512MB of RAM, Micro USB for power, Micro USB for peripherals, GPIO pins but without headers, and a mini HDMI port. The latest edition of the MagPi is going to include one in every issue.