Hey All,
Now that Hack Day at the office is out of the way, I would like to post about what I learned and some examples to get you started. The following is some example code and an introduction to iBeacons.
Setting up a Raspberry Pi to be an iBeacon
Longer guide available here: Adafruit PiBeacon
On a fresh install of Raspbian, login to the terminal and type:
sudo apt-get update
sudo apt-get install libusb-dev libdbus-1-dev libglib2.0-dev libudev-dev libical-dev libreadline-dev
Next we want to download, build, and install BlueZ, a bluetooth stack for Linux and the Raspberry Pi.
sudo mkdir bluez
cd bluez
sudo wget www.kernel.org/pub/linux/bluetooth/bluez-5.11.tar.xz
tar xf bluez-5.11.tar.xz
cd bluez-5.11
./configure --disable-systemd
make
sudo make install
Now that BlueZ is installed, plug in your Bluetooth Adapter and reboot your Pi with:
sudo reboot
When it is finished rebooting, log back in and go into the bluez folder by typing:
cd bluez/bluez-5.11
Check that your bluetooth device is listed by running:
tools/hciconfig
You should see a few lines appear about hci0 and that it is currently down.
Issue these commands to bring up your bluetooth device:
 sudo tools/hciconfig hci0 up
sudo tools/hciconfig hci0 leadv 3
sudo tools/hciconfig hci0 noscan
Now we are going to turn the device into an iBeacon.
sudo tools/hcitool -i hci0 cmd 0x08 0x0008 1E 02 01 1A 1A FF 4C 00 02 15 E2 0A 39 F4 73 F5 4B C4 A1 2F 17 D1 AD 07 A9 61 01 00 00 01 C8 00
The long set of character E2 0A 39 F4 73 F5 4B C4 A1 2F 17 D1 AD 07 A9 61 is actually the iBeacon’s ID.
The next four numbers: 01 00 are the major id and show up as 100.
The next four numbers 00 01 are the minor number and show up as just 1.
You don’t have to worry about the numbers before E2 and after the minor value 00 01.
You can set the major and minor to anything from 0 to 9999. This is how you will be able to tell apart different beacons in your app. The app is currently set to recognize Major 100 Minor 1 and Major 100 Minor 2.
If you change these numbers on your device, make sure to update the app.js code as explained below.
If you reboot your Pi, you will find that the bluetooth device has been reset and that it is no longer functioning as an iBeacon.
To fix this we are going to edit /etc/rc.local.
sudo nano /etc/rc.local
You will want to place the following code above the exit 0 at the end of the file.
sudo /home/pi/bluez/bluez-5.11/tools/hciconfig hci0 up
sudo /home/pi/bluez/bluez-5.11/tools/hciconfig hci0 leadv 3
sudo /home/pi/bluez/bluez-5.11/tools/hciconfig hci0 noscan
sudo /home/pi/bluez/bluez-5.11/tools/hcitool -i hci0 cmd 0x08 0x0008 1E 02 01 1A 1A FF 4C 00 02 15 E2 0A 39 F4 73 F5 4B C4 A1 2F 17 D1 AD 07 A9 61 01 00 00 01 C8 00
Press ctrl-x then y to save and quit.
Now reboot your Raspberry Pi and it should become an iBeacon on startup.
Application Side
We are now going to create the iBeacon app. The instructions below are to do this on a Mac with XCode, PhoneGap, and an iOS device with a developer subscription. You can also do this on Android with Linux, OS X, or Windows, the Android SDK, and PhoneGap.
First, you want to install cordova. On a Mac or Linux machine use:
npm install -g cordova
(If you don’t have NPM on a Mac install the amazing tool Homebrew and then install node.js)
Then create your app directory:
cordova create beacon com.yourname.beacon beacon
cd beacon
cordova platforms add ios
(for android do cordova platforms add android, but make sure the android sdk is installed)
Add some basic plugins:
cordova plugin add org.apache.cordova.device
cordova plugin add org.apache.cordova.console
and the ibeacon plugin:
cordova plugin add https://github.com/petermetz/cordova-plugin-ibeacon.git
Now lets rename the www folder in the folder. We don’t need it, it’s the default phonegap application, but it could be a useful example later.
mv www www.example
Now let’s clone the ibeacon example!
git clone https://www.github.com/ssilverm/ibeacon-www www
Edit lines 7 – 23 of app.js to match the ID, Major, and Minor of your beacons. They will trigger the page changes on your device.
app.beaconRegions =
  [
	{
		id: 'Page1',
		uuid:'E20A39F4-73F5-4BC4-A12F-17D1AD07A961',
		major: 100,
		minor: 1
	},
	{
		id: 'Page2',
		uuid:'E20A39F4-73F5-4BC4-A12F-17D1AD07A961',
		major: 100,
		minor: 2
	},


  ]
You can see how the above code is set to the same as the iBeacon we set up above, as well as another beacon with the minor value set to 2.
The next steps are how to build your iBeacon app for an ios device like an iPhone or iPad. I don’t have an Android device, but as long as you have the Android sdk the functions should be the same. Change ios for android.
When you have finished editing app.js, save it and then type:
cordova build ios
After a few minutes your terminal should read Build Succeeded.
Open the platforms/ios folder and double click on the beacon.xcodeproj file to launch XCode. With your device connected you should be able to run your app on the device.
Make sure location services are enabled for the app.
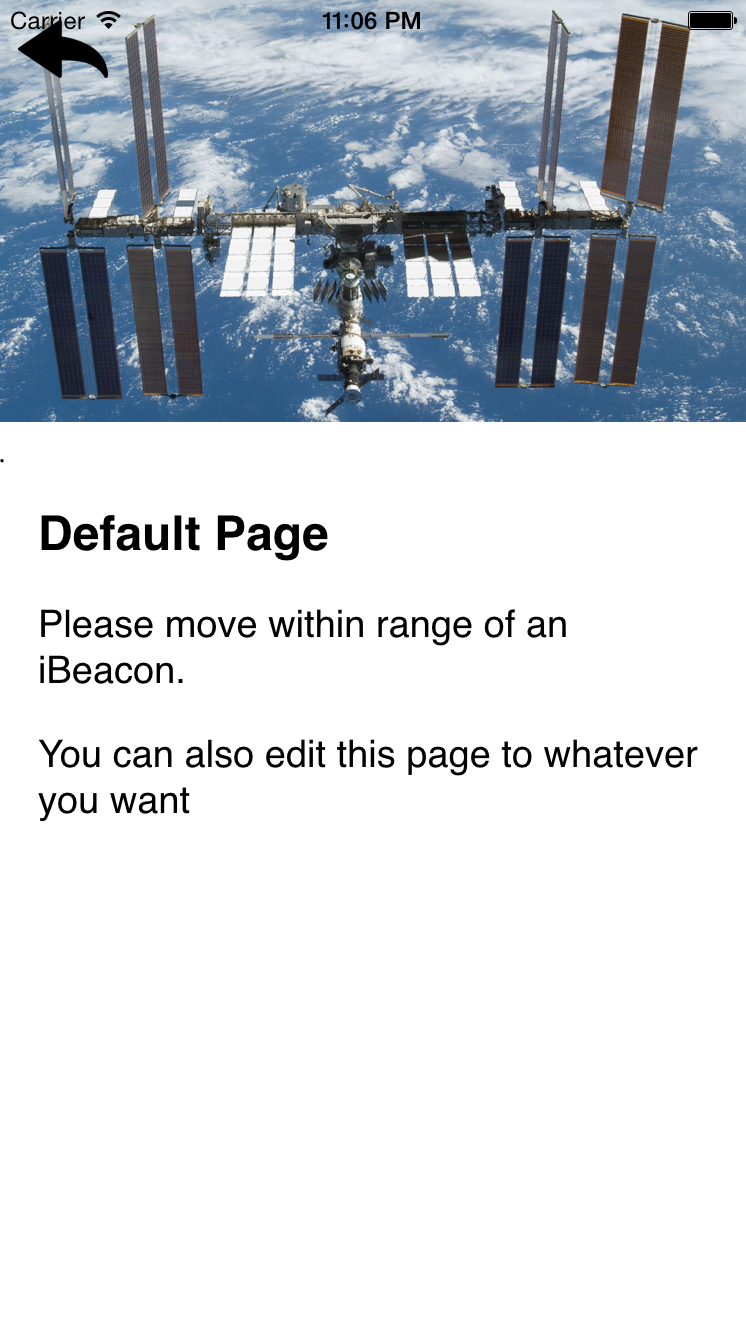
Now go walk around to where you set up the beacons and the pages should automatically change as you get closer to them. It will also revert to the main page as you move out of range.
I hope this has been helpful!
Have a great weekend all!
-Shea
GitHub Code: https://github.com/ssilverm/ibeacon-www
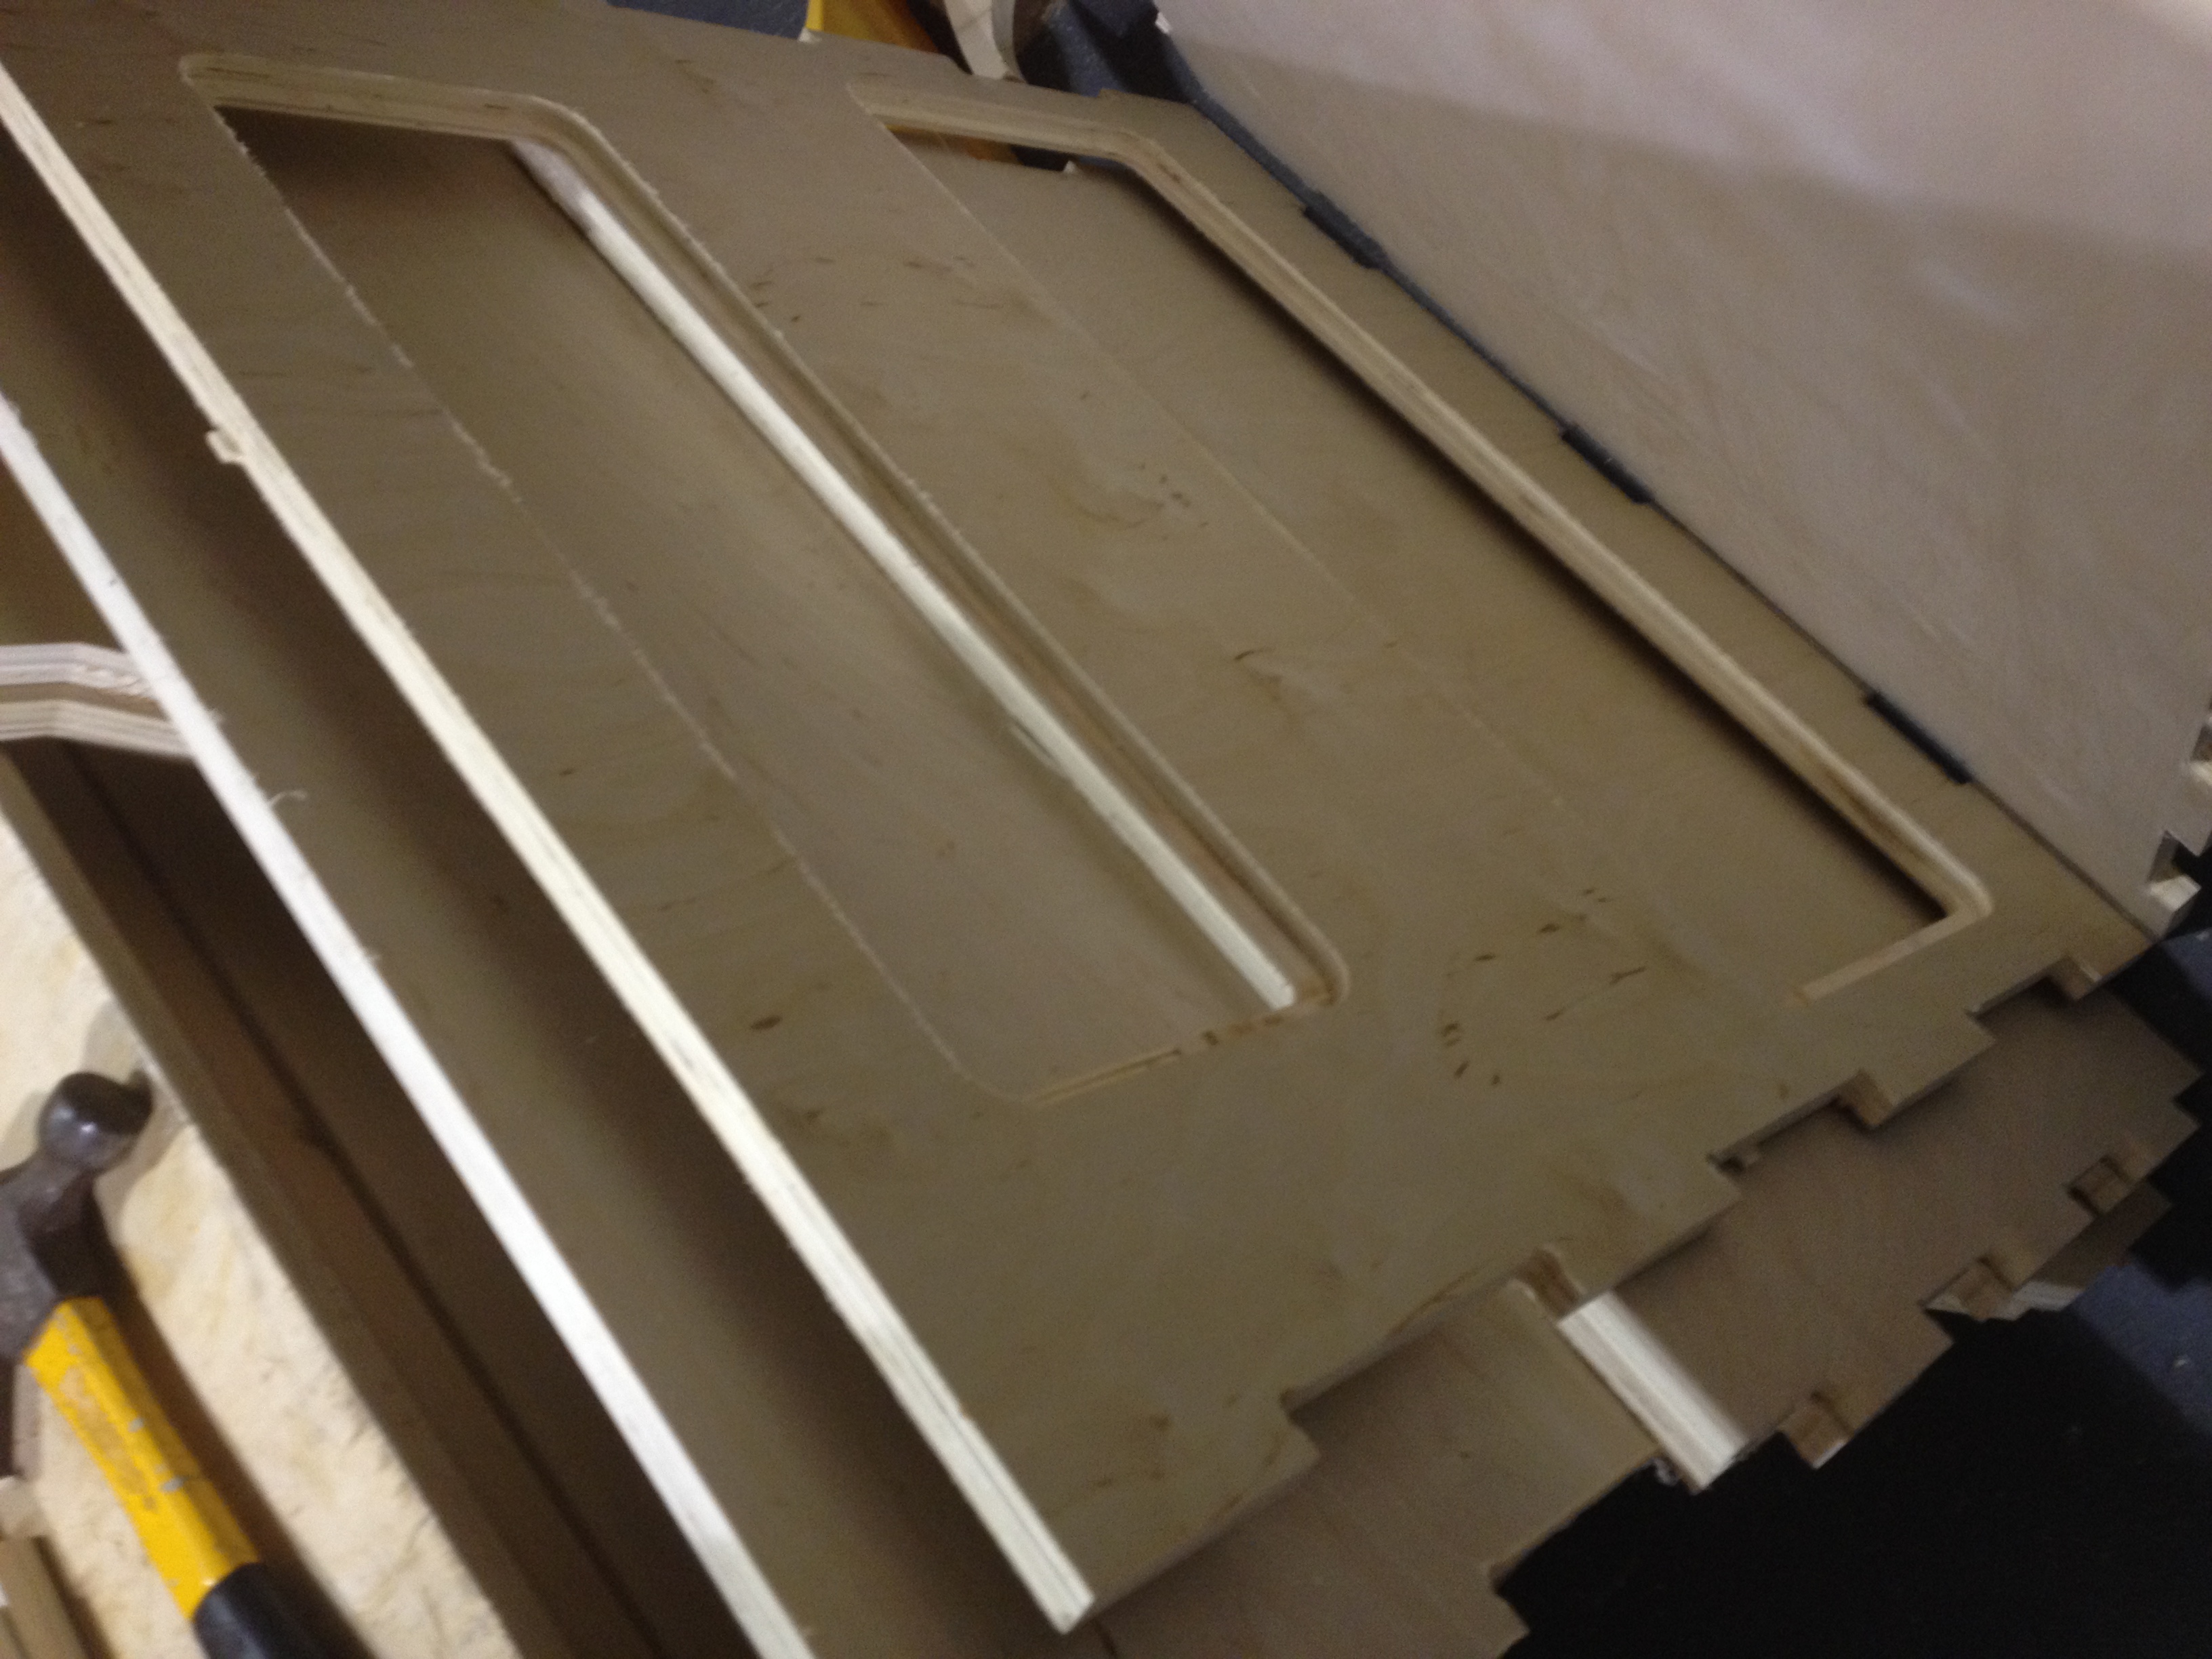
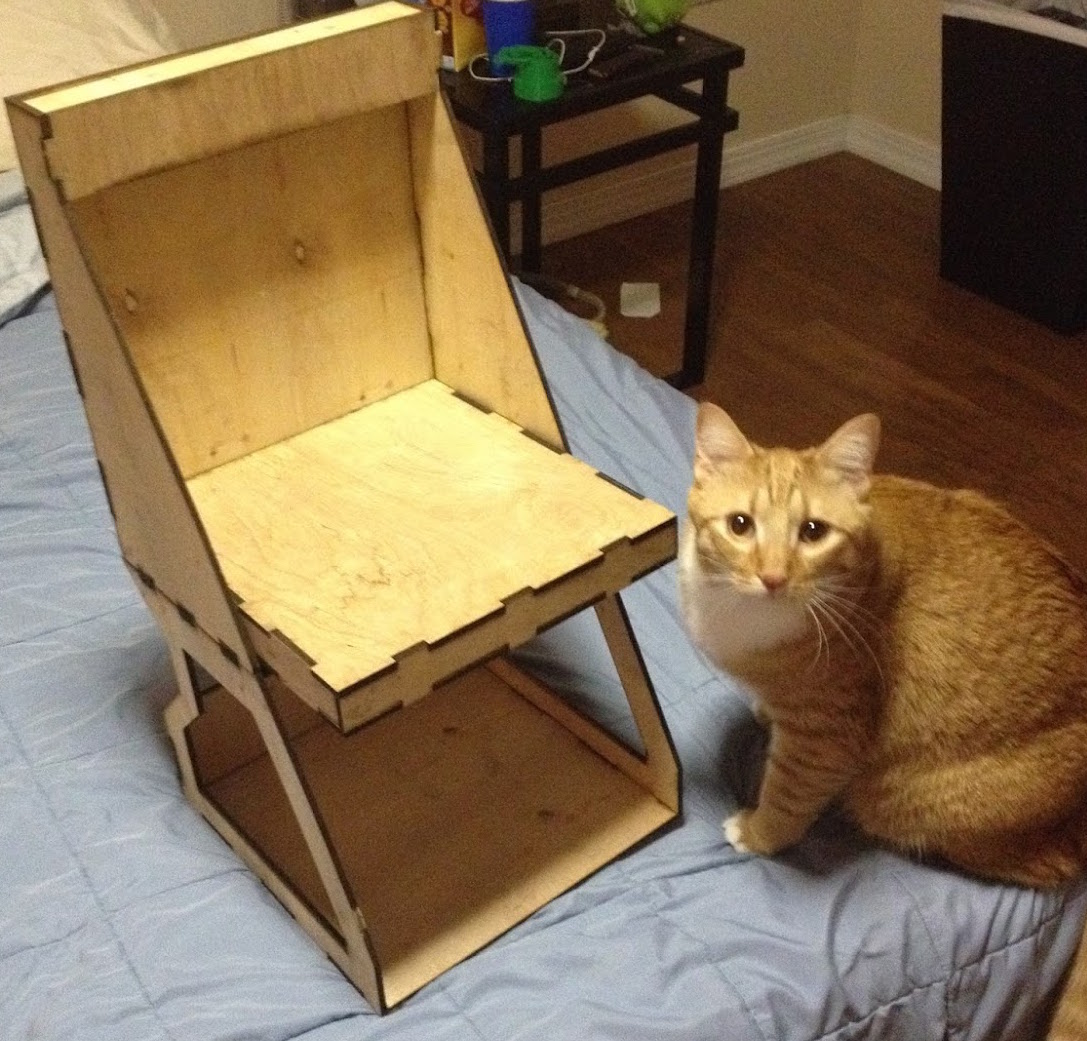 1/3 Model. Cat for Scale.
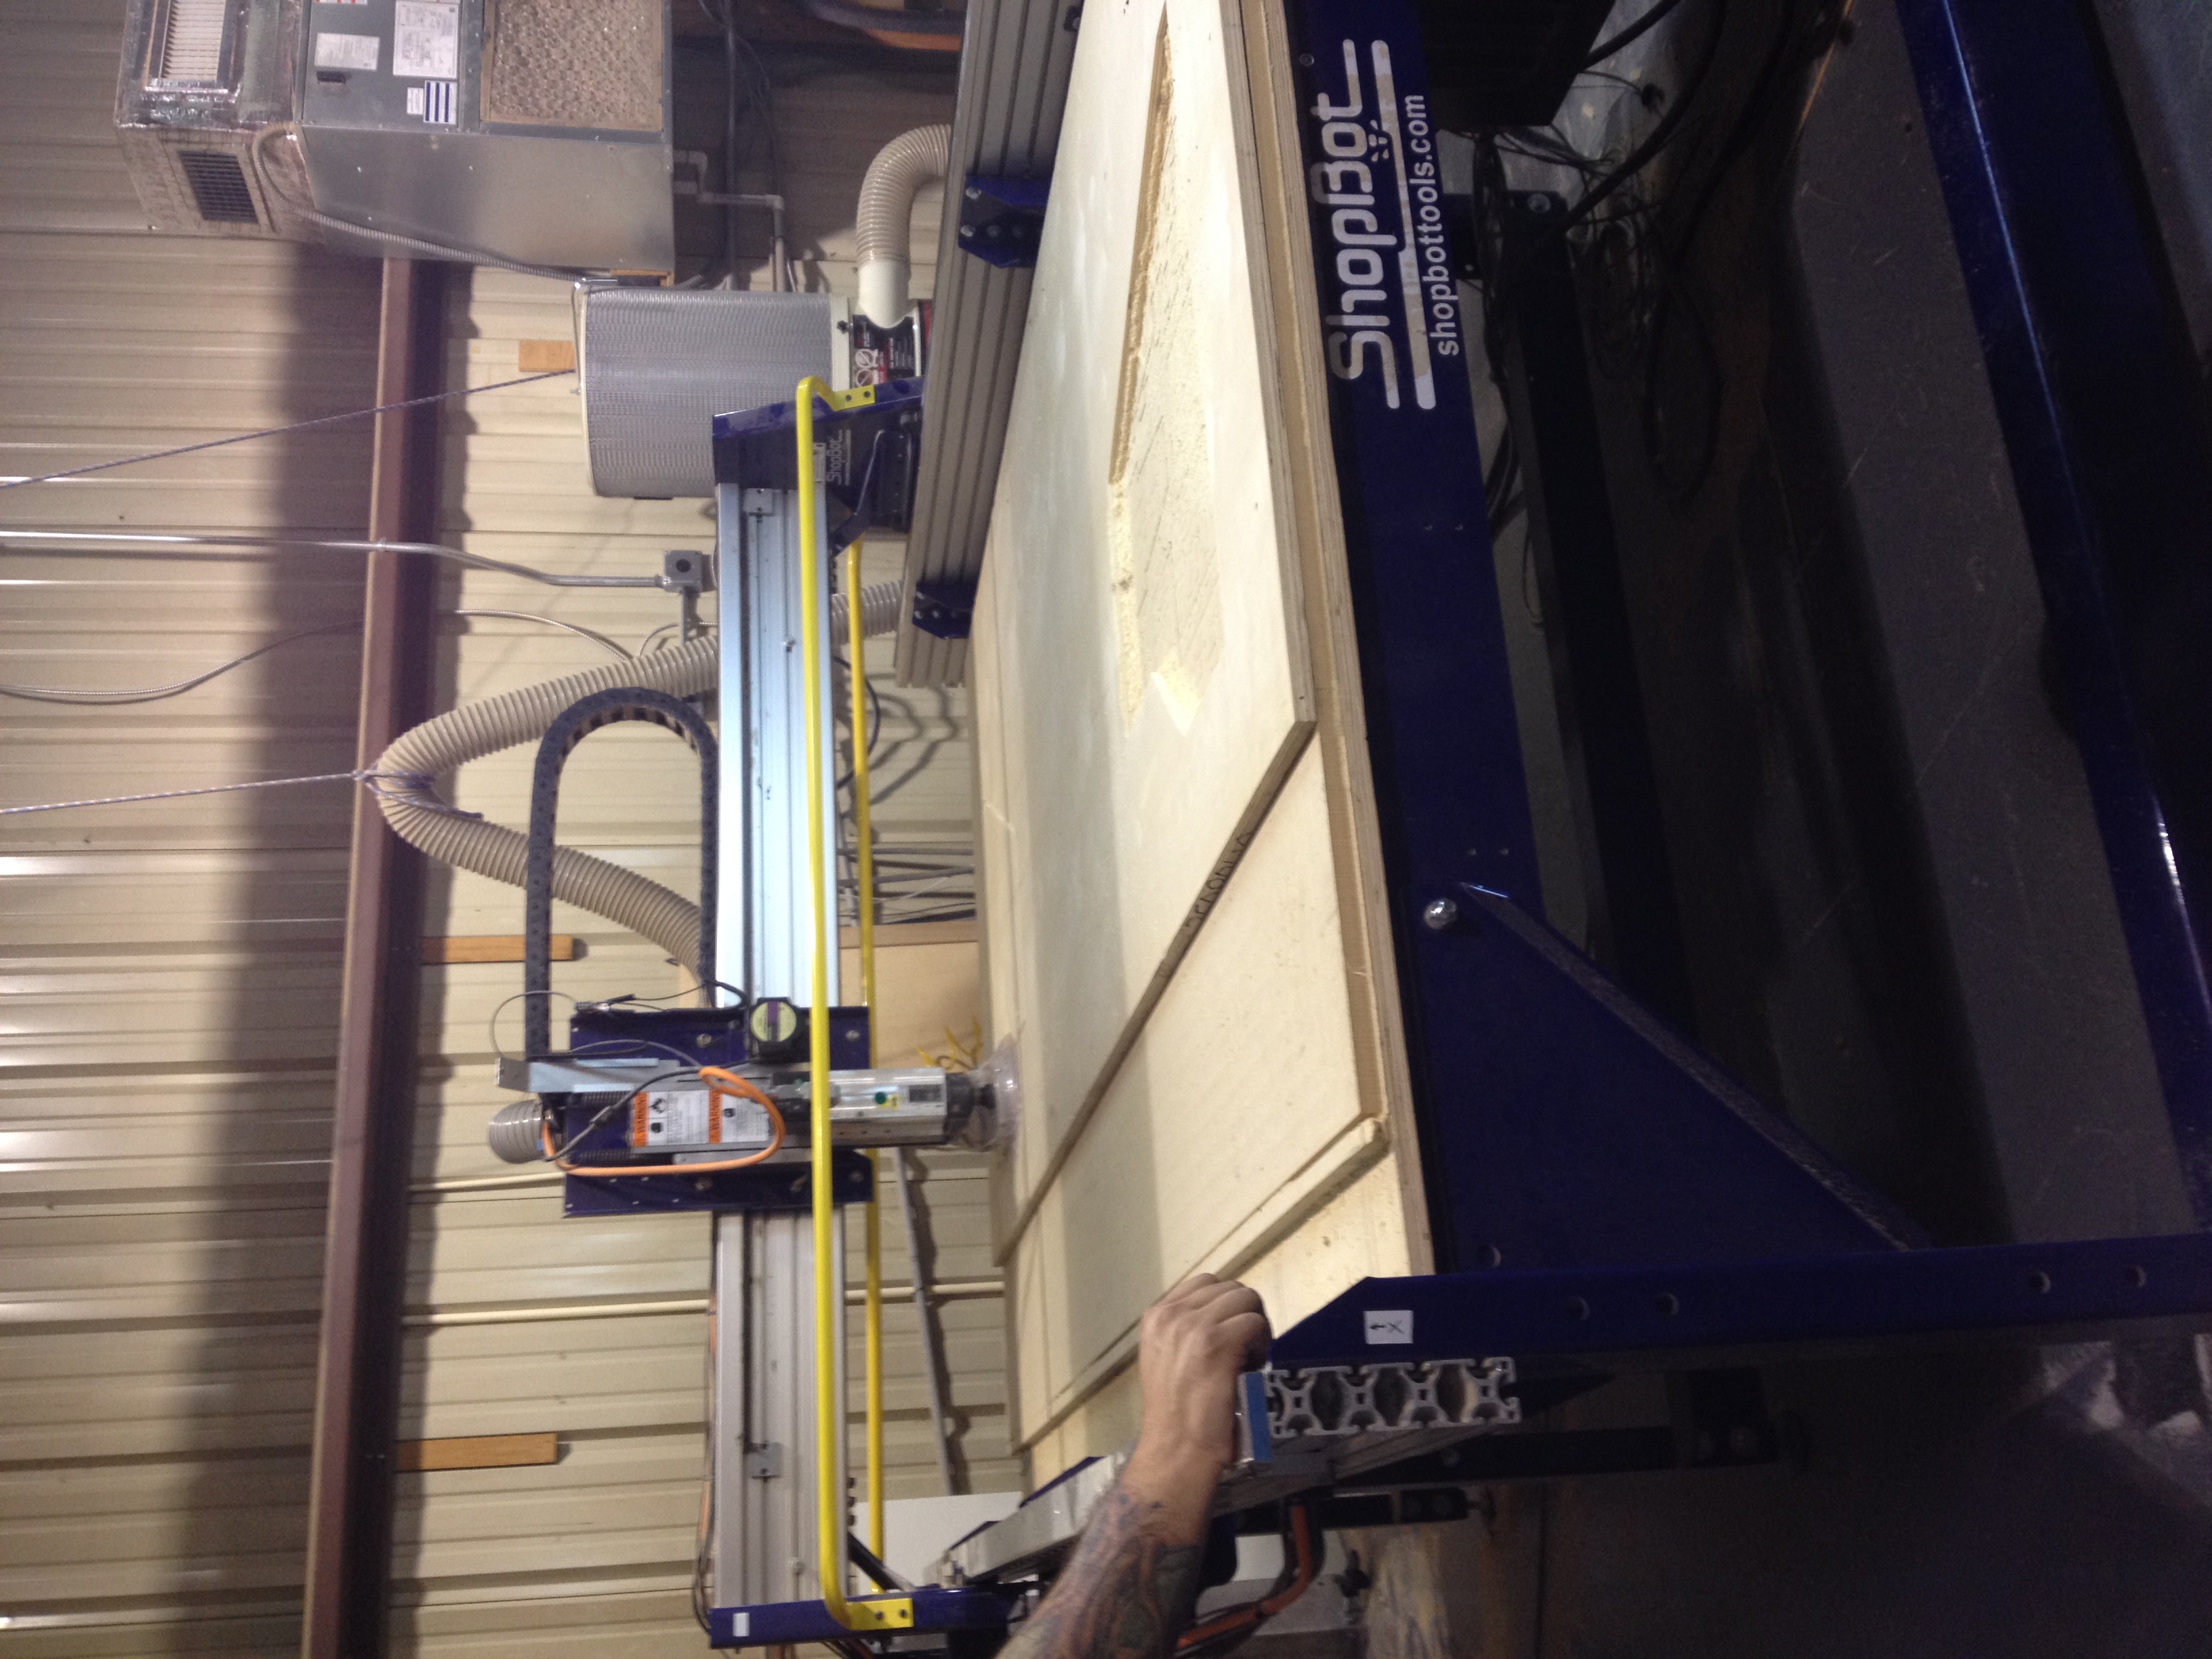
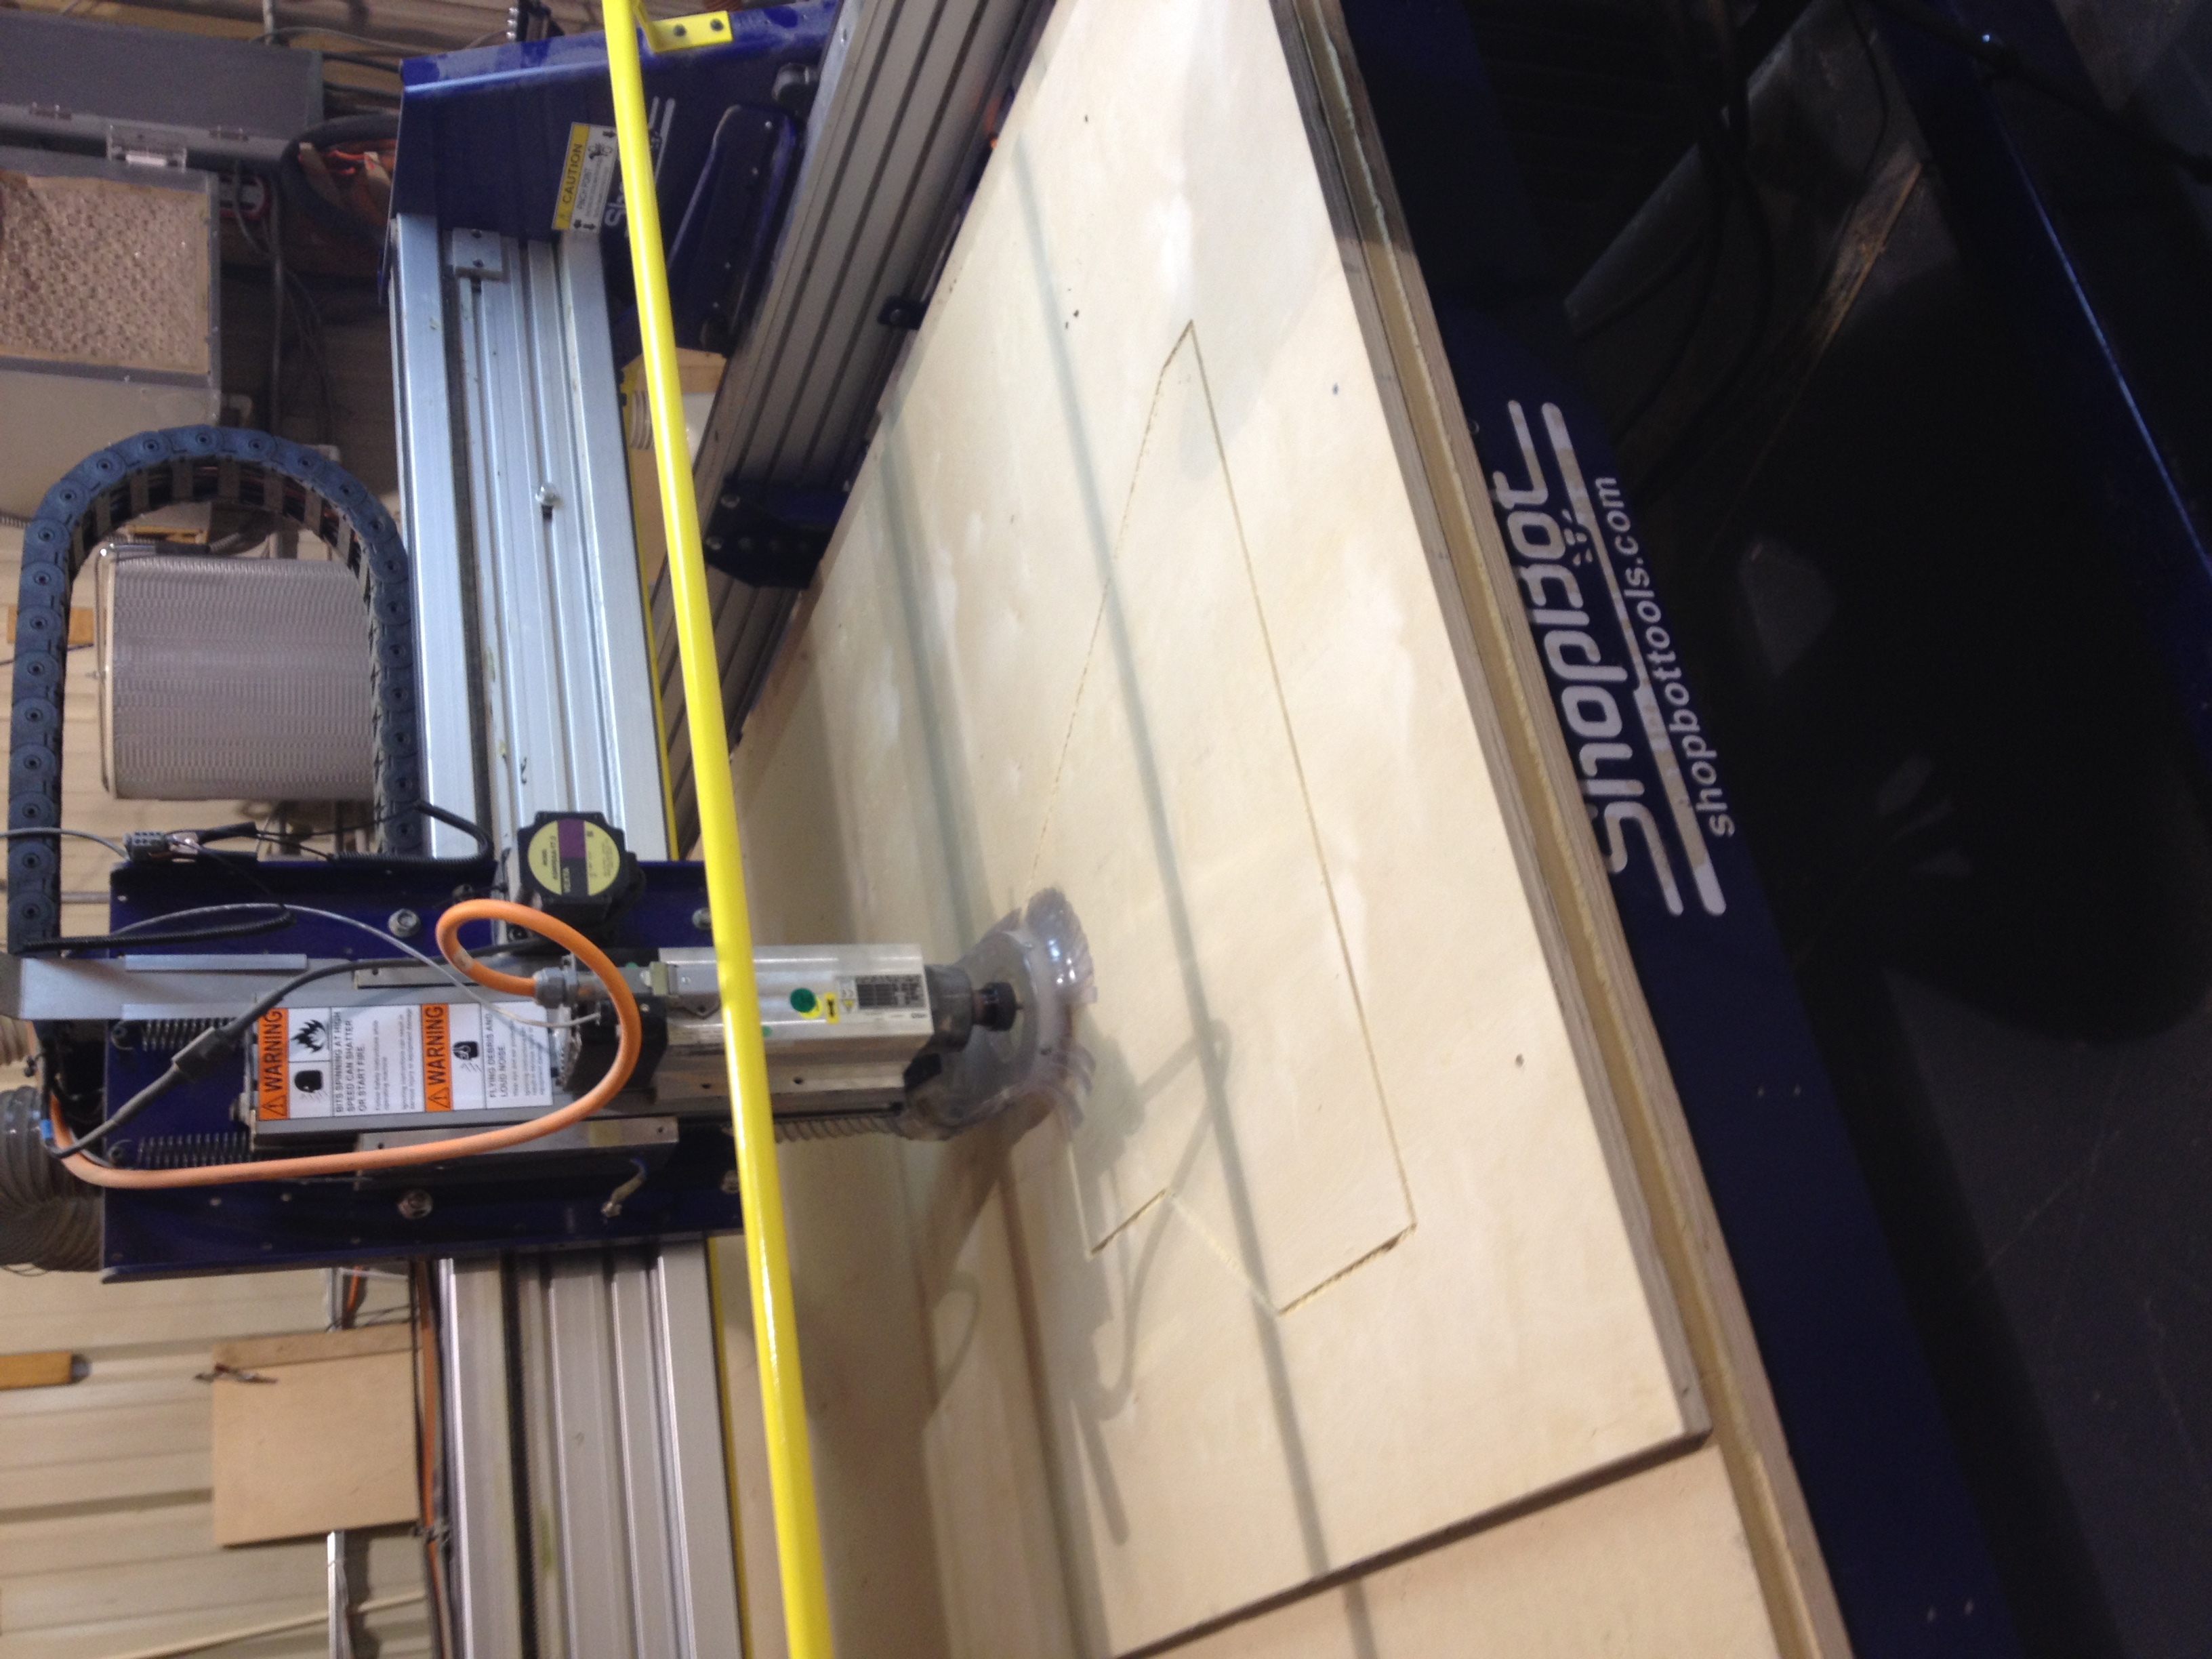
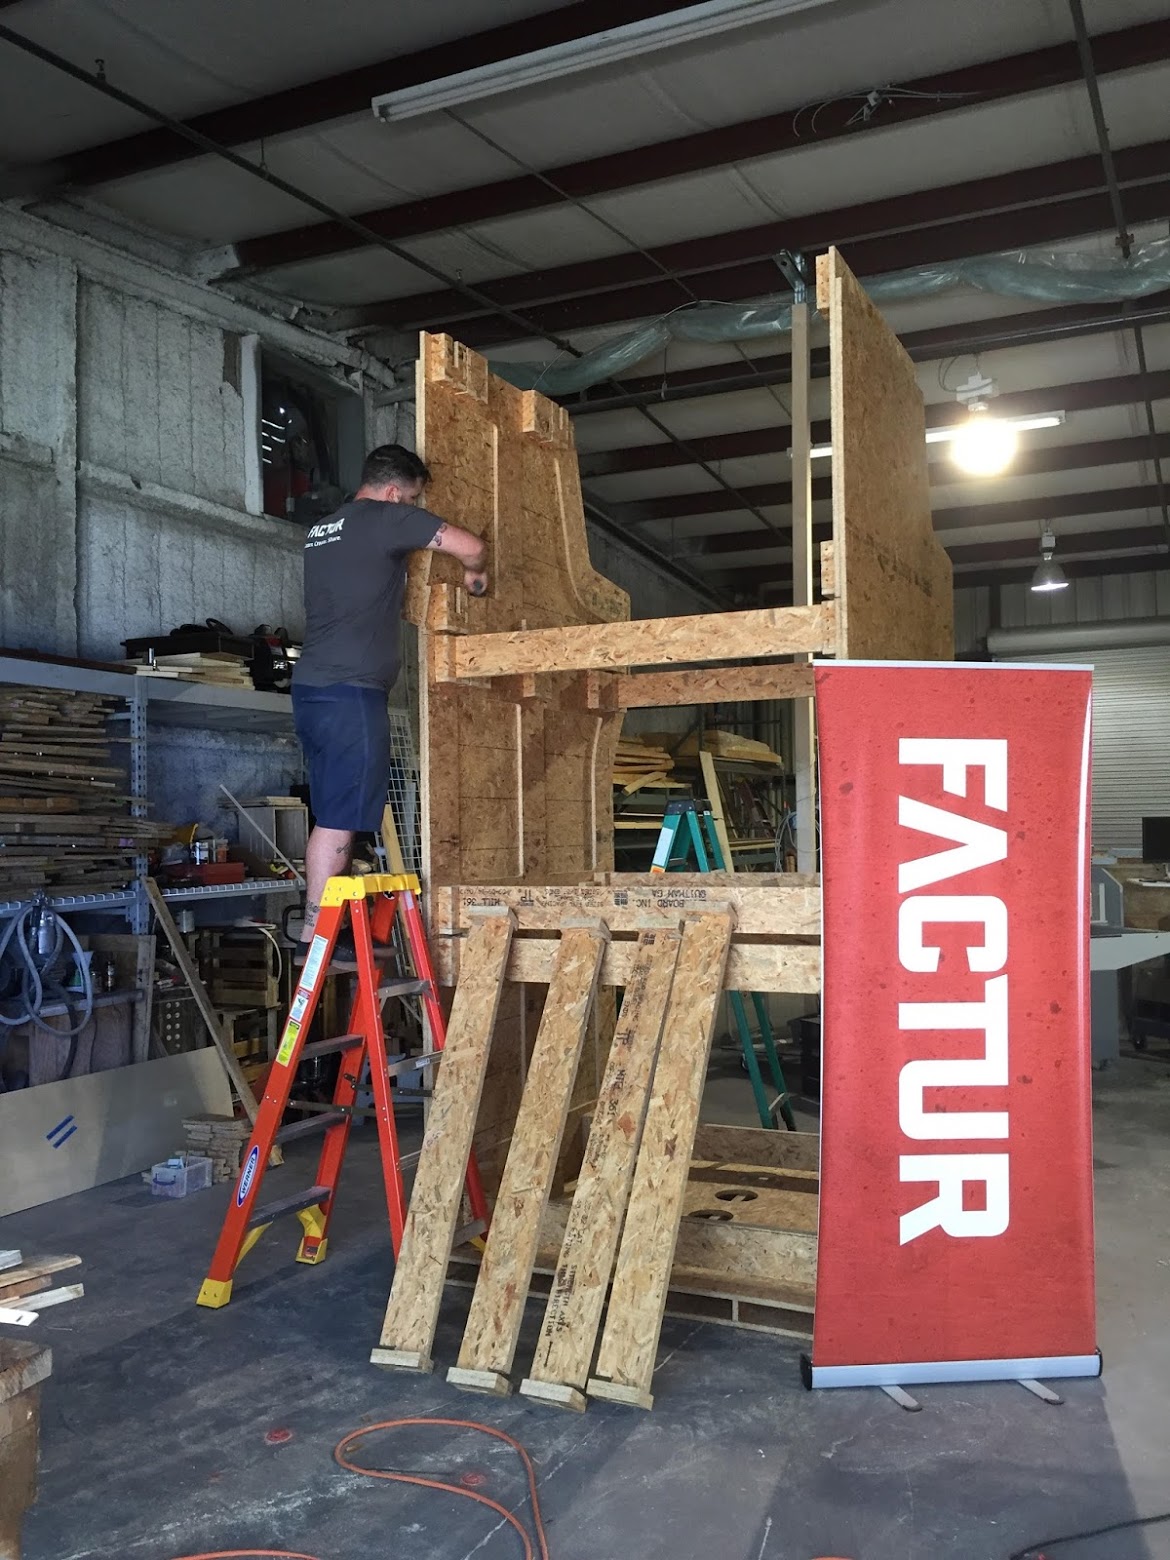
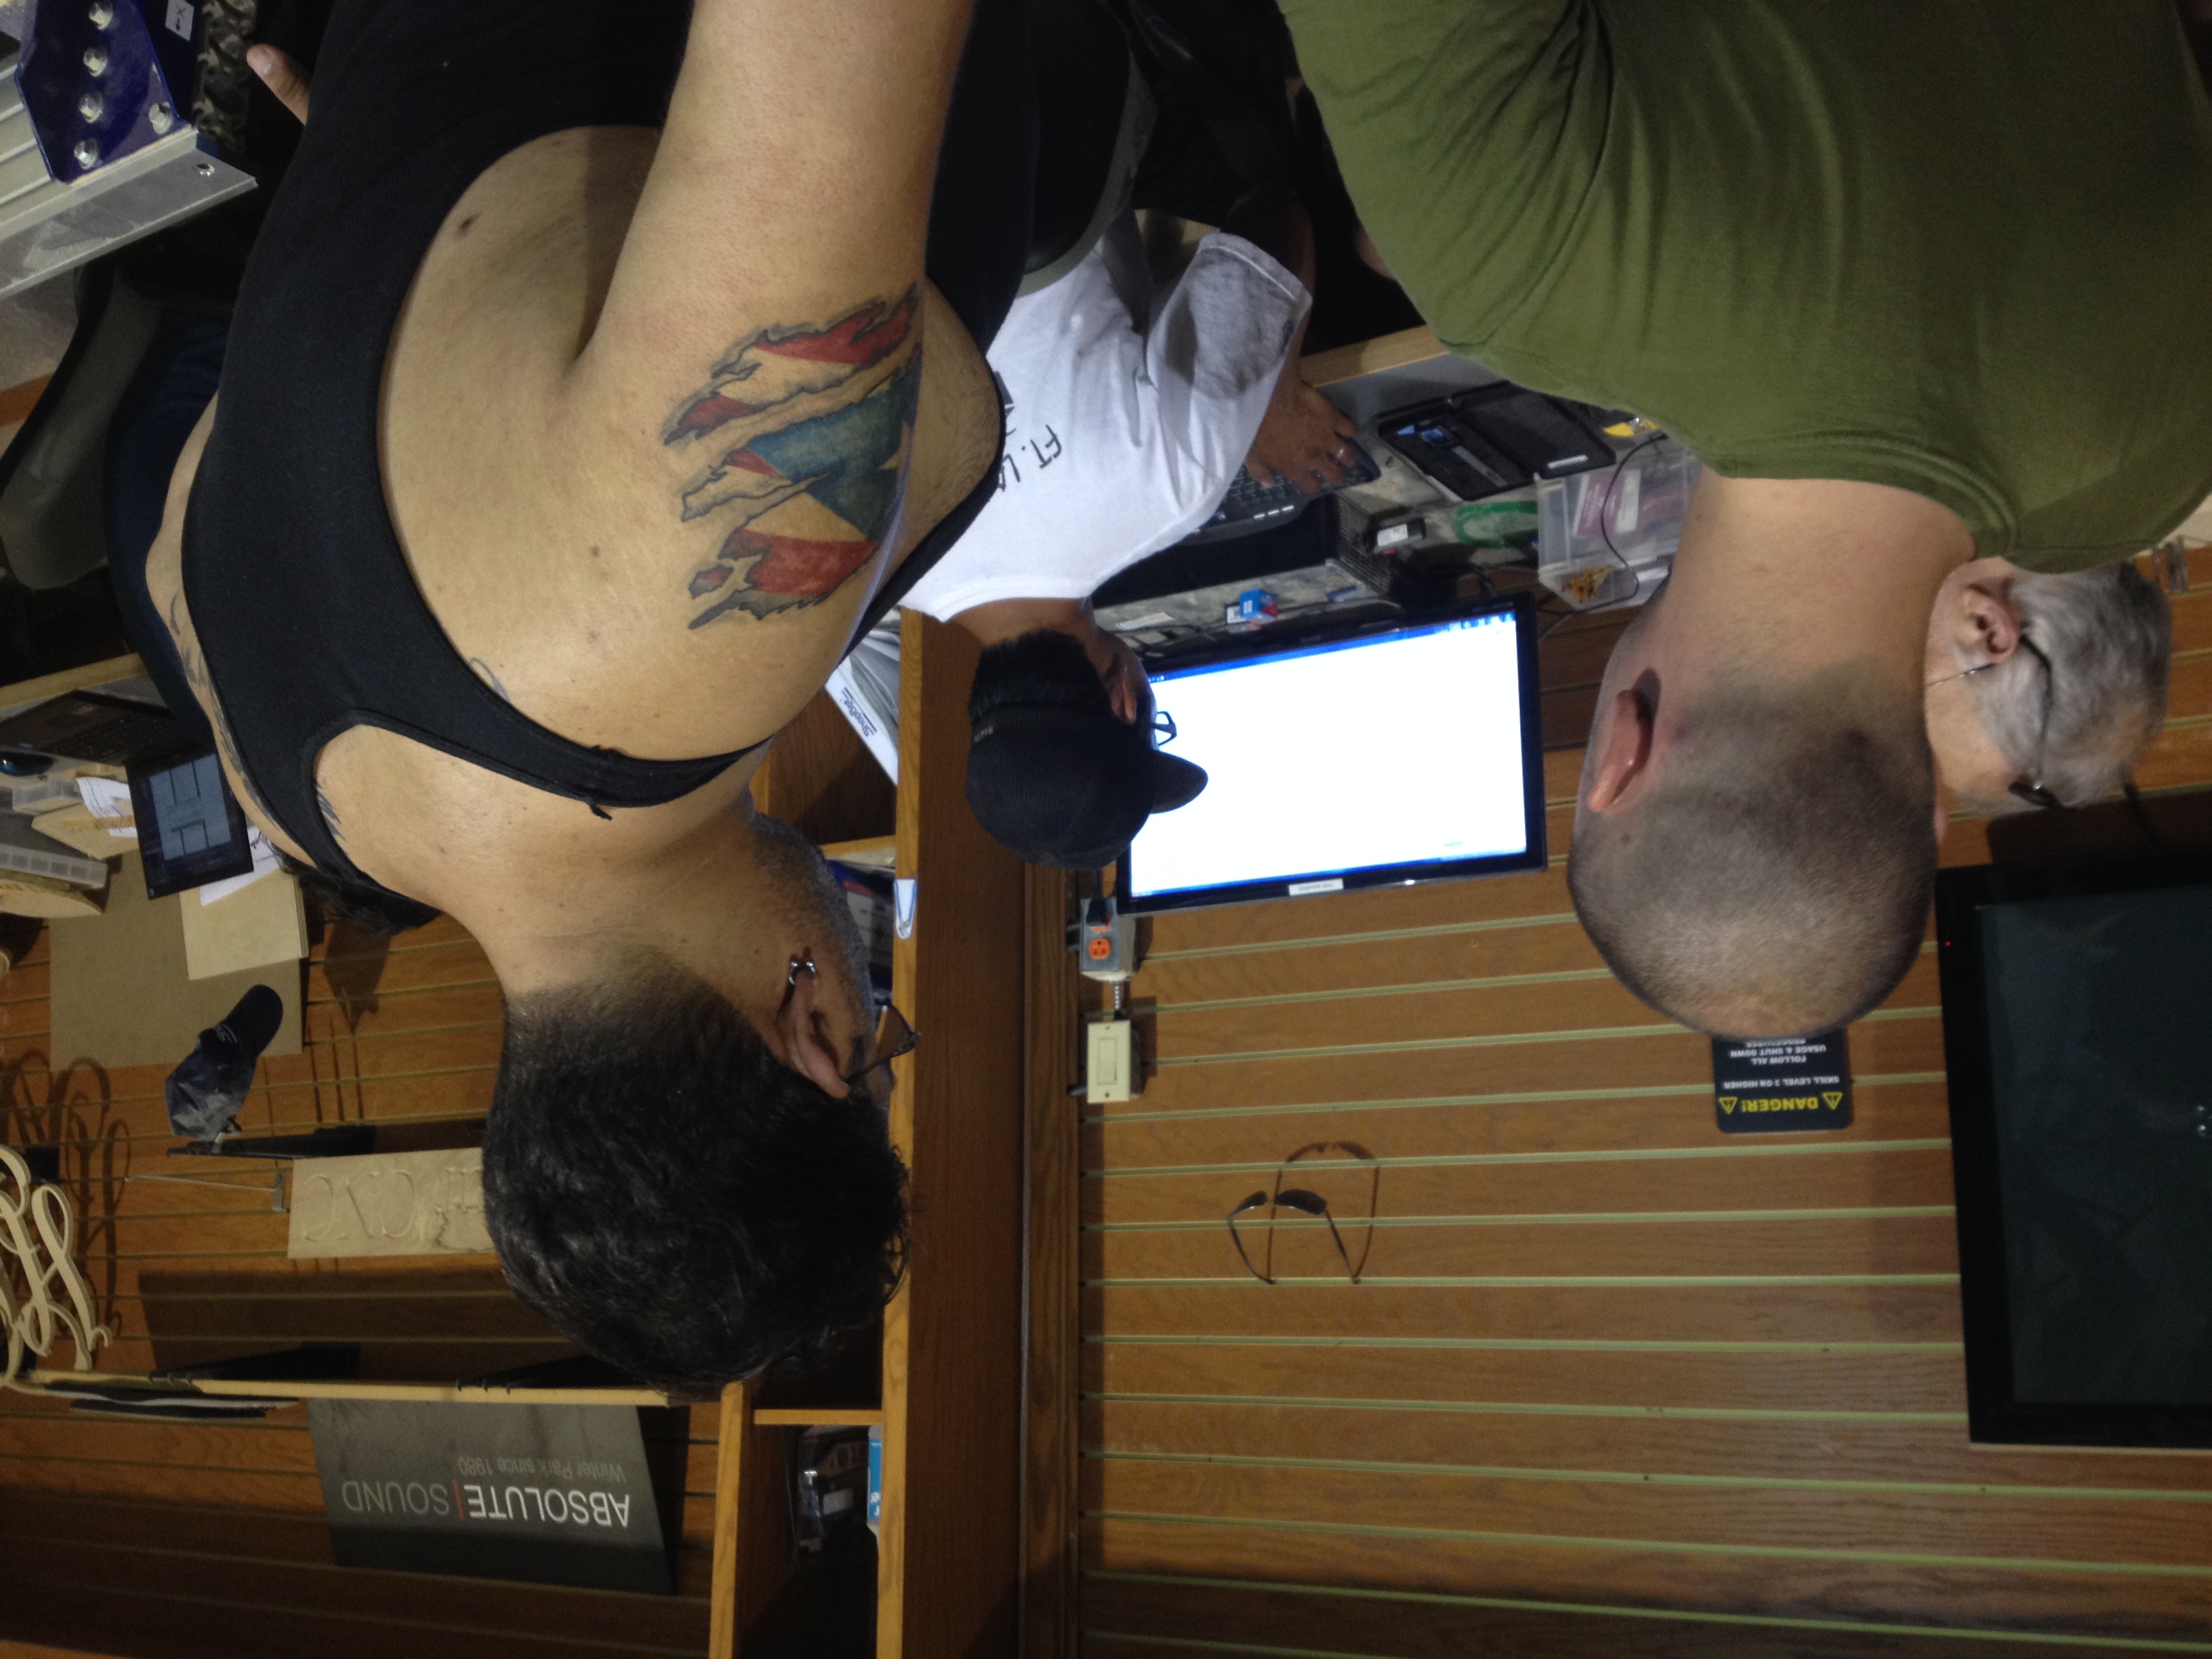 Team working the ShopBot CNC Machine.