It’s been a long 4 years. I’m so glad Biden won. I feel like a weight has been lifted off my shoulders. That I’m not just trying to survive the next news cycle, but also prospering and looking forward to the future.
It had taken its toll when every day you expect the worst and you are spending all your energy just getting through the day.
But now…
There’s a light at the end of the tunnel (and it’s NOT the headlights of the oncoming train).
This past year while we have all been quarantining I have been building and making things to pass the time. Nothing big enough to warrant it’s own post, but enough that I can update this blog, and hopefully again more and more for 2021.
Authors Note: While PCBWay has offered to sponsor a run of the boards, everything purchased for this post was paid for out of pocket and without their knowledge. I wanted to make sure they were good on my own.
Hey All,
I’m a collector. I like to collect things. Video games, Raspberry Pis, Pokemon cards, and Pins. I don’t have many pins, but they really appeal to me. It’s like pixel art. Making awesome designs with limited colors on a small canvas.
The department I work for has always made our own logos for our teams and projects. We usually print stickers and give them out at conferences, or to our students when they hit certain milestones (like their first commit).
Techrangers Logo
A eureka moment hit when PCBWay contacted me this month asking if they could sponsor my next PCB board. I’m not ready to make another PiPlay run of boards (we are slowly working on version 2), but I loved the silkscreen art I was able to put on our original run.
What if I could turn our teams logo into a PCB?
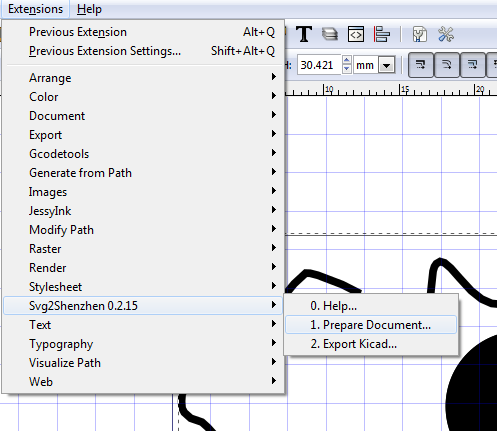
I quickly started investigating and found an awesome plugin for Inkscape called SVG2Shenzen!
I use Inkscape for a lot of things, mostly for setting up projects on the Lasercutter at FamiLAB, but I never thought of using it to create PCBs! The boards came out amazing!
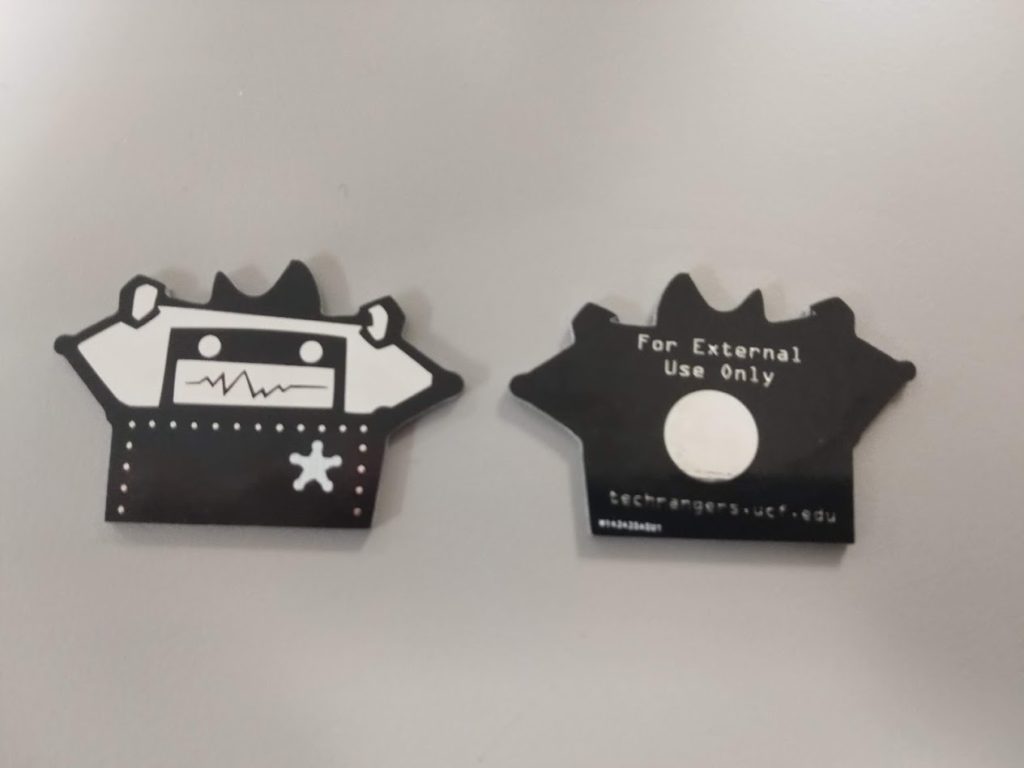
The boards I received from PCBWay.com blew me away.
I was not expecting much for $5 (+ $15 shipping from China).
I ordered the boards on Saturday, they shipped them out on Wednesday, and they were in my hands by Friday.
The production speed is incredible.
They audit every board before you pay and begin production.
Cons:
The ordering experience was a little clunky.
I had to input my dimensions and order details BEFORE uploading my Gerber files. Other PCB manufacturers usually get order details from the Gerbers.
Because I was making pins, I didn’t need anything drilled. This caused the audit to fail, and due to the timezome difference, their message to me and my reply caused a 20 hour delay in production. edit: Adding a note to ignore the drill file for my second order caused it to pass the audit test without delay.
The Pros HEAVILY outweigh the very minor Cons I experienced. I will have zero problem using them from now on for my board needs!
Once the plugin is installed, you goto Extensions->Prepare Document and click on Apply.
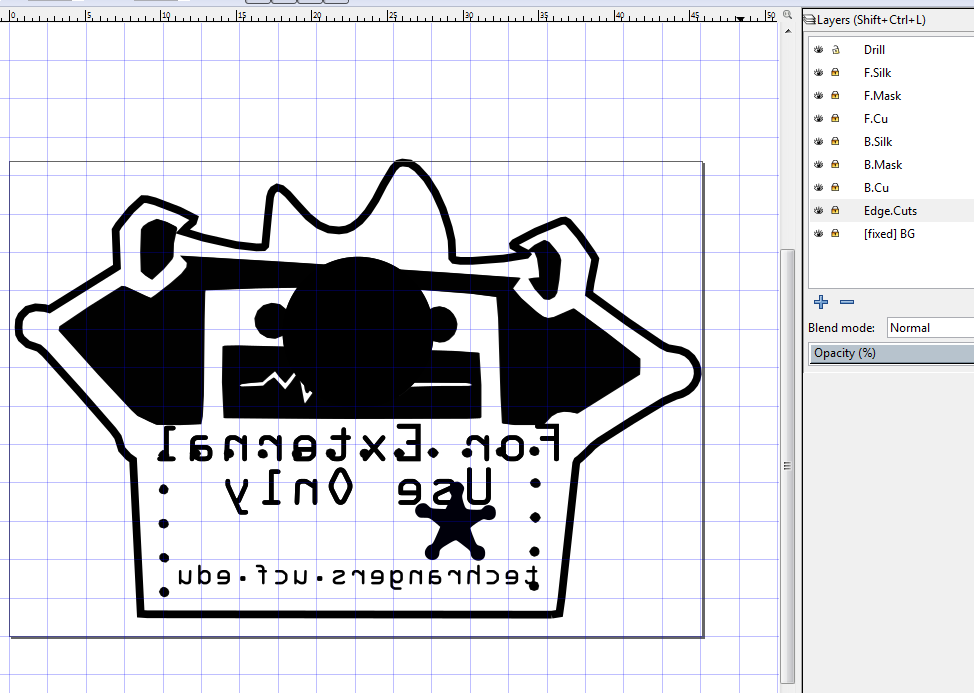
This will generate a new vector document with layers for each layer of the board. Each layer represents a portion of the boards manufacturing. They are:
Drill
Parts of the board to be drilled out
Example: Holes for a key-chain, or for through hole parts like a resistor or LED
F. Silk
Front of the board’s silkscreen
F.Mask
Front of the board mask – I have found that the Mask and Copper should be the same design
F. Cu
Front of the board copper
B. Silk
Back of board silkscreen
B. Mask
Back of board mask – Again I have found that the Mask and Copper should be the same design
B. Cu
Back of board copper
Edge.Cuts
This is the shape of your board that will be cutout.
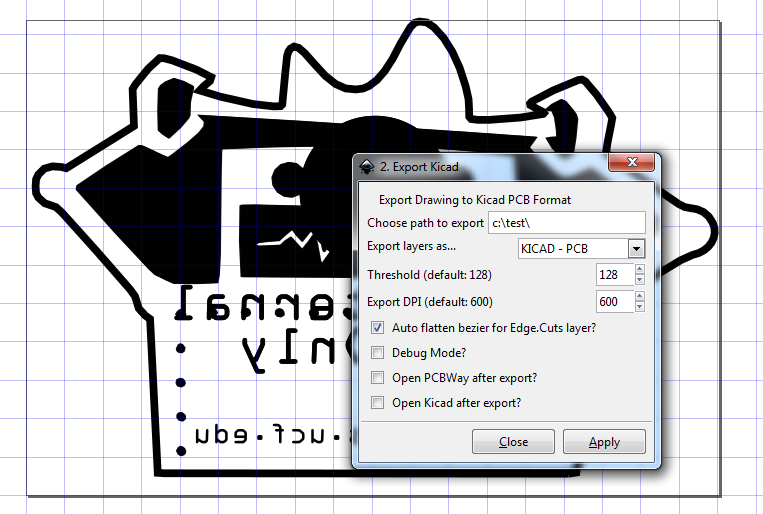
When you are happy with your layout, click on Extensions -> Export Kicad, and click apply.
You will now need to open the generated *.kicad_pcb file in Kicad’s pcb tool pcbnew.
You can check a render of your finished board by going to View->3D Viewer. You can change all the colors and see what your finished board will probably look like. If its good, it’s time for the most important step! Generating your gerbers!
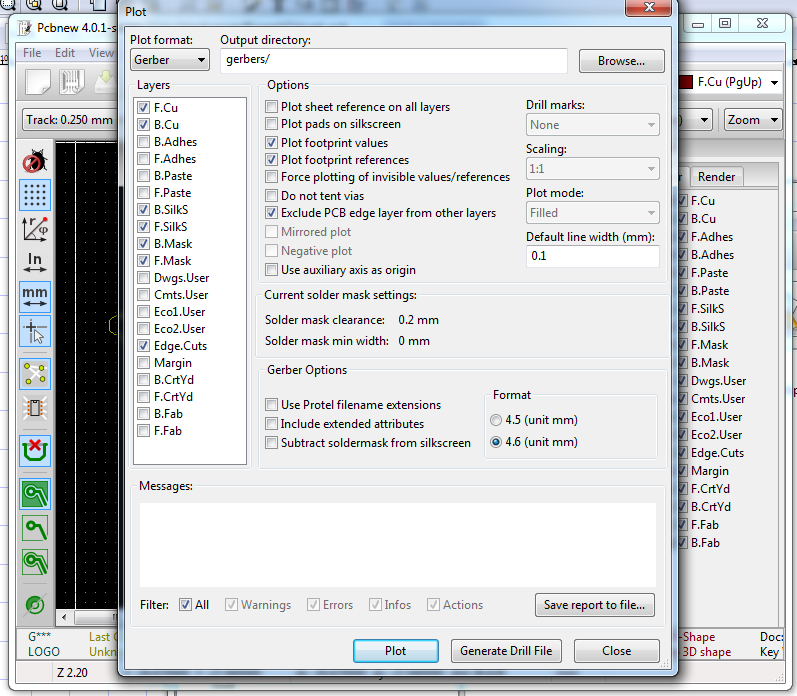
Click on File-> Plot to open up the plotter dialog. Select your output directory, and leave the settings as default for now. Click on Plot and a bunch of files will be generated in that directory. These are the files you send to your manufacturer to generate a PCB for you!
Congrats, you made a board!
Happy Birthday To Me!
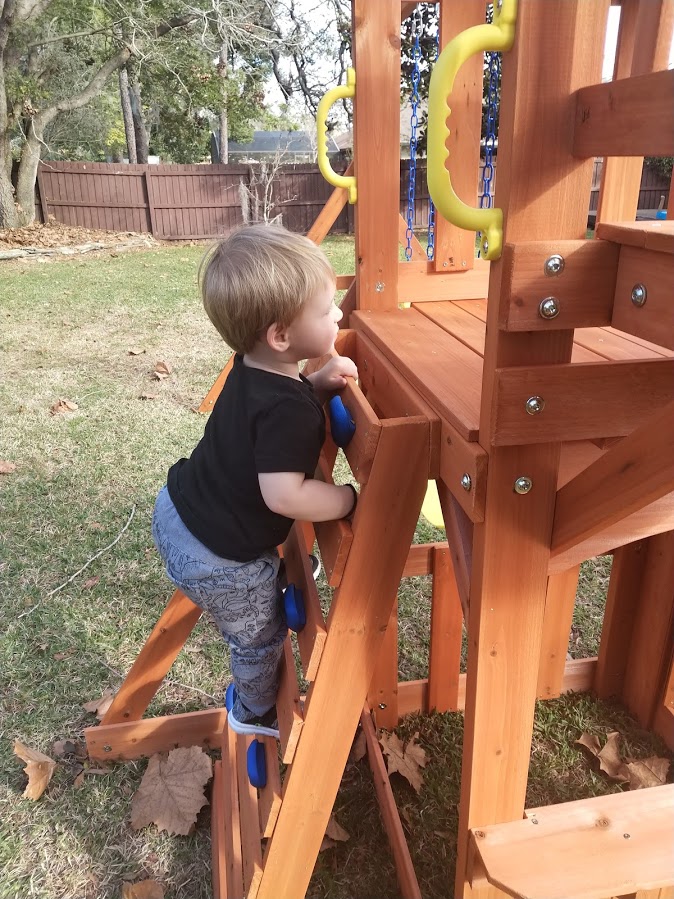
On another note… I turned 35 this month. Happy Birthday to Me! I couldn’t have had a happier birthday. Spending a nice day with my Wife and Son, watching the little dude play on a swing-set his Grandpa’s built in our backyard.
I almost didn’t blog for the whole year. To be truthful, it’s been hard to write this past year. Lots of amazing wonderful things have happened to me in 2018, but I’m exhausted. And this blog was easy to overlook. I want to write again, but at my own pace. I’m going to try to start again.
That said…. BEING A FATHER IS AWESOME! I have an amazing little mini me who is 20 months old and is just so much fun. He has made me grow in ways I never even knew imaginable.
Maker Faire Orlando 2018
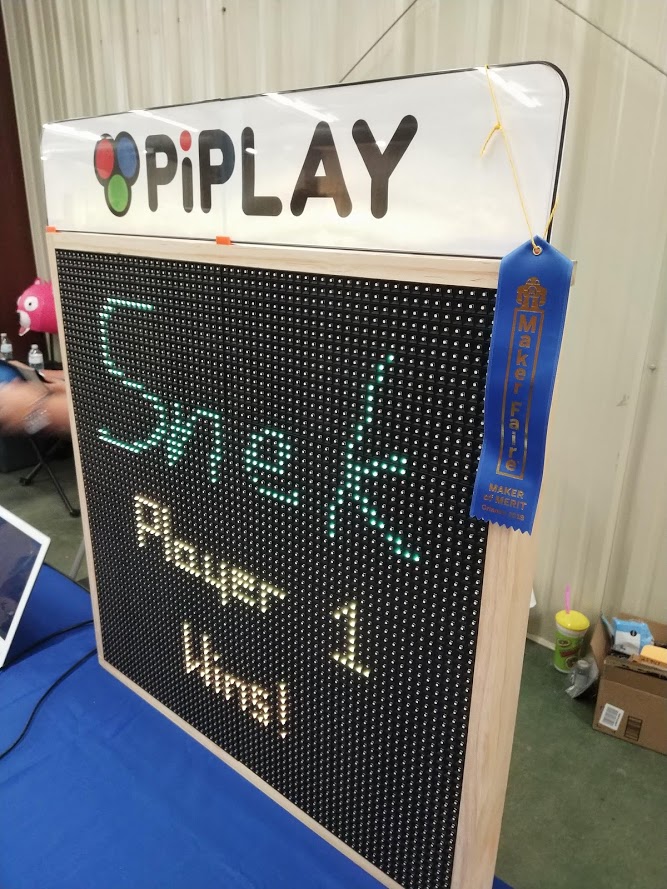
My friend Jacob and I worked on an awesome project for Maker Faire Orlando this year, and I am so proud to say we won Maker of Merit! It is a deep honor to me to win that award. And of course it’s Raspberry Pi related 😀
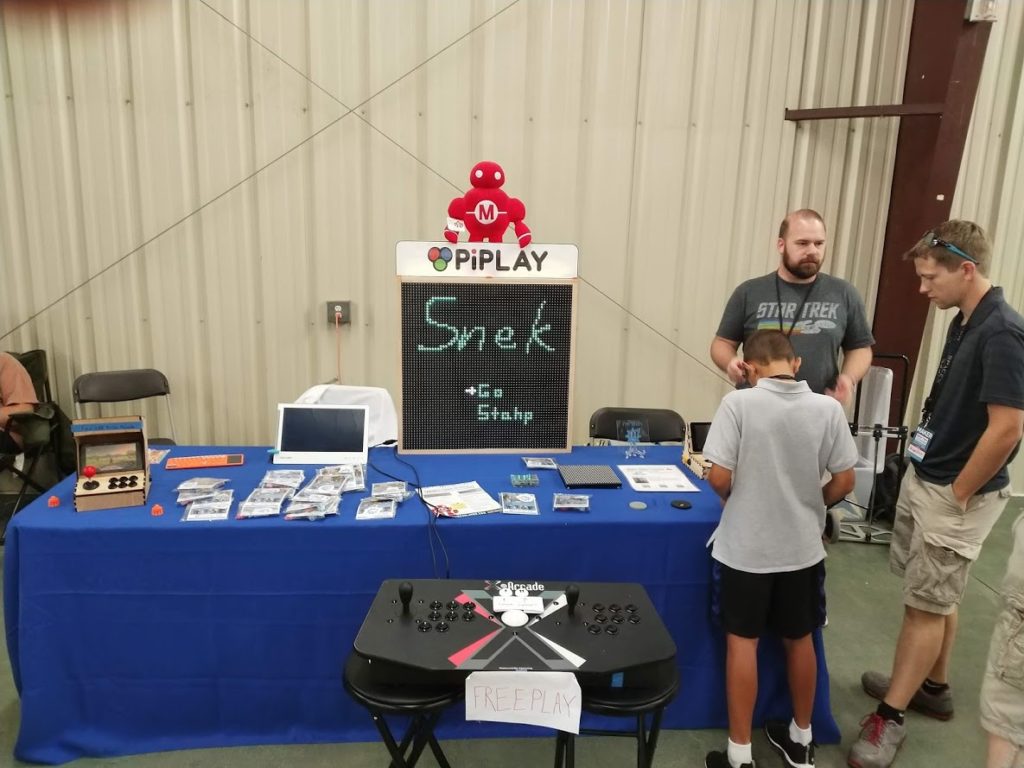
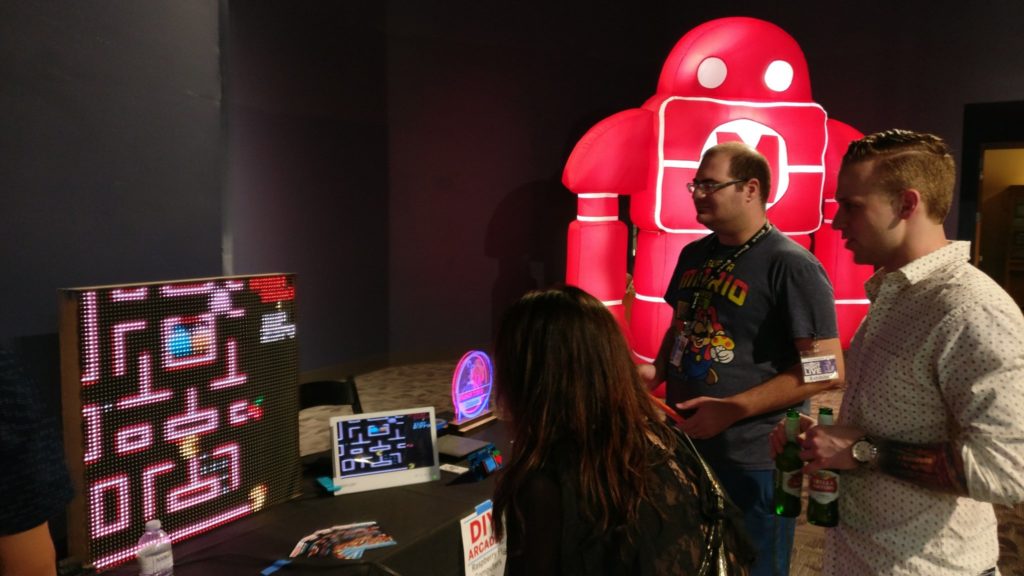
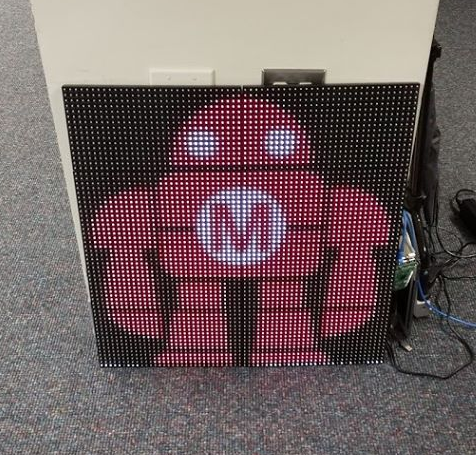
We made a 4096 LED pixel framebuffer display powered by the Raspberry Pi!
LED Display playing a clone of SnakePrototype at the Orlando Science Center
How it works?
We are using P10 LED panels as the basis for the screen. P10 means a 10mm dot pitch, so 10mm between each LED. They range from 3 – 10mm. The panels also usually come in a size of 16 x 32, but luckily they are daisy chainable!
The Raspberry Pi can even handle upto 32 of them in 3 chains! For our purposes we only used 8 16×32 panels in one chain.
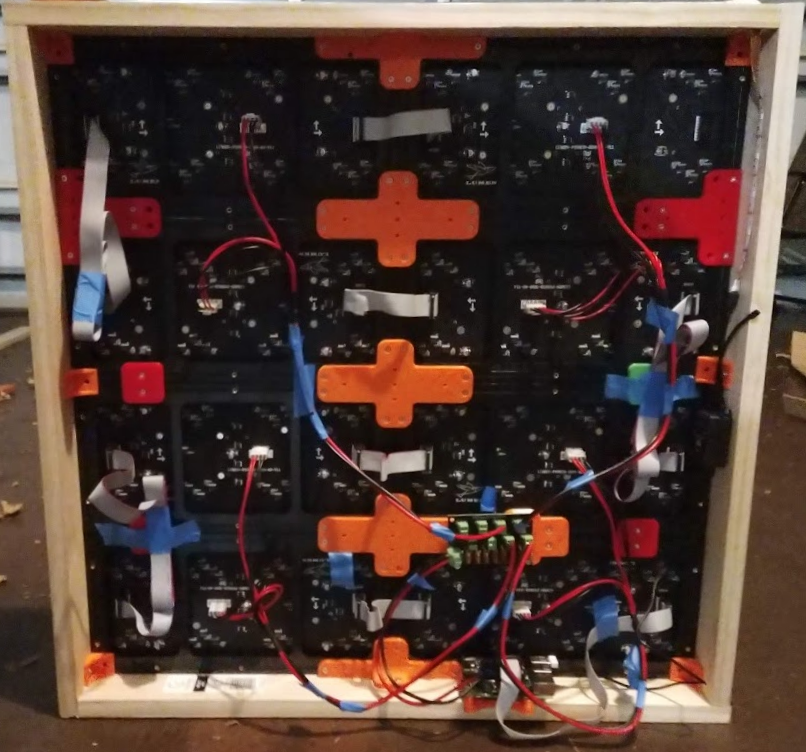
8 P10 Panels, daisychained to an Adafruit LED matrix bonnet, connected to a Raspberry Pi 3b+, with power distributed via a CFOL Distro 8 board.
The above picture may look complicated, but it’s not that bad.
8 P10 panels are daisy chained together using a standard HUB75 cable (it’s like an smaller IDE cable).
The panels are mounted together with the orange and red 3D printed brackets.
The first panel is connected to a Raspberry Pi 3B+ via an Adafruit LED matrix bonnet.
The power for the panels and the Pi comes from a 10amp DC supply, which plugs into the bonnet. The bonnet powers the Pi, and has two screw terminals for the voltage output. The +/- screw terminals connect to a CFOL Distro 8 PCB (in the center of the board) which takes the input and breaks it out to 8 screw terminals. We only need 4 since each cable powers two panels, but it gives us room to expand.
TL;DR: IMHO 3 point bed leveling is so much better than 4 point bed leveling and auto bed leveling.
So the PiPlay Portable Kickstarter has ended, and we have been doing tons of fulfillment these past few weeks. One of the add-ons was originally a laser cut case, but realistically, it didn’t work well.
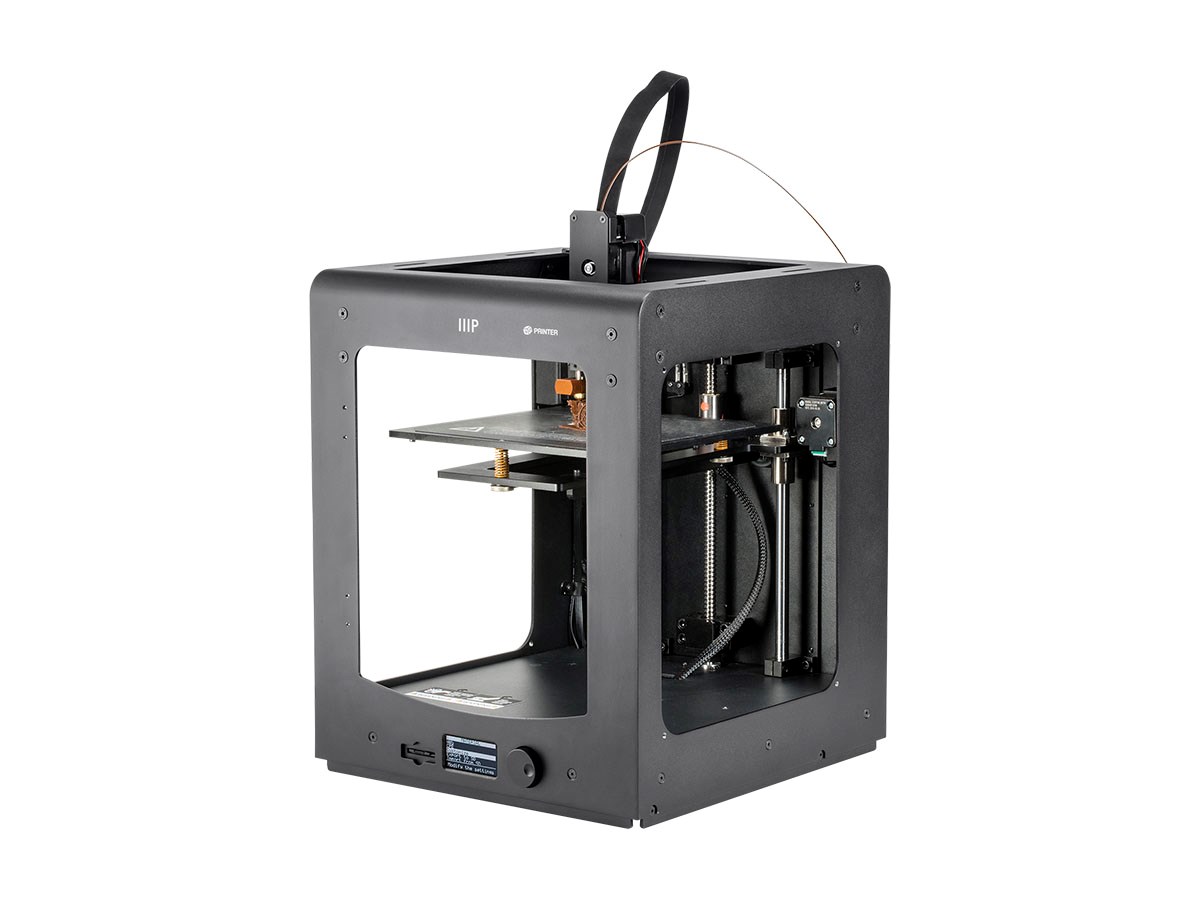
My friend Nick from P3DCreations was able to design us an awesome 3D printable case at the last minute, and the demand for it was high. Higher than I could reasonably print on my current printers. 3D printing is a lot slower than laser cutting, so I needed to add a new printer to my “print farm”.
The Monoprice Maker Ultimate is a rebrand of the Wanhao D6 (or Duplicator 6) which itself is a mix of an Ultimaker and a Zortrax M200. I have been printing with it non stop for the past 2 weeks and it has been a workhorse. I love this printer. It has made 3D printing fun for me again. Pro Tip: Wait for it to go on sale, as I got mine for $550 shipped.
Leveling Up
The difference comes from how you level the bed. The most common bed is a piece of aluminum with 4 screws attached at each corner. As you screw down each corner, you are bending the bed, trying to make it flat enough for your print to adhere correctly at all points. Realistically you end up warping the bed. Every time you get one point leveled, you’ve just unleveled the opposite point.
Auto bed leveling uses a probe and triggers when it detects the bed. It does this at multiple points on the bed at the beginning of each print to determine the shape and warpness of the bed, and then tries to correct the skew as it prints. When it works it’s amazing, but if it doesn’t you risk damaging your bed, hotend, and printer components. Also, depending on the controller board and software determines how well the software can compensate.
On the Maker Ultimate (and numerous other printers) the bed is leveled by 3 screws. One in the front and 2 in the back. Doing this makes a plane and makes leveling a quick affair that just works and tends to stay in place for longer.
I also like that the bed is stationary and just moves on the Z axis, rather than i3 type 3d printers that moves the bed on the Y axis. I’m not a fan of how much motion is generated when moving the bed like that. I’ve had failures due to the wobble of the bed causing a print to fall off.
There are many great i3 printers, and a well tuned printer will make good prints on any machine, but man, I’m so pleased with this Monoprice Maker Ultimate.
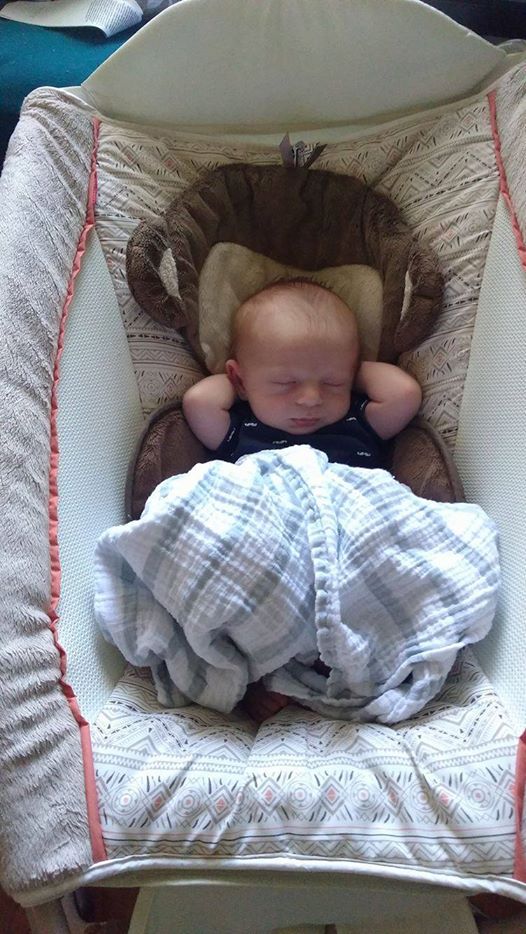
I’m sorry about the lack of posts. Being a Dad is the most amazing time consuming adventure I have ever been on! I am currently on paternity leave, and of course I thought I would have tons of down time to post and update….all the parents are collectively shaking their head.
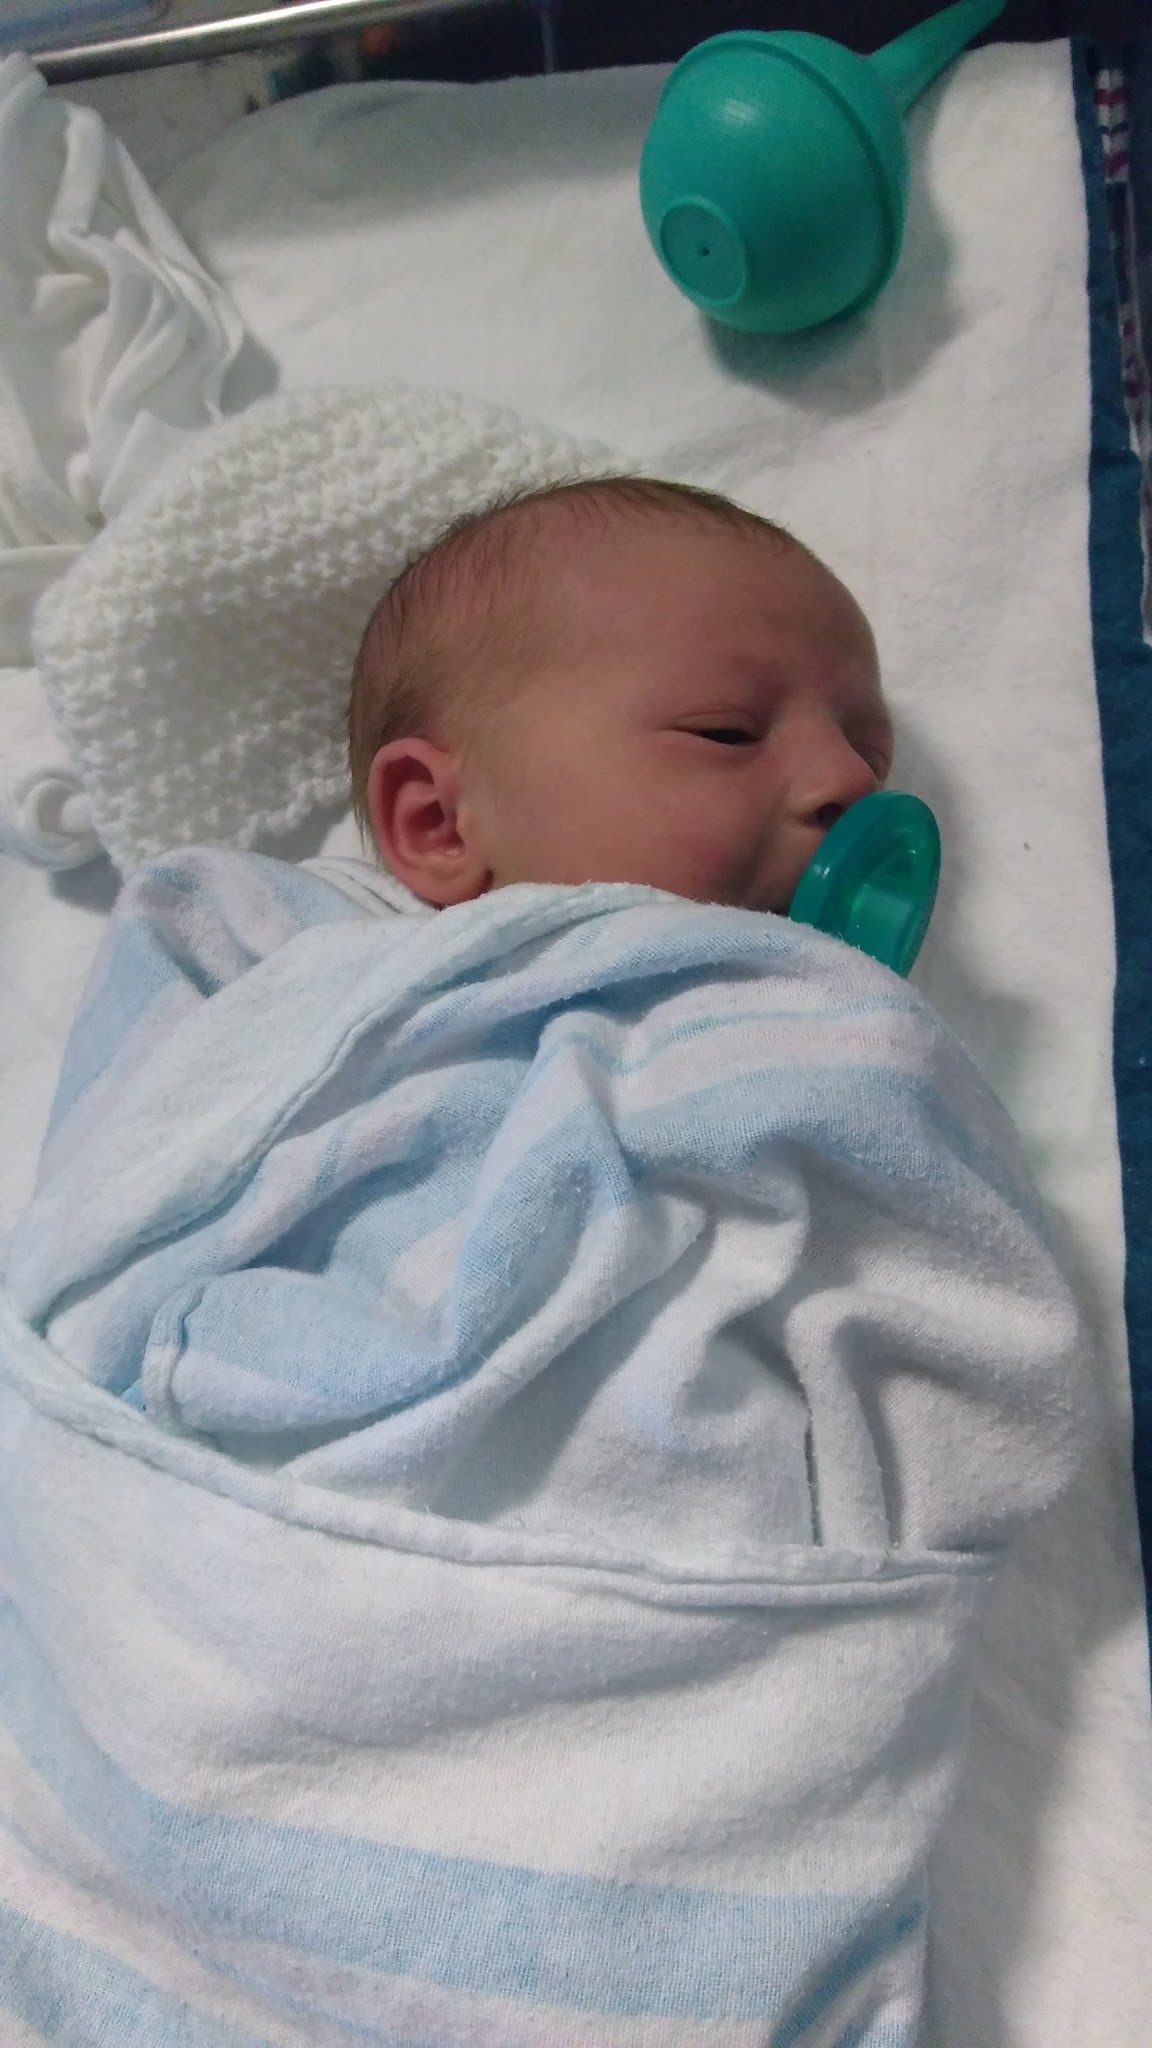
He’s 4 months old now!!! Can you believe that?!
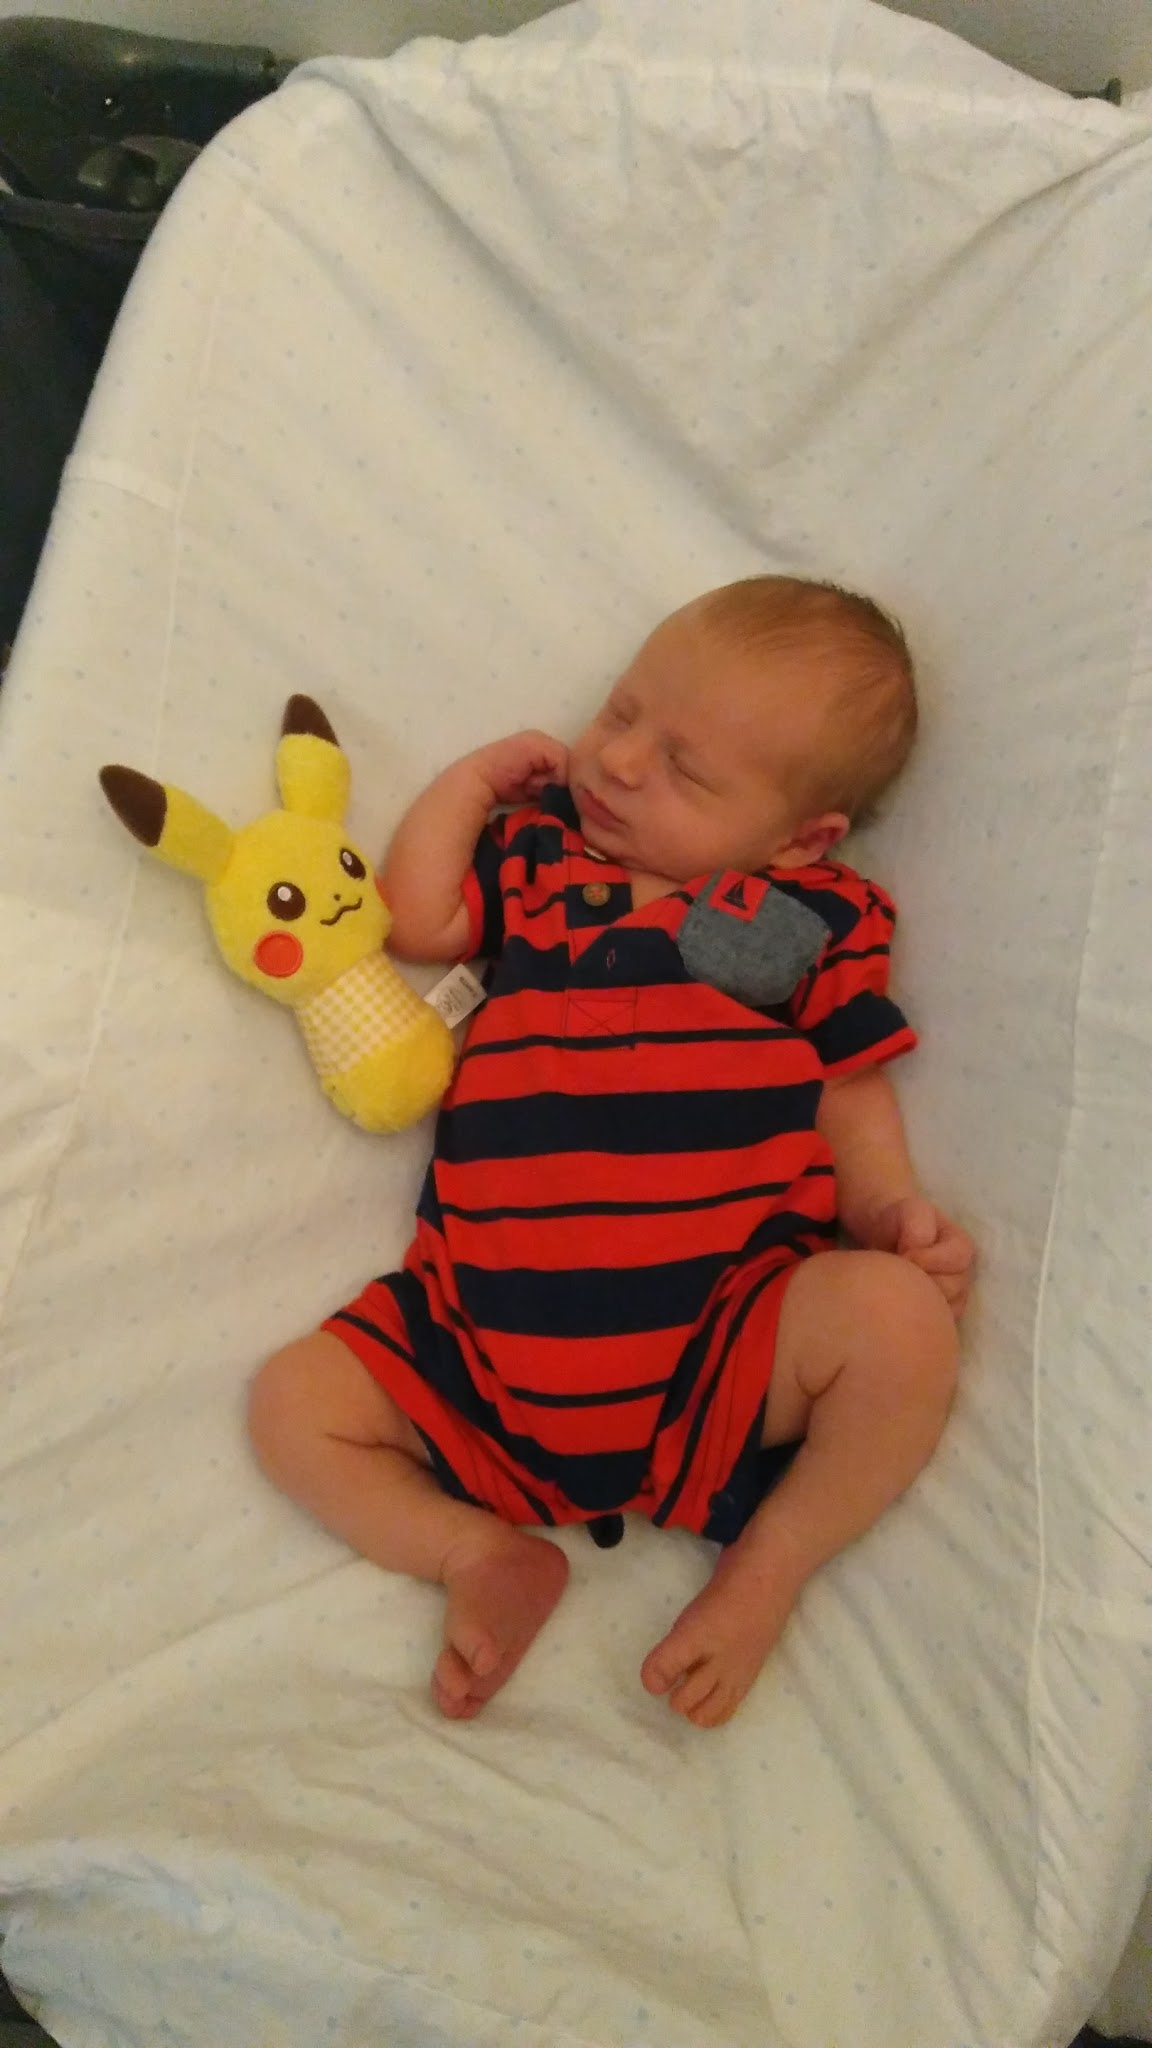
More updates soon. I got some awesome Nintendo stuff to post.
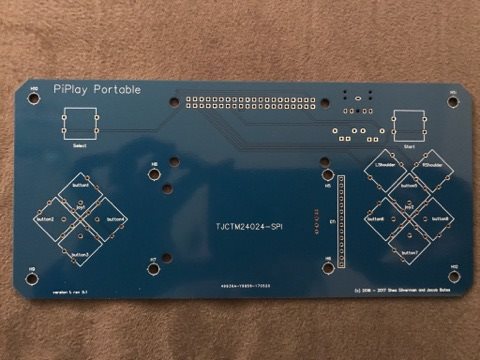
Thank you, to my backers, and supporters, for helping to fund the PiPlay Portable. I’m so excited to get to make this.
We just got the latest prototype boards in, as well as our stickers from StickerMule. We were also able to get some polybags for real cheap (they are in beta, so why not!)
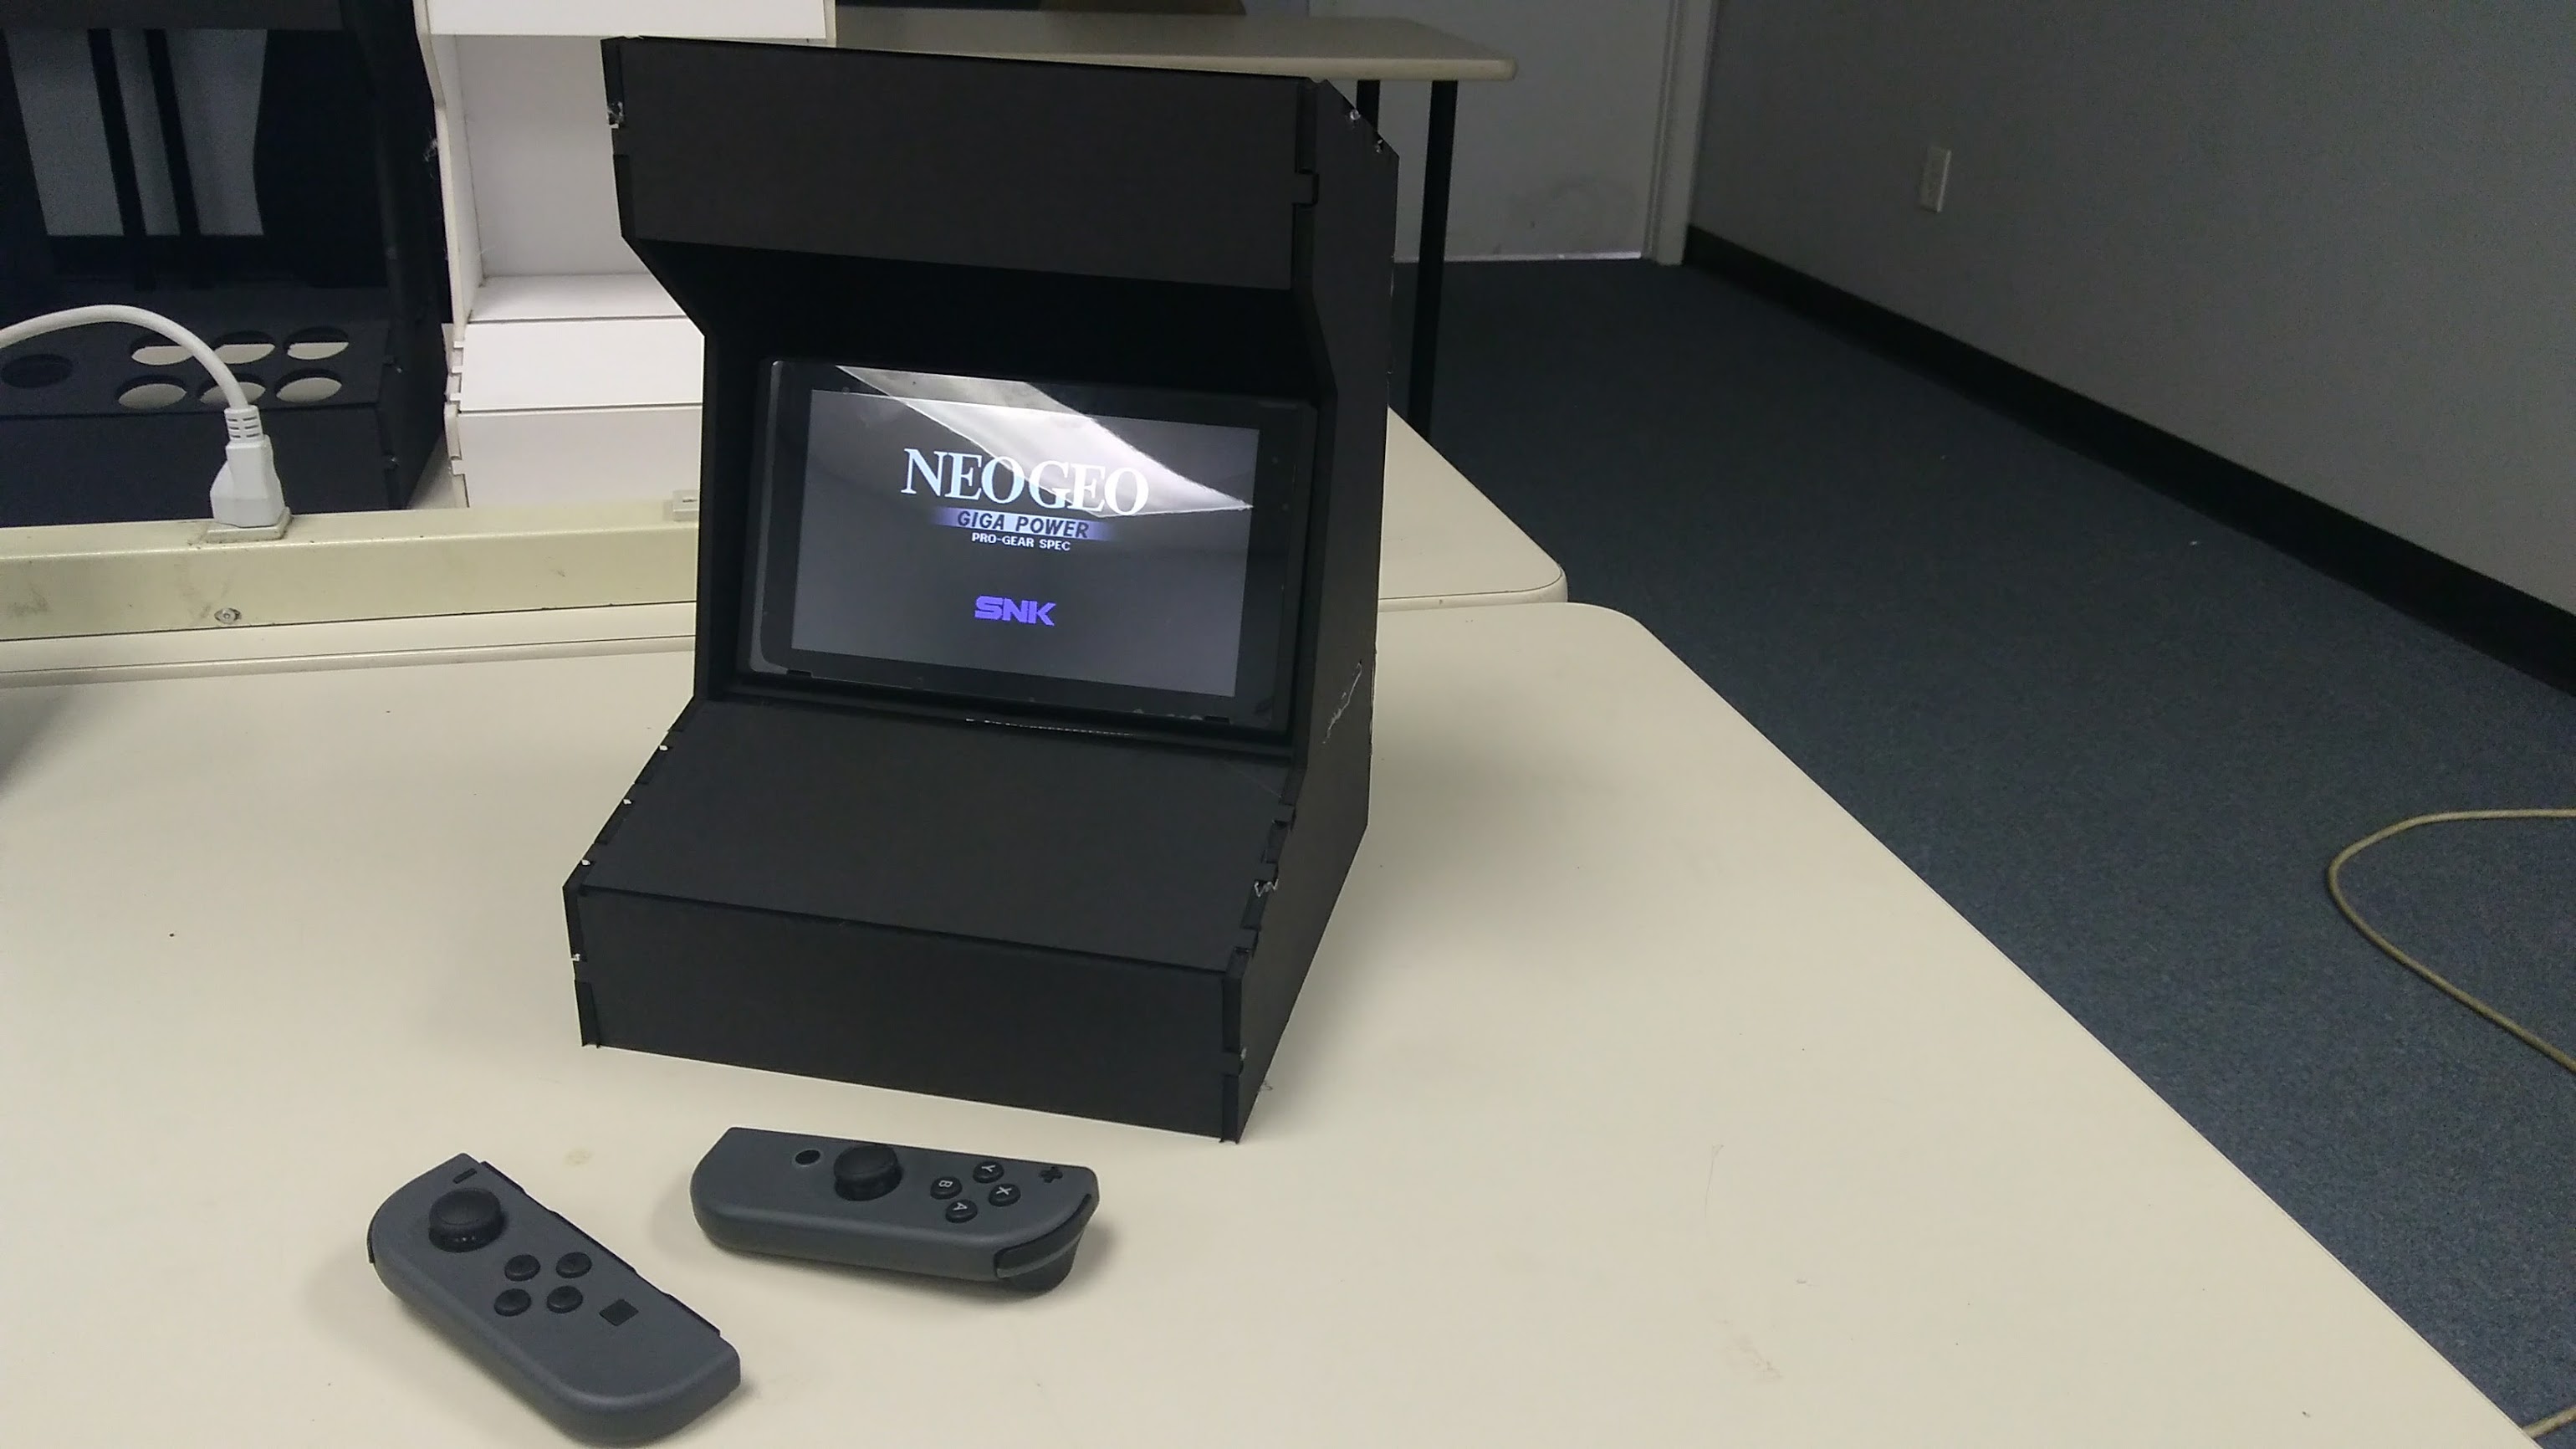
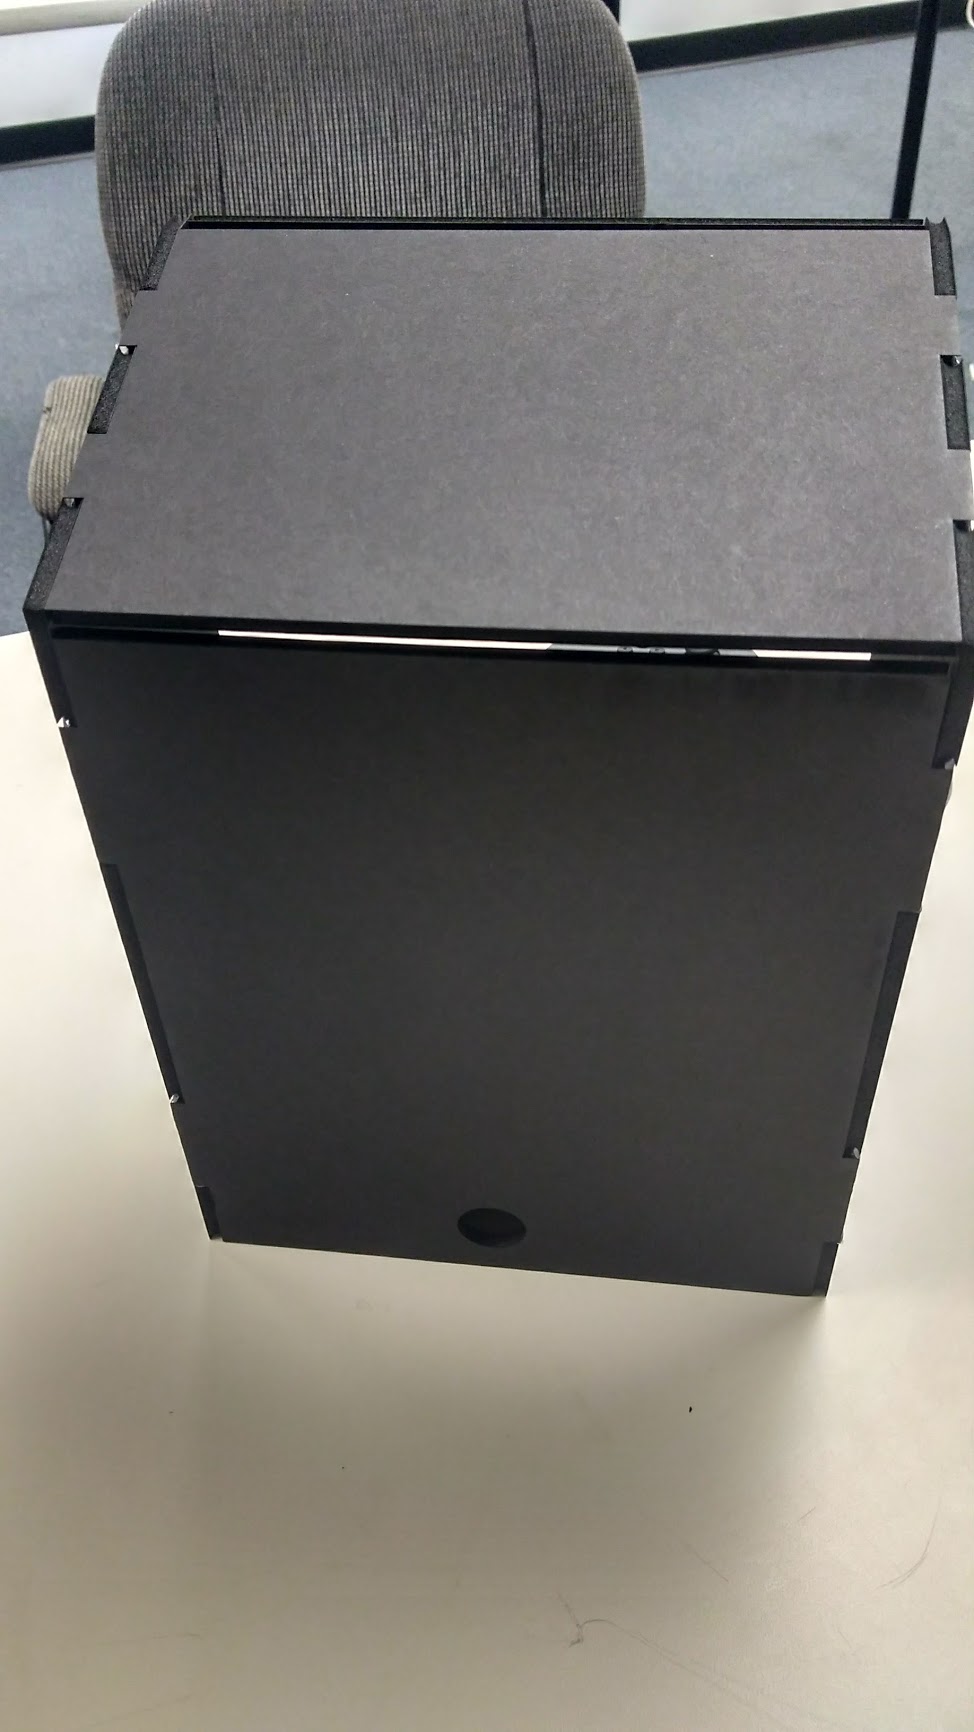
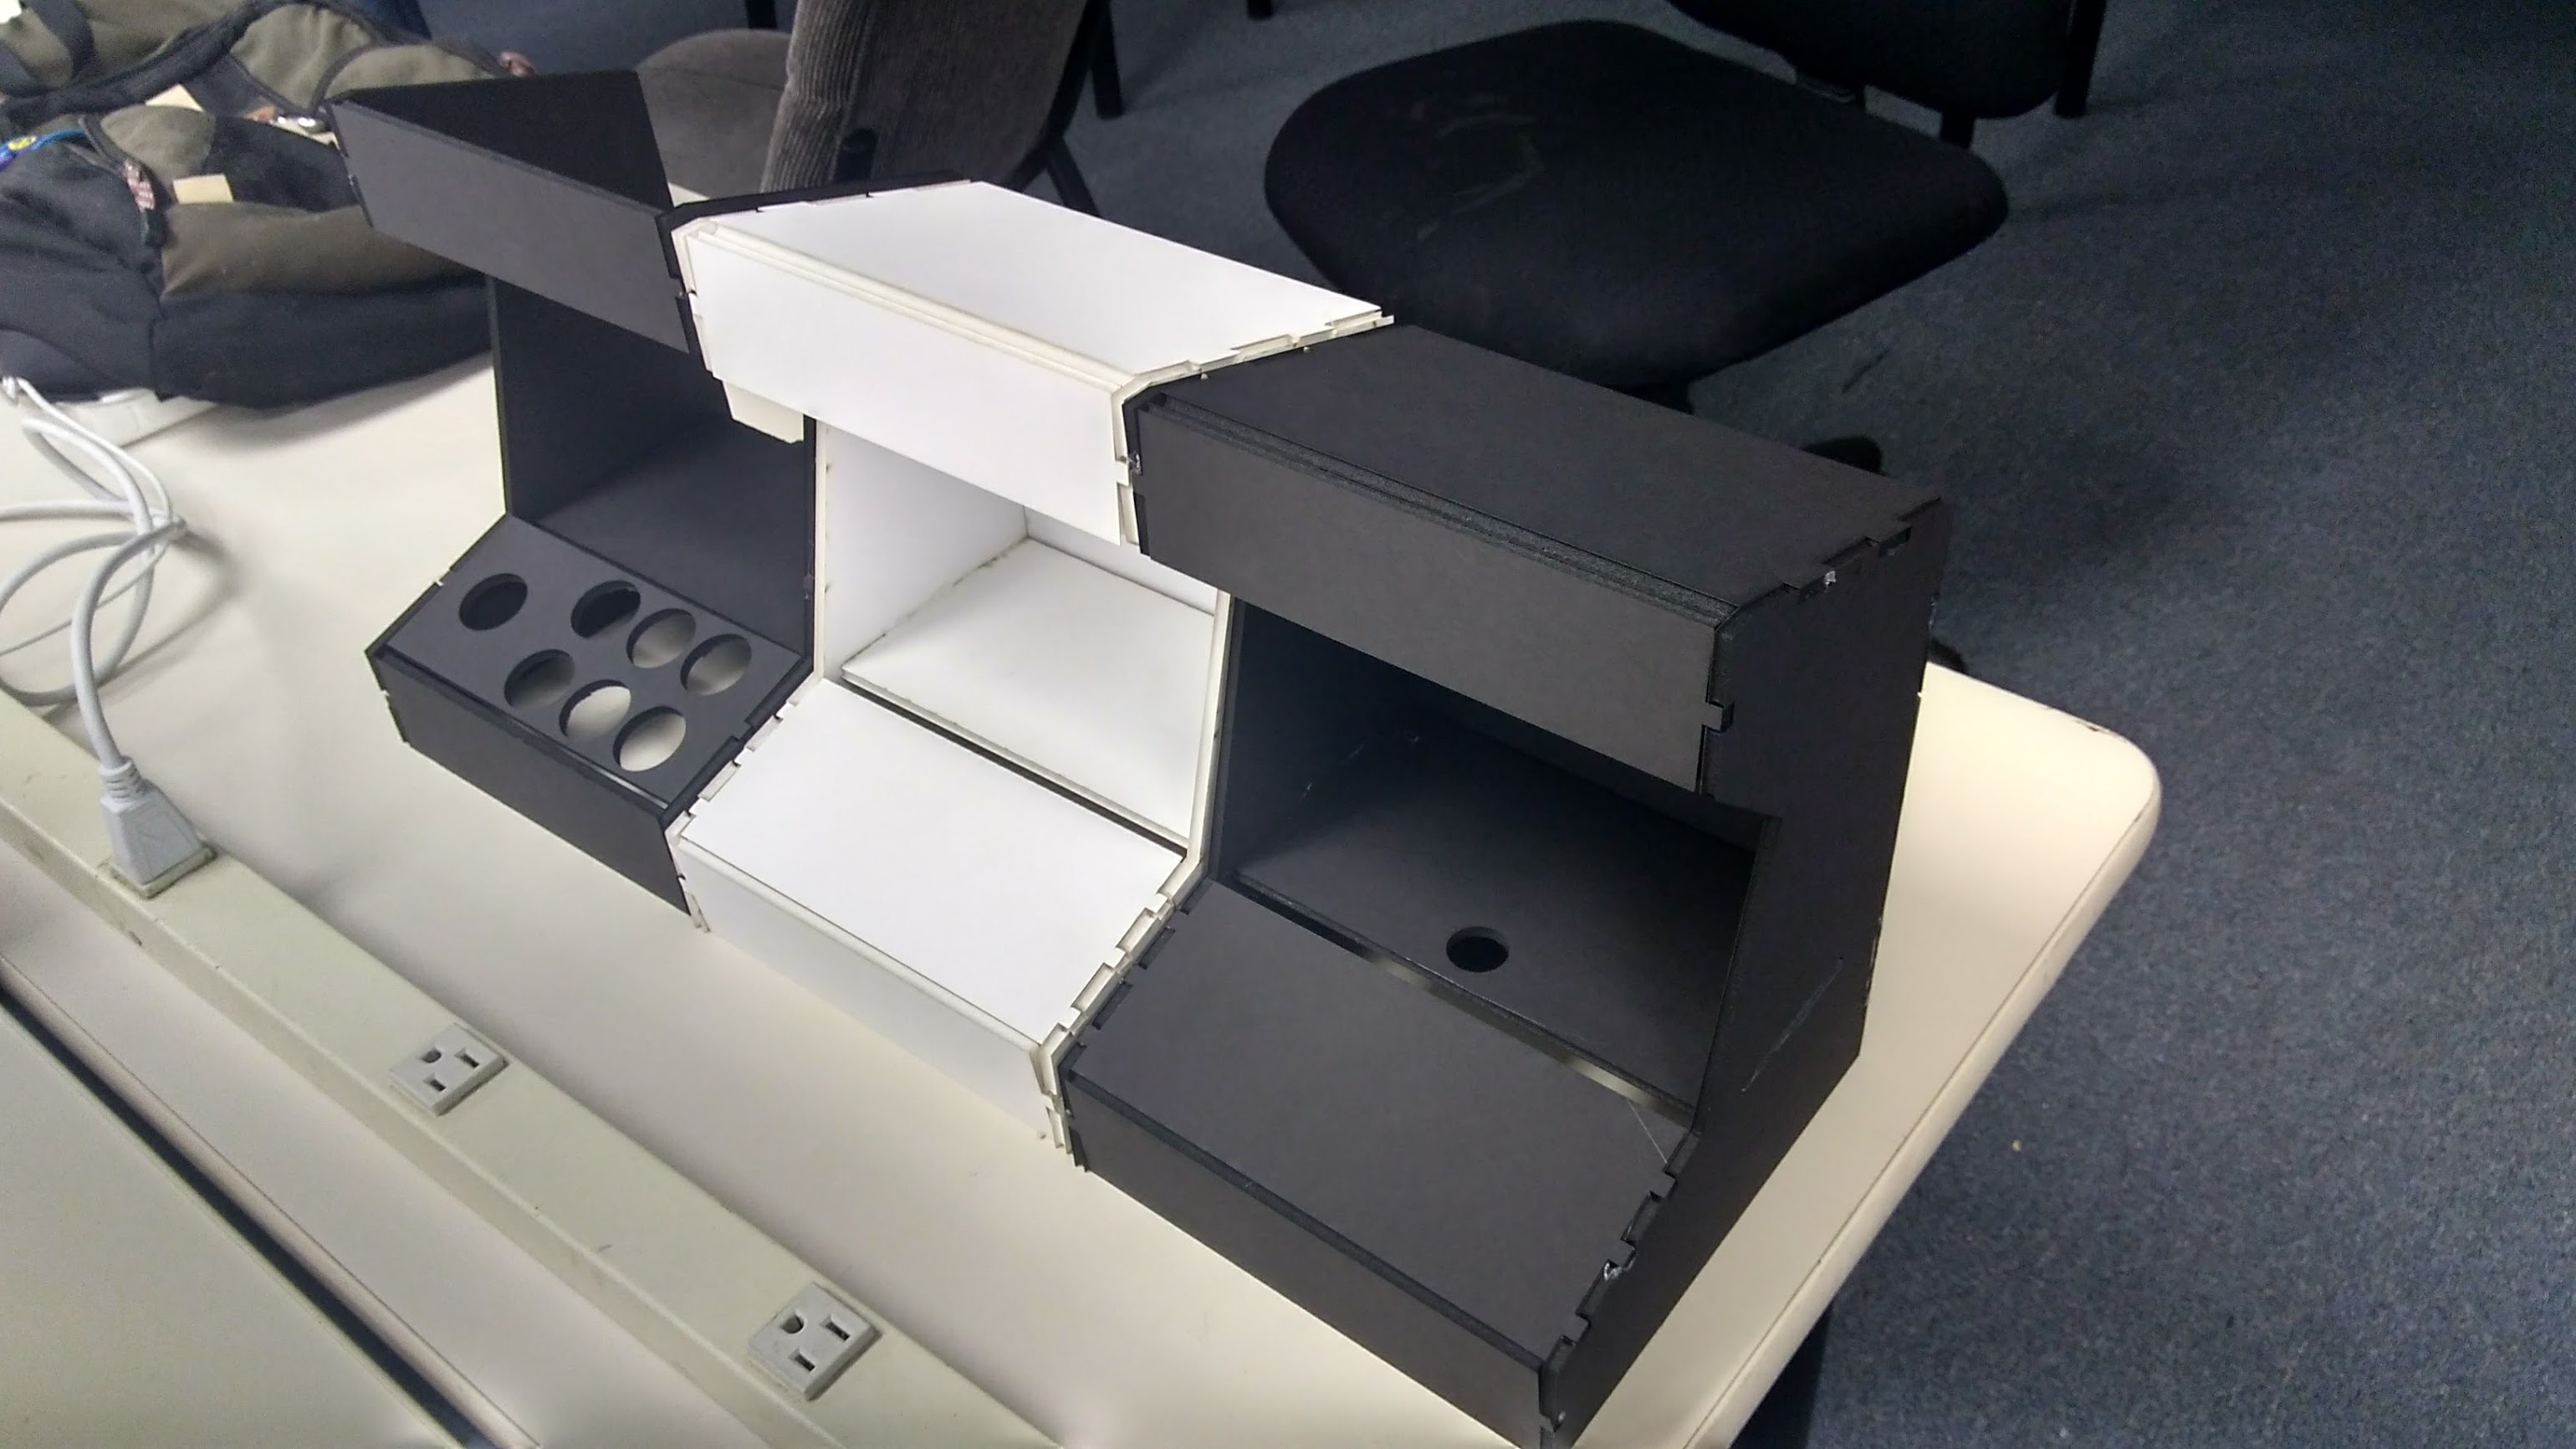
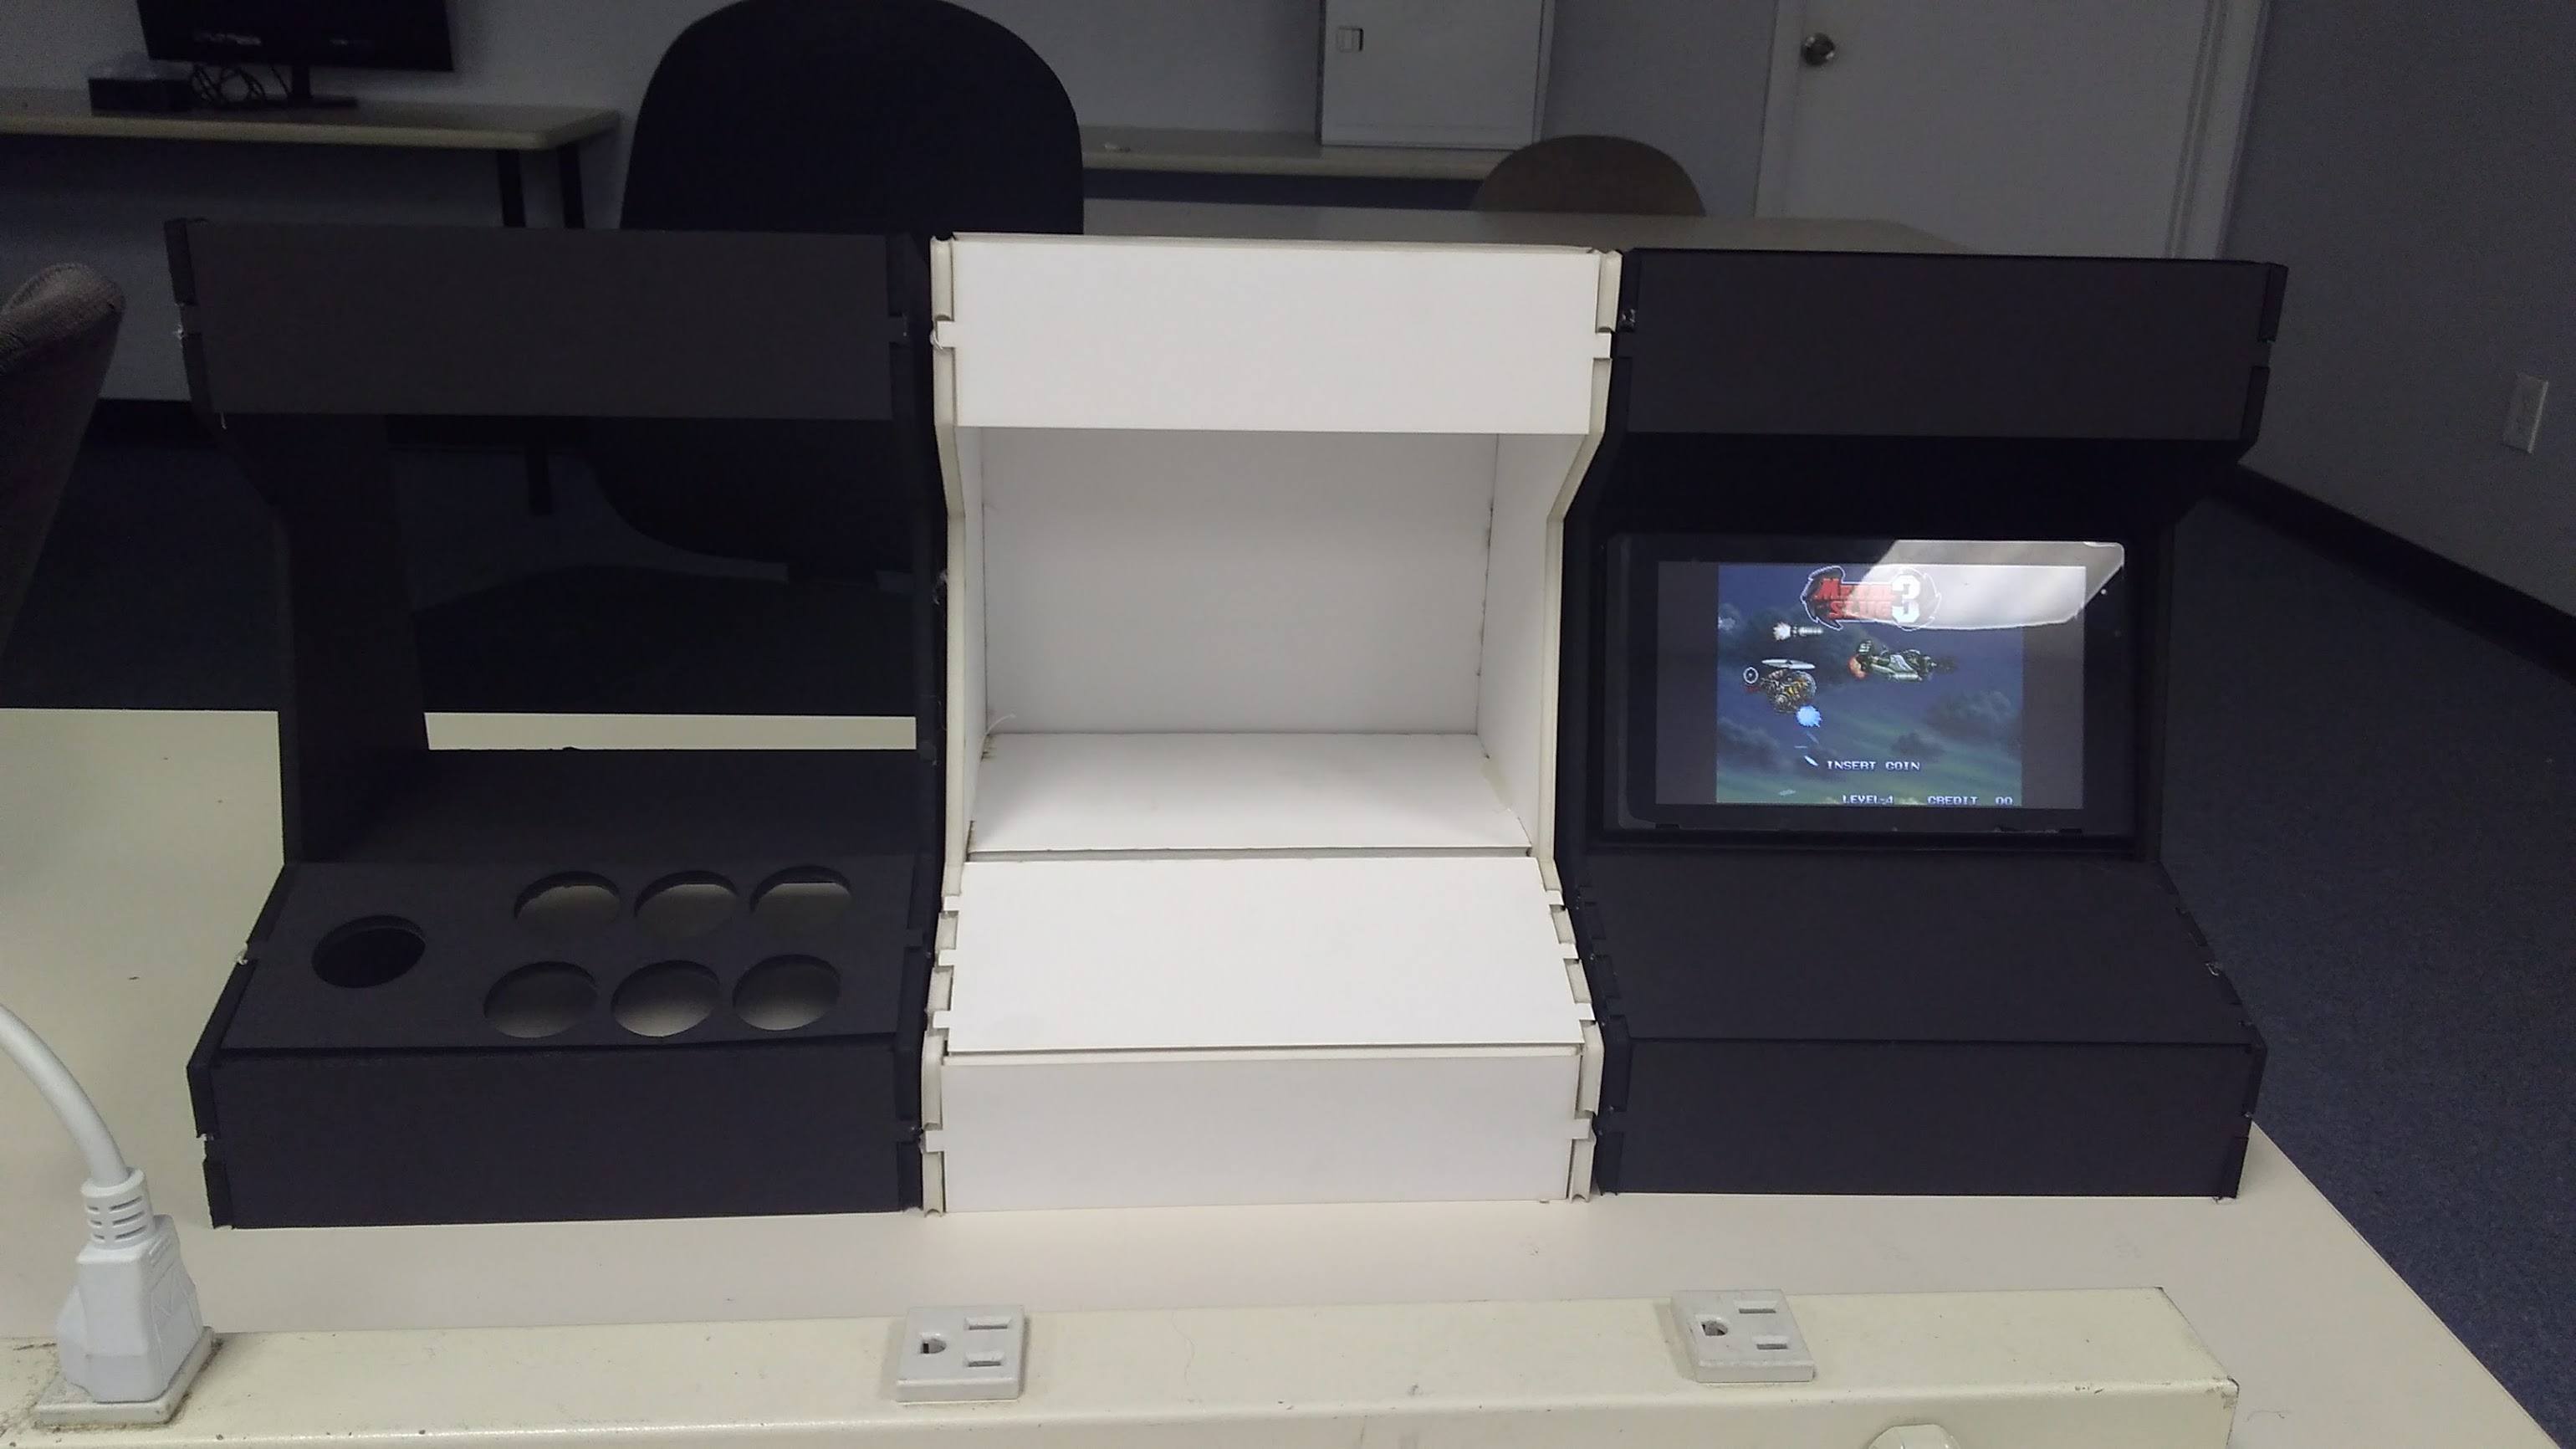
Also MegaCon is this weekend! I finished making my Nintendo Switch Arcade Machine and made it an Ultra SF2 Machine.
This has been an exciting week. The PiPlay Portable is fully funded, and we have less than 12 hours to go on the Kickstarter!
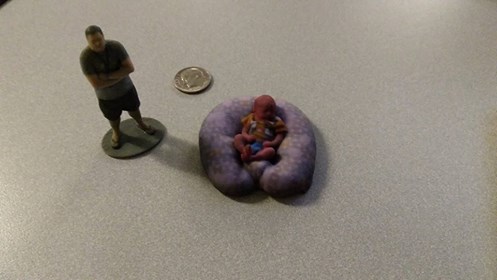
Sam has been growing so fast! I love being a Dad. It’s an experience I am so happy I get to have, and of course I have 3D scanned him and got him 3D printed…
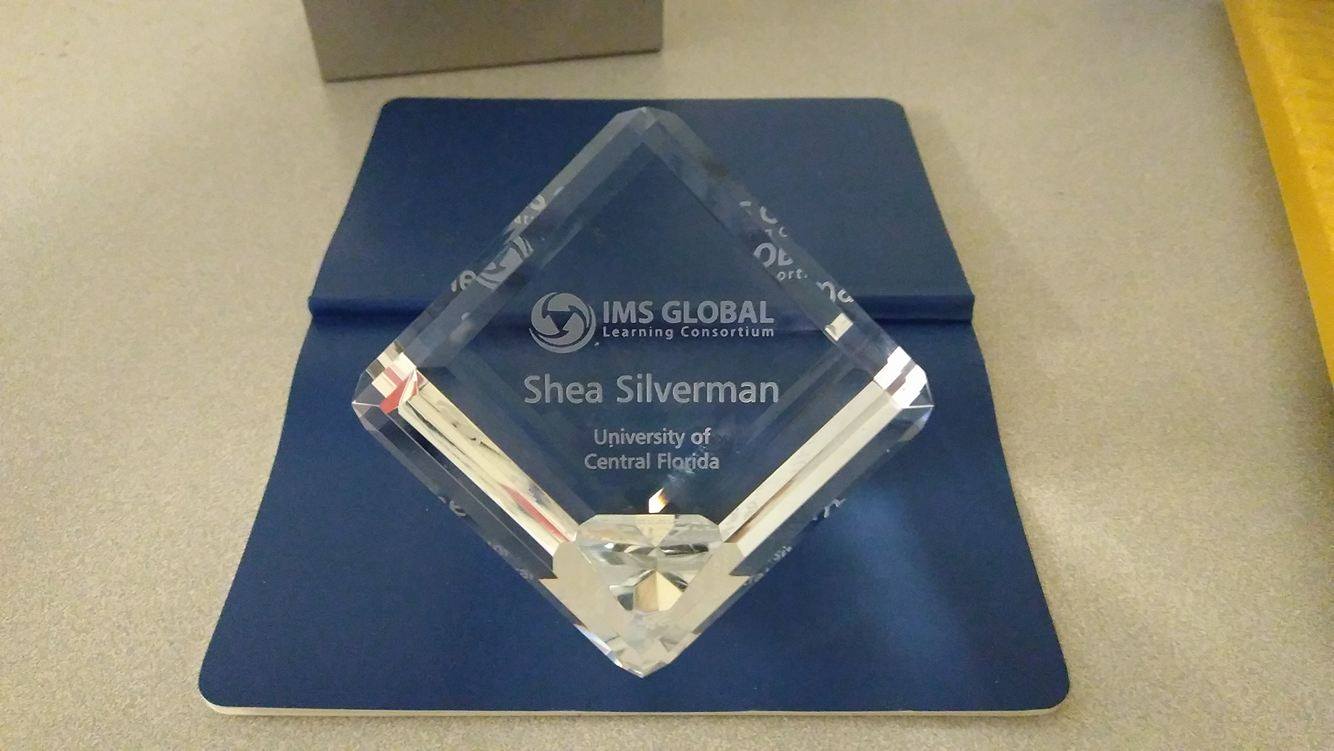
I also won the Community Leadership award from IMS Global at the LILI conference. I had no idea I was even nominated!! I am really humbled by this. Thank you IMS!
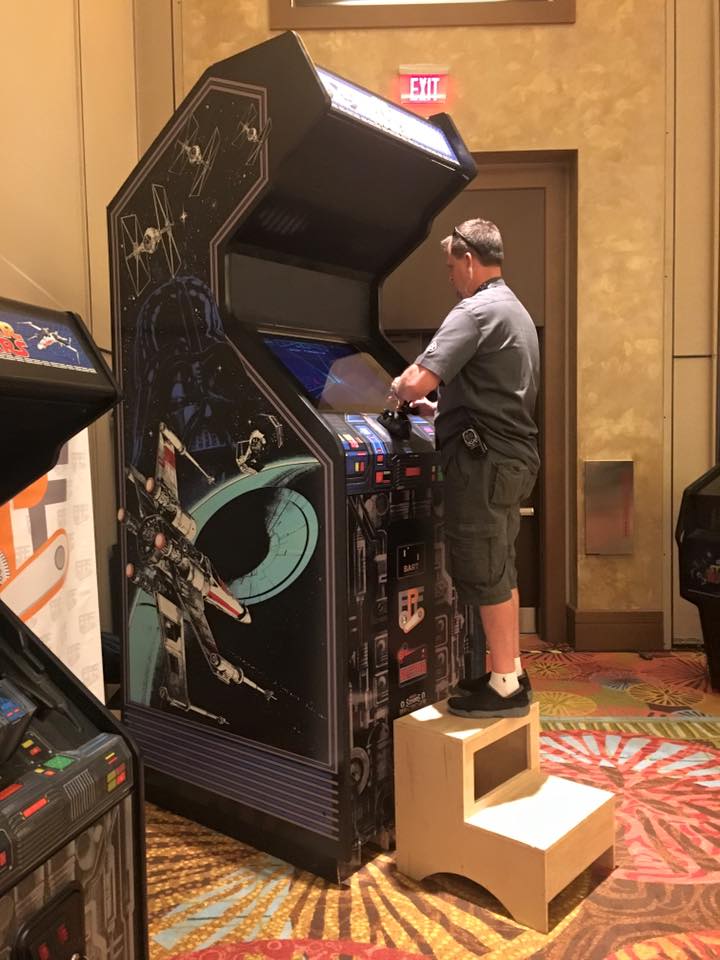
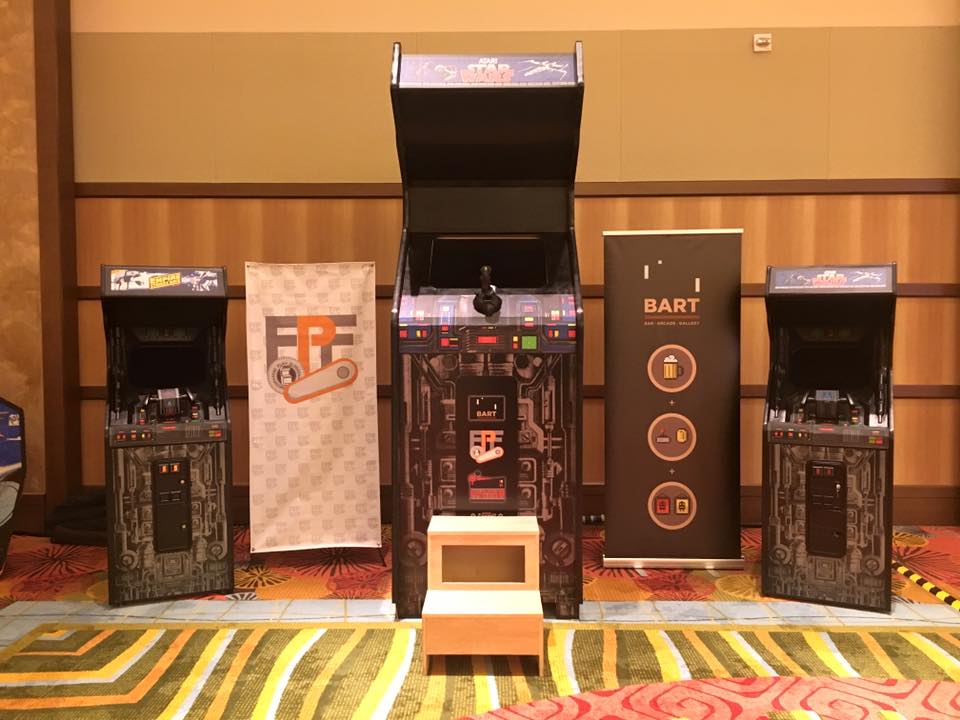
This weekend is Star Wars Celebrations! While I’m not able to go, for the past week I’ve been helping Free Play Florida finish their 10 foot Star Wars arcade cabinet for the convention. This thing is awesome! And MASSIVE!
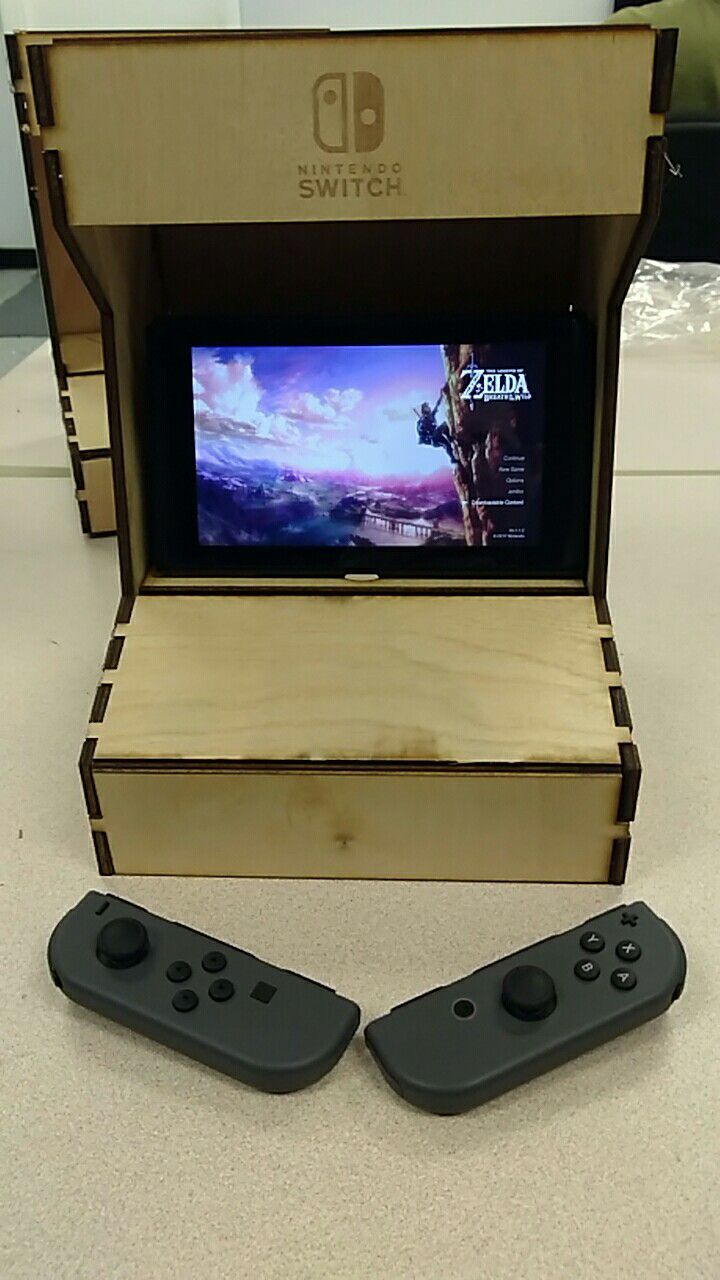
The Nintendo Switch has come out, and I have put a ton of hours into The Legend of Zelda: Breath of the Wild already. This is one of my favorite consoles so far. The eShop already has Neo Geo games and a new Street Fighter game is coming out ( Ultra Street Fighter II ) so of course I had to make a Nintendo Switch Arcade Machine 😀 The files to make your own are on Thingiverse: http://www.thingiverse.com/thing:2235516/#files